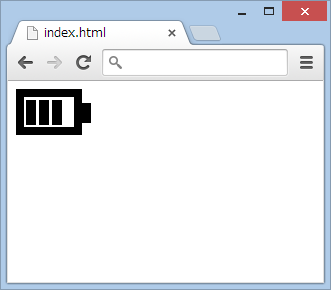
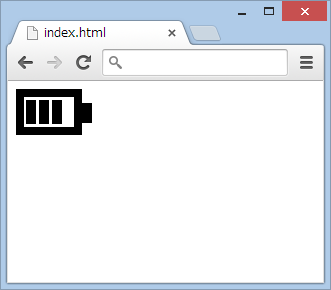
Webページを作るときに細かいパーツならCSSだけで済ますことが多くなってきています。
そこでCSSで作成できる図形についてまとめ、少し複雑な図形の作り方についてまとめます。
基本図形
以下の図形を組み合わせて作図していきます。
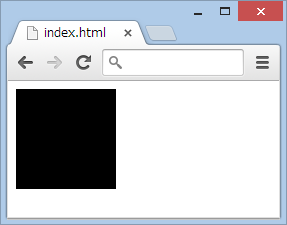
四角形
基本中の基本。
長方形や正方形が作れます。
.square {
   width: 100px;
   height: 100px;
   background: black;
}
<div class="square"></div>
円
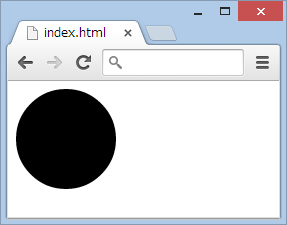
border-radiusを設定することで円を作成することができます。
width/heightの2分の1以上の値を設定することで円になります。
.circle {
   width: 100px;
   height: 100px;
   background: black;
   border-radius: 50px;
}
<div class="circle"></div>
角丸の四角形
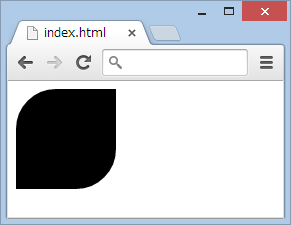
円にしない程度のborder-radiusを設定します。
角ごとに個別の値を設定することもできます。
.square2 {
   width: 100px;
   height: 100px;
   background: black;
   border-radius: 40px 0 40px 0; /*左上,右下に40px*/
}
<div class="square2"></div>
三角形
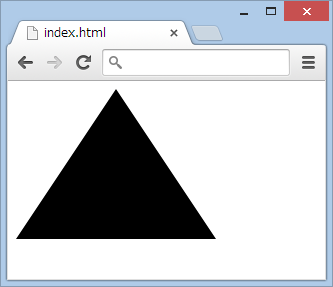
borderの境目(top/rightなどの境目)が斜めになっていることを利用する。
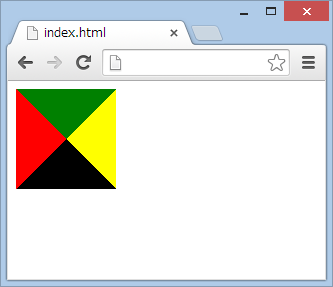
上向きの三角形が欲しいなら以下のように設定する。
.triangle {
    width: 0px;
    height: 0px;
    background: transparent;
    border-bottom: 150px solid black;
    border-left: 100px solid transparent;
    border-right: 100px solid transparent;
}
<div class="triangle"></div>
変形
transformプロパティに値を設定することで様々な変形を行うことができます。
よく使う物として以下に挙げるscaleとrotateがあります。
これらの変形は組み合わせて使用することができます。
拡大/縮小
transformプロパティにscaleを設定することでサイズを変更することができます。
.square-scale {
   width: 100px;
   height: 100px;
   background: black;
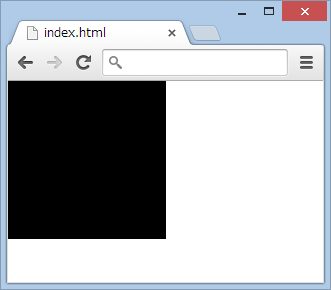
   transform: scale(2);
}
<div class="square-scale"></div>
回転
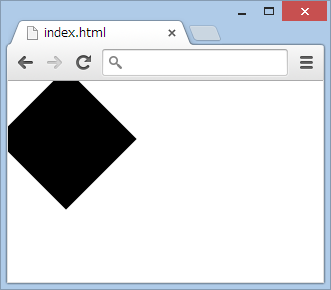
transformプロパティにrotateを設定することで回転することができます。
回転する中心はデフォルトでは図形の真ん中となっていますが、transform-originプロパティを設定することで変更することもできます。
.square-rotate {
   width: 100px;
   height: 100px;
   background: black;
   transform: rotate(45deg);
}
<div class="square-rotate"></div>
テクニック
CSSで作図するときに重要になってくるのが少ない要素で作図するということです。
図形を作るために複数の要素をhtmlに書かなくてはならないと少しめんどく感じます。
そこでそのためのいくつかのテクニックをいくつか紹介します。
before/after擬似要素を使用する
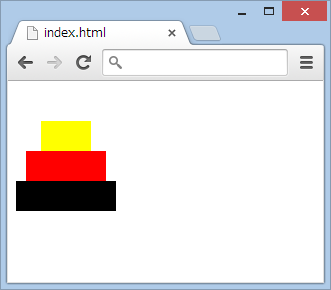
before/after擬似要素を使用することで本来の要素と合わせて最大3つの図形を組み合わせて作図することができます。
.mountain {
   margin-top: 100px;
   width: 100px;
   height: 30px;
   background: black;
   position: relative;
}

.mountain:before {
   content: "";
   display: block;
   width: 80px;
   height: 30px;
   background: red;
   top: -30px;
   left: 10px;
   position: absolute;
}
.mountain:after {
   content: "";
   display: block;
   width: 50px;
   height: 30px;
   background: yellow;
   top: -60px;
   left: 25px;
   position: absolute;
}
<div class="mountain"></div>
box-shadowで図形を使いまわす
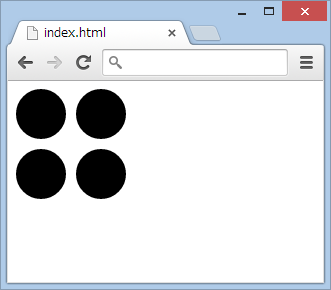
box-shadowは本来影を付けるためのプロパティですが、このプロパティは複数設定が可能なため図形の使い回しが可能になります。
.four-circle {
   width: 50px;
   height: 50px;
   border-radius: 25px;
   background: black;
   box-shadow:
       60px 0,
       0 60px,
       60px 60px;
}
<div class="four-circle"></div>
応用
以上のことを踏まえるといろいろな図形が作図できるようになります。
デベロッパーツールを使用しながら少しずつ位置を調整していくといい感じになります。
一つのhtmlの要素のみで完結させる場合使える図形は3つになることを頭に置きながら作図していきます。
電池サンプル1
今回のサンプルでは枠・バー・枠についている突起の3つのパーツで構成されています。
.battery {
    border: 8px solid black;
    width: 50px;
    height: 30px;
    position: relative;
}

.battery:before {
    content: "";
    display: block;
    position: absolute;
    width: 10px;
    height: 25px;
    top: 3px;
    left: 2px;
    background: black;
    box-shadow:
       13px 0,
       26px 0;
}

.battery:after {
    content: "";
    display: block;
    position: absolute;
    width: 10px;
    height: 20px;
    top: 6px;
    left: 57px;
    background: black;
}
<div class="battery"></div>
電池サンプル2
サンプル1では中のバーと突起で別々に作成していましたが、無駄が多いので以下のようにしてパーツ数を節約することができます。
ポイントは一つのパーツを小さく作ってbox-shadowで使いまわすという点です。
.battery {
    border: 8px solid black;
    width: 50px;
    height: 30px;
    position: relative;
}

.battery:before {
    content: "";
    display: block;
    position: absolute;
    width: 10px;
    height: 20px;
    top: 3px;
    left: 2px;
    background: black;
    box-shadow:
       0 4px,
       13px 0,
       13px 4px,
       26px 0,
       26px 4px,
       56px 3px;
}
<div class="battery"></div>
