はじめに
修正中のため、正しく動作しません(2021/2/27)
gulpを用いて静的サイトを作る際の導入と方法をまとめる(備忘録)
gulpでは、Node.jsベースのビルドシステムでCSSのコンパイルや画像の圧縮、CSS,JavaScriptの文法チェックを自動実行することができる
※ 構築環境はMacなので、Windowsはわからないですごめんなさい
gulpの導入
homebewのインストール
Mac用のパッケージマネージャーです
$ brew -v # このコマンドでバージョンが表示されればすでに導入済みです
導入していない場合はターミナルから下記コマンドでインストールします
$ /usr/bin/ruby -e "$(curl -fsSL https://raw.githubusercontent.com/Homebrew/install/master/install)"

# 上記コマンドはこちらhomebrewのサイトから確認できます
# https://brew.sh/index_ja
インストール後は下記コマンドでhomebrewのバージョン確認ができます
$ brew -v
Homebrew 3.0.2
Homebrew/homebrew-core (git revision a2a59b; last commit 2021-02-26)
nodebrewのインストール
まずはterminalで以下のコマンドを入力
$ brew install nodebrew
表示されるメッセージに従って、パスを通します
まず、バージョン管理用のディレクトリを作ります(表示されるメッセージにしたがっています)
$ /usr/local/opt/nodebrew/bin/nodebrew setup_dirs
パスの追加は~/.bash_profileに追記することで行えます
~/.bash_profileというファイルの「export PATH=~」行より下(ファイルの末尾付近)に以下記述を追加します
export PATH="$HOME/.nodebrew/current/bin:$PATH"
なお、~/.bash_profileがない場合は、ターミナルでtouch ~/.bash_profileとして新たに作成して追記してください(詳しくないので自己責任でお願いします)
追記したら、変更を反映させます
ターミナルで以下のコマンドを実行します
$ source ~/.bash_profile
Nodebrewのpathが通っているかの確認
pathが表示されればOK
$ which nodebrew
/Users/[username]/.nodebrew/current/bin/nodebrew
Node.jsのインストール
続いてNode.jsをインストールします
nodeのインストール可能なバージョンは下記コマンドで確認できます
$ nodebrew ls-remode
今回はバージョン6.9.1を使用するので以下のコマンドでインストールします
$ nodebrew install-binary latest # 最新版
インストール済みのバージョンを確認
$ nodebrew list
v6.9.1
Node.jsのバージョンを切り替える
$ nodebrew use v6.9.1
バージョンの確認
$ nodebrew -v
v6.9.1
Node.jsのパッケージのインストール
作業用のルートフォルダを任意の位置に作成し、terminalでそのフォルダまで移動します
terminalから作業フォルダで以下のコマンドを入力することで、package.jsonを作成します(プロジェクトで使用するパッケージのバージョン情報を管理してくれます)
$ npm init -y
gulpのインストール
$ npm install gulp -D # -DコマンドでdevDependenciesとしてインストール
以下のコマンドでバージョンの確認をしてみましょう
$ npx gulp -v
次に同フォルダにglupfile.jsを作成
以下の内容を記述します
var gulp = require('gulp')

gulp.task('default', function() {
  // ここにタスクを記述
});
gulpはタスクという単位で処理を実行していきます。
必要な処理を適宜追加していきましょう。
sassの導入
ターミナルに以下のコマンドを入力し、sassの導入に必要なパッケージをインストールします
$ npm install gulp-sass -D
ここまででフォルダの構成は以下のようになっています
.(root)
├── gulpfile.js # ファイル
├── node_modules # フォルダ
├── package-lock.json # ファイル
└── package.json #ファイル
サイト生成の自動化を作成する準備
これからhtmlファイルやcss, jsファイルなど、スタイルガイドを作成するために必要なファイルを置いておくためのフォルダを作成していきます
ターミナルから一気に作成していきます(プロジェクトのルートフォルダに移動してください)
以下のコマンドを入力していきます
$ mkdir src
$ mkdir src/sass
$ touch src/sass/style.scss
ターミナルから以下のコマンドを入力
$ touch config.js
エディタでconfig.jsを開いて以下の記述を追加
module.exports = {
  build: './build',
  src: '.src',
  sass: './assets/sass'
};
さらにgulpフォルダ内にて、ターミナルで以下のコマンドを入力します
$ mkdir tasks
$ touch tasks/sass.js
tasksフォルダに移動してsassをコンパイルするタスクを記述していきます
エディタでsass.jsを開いて、以下の記述を追加
var gulp = require('gulp');
var sass = require('gulp-sass');
var sassGlob = require('gulp-sass-glob');
var config = require('../config.js');
gulp.task('sass', function() {
    return gulp.src(config.src + '/**/*.scss')
        .pipe(sassGlob())
        .pipe(sass({ outputStyle: 'extended' }))
        .pipe(gulp.dist(config.build));
});
今のフォルダ構成はこんな感じ
.
├── assets
│   └── scss
│       └── base
│           └── _normalize.scss
├── gulp
│   ├── config.js
│   └── tasks
│       └── sass.js
├── gulpfile.js
├── node_modules
├── package.json
└── src
    └── assets
        └── css
            └── style.scss
sassのコンパイル
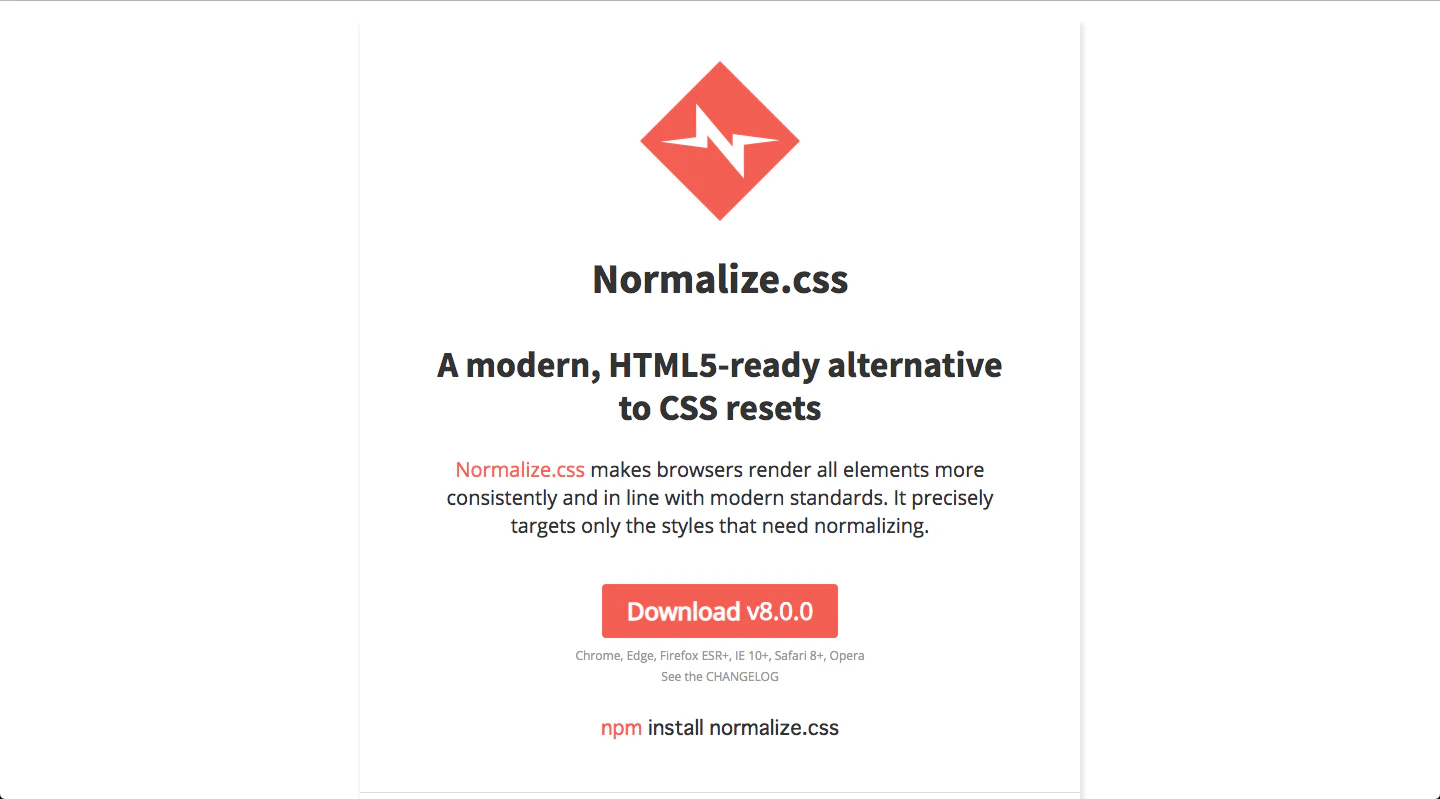
エディタで_normalize.scssを開きます
以下からcssファイルをダウンロードして、その内容を_normalize.scssに記述します
https://necolas.github.io/normalize.css/
次に./src/assets/css/style.scssを開いて以下のように記述
// ==============================================================================================
// base
// ==============================================================================================
@import "../../../assets/scss/base/_normalize";
コンパイルしてみる
作業ディレクトリのルートフォルダからターミナルで以下のコマンドを入力
$ npm run sass
実行したあと、./build/assets/css/style.cssが生成されていれば成功です
ここから先は加筆中です...
テンプレートエンジンの導入
Webサイトの主要なパーツを個別に管理することで、保守性・可読性を上げます
ejsの設定
タスクの設定
// モジュールの定義
module.exports = {
  ...
  ejs: './assets/ejs';
}
var gulp = require('gulp');
var ejs = require('gulp-ejs');
var plumber = require('gulp-plumber');
var config = require('../config.js'); // coufig.jsの読み込み

gulp.task('ejs', function () {
  gulp.src([config.src + '/**/*.ejs', '!' + config.src + '/**/_**/*.ejs', '!' + config.src + '/**/_*.ejs']) // 余計なものは無視する設定
    .pipe(plumber({ // このpipeはよくわからん
      errorHandler: function(err) {
        console.log(err.messageFormatted);
        this.emit('end');
      }
    }))
    .pipe(ejs({}, {}, {ext: '.html'})) // バージョンによって書き方が異なるため注意("gulp-ejs": "^3.2.0")
    .pipe(gulp.dest(config.build));
});
"scripts": {
  ...
  "ejs": "gulp ejs"
},
テンプレートの作成
-
./assets/以下にejsフォルダを作成(ここでejsファイルを一元管理します) -
ejs直下にstructuresフォルダを作成し、そのフォルダの中に_header.ejsと_footer.ejsを作成 - 内容は以下のようにする(とりあえずコンパイルが先)
<header class="st-header" role="banner">
  <div class="st-header__content">
    <div class="st-header__inner">
      ...
    </div>
  </div>
</header>
<footer class="st-ftter" role="contentinfo">
  <div class="st-footer__utility">
    <div class="st-footer__inner">
      ...
    </div>
  </div>
</footer>
-
ejs直下に_template.ejsを作成、内容は以下
<!DOCTYPE html>
<html lang="ja" dir="ltr">
  <head>
    <meta charset="utf-8">
    <title></title>
    <meta name="viewport" content="width=device-width, initial-scale=1">
  </head>
  <body>
    <% include ./structures/_header %>
    <main class="st-main" role="main">
      <% st_main() %>
    </main>
    <% include ./structures/_footer %>
    <!-- <script src="./assets/js/ui.js"></script> -->
  </body>
</html>
-
srcフォルダ直下にindex.ejsファイルを作成、内容は以下
<% include ../assets/ejs/_template %>
<% function st_main() { %>
  <div class="c-container">
    <p>コンパイルテスト</p>
  </div>
<% } %>
-
terminalで以下のコマンドを叩く
$ npm run ejs
buildフォルダ直下にindex.htmlが作成されていれば成功(エラーの原因はたいてい構文ミスです、よく確認してみましょう、綴りとか...)