responder,名前は聞くけど,日本語の情報が少ない&サンプルが少ないと感じたので実際に responder を使って開発をする前に色々と調べ,まとめたいと思います.
Updates
2019.04.25
v1.3.0 のリリースに伴い,取り急ぎ追加された機能についてまとめました.
2019.08.18
v1.3.2 のリリースに伴い,追加された機能についてまとめました.
より詳細は Python responder v1.3.1 -> v1.3.2 変更・追加まとめ を確認していただけたら幸いです。
2020.02.10
v2 (v2.0.5) のリリースに伴い,追加された機能について別の記事にまとめました.
Python responder v2 入門 - Qiita
responder とは?
responder とは Python の Web フレームワークです.
requests や pipenv の開発者である Kenneth Reitz 氏によって開発されています.
README には
The primary concept here is to bring the niceties that are brought forth from both Flask and Falcon and unify them into a single framework, along with some new ideas I have.
とあり,Flask と Falcon の良さを 1 つにまとめ,そこにいくつかのアイディアを加え,まとめたものになります.
responder の特徴として
- 単一のインポート文で使える API
- WebSocket のサポート
- 他の ASGI / WSGI アプリケーションをマウント可能
- ASGI 3 サポート (2019.08.17 追記)
- f-strings 構文によるルート宣言
- GraphiQL による GraphQL (graphene)
- OpenAPI スキーマの生成
- 非同期処理が簡単に記述可能
- Stream に対応 (2019.04.25 追記)
などが挙げられており,モダンな Web フレームワークのデファクトスタンダードになるのではと期待されています.
参考:
- responder
- Qiita: responder入門
- Qiita: はじめての Responder(Python の次世代 Web フレームワーク)
- フリーランチ食べたい: 人間のためのイケてるPython WebFramework「responder」、そして作者のKenneth Reitzについて
responder のインストール
responder は python 3.6 以上のみのサポートです.今回,私は python 3.7.2 を用います.
また,pipenv を用いて macOS 上での作業しています.
pipenv のセットアップについては別の方の記事を参照してください.
$ pipenv --python 3.7.2
$ pipenv install responder
実際に responder を使ってみる
README の先頭のサンプルを動かしてみます.
# !/usr/bin/env python3

import responder

api = responder.API()

@api.route("/{greeting}")
async def greet_world(req, resp, *, greeting):
    resp.text = f"{greeting}, world!"

if __name__ == '__main__':
    api.run()
実行する:
$ pipenv run python3 first.py
エンターを押すと下のように表示されます:
INFO: Started server process [72998]
INFO: Waiting for application startup.
INFO: Uvicorn running on http://127.0.0.1:5042 (Press CTRL+C to quit)
そうしたら,Webブラウザより http://127.0.0.1:5042 を開いてみてください.
おそらく Not found. と出てくるのではないでしょうか.
これは,route の定義をしていないためです.
試しに http://127.0.0.1:5042/hello を開いてみましょう.
無事に hello, world! と表示されましたか?
サーバ(スクリプト)を止めるには CTRL を押しながら C を押しします (CTRL+C).
Quick Start!
responder documentation: Quick Start! は Qiita: はじめての Responder(Python の次世代 Web フレームワーク) に詳しく書いてありますので,飛ばします.
Feature Tour
続いて responder documentation: Feature Tour を順に実行していきます.
Class-Based Views
# !/usr/bin/env python3

import responder

api = responder.API()

@api.route("/{greeting}")
class GreetingResource:
    def on_request(self, req, resp, *, greeting):   # or on_get...
        resp.text = f"{greeting}, world!"
        resp.headers.update({'X-Life': '42'})
        resp.status_code = api.status_codes.HTTP_416

if __name__ == '__main__':
    api.run()
先ほどのソースコードをクラスを使うように書き換えたものですね.
ほとんど同じように動作しますが,レスポンスヘッダーの X-Life とステータスコードが追加されています.
これらはデベロッパーツールなどで確認できると思いますので,確認してみてください.
クラスでは on_request で全てのメソッド, on_get や on_post でそれぞれのメソッドの処理を記述できるようです.
Background Tasks
# !/usr/bin/env python3

import responder
import time

api = responder.API()

@api.route("/")
def hello(req, resp):

    @api.background.task
    def sleep(s=10):
        time.sleep(s)
        print("slept!")

    sleep()
    resp.content = "processing"

if __name__ == '__main__':
    api.run()
responder ではこのように簡単にバックグラウンド処理が記述できます!
処理が終わる(10秒たつ)前にレスポンスが返ってくることから確認できると思います.
他のサンプル
GraphQL
import responder, graphene

api = responder.API()

class Query(graphene.ObjectType):
    hello = graphene.String(name=graphene.String(default_value="stranger"))

    def resolve_hello(self, info, name):
        return f"Hello {name}"

schema = graphene.Schema(query=Query)
view = responder.ext.GraphQLView(api=api, schema=schema)

api.add_route("/graph", view)

if __name__ == '__main__':
    api.run()
http://127.0.0.1:5042/graph にアクセスして {hello} や {hello(name: "test")}を実行してみてください.
動作が確認できると思います.
なお,Qiita: ResponderとGrapheneで10分くらいでGraphQLサーバ作るによると,ファイル名は graphql.py にすると途中で失敗するので,他を他の名前にしましょうとのことです.
OpenAPI Schema Support & Interactive Documentation
# !/usr/bin/env python3

import responder
from marshmallow import Schema, fields

api = responder.API(title="Web Service", version="1.0", openapi="3.0.0", docs_route="/docs")


@api.schema("Pet")
class PetSchema(Schema):
    name = fields.Str()


@api.route("/")
def route(req, resp):
    """A cute furry animal endpoint.
    ---
    get:
        description: Get a random pet
        responses:
            200:
                description: A pet to be returned
                schema:
                    $ref: "#/components/schemas/Pet"
    """
    resp.media = PetSchema().dump({"name": "little orange"})

# r = api.session().get("http://;/schema.yml")
# print(r.text)

if __name__ == '__main__':
    api.run()
http://127.0.0.1:xxxx/schema.yml にアクセスすると,下のようなファイルが得られると思います.
components:
  parameters: {}
  responses: {}
  schemas:
    Pet:
      properties:
        name: {type: string}
      type: object
info: {title: Web Service, version: '1.0'}
openapi: 3.0.0
paths:
  /:
    get:
      description: Get a random pet
      responses:
        200: {description: A pet to be returned, schema: $ref:  "#/components/schemas/Pet"}
tags: []
また,http://127.0.0.1:xxxx/docs にアクセスすると下のようなドキュメントが表示されるはずです.
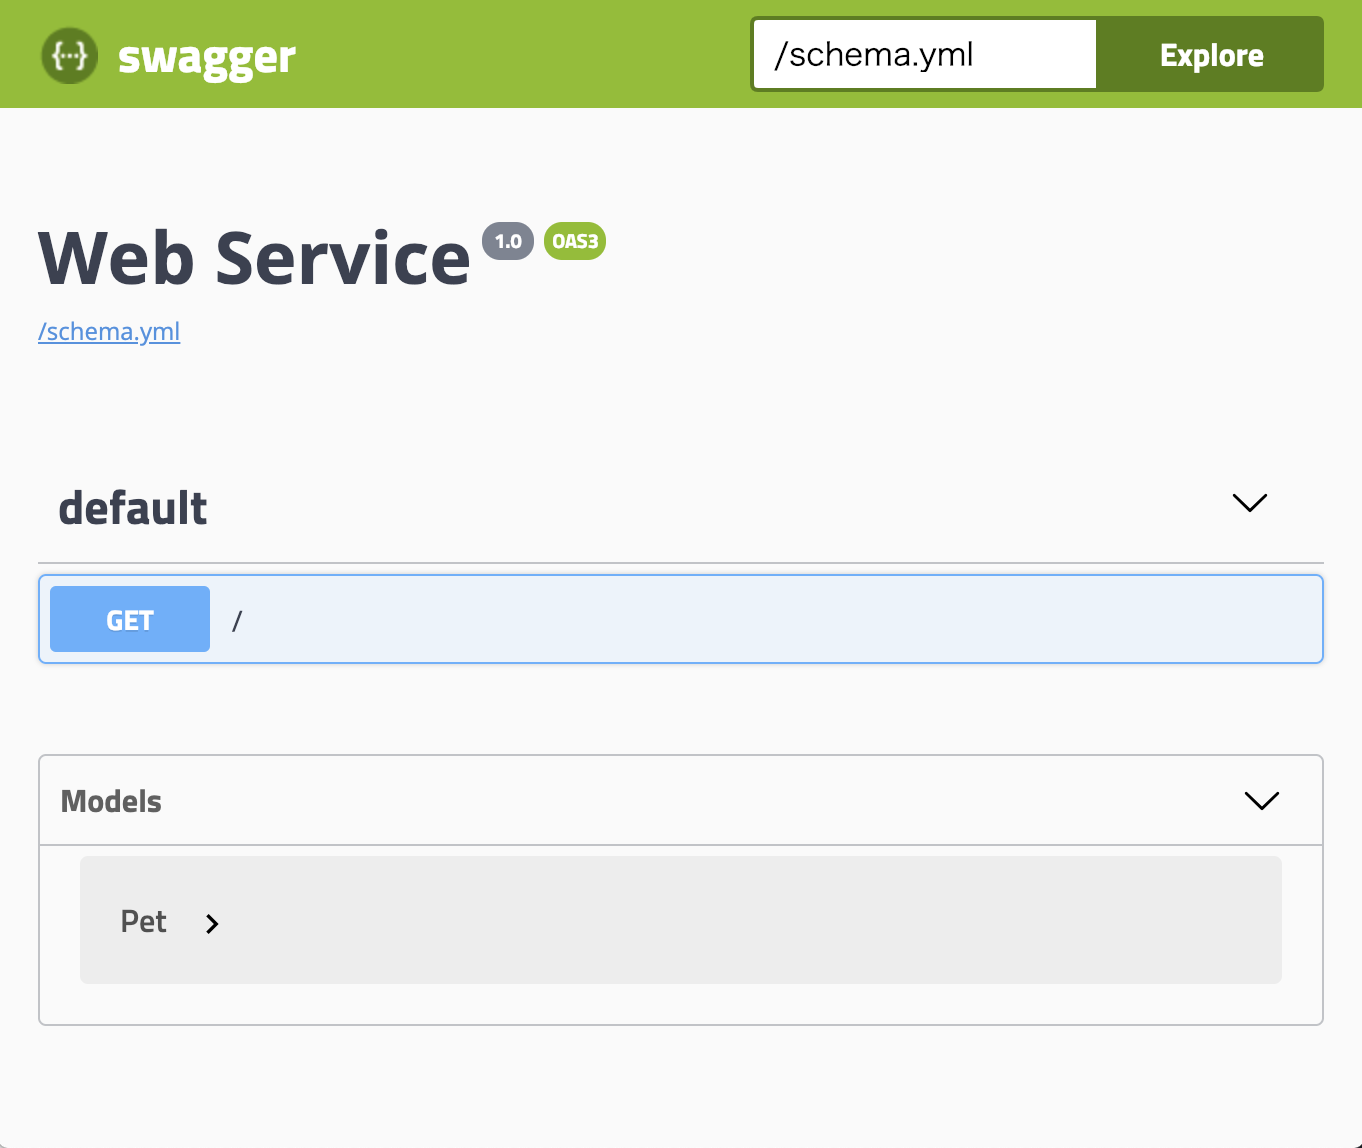
モダンな API ドキュメントページが自動で生成されます.
Mount a WSGI App (e.g. Flask)
別のASGI / WSGIアプリをマウントできます.
ソースコードは簡単にして紹介します.
flask = Flask(__name__)
api.mount('/flask', flask)
Single-Page Web Apps
シングルページ Web アプリケーションに使用している場合は,次のようにしてルートに static/index.html を提供するようにできます.
これは index.html をすべての未定義の経路に対するデフォルトの応答にもします.
ソースコードは簡単にして紹介します.
api.add_route("/", static=True)
Reading / Writing Cookies
簡単にリクエストとレスポンスの Cookie を扱うことができます.
ソースコードは簡単にして紹介します.
>>> resp.cookies["hello"] = "world"

>>> req.cookies
{"hello": "world"}
Using Cookie-Based Sessions
Cookie ベースのセッションをサポートしています.
有効にするには, resp.session dict に追加するだけです.
resp.session['username'] = 'kennethreitz'
Responder-Session という cookie が設定されます.
この cookie は検証目的で署名されています.
セッションデータの読み込みも簡単にできます.
署名による検証を行なっているので,これは API から生じたと信頼されることができます.
req.session
- __本番環境__で使用する場合は,
secret_key引数をresponder.APIに渡す必要があります.
api = responder.API(secret_key=os.environ['SECRET_KEY'])
サンプル:
# !/usr/bin/env python3

import responder

api = responder.API()

@api.route("/")
async def top(req, resp, *):
    print(req.session)
    resp.text = "top page!"
    resp.session['username'] = 'kennethreitz'

if __name__ == '__main__':
    api.run()
session.py を起動して http://127.0.0.1:xxxx/ にアクセス.
INFO: Started server process [89615]
INFO: Waiting for application startup.
INFO: Uvicorn running on http://127.0.0.1:xxxx (Press CTRL+C to quit)
{}
INFO: ('127.0.0.1', 63069) - "GET / HTTP/1.1" 200
{'username': 'kennethreitz'}
INFO: ('127.0.0.1', 63120) - "GET / HTTP/1.1" 200
「デベロッパー ツール」でヘッダーを確認すると Responder-Session=eyJ1c2VybmFtZSI6ICJrZW5uZXRocmVpdHoifQ==.Nsu6jUJDP4uqNZy0JLT_CqJLFqc が設定されているのが,確認できます.
Using before_request
すべてのリクエストでそのビューの実行の前に,共通のビューの実行が簡単にできます.
@api.route(before_request=True)
def prepare_response(req, resp):
    resp.headers["X-Pizza"] = "42"
これですべてのリクエストは X-Pizza ヘッダを返します.
WebSocket Support
@api.route('/ws', websocket=True)
async def websocket(ws):
    await ws.accept()
    while True:
        name = await ws.receive_text()
        await ws.send_text(f"Hello {name}!")
    await ws.close()
Using Requests Test Client
テストの簡単な例:
import myapi

@pytest.fixture
def api():
    return myapi.api

def test_response(api):
    hello = "hello, world!"

    @api.route('/some-url')
    def some_view(req, resp):
        resp.text = hello

    r = api.requests.get(url=api.url_for(some_view))
    assert r.text == hello
詳細は responder documentation: Building and Testing with Responder にあります.
HSTS (Redirect to HTTPS)
簡単の例:
api = responder.API(enable_hsts=True)
CORS
CORS (オリジン間リソース共有, Cross-Origin Resource Sharing) に関する動作も比較的簡単に設定できます.
ソースコードは簡単にして紹介します.
api = responder.API(cors=True)
cors=True で cors が有効になります.
各種設定は cors_params 引数で設定できます.
api = responder.API(
    cors=True,
    cors_params={
        'allow_origins': ['https://example.org', 'https://www.example.org']
    }
)
以下は実際に設定できる項目です.
-
allow_origins- 許可リスト.例:['https://example.org', 'https://www.example.org'].['*']を使って全てを許可することもできる. -
allow_origin_regex- 許可するための正規表現文字列. 例:'https://.*\.example\.org'. -
allow_methods- 許可される HTTP メソッドのリスト.デフォルトは['GET'].['*']とするとすべての標準メソッドを許可できる. -
allow_headers- リクエストでサポートされる HTTP リクエストヘッダのリスト.デフォルトは[].すべてのヘッダを許可するためには['*']とする.Accept,Accept-Language,Content-Language, およびContent-Typeヘッダーは常に許可される。 -
allow_credentials- Cookieをサポートするようか指定する.デフォルトはFalse. -
expose_headers- 使用可能とするレスポンスヘッダーを指定する.デフォルトは[]. -
max_age- ブラウザがCORS応答をキャッシュする最大時間を秒単位で指定する.デフォルトは60.
Trusted Hosts
すべてのリクエストヘッダーに,allowed_hosts 属性で指定されたパターンと一致する有効なホストがあるか確認します.
これは HTTP Host Header 攻撃を防ぐために有効です.
allowed_hosts 属性で提供されたパターンのいずれとも一致しない場合は, 400 エラーが発生します.
ソースコードは簡単にして紹介します.
api = responder.API(allowed_hosts=['example.com', 'tenant.example.com'])
-
allowed_hosts- 許可するホスト名のリスト- デフォルトではすべてのホスト名が許可されています.
-
*.example.comなどのワイルドカードがサポートされています. - 任意のホスト名を許可するには
allowed_hosts=["*"]を使用してください.
Others
responder documentation: Feature Tour には紹介されていませんが,アップデート等により追加された機能や対応機能を紹介します.
@api.on_event(event_name)
特定のイベントで実行する関数などを登録できます。
サポートされているイベントは startup と shutdown の 2 種類です。
-
startup: プログラム実行開始時 -
shutdown: プログラム実行終了時
@api.on_event('startup')
async def open_database_connection_pool():
    ...

@api.on_event('shutdown')
async def close_database_connection_pool():
    ...
Stream (v1.3.0~)
Stream による応答がサポートされました (resp.stream).
Cookie ディレクティブ (v1.3.0~)
resp.set_cookie から使用できます.
resp.html (v1.3.0~)
新しく html を応答する方法として resp.html が追加されました.
# resp.content = api.template('hello.html')
resp.html = api.template('hello.html')
ASGI 3 のサポート (v1.3.2~)
Middleware の追加などができます。
request.state (v1.3.2~)
req.media()
-
multipart/form-dataのファイル以外のデータに対応 (v1.3.2~)
参考
- kennethreitz/responder: Release v1.3.0
- kennethreitz/responder: Release v1.3.2
- Python responder v1.3.1 -> v1.3.2 変更・追加まとめ
Deploying Responder
responder documentation: Deploying Responder には,Docker と Heroku での Deployment の手順が紹介されています.
公式のドキュメントでは Docker の pipenv 対応のイメージを用いたやり方ですが, Docker の Python の公式イメージから pip でやる記事も公開されていました:
Qiita: DockerコンテナでPythonのWEBフレームワーク「responder」を起動する
Notes
このセクションは公式のドキュメントには直接書いてないですが,自分で調べた範囲のことをまとめます.
Background Task
api.background.task は concurrent.futures の ThreadPoolExecutor を用いてスレッドで非同期実行するように実装されています.
返り値は concurrent.futures.Future オブジェクトです.
Debug
通常,debug=True にしても autoreload になりません.
そこで,uvicorn app:api --debug などで起動しましょう (app.py の場合).
この場合は, uvicorn が debug モードで起動するため, python のファイルを書き換えて保存した時に,自動で再読み込みが行われ,デバッグがラグに行えるようになります.
実装例
- Qiita: Python + responderで非同期処理して、ついでに処理完了をSlackで通知する方法
-
Qiita: プライベートISUCONのISHOCON2のresponder版を実装してみた
- データベースとの接続の例などが紹介されています.
route を f-string 形式で記述できるのは違和感なく使えて良いですね.