きっかけは下記の記事です。
人間のためのイケてるPython WebFramework「responder」、そして作者のKenneth Reitzについて
Responder のインストール
前提環境
python 3.6以上。でないと後でpipenvに怒られる。
使いやすくするためのpipenvをインストール
pip install --user pipenv
pipenvで環境を用意する
mkdir responder
cd responder
pipenv install responder --pre
pipenv shellでresponderの環境に入る
pipenv shell
サーバアプリの実装
下記ファイルをコピーして、sample.pyを作成する。
注意! ファイル名を graphql.pyにすると、graphql-coreと名前がかぶるらしく、途中で失敗するので、ファイル名はgraphqlじゃないものを選ぶ 参考. grapheneのissues
sample.py
import responder
import graphene

api = responder.API()

class Query(graphene.ObjectType):
    hello = graphene.String(name=graphene.String(default_value="stranger"))

    def resolve_hello(self, info, name):
        return f"Hello {name}"

schema = graphene.Schema(query=Query)
view = responder.ext.GraphQLView(api=api, schema=schema)

api.add_route("/graph", view)

if __name__ == '__main__':
    api.run()
ModuleNotFoundErrorの解消
このままサーバを起動すると2018/12/03現在ModuleNotFoundError: No module named 'starlette.lifespan'が出る。
回避するにはstarletteの0.8を指定してインストールする。
(pipenv shell内で)
pip install starlette==0.8
サーバ実行
python sample.py
実行画面
localhost:5042/graphにブラウザからアクセスすると下記のような画面が見える。
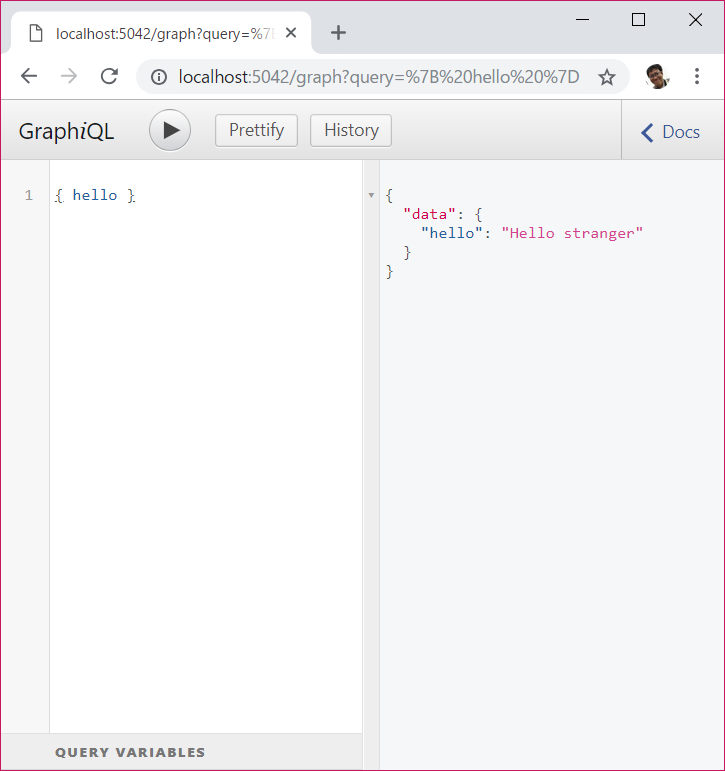
{hello}とクエリを打てば、指定した結果が返ってくる。
以上。