前提
仕事ではずっとJavaで、たまにJavaScriptやPythonを使用してきました。
「Kotlinはいいぞ(?)」という話をよく聞くので、チュートリアルをやってみます。
JavaのSpring Bootをよく利用しているので、理解しやすいと思い、Kotlinでも同じフレームワークを使用してみます。
チュートリアルは以下のサイトにあるものを実施してみます。
コーディングルールがわからないときはこちらを参照。(間違っていたら指摘いただけると幸いです。)
環境
- macOS: 11.6.4
- IntelliJ IDEA: 2021.2.3 (Community Edition)
- Kotlin: 212-1.5.10-release-IJ5457.46
- Gradle: 7.4.1
- Java: temurin 17.0.3
手順
新しいプロジェクトを作成する
「Initializr Web サイトを利用する方法」「コマンドラインを使用する方法」「IntelliJ IDEA の使用」が紹介されています。今回は一番最初を使用します。一番最後はIntelliのUltimateエディションを利用することが条件のようです。
spring initializerにアクセス
以下のパラメータを設定
- Project:
Gradle Project - Language:
Kotlin - Spring Boot:
2.7.0 - Project Metadata
- Group:
com.example - Artifact/Name:
blog - Package name:
com.example.blog - Packaging:
Jar - Java:
17
- Group:
- Dependencies:
Spring WebMustacheSpring Data JPAH2 DatabaseSpring Boot DevTools
生成ボタン(Generate)をクリック
blog.zipがダウンロードされます。

ダウンロードしたプロジェクトを展開する
kotlin % unzip blog.zip
Archive:  blog.zip
   creating: blog/
  inflating: blog/gradlew
   creating: blog/src/
   creating: blog/src/test/
   creating: blog/src/test/kotlin/
   creating: blog/src/test/kotlin/com/
   creating: blog/src/test/kotlin/com/example/
   creating: blog/src/test/kotlin/com/example/blog/
  inflating: blog/src/test/kotlin/com/example/blog/BlogApplicationTests.kt
   creating: blog/src/main/
   creating: blog/src/main/kotlin/
   creating: blog/src/main/kotlin/com/
   creating: blog/src/main/kotlin/com/example/
   creating: blog/src/main/kotlin/com/example/blog/
  inflating: blog/src/main/kotlin/com/example/blog/BlogApplication.kt
   creating: blog/src/main/resources/
   creating: blog/src/main/resources/templates/
   creating: blog/src/main/resources/static/
  inflating: blog/src/main/resources/application.properties
  inflating: blog/build.gradle.kts
   creating: blog/gradle/
   creating: blog/gradle/wrapper/
  inflating: blog/gradle/wrapper/gradle-wrapper.jar
  inflating: blog/gradle/wrapper/gradle-wrapper.properties
  inflating: blog/HELP.md
  inflating: blog/.gitignore
  inflating: blog/settings.gradle.kts
  inflating: blog/gradlew.bat
kotlin %
展開したプロジェクトをIntelliJで開く
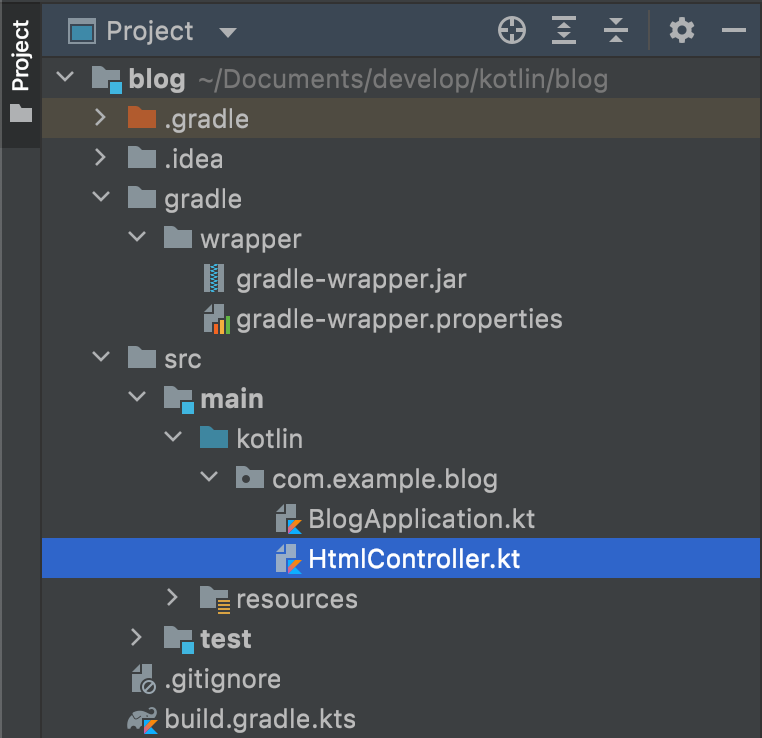
コントローラーの作成
src/main/kotlin/com/example/blog/HtmlController.kt
package com.example.blog

import org.springframework.stereotype.Controller
import org.springframework.ui.Model
import org.springframework.ui.set
import org.springframework.web.bind.annotation.GetMapping

@Controller
class HtmlController {

  @GetMapping("/")
  fun blog(model: Model): String {
    model["title"] = "Blog"
    return "blog"
  }

}
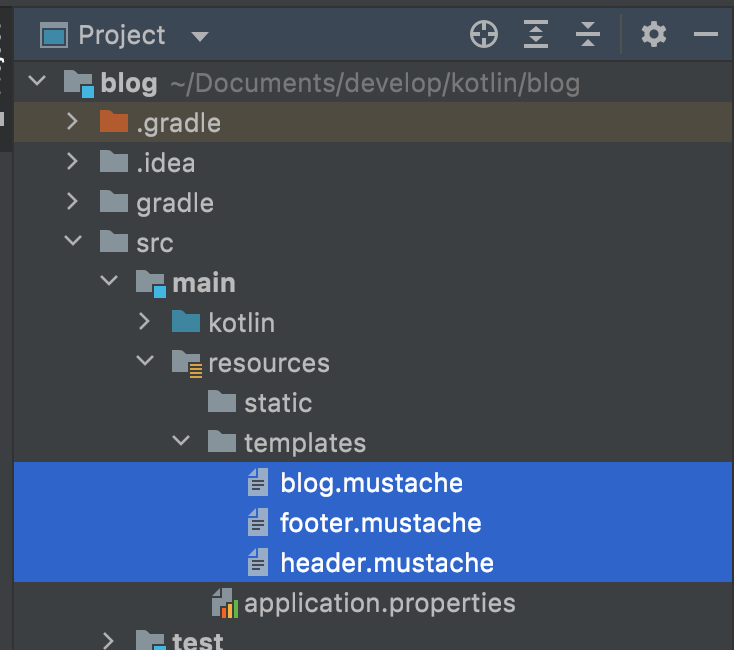
Mustacheテンプレートを作成
src/main/resources/templates/header.mustache
<html>
<head>
  <title>{{title}}</title>
</head>
<body>
src/main/resources/templates/footer.mustache
</body>
</html>
src/main/resources/templates/blog.mustache
{{> header}}
<h1>{{title}}</h1>
{{> footer}}
アプリケーションの起動
BlogApplication.ktを選択してRun BlogApplicationKtを実行
しかしここでエラーが…。
java.lang.UnsupportedClassVersionError: com/example/blog/BlogApplicationKt has been compiled by a more recent version of the Java Runtime (class file version 61.0), this version of the Java Runtime only recognizes class file versions up to 60.0
「このversionのJava Runtimeは60.0versionのclass fileしか認識できないけど、com/example/blog/BlogApplicationKtは61.0だ」と怒られているようです。
私のIntelliJ IDEAのJREがDefaultでJava16だったので、17に変更したら問題なく起動できました。

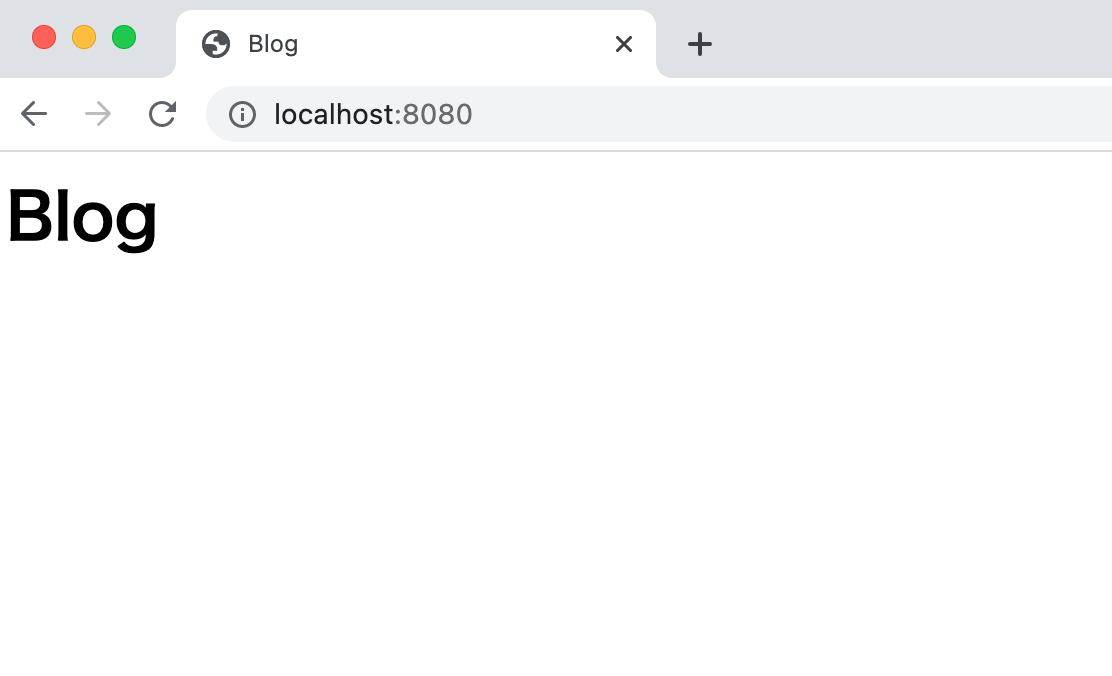
http://localhost:8080/
にアクセスすると、Blogと表示されています。
JUnit5を使用したテスト
テストの作成
テスト関数名が文章になっているのはポイント高いですね。
実際にテスト結果も問題ありません。
src/test/kotlin/com/example/blog/IntegrationTests.kt
package com.example.blog

import org.assertj.core.api.Assertions.assertThat
import org.junit.jupiter.api.Test
import org.springframework.beans.factory.annotation.Autowired
import org.springframework.boot.test.context.SpringBootTest
import org.springframework.boot.test.web.client.TestRestTemplate
import org.springframework.boot.test.web.client.getForEntity
import org.springframework.http.HttpStatus

@SpringBootTest(webEnvironment = SpringBootTest.WebEnvironment.RANDOM_PORT)
class IntegrationTests(@Autowired val restTemplate: TestRestTemplate) {

    @Test
    fun `Assert blog page title, content and status code`() {
        val entity = restTemplate.getForEntity<String>("/")
        assertThat(entity.statusCode).isEqualTo(HttpStatus.OK)
        assertThat(entity.body).contains("<h1>Blog</h1>")
    }

}
テストクラスごとにテスト開始前後で関数を実行する場合
プロパティファイルを設定します。
src/test/resources/junit-platform.properties
junit.jupiter.testinstance.lifecycle.default = per_class
テストクラスで@BeforeAll、@AfterAllが使えるようになります。
テストクラスに関数追加
src/test/kotlin/com/example/blog/IntegrationTests.ktに関数を追加します。
package com.example.blog

import org.assertj.core.api.Assertions.assertThat
import org.junit.jupiter.api.AfterAll
import org.junit.jupiter.api.BeforeAll
import org.junit.jupiter.api.Test
import org.springframework.beans.factory.annotation.Autowired
import org.springframework.boot.test.context.SpringBootTest
import org.springframework.boot.test.web.client.TestRestTemplate
import org.springframework.boot.test.web.client.getForEntity
import org.springframework.http.HttpStatus

@SpringBootTest(webEnvironment = SpringBootTest.WebEnvironment.RANDOM_PORT)
class IntegrationTests(@Autowired val restTemplate: TestRestTemplate) {

    @BeforeAll
    fun setup() {
        println(">> Setup")
    }

    @Test
    fun `Assert blog page title, content and status code`() {
        val entity = restTemplate.getForEntity<String>("/")
        assertThat(entity.statusCode).isEqualTo(HttpStatus.OK)
        assertThat(entity.body).contains("<h1>Blog</h1>")
    }

    @AfterAll
    fun teardown() {
        println(">> Tear down")
    }

}
コンソールに、テストクラスの開始時は>> Setup、終了時は>> Tear downという文字列が出力されていたらOK。
さいごに
長くなってきたのでここで一旦ここで終了します。