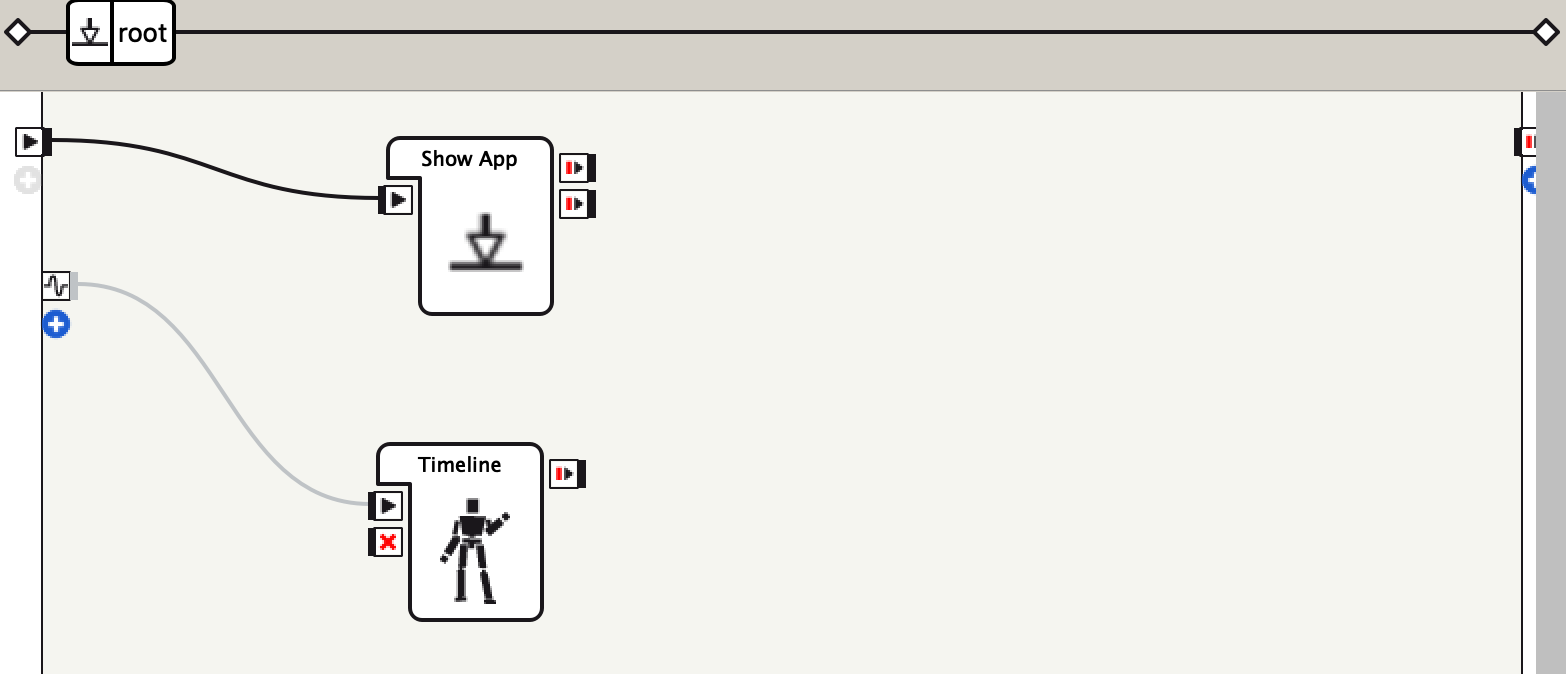
Pepperからタブレットに何か表示する記事はよく見るが、タブレットからPepperに何かさせる記事があまりなかったので、簡単なメモ程度に記事にしてみました。
1.Pepperのタブレットに表示させるボタンを作成
まずはPepperのタブレットに表示させるボタンをHTMLで作成します。
今回のHTMLのディレクトリ構成は下記を参照ください。
html/
 ├ index.html
 ├ images/
 │ └ logo.jpg
 └ lib/
   ├ css/
   │ └ index.css
   ├ js/
   │ └ index.js
   └ plugins/
      ├ jquery/
      │ └ jquery.min.js
      └ qi/
        └ qi.js
ボタンを表示させるHTMLとCSS、JavaScriptは下記の通りです。
<!DOCTYPE html>
<html lang='ja'>
	<head>
		<meta charset='UTF-8'>
		<meta content='width=device-width, initial-scale=1.0, minimum-scale=1.0, maximum-scale=1.0, user-scalable=0'
			name='viewport' />

		<!--第三者JS-->
		<script type='text/javascript' charset='utf-8' src='lib/plugins/jquery/jquery.min.js'></script>
		<script type='text/javascript' charset='utf-8' src='lib/plugins/qi/qi.js'></script>

		<!--自作CSS-->
		<link type='text/css' rel='stylesheet' href='lib/css/index.css'>
	</head>
	<body>
		<!--レイアウトSTART-->
		<div id='background'>
			<img id='background-images' src='images/logo.jpg'>
		</div>
		<div id='touch-prompt-button'>Pepperがポーズ!</div>
		<!--レイアウトEND-->

		<!--自作JS-->
		<script src='lib/js/index.js'></script>
	</body>
</html>
body {
	overflow: hidden;
	height: 1067px;
	width: 1707px;
	background: linear-gradient(#f9fcf5, #f3fbfd);
	user-select: none;
	-webkit-user-select: none;
}

/* 背景画像START */
# background {
	height: 1067px;
	width: 1707px;
	text-align: center;
	background-color: #FFFF;
}
# background-images {
	position: relative;
	position: absolute;
	top: 50%;
	left: 50%;
	transform: translate(-50%,-50%);
}
/* 背景画像END */

/* ボタンSTART */
# touch-prompt-button {
	position: absolute;
	top: 800px;
	left: 175px;
	width: 1350px;
	height: 150px;
	background-color: #404040;
	color: #f1f1f1;
	text-align: center;
	font-size: 100px;
	border: 2px solid #f1f1f1;
	border-radius: 10px;
	opacity: 0.75;
	transition: opacity 0.5s;
}
/* ボタンEND */
$(document).ready(function() {
	QiSession(function(session) {
		session.service('ALMemory').then(function(ALMemory){

			/**
			 * <--TOUCH DETECTION-->
			 *
			 * タッチされた時にPepperにポーズをさせます。
			 */
			$('#touch-prompt-button').on('touchstart', function () {
				ALMemory.raiseEvent('samplePJ/tablet/button_touched', 0);
			});
		});
	});
});
index.jsの11行目のsamplePJ/tablet/button_touchedはイベントキーです。
ALMemory.raiseEvent()はPepper側にイベントを飛ばす機能ですので、
タブレットのボタンがタッチされたら、イベントキーの値に0が入ったイベントが発行されます。
2.PepperのタブレットにHTMLを表示させる
次はChoregrapheを使ってPepperのタブレット画面に上記で作成したHTMLファイルを表示させます。
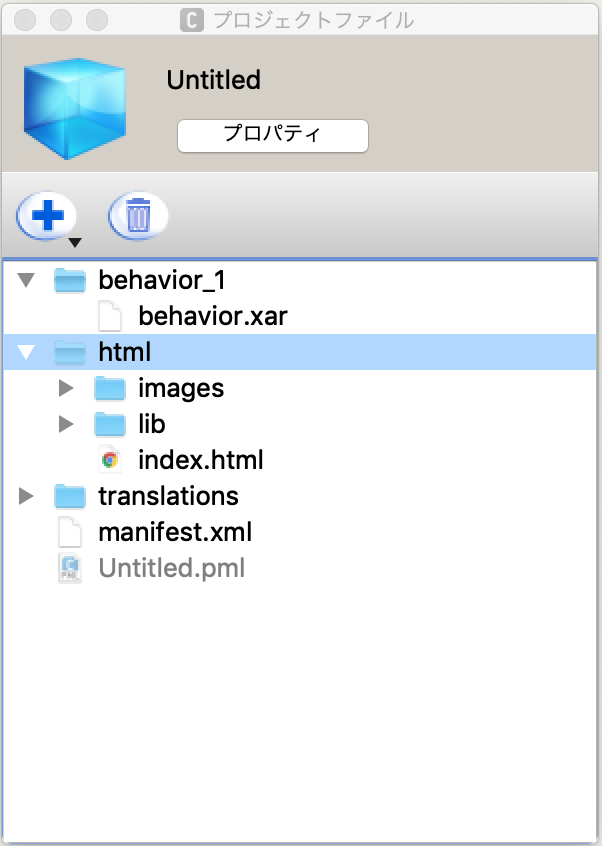
Choregrapheのプロジェクトファイルを名前をつけて保存後、保存したフォルダ内に上記で作成したHTMLフォルダを移動して持ってきてください。
その後Choregrapheをリロードすると下記の画像のようにHTMLフォルダが表示されます。
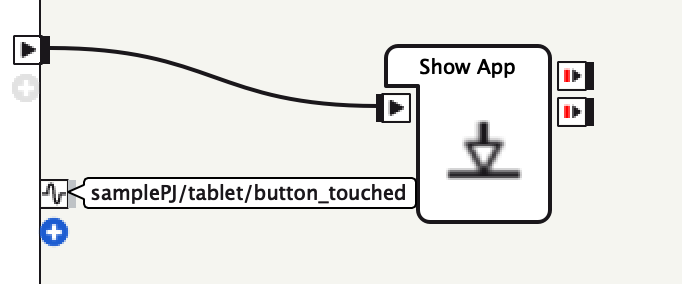
次に、Show Appボックスをワークスペースにドラック&ドロップして、左上のonStartに結線します。
これでPepperに接続して再生するとPepperのタブレット上にHTMLが表示されます。
3.タブレットのボタンタッチをChoregrapheで受け取る
index.jsの11行目で記述したように、ボタンをタッチするとsamplePJ/tablet/button_touchedのイベントが発行されます。したがって、Choregraphe側ではこのイベントキーを受け取る処理が必要です。
下記の画像のようにChoregrapheのワークスペース右上に青いプラスマークがあります。
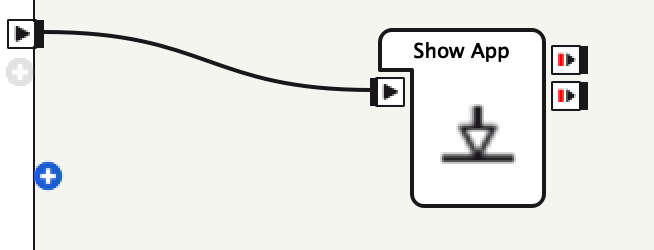
この上でホバーすると「ALMemoryからイベント追加」と説明が出る通り、イベントをここで受けることが可能です。
この青いプラスマークをクリックし、右下の「新しいキーの追加...」をクリックすると、新しいメモリーキーの名前を求められるので、samplePJ/tablet/button_touchedを入力し、OKをクリックしてください。
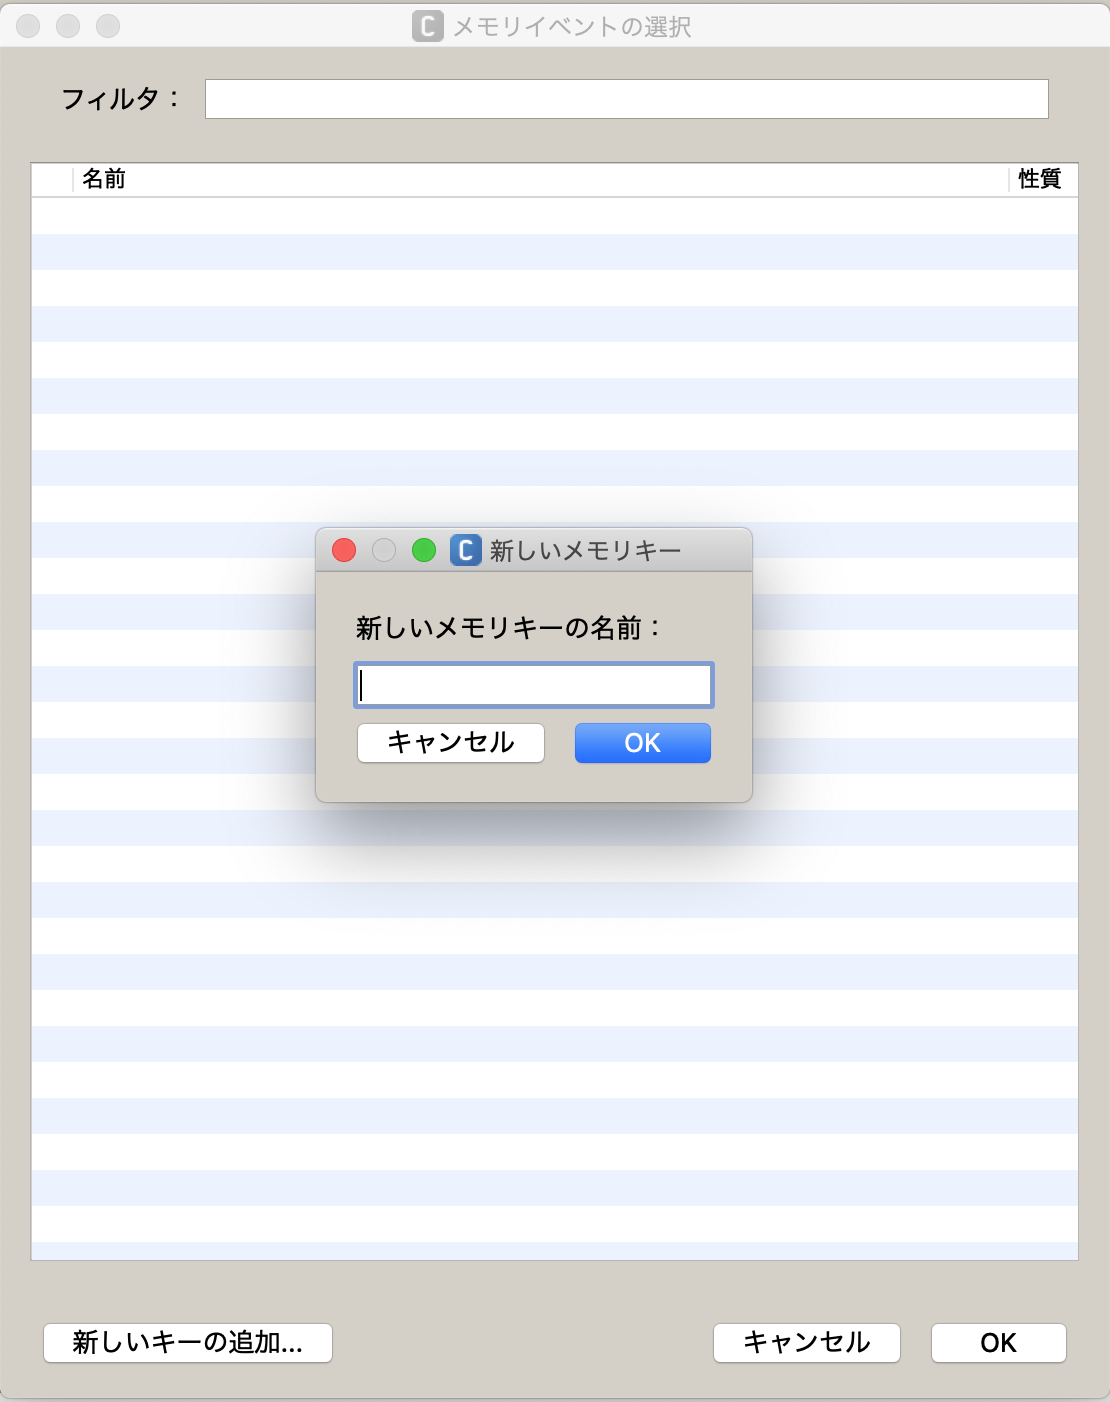
すると下記のように、ワークスペースにイベントキーが追加されます。
タブレットでボタンをタッチすると、samplePJ/tablet/button_touchedのイベントが発行され、Choregrapheのこの部分から値の0が出力されます。
4.Pepperにポージングさせる。
最後に、Pepperに好きなポーズをさせます。
今回は「Pepperチュートリアル (3):ポーズを作る」を参考にしてTimelineボックスでポーズ遷移させてみました。
NAOqi2.5.5のため、Timelineボックスはドラック&ドロップでワークスペースに持ってこれますが、ボックスの内容や機能は大きく異なることはありませんでした。
まとめ
イベントキーにもとづいてイベントキーを発行&受け取りの仕組みを理解できれば、Pepperとタブレットの制御は割とすんなりいけますね!
