これは何
- フルサイズのスクリーンショットなど、大きな画像を貼ったら画像が圧縮されてしまいます
- 現寸サイズで貼りたいときに読むための記事です
大きなサイズの画像を貼ると何が起こるのか
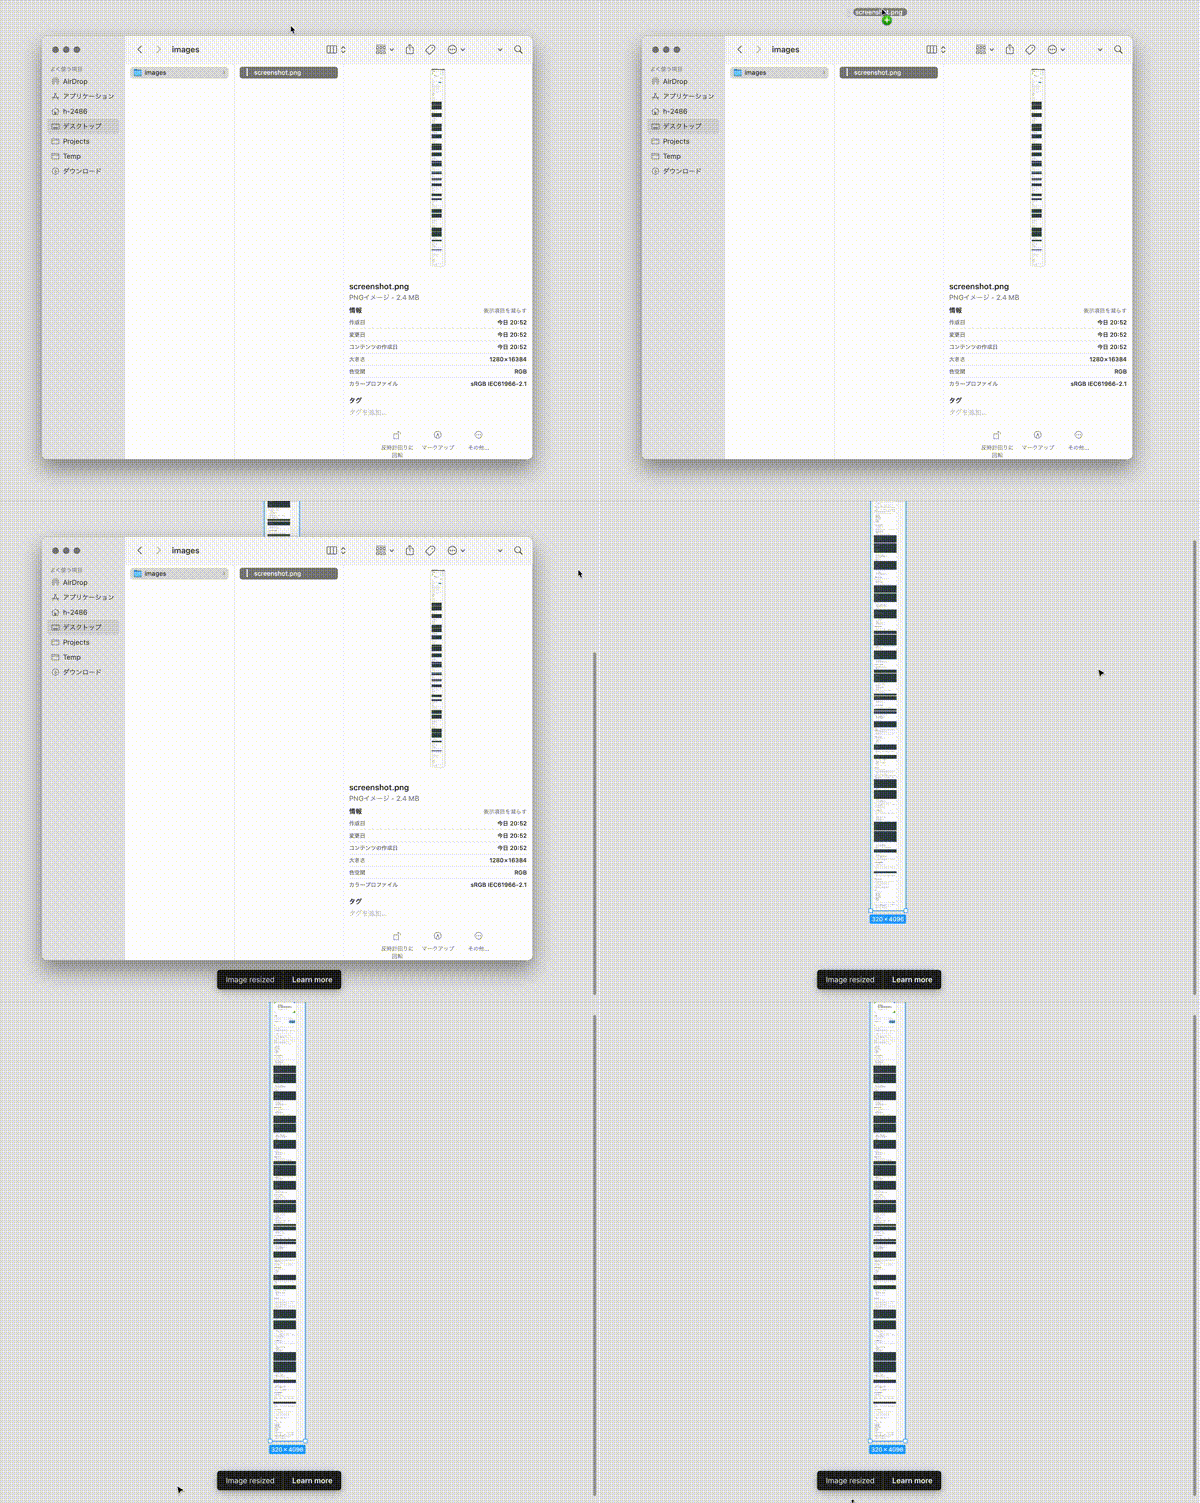
このように、サイズの大きな画像を貼ると画面下部にimage resizedと表示されます。
Learn moreを踏むと、Figmaにおいて画像を追加する際のヘルプページへ飛びます。
リンク先の文章を抜粋。
We will downsize any Images with a width or height larger than 4096 pixels. This will scale the image's original dimensions proportionally, so the longest edge is less than 4096 pixels.
簡単に訳すと
- 幅か高さ、どちらか長い方の辺が4096pxを超えていると縮小する
- 縮小する際は元の比率を維持する
とのことです。
縮小するだけならともかく、このときの縮小のされかたがかなり粗いのが難点。
Figmaによる縮小とPhotoshopでの縮小を比べてみます
| Figmaでの自動縮小 | Photoshopでの手動の縮小 |
|---|---|
 |
 |
Photoshopで縮小したものは、小さい文字は潰れて読めないものの全体的な雰囲気は損ねていません。
対してFigmaの縮小はかなりガビガビになっているのが分かるでしょうか。
対策
Insert Big Imageというプラグインを使うのが楽です。
インストールして起動するとこのようなウィンドウが表示されます。
書いてある通りですが、貼り付けたい画像をドラッグ&ドロップするか、Choose Image Filesを押して画像ファイルを選択すればOK。
このように、圧縮されない範囲で画像をカットしてグループ化して配置してくれます。
以上、Figmaで大きな画像を貼ったら縮小されて困ったときに見る記事でした。


