2018年5月にTwitterKitのサポートが終了し、Firebase AuthenticationでもOAuthを利用したTwitterログインが推奨されるようになりました。
設定まわりに関してはすでにいくつか記事があるので、主にiOS/Swiftでの実装部分について書きたいと思います。
というわけでさっそく作っていきましょう👨🍳🐟
環境
- iOS 11.0〜
- Swift 5
- FirebaseAuth
- OAuthSwift
- KeychainAccess
TwitterのDeveloperアカウントの登録
Twitter API 登録 (アカウント申請方法) から承認されるまでの手順まとめ ※2019年8月時点の情報
こちらが大変参考になります💁♀️
Firebase Authenticationの設定
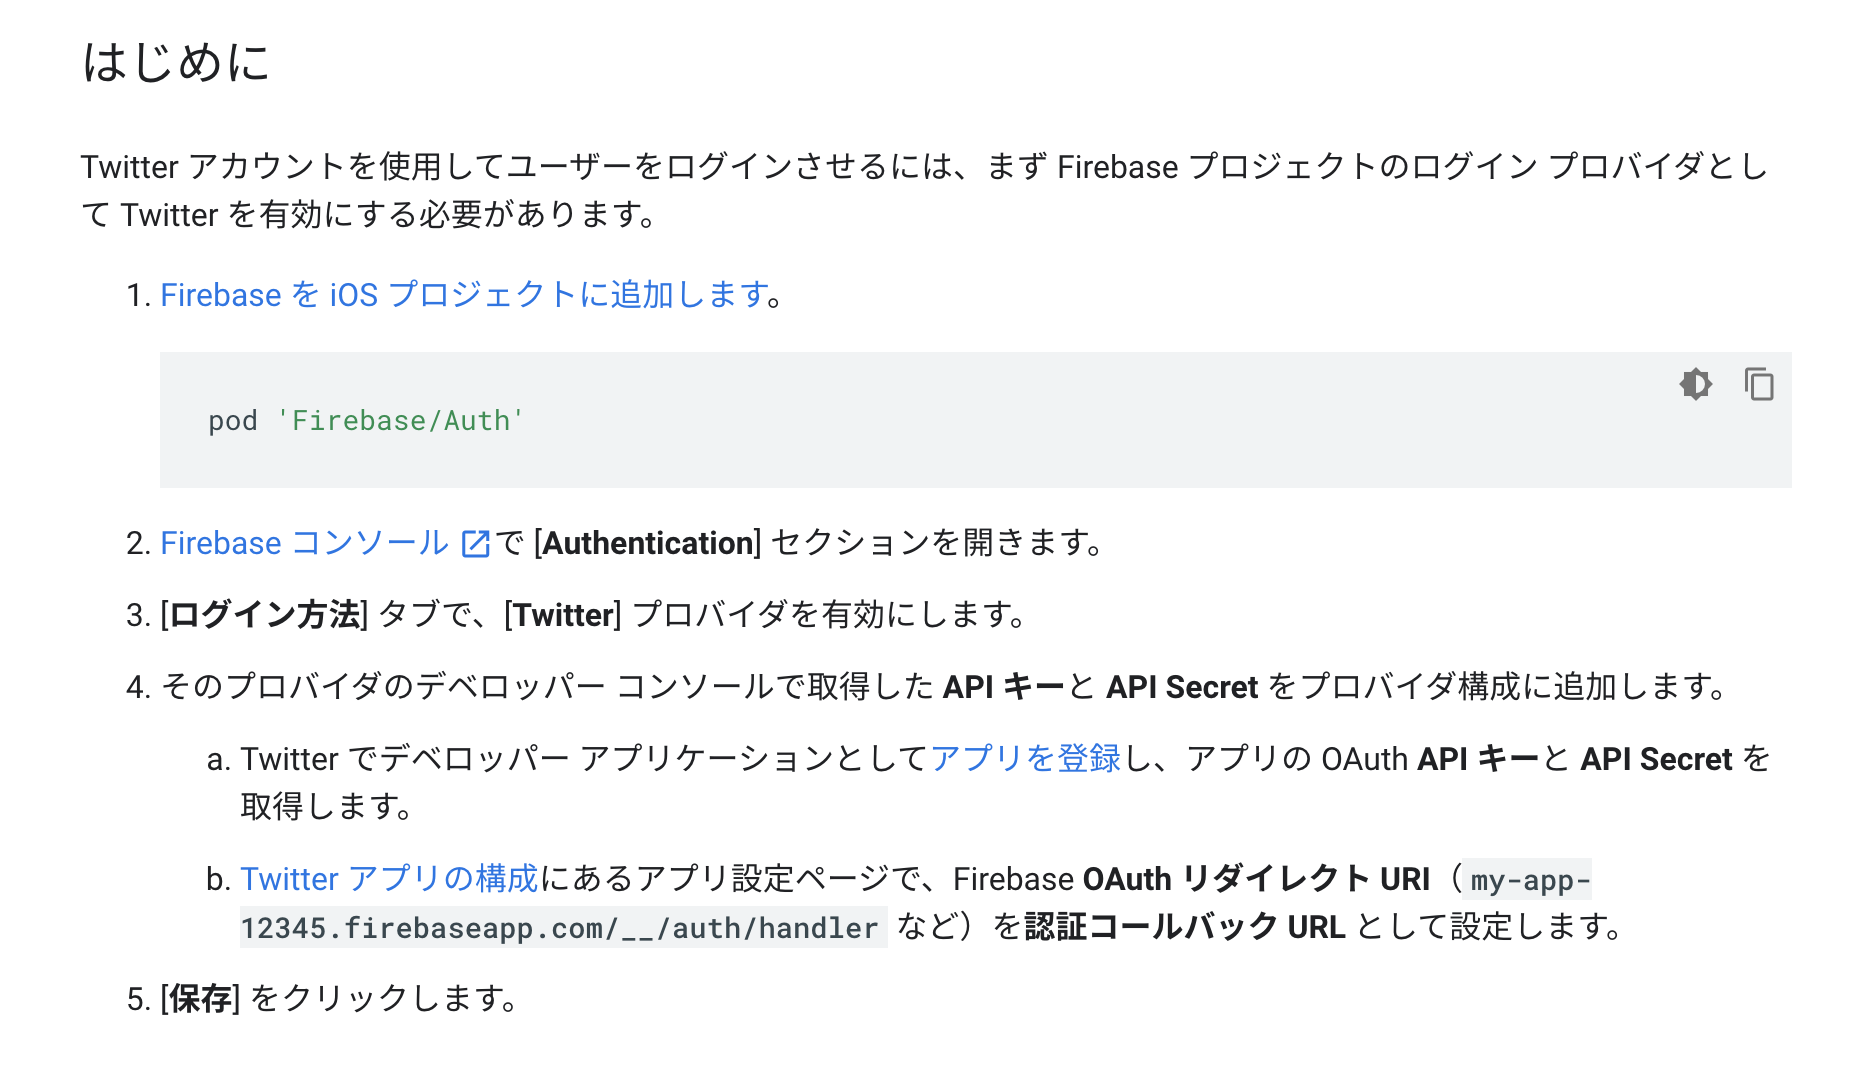
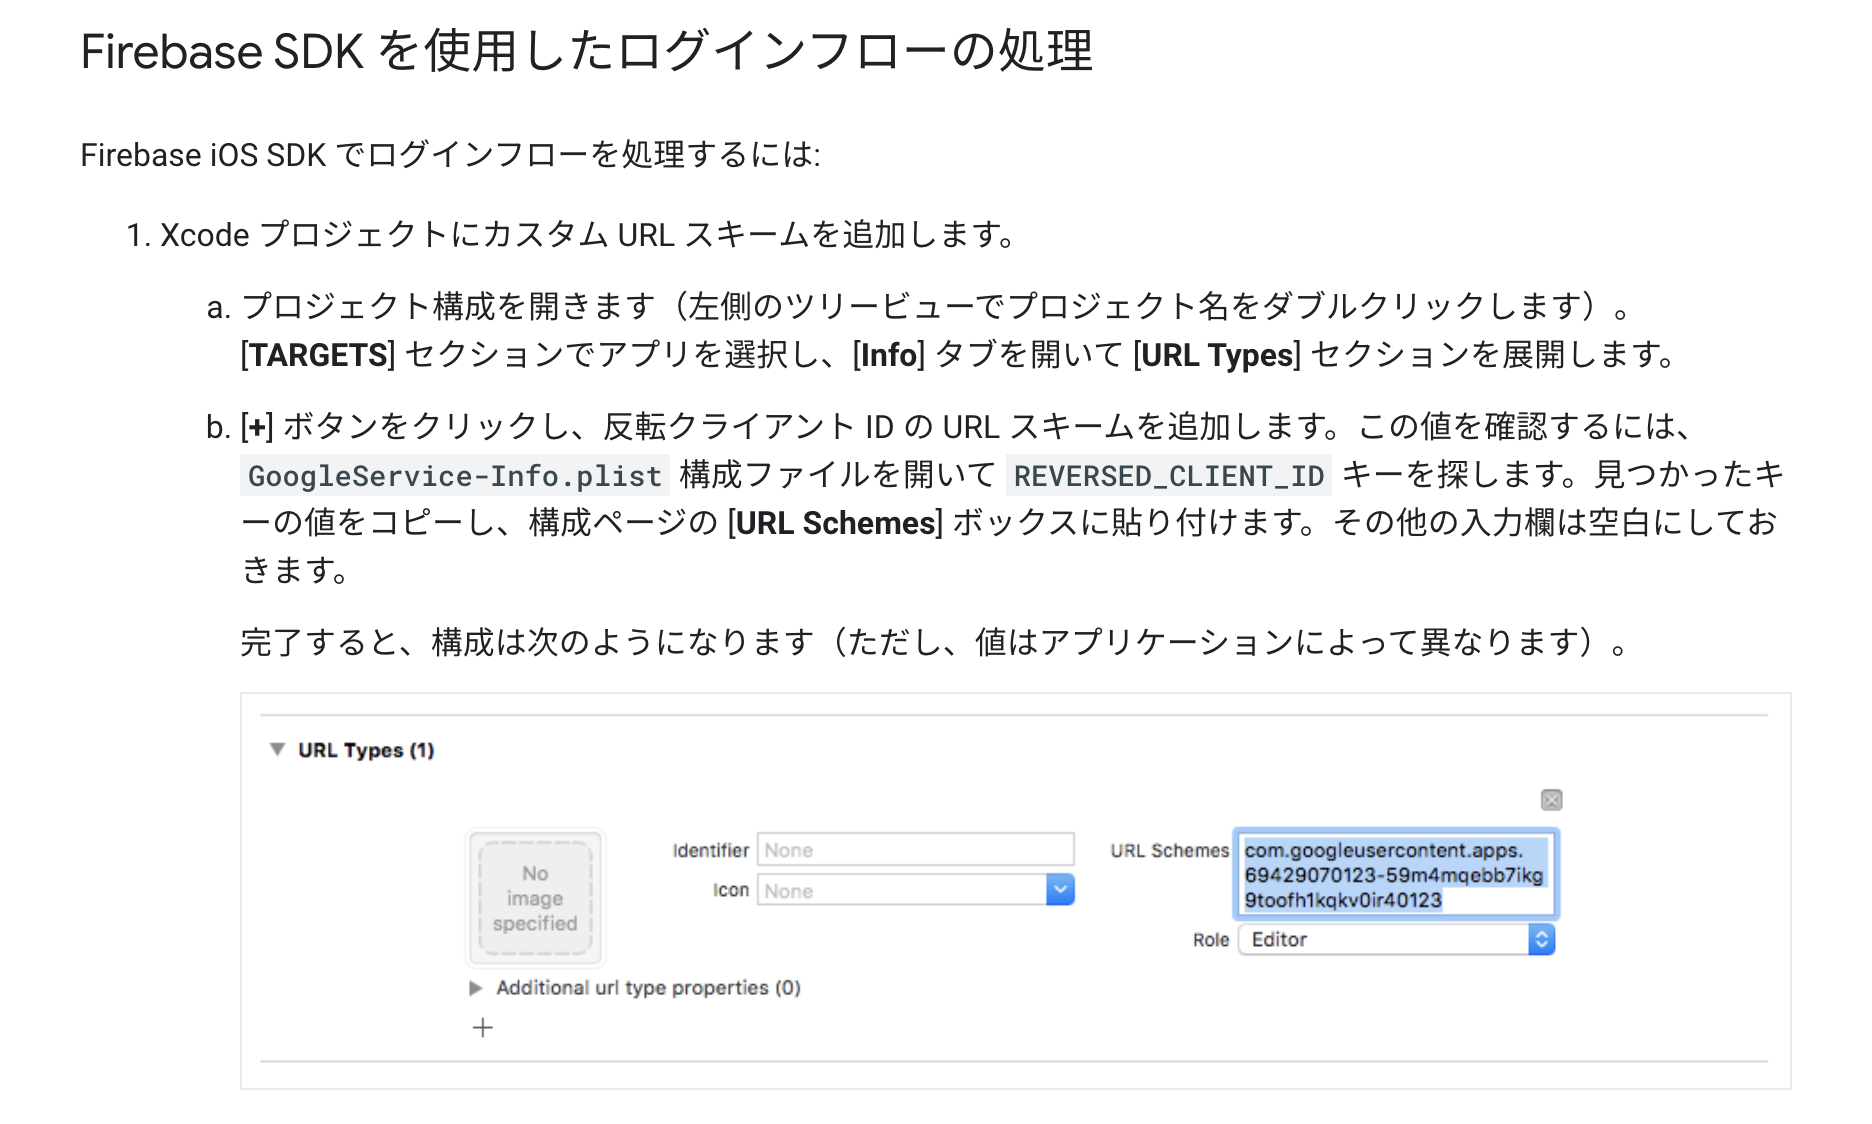
このへんまでは公式ドキュメントを見れば特に迷うことなく実装できると思います💁♂️


設定で一点気をつけないといけないのが、Firebase Cloud Messagingで**メソッド実装入れ替えを無効にしている場合**です。
認証後にSafariViewControllerが閉じなくなり、ログインに失敗します。
Info.plistでFirebaseAppDelegateProxyEnabledを設定している場合は、値をYESにする必要があります。
またUIWindowSceneDelegateが実装されている場合にも、上記と同様の現象が発生することがあります。
その場合は以下を行ってみましょう。
1. SceneDelegate.swiftをProjectから削除
2. AppDelegate内の関連する箇所でエラーが出るのでコードを削除
3. Info.plistのApplication Scene Manifestを削除
4. AppDelegateのプロパティにUIWindowを追加
FirebaseAuthでOAuth認証を実装
ざっくりと以下のような処理になります(エラー処理などは省略しています)
取得したAccessTokenとSecretはとりあえずKeychainに登録しています。
class Login {
    private var provider: OAuthProvider?

    func signinByTwitter() {
        provider = OAuthProvider(providerID: "twitter.com")
        provider?.getCredentialWith(nil) { credential, error in
            guard let credential = credential, error == nil else {
                return
            }

            Auth.auth().signIn(with: credential) { result, error in
                guard error == nil else {
                    return
                }

                if let credential = result?.credential as? OAuthCredential,
                    let accessToken = credential.accessToken,
                    let secret = credential.secret {

                    let keychain = Keychain(service: Bundle.main.bundleIdentifier!)
                    try? keychain.set(accessToken, key: "accessTokenKey")
                    try? keychain.set(secret, key: "accessTokenSecretKey")
                }
            }
        }
    }
}
実装でも一点気をつけることがあって、OAuthProviderをクラスのプロパティなど参照が保持される形で持っておく必要があります。
OAuthProviderが解放されてしまうと、内部的にメソッドが呼ばれず認証用のSafariViewControllerが表示されません。
OAuthSwiftでAPIにリクエスト
FirebaseでOAuthのAccessTokenとSecretをすでに取得しているので、TwitterのAPIリクエストにはOAuthSwiftClientを利用しています。
ConsumerKeyやConsumerKeySecretはDeveloperサイトから取得しましょう。
今回は設定情報から表示名をとってくることにします。
struct TwitterSetting: Decodable {
    let screenName: String

    enum CodingKeys: String, CodingKey {
        case screenName = "screen_name"
    }
}

class TwitterDataStore {
    func fetchSettings() {
        let consumerKey = "ConsumerKey"
        let consumerKeySecret = "ConsumerKeySecret"
        let keychain = Keychain(service: Bundle.main.bundleIdentifier!)

        guard let accessToken = try? keychain.get("accessTokenKey"),
            let accessTokenSecret = try? keychain.get("
accessTokenSecretKey"),
            let url = URL(string: "https://api.twitter.com/1.1/account/settings.json") else {
            return
        }

        let client = OAuthSwiftClient(
            consumerKey: consumerKey,
            consumerSecret: consumerKeySecret,
            oauthToken: accessToken,
            oauthTokenSecret: accessTokenSecret,
            version: .oauth1
        )

        client.get(url) { result in
            switch result {
            case .success(let response):
                guard let setting = try? JSONDecoder().decode(TwitterSetting.self, from: response.data) else {
                    return
                }

                print(setting)

            case .failure:
                break
            }
        }
    }
}
これで表示名が表示されるはずです✌️