はじめに
このシリーズでは、英語ソースばかりで「Gatsby使ってみたいけど、よくわからない...」という方々のために、公式Docを翻訳(ところどころざっくり要約)していきます。
実際の公式ドキュメントはこちら
(この章では、GatsbyでTypography.jsを使用するためのプラグインをインストールして、サイトの全体を形作るLayoutコンポーネントを作成できるようになることがゴールです)
〜〜 以下、翻訳となります 〜〜
3. Layoutコンポーネントを使ってみよう
この章では、Gatsbyプラグインの使い方やLayoutコンポーネントの作り方を学んでいきましょう。
Gatsbyプラグインは、Gatsbyのサイトに機能を付け足すことができるJavaScriptパッケージです。使用することで、Gatsbyサイトの機能を拡張したり、使いやすいように修正することができます。
Layoutコンポーネントは、複数のページで重複して使われるようなヘッダーやフッター等のまとめて用意しておくためのコンポーネントです。
それでは、第3章に突入です。
プラグインを使ってみる
プラグインという言葉は、皆さん聞いたことがあるのではないでしょうか。Wordpressなどを始めとするCMS(コンテンツマネジメントシステム)やその他多くのシステムで、機能を追加したり修正するような役割をもつものです。Gatsbyでも、基本的には同じです。
Gatsbyコミュニティの一員(あなたも含まれますよ!)として、プラグインを作成して共有することもできます。
すでに、何百ものプラグインが作成されています!
使ってみたい方は、こちらへ。
ぜひ、プラグインをインストールして使えるようになってください。Gatsbyのサイトを作る場合はほとんどプラグインを使用することになると思います。実際に、残りのチュートリアルを通して、あなたは何度も何度もプラグインをインストールして使用することになるでしょう。
それでは、最初のプラグインとしてTypography.jsを使えるようにするプラグインを実装してみましょう。
Typography.jsとは、サイトのタイポグラフィー(デザインにおける活字の構成および表現)を生成してくれるJavaScriptのライブラリです。これをプラグインを導入することで、Gatsbyサイトで使用できるようにします。
新しいサイトを作成しよう
2章の時と同様、今開いているターミナルのウィンドウやファイルは閉じて、tutorial-part-threeという新しいGatsbyサイトを以下の手順で作成しましょう。作成したら、cdでそのディレクトリに移動します。
gatsby new tutorial-part-three https://github.com/gatsbyjs/gatsby-starter-hello-world
cd tutorial-part-three
gatsby-plugin-typographyというプラグインを導入しよう
プラグインを使用するためには、「インストール」と「設定」という2つの手順が必要となります。
1 . gatsby-plugin-typographyというnpmパッケージをインストールします。
npm install --save gatsby-plugin-typography react-typography typography typography-theme-fairy-gates
2 . ディレクトリの最上層にあるgatsby-config.jsというファイルを以下のように編集します。
module.exports = {
  plugins: [
    {
      resolve: `gatsby-plugin-typography`,
      options: {
        pathToConfigModule: `src/utils/typography`,
      },
    },
  ],
}
2 . 次に、Typography.jsのための新しい設定ファイルを作成します。src/の中にutilsというディレクトリを作り、以下のコードを記述したtypography.jsというファイルを作成します。
import Typography from "typography"
import fairyGateTheme from "typography-theme-fairy-gates"

const typography = new Typography(fairyGateTheme)

export const { scale, rhythm, options } = typography
export default typography
4 . 開発サーバーを立ち上げましょう。
gatsby develop
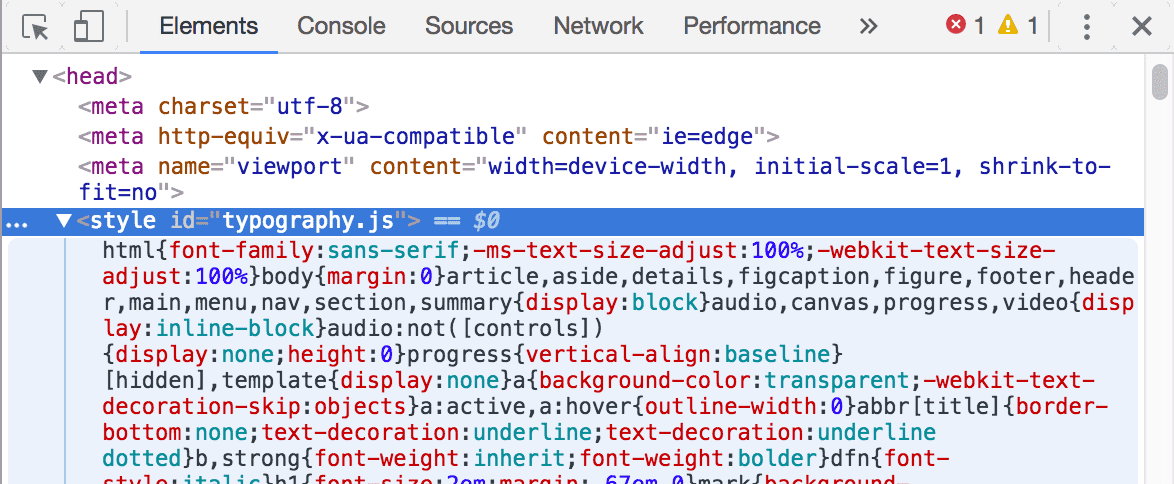
サイトを開いてデベロッパーツールで検証してみると、<head>タグの中に<style>という自動生成されたCSSが入っているはずです。
どう変化するのか見てみよう
Typography.jsによる変化を知るために、以下のコードをsrc/pages/index.jsに記述してみよう。
import React from "react"

export default () => (
  <div>
    <h1>Hi! I'm building a fake Gatsby site as part of a tutorial!</h1>
    <p>
      What do I like to do? Lots of course but definitely enjoy building
      websites.
    </p>
  </div>
)
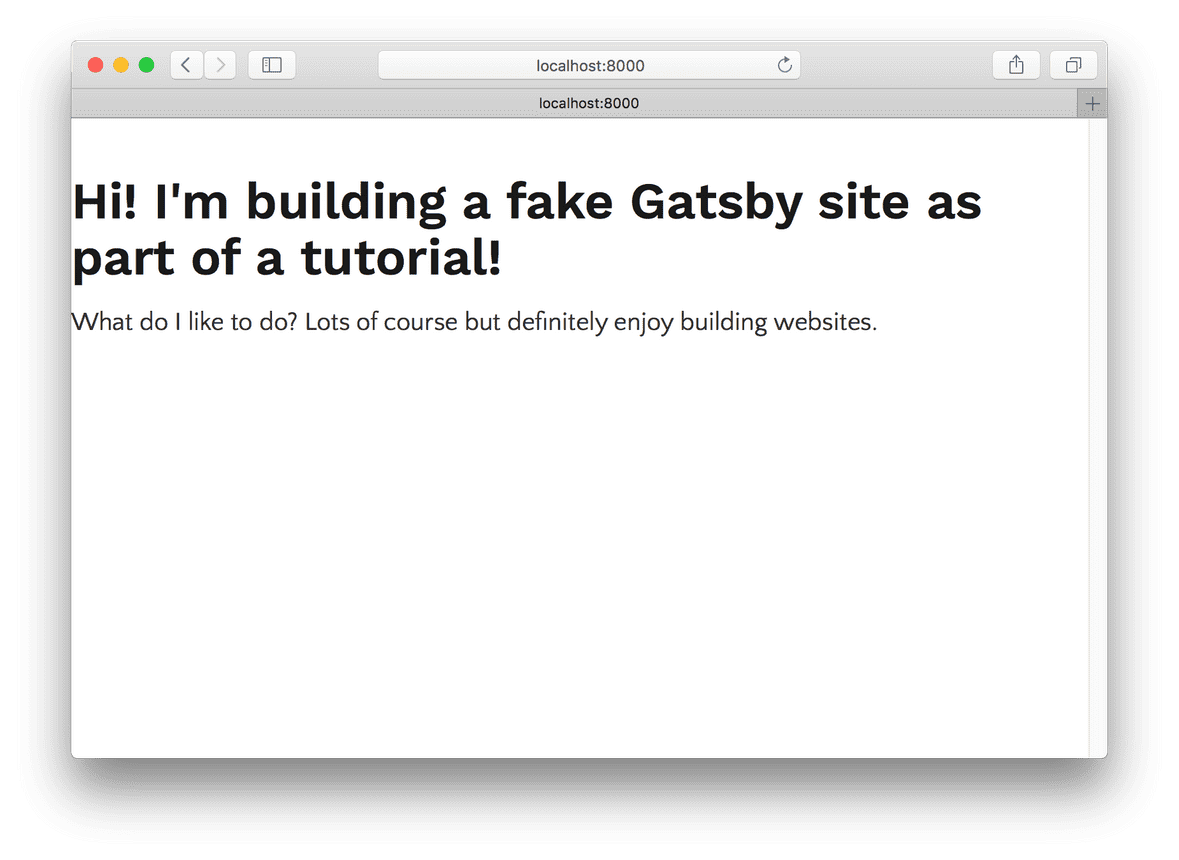
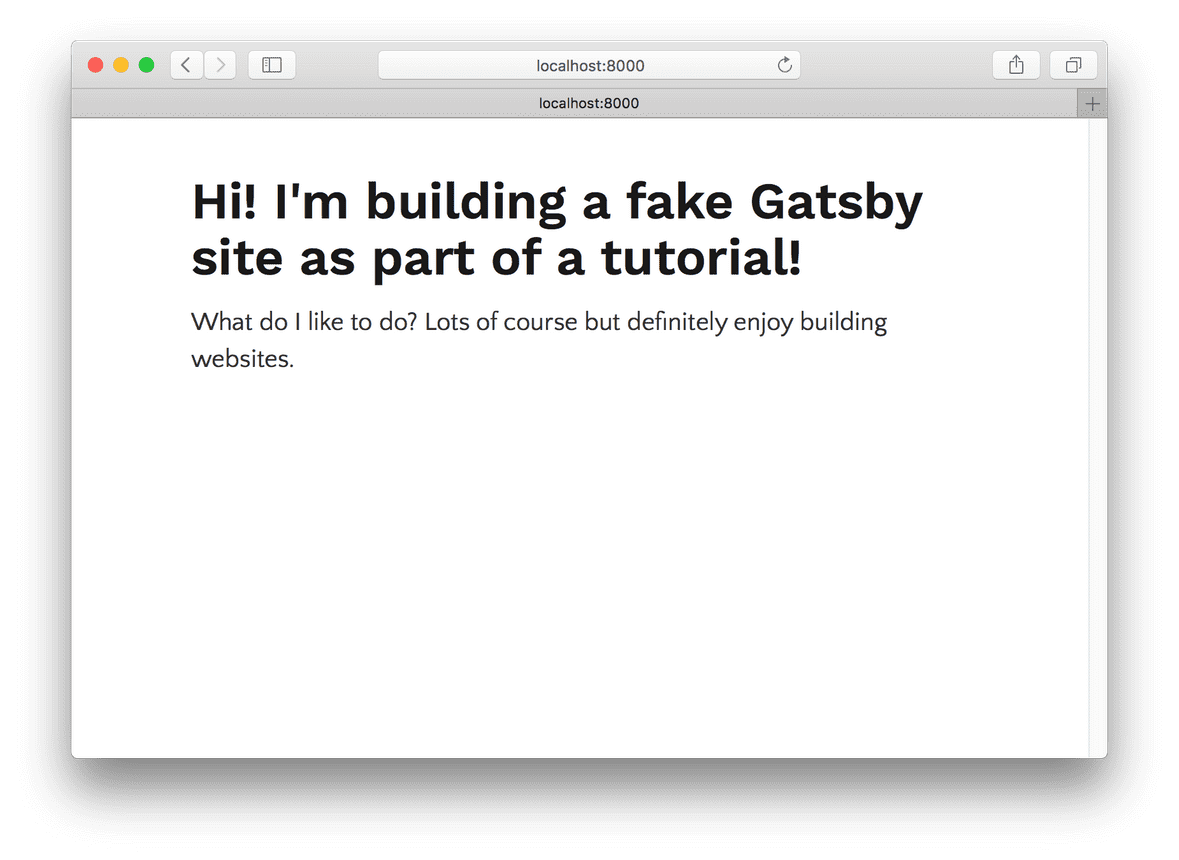
すると、こんな風になっているはずです。
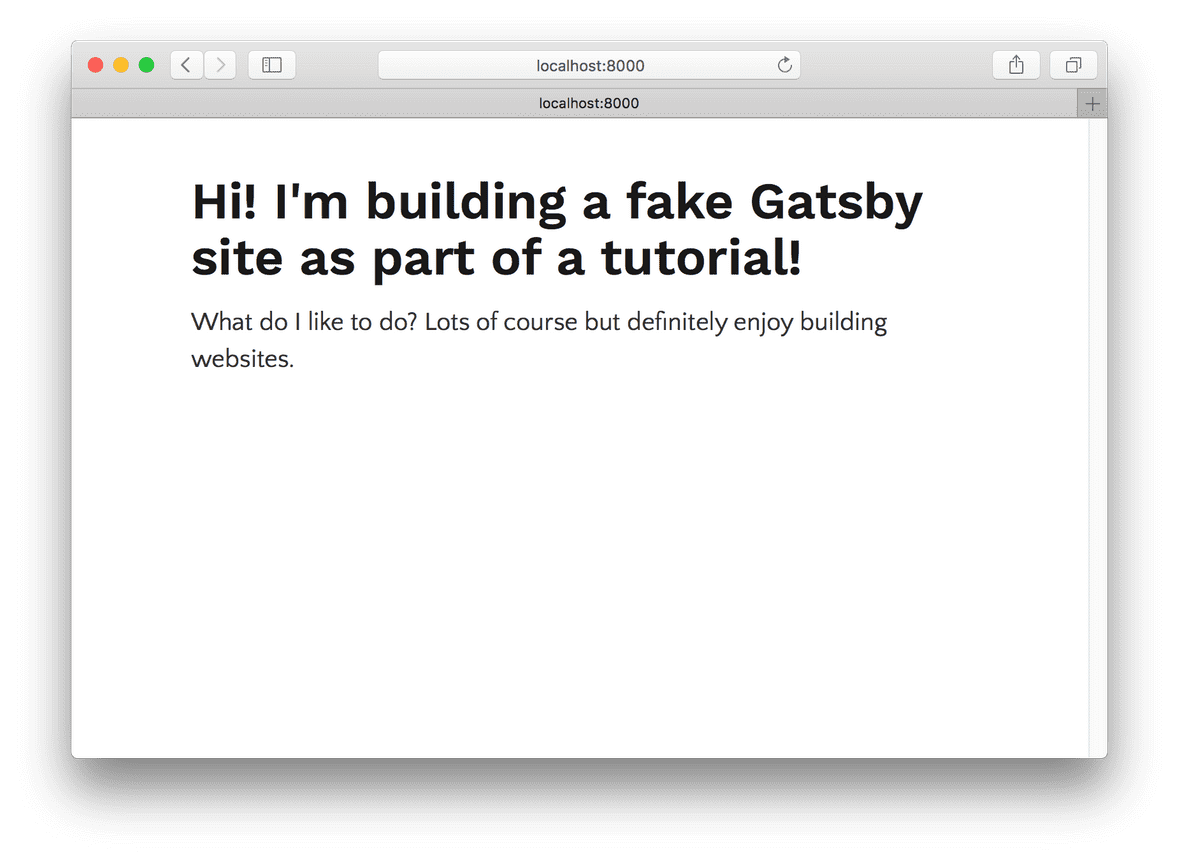
もう少し、見た目を整えてみましょう。
中のテキストを真ん中に寄せるために、src/pages/index.jsに以下のコードを記述してください。
import React from "react"

export default () => (
  <div style={{ margin: `3rem auto`, maxWidth: 600 }}>
    <h1>Hi! I'm building a fake Gatsby site as part of a tutorial!</h1>
    <p>
      What do I like to do? Lots of course but definitely enjoy building
      websites.
    </p>
  </div>
)
良い感じになりましたね!!
layoutコンポーネントについて
次に、lauoutコンポーネントを学んでいきましょう。
src/pages/に、以下のaboutページとcontactページを作成してください。
src/pages/about.js
import React from "react"

export default () => (
  <div>
    <h1>About me</h1>
    <p>I’m good enough, I’m smart enough, and gosh darn it, people like me!</p>
  </div>
)
src/pages/contact.js
import React from "react"

export default () => (
  <div>
    <h1>I'd love to talk! Email me at the address below</h1>
    <p>
      <a href="mailto:me@example.com">me@example.com</a>
    </p>
  </div>
)
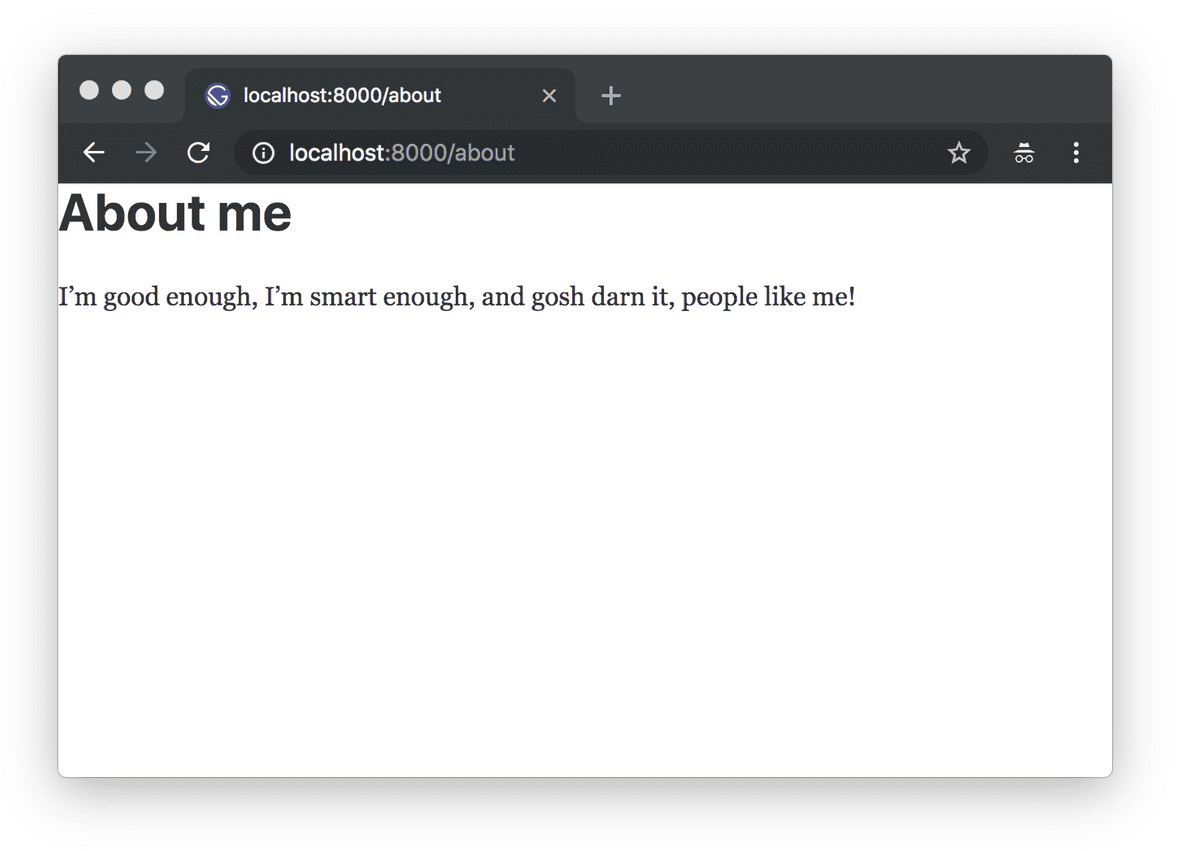
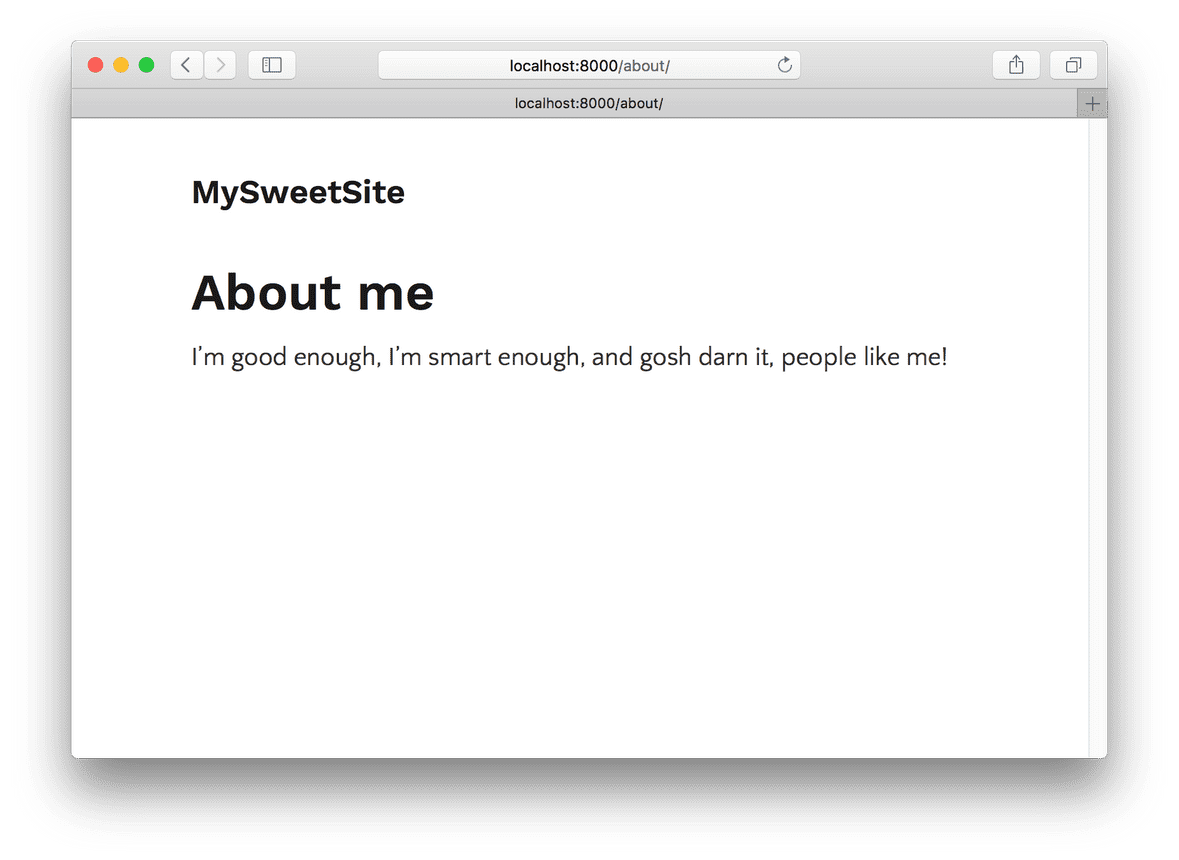
新しいaboutページは、このようになっていますね。
んー。index.jsのように、中のテキストがもう少し内側に寄っていて、さらに右上にナビゲーションメニューのようなものがあれば、もっと良くなりそうですね。
それでは、layoutコンポーネントを作成することで解決しましょう!
実際にlayoutコンポーネントを作成しよう
1 . src/componentsというディレクトリを作成します。
2 . そのsrc/components/の中に、layout.jsというファイルを作成します。
import React from "react"

export default ({ children }) => (
  <div style={{ margin: `3rem auto`, maxWidth: 650, padding: `0 1rem` }}>
    {children}
  </div>
)
3 . 作成したlayoutコンポーネントをsrc/pages/index.jsの中で読み込ませましょう。
import React from "react"
import Layout from "../components/layout"

export default () => (
  <Layout>
    <h1>Hi! I'm building a fake Gatsby site as part of a tutorial!</h1>
    <p>
      What do I like to do? Lots of course but definitely enjoy building
      websites.
    </p>
  </Layout>
)
layoutコンポーネントは機能しているようです。中のindex.jsのテキストは中央に寄っていますね!
しかし、/aboutや/contactのページを見てみると、内側には寄っていません。
4 . layoutコンポーネントをabout.jsやcontact.jsでも読み込ませてみましょう。
そうすれば、1つのlayoutコンポーネントを使うだけで、3つ全てのページの中身が中央揃えにすることができたはずです!
サイトのタイトルを表示させよう
1 . layoutコンポーネントに以下のような記述をしてみます。
import React from "react"

export default ({ children }) => (
  <div style={{ margin: `3rem auto`, maxWidth: 650, padding: `0 1rem` }}>
    <h3>MySweetSite</h3>
    {children}
  </div>
)
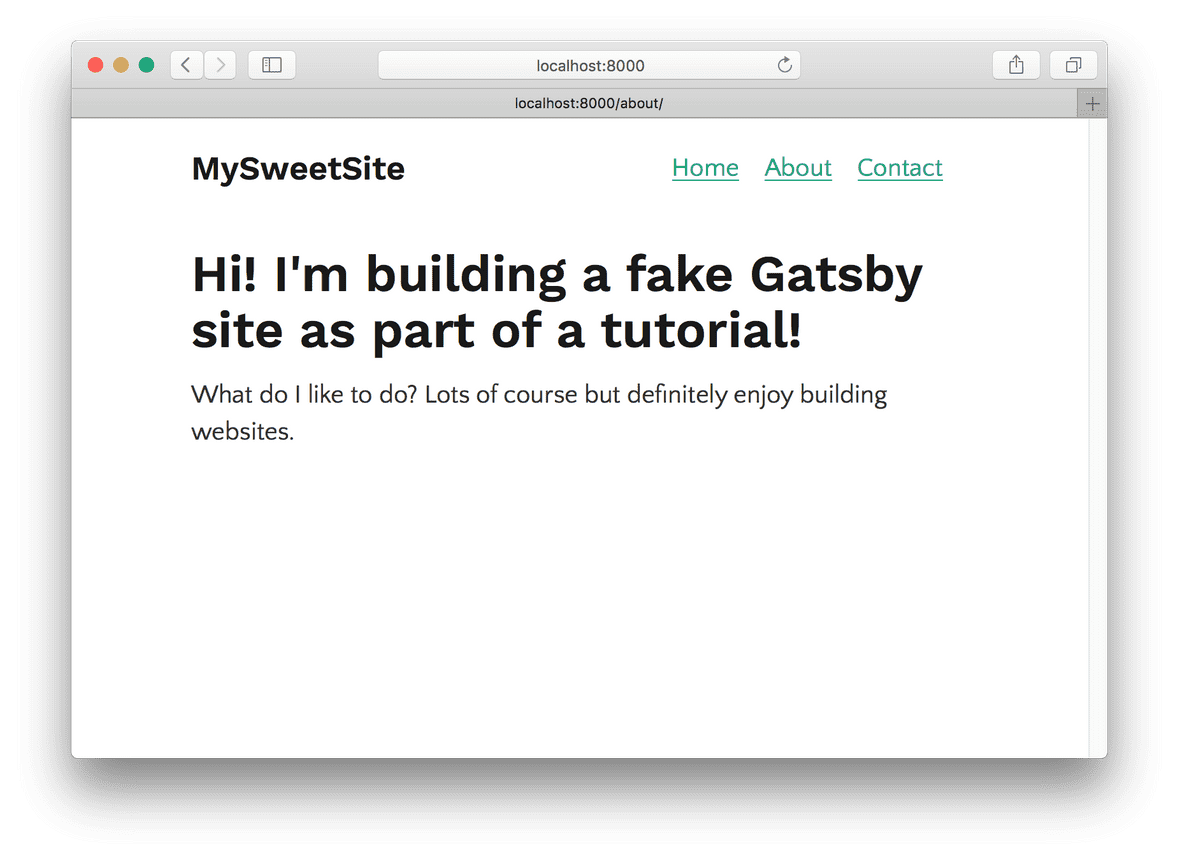
3つ全てのページにおいて、以下のようなタイトルが表示されるようになったはずです。
ナビゲーションメニューを追加しよう
1 . 以下のようなコードをlayoutコンポーネントの中に記述します。
import React from "react"
import { Link } from "gatsby"
const ListLink = props => (
  <li style={{ display: `inline-block`, marginRight: `1rem` }}>
    <Link to={props.to}>{props.children}</Link>
  </li>
)

export default ({ children }) => (
  <div style={{ margin: `3rem auto`, maxWidth: 650, padding: `0 1rem` }}>
    <header style={{ marginBottom: `1.5rem` }}>
      <Link to="/" style={{ textShadow: `none`, backgroundImage: `none` }}>
        <h3 style={{ display: `inline` }}>MySweetSite</h3>
      </Link>
      <ul style={{ listStyle: `none`, float: `right` }}>
        <ListLink to="/">Home</ListLink>
        <ListLink to="/about/">About</ListLink>
        <ListLink to="/contact/">Contact</ListLink>
      </ul>
    </header>
    {children}
  </div>
)
簡単ですね!!
このように、簡単にタイトルやナビゲーションメニューを追加できました。練習として、フッターやサイドバーなど、お好きなものをlayoutコンポーネントで追加してみるといいですね。
お疲れさまでした!
参考文献:Gatsby公式ドキュメント
次の章のテーマは、
「Gatsbyにおけるデータの扱い方を学ぼう」です。
お楽しみに!!
[第0章:環境構築編] Gatsby公式ドキュメントを翻訳してみた。
