この記事は kintone Advent Calendar 2019 の11日目です。
Unity x kintone の可能性
11月のCybozu Days 2019のkintone Hack Nightにて、VR出社を実現するためにkintone内の情報をVR世界で表現するデモを披露しました。内容としては下記の記事から確認ができます:
今回の記事では視点を変え、ゲーム開発にkintoneが関われるか?といったところを見ていきたいと思います。
やること
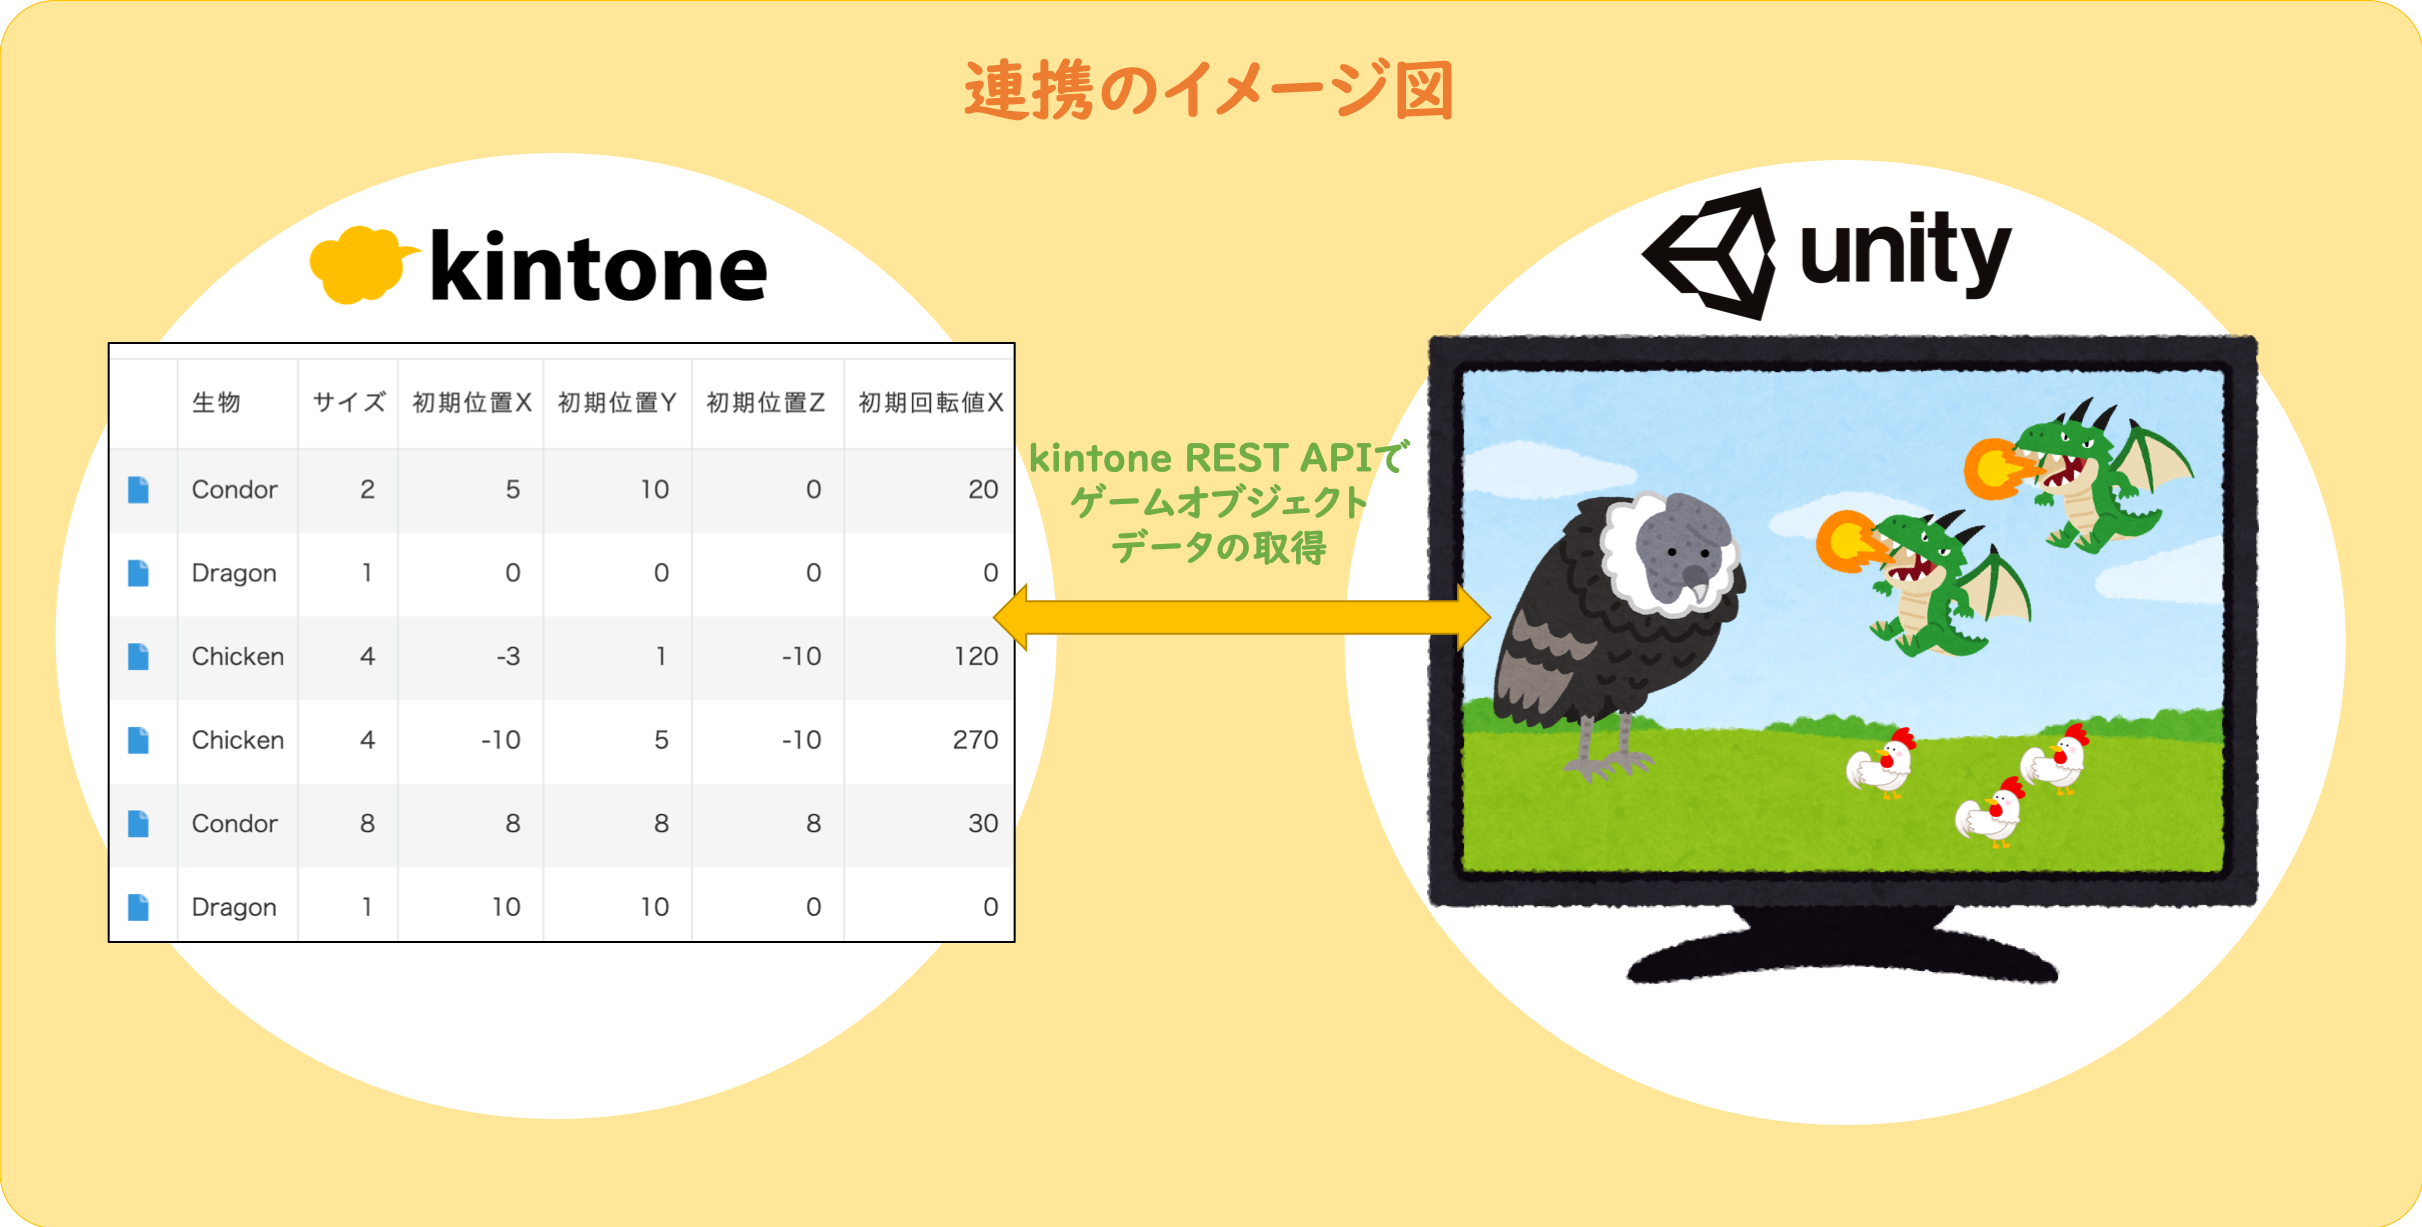
kintoneアプリに登録したゲームオブジェクトの情報をVR世界内に反映させます。
1レコード1オブジェクトの情報を保持しており:
- オブジェクトの種類
- オブジェクトのサイズ
- オブジェクトの初期生成位置
- オブジェクトの初期回転値
の情報が1レコードに入っています。
要するに、kintone側で『高い位置にいる逆さまのでっかいドラゴン』の情報を登録すれば、VR世界内でも逆さまのでっかいドラゴンが高い位置で生成されます。
事前準備
この記事ではUnity、kintoneの開発者ライセンスとSimpleJSONを使用します。
Unity
この記事では Unity 2019.2.7.f2 を利用しました。
Unity を手に入れるには公式サイトからUnity Hubをインストールし、Unity Hub上で上記のバージョンのUnity環境を作成してください。
kintone開発者ライセンス
無料の開発者ライセンスをこちらのページから入手することができます。
SimpleJSON
SimpleJSONはJSONオブジェクトの扱いがしやすくなるためのフレームワークです。
下記の記事を参考にUnity内に設定をしてください:
実装
kintone
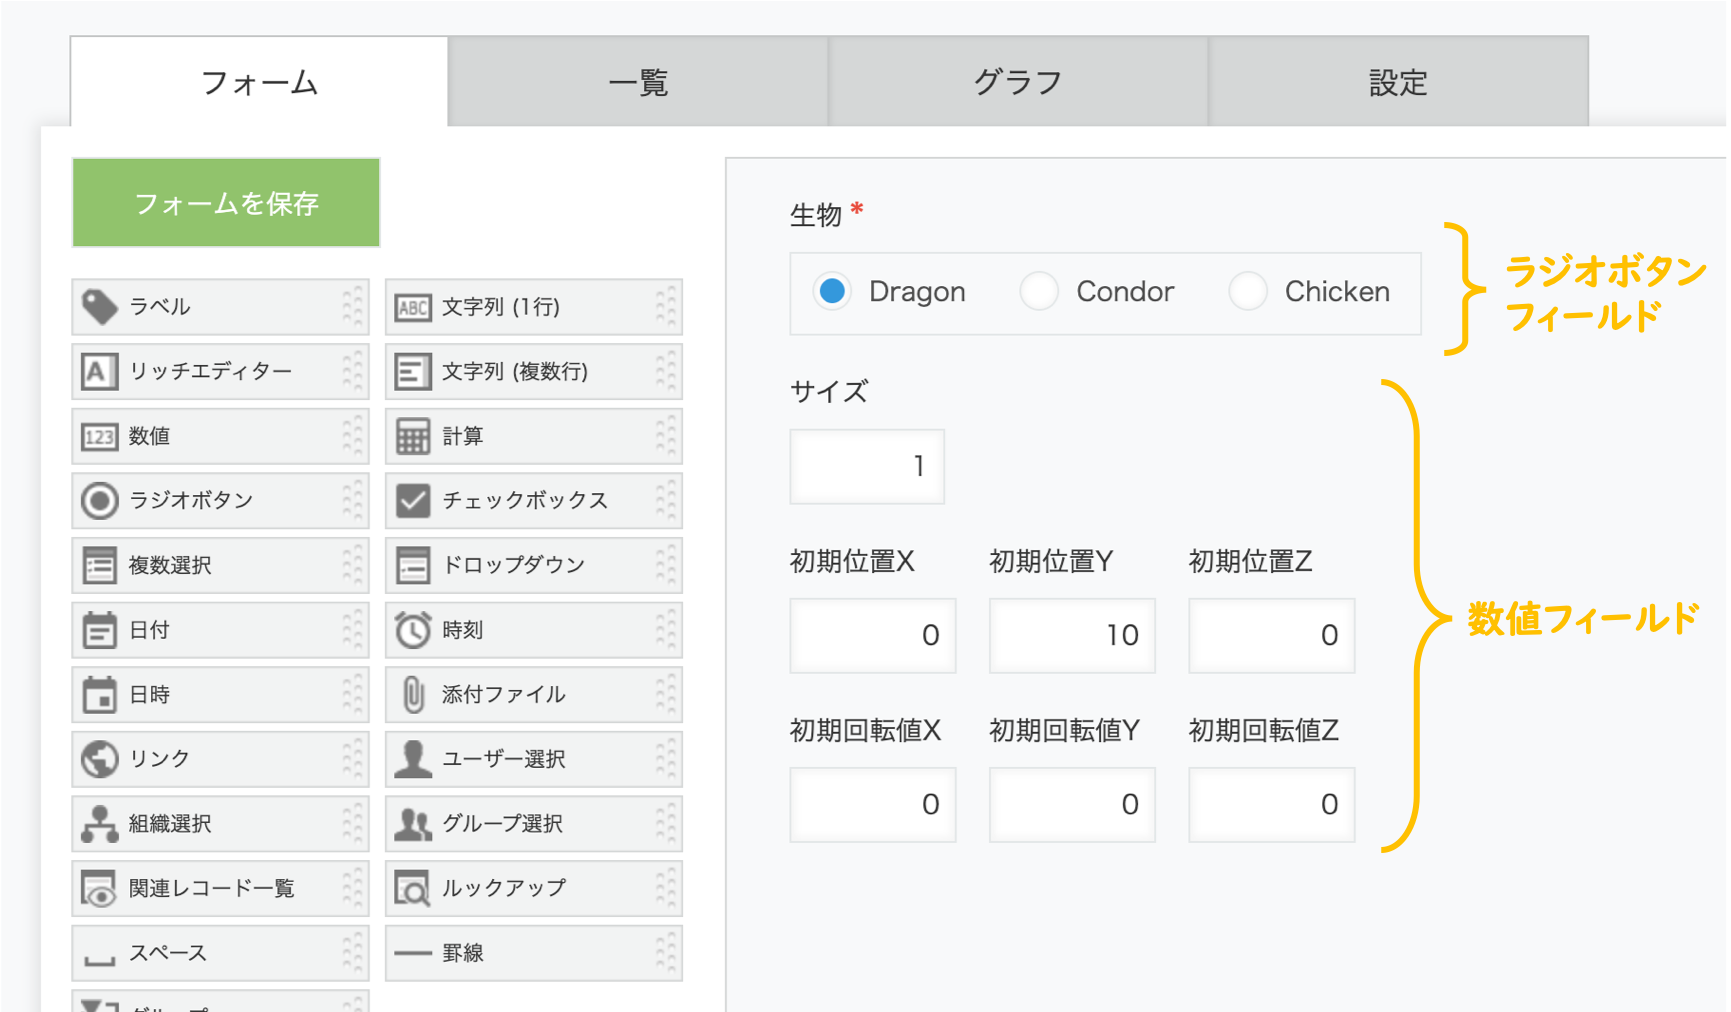
アプリのフォーム
新しいアプリを作成し、下記のようなフィールドを配置します。
アプリのAPIトークン
この記事の通り、このアプリへのREST APIの認証に必要なAPIトークンを生成してください。
アプリの公開
設定が終わったらアプリの設定を保存して公開します。
Unity
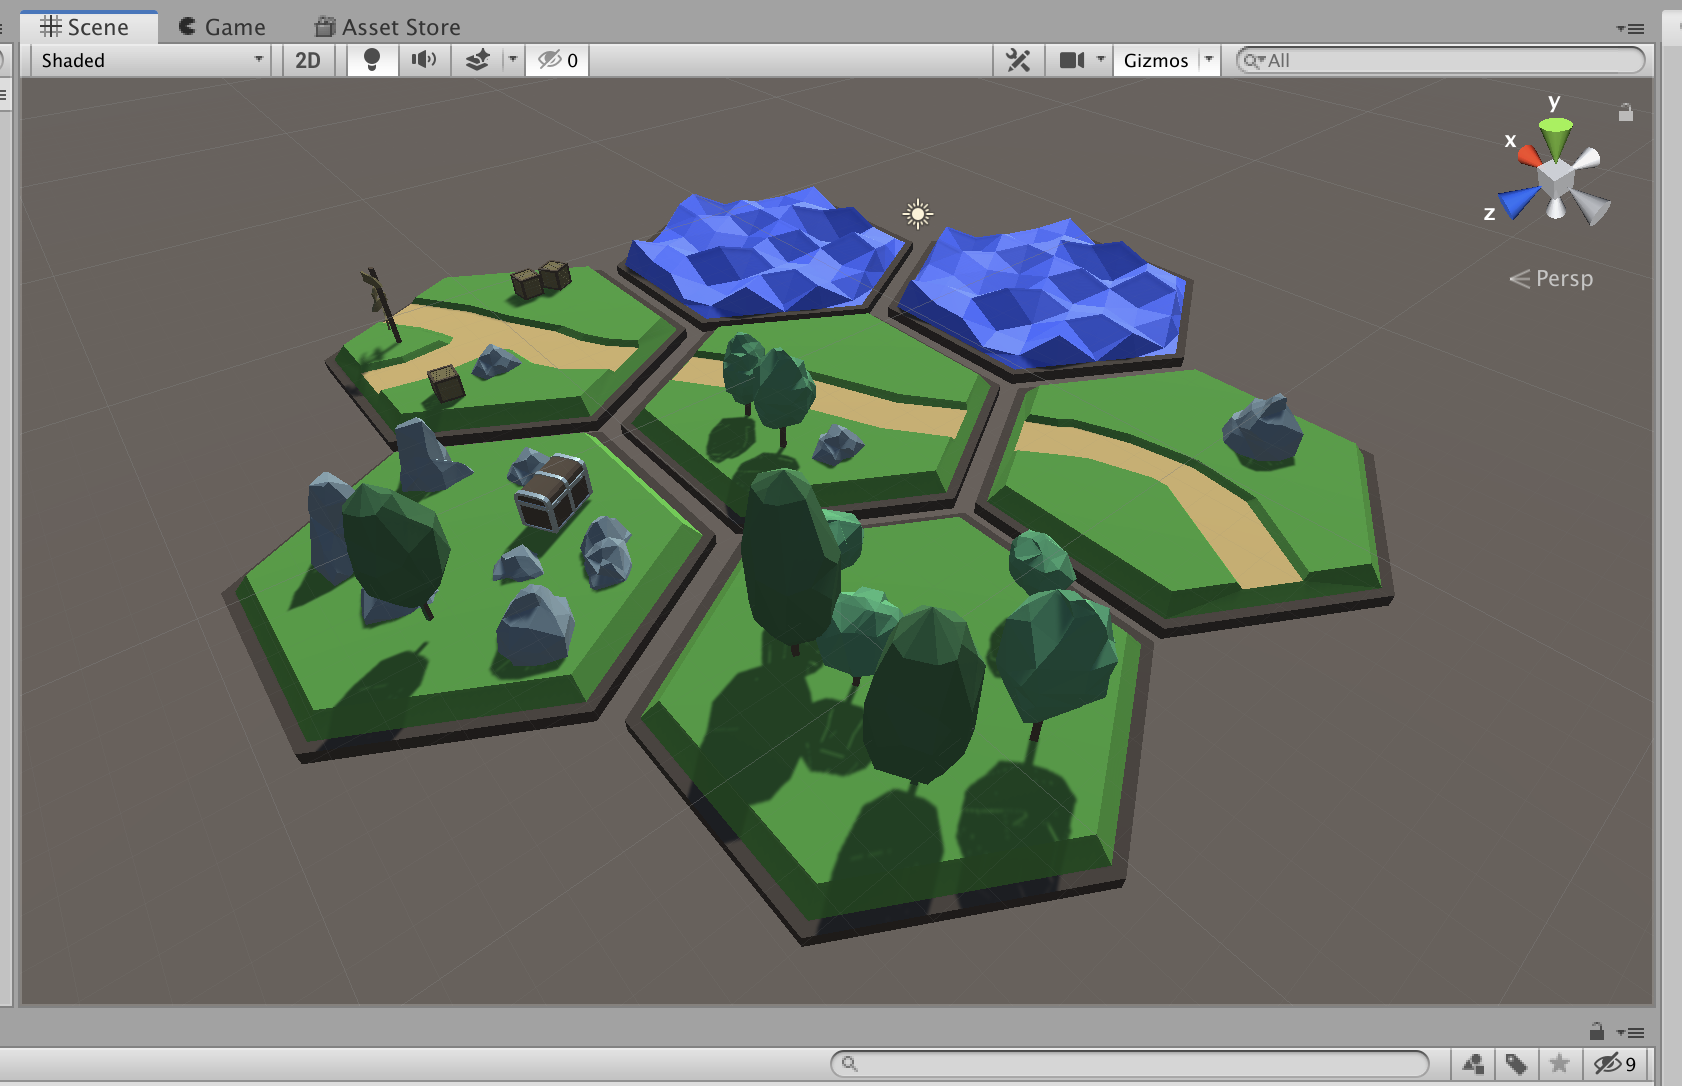
地形のAsset
適当に選びましたが、Tiled Forestというイカしてる地形をインストールしてSceneに配置します。
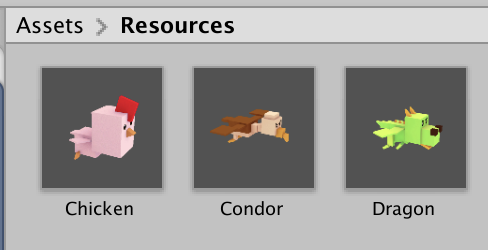
動物のAsset
Free Low Polygon_Animalという、アニメーションのついたオブジェクトをインストールして、中のDragon, CondorとChickenをProject > Resources というフォルダに格納します。
スクリプト
下記のC#スクリプトでkintoneから情報を取得して、ゲームオブジェクトを生成します。
Tiled Forestのオブジェクトにスクリプトを付与してください。
{サブドメイン名}、{APIトークン}、**{アプリID}**は適宜自分の環境に合うように調整します。
using System.Collections;
using System.Collections.Generic;
using UnityEngine;
using UnityEngine.Networking;
using SimpleJSON;

public class InitializeKintoneAnimals : MonoBehaviour
{
    const string domain = "{サブドメイン名}.cybozu.com";
    const string APItoken = "{APIトークン}";

    void Start()
    {
        string app = "{アプリID}";
        string query = System.Uri.EscapeDataString("order by $id desc");
        string fields = System.Uri.EscapeDataString("fields[0]") + "=" + System.Uri.EscapeDataString("生物")
        + "&" + System.Uri.EscapeDataString("fields[1]") + "=" + System.Uri.EscapeDataString("サイズ")
        + "&" + System.Uri.EscapeDataString("fields[2]") + "=" + System.Uri.EscapeDataString("初期位置X")
        + "&" + System.Uri.EscapeDataString("fields[3]") + "=" + System.Uri.EscapeDataString("初期位置Y")
        + "&" + System.Uri.EscapeDataString("fields[4]") + "=" + System.Uri.EscapeDataString("初期位置Z")
        + "&" + System.Uri.EscapeDataString("fields[5]") + "=" + System.Uri.EscapeDataString("初期回転値X")
        + "&" + System.Uri.EscapeDataString("fields[6]") + "=" + System.Uri.EscapeDataString("初期回転値Y")
        + "&" + System.Uri.EscapeDataString("fields[7]") + "=" + System.Uri.EscapeDataString("初期回転値Z");

        StartCoroutine(
            getKintoneRecords(
                (JSONNode JSONresponse) =>
                {
                    HandleAPIresponse(JSONresponse);
                },
                app,
                query,
                fields
            )
        );
    }

    private IEnumerator getKintoneRecords(System.Action<JSONNode> callBack, string app, string query, string fields)
    {
        //APIリクエストの準備
        string APIparameters = "app=" + app + "&query=" + query + "&" + fields + "&totalCount=true";
        string RequestURL = "https://" + domain + "/k/v1/records.json?" + APIparameters;
        UnityWebRequest request = UnityWebRequest.Get(RequestURL);
        request.SetRequestHeader("X-Cybozu-API-Token", APItoken);

        //APIのリクエストを送信
        yield return request.SendWebRequest();

        //レスポンスをJSONNode型に格納
        string JSONstring = request.downloadHandler.text;
        Debug.Log("JSONstring--> " + JSONstring);
        JSONNode JSONnode = JSON.Parse(JSONstring);

        //JSONNode型のレスポンスをcallBackに渡す
        callBack(JSONnode);
    }

    private void HandleAPIresponse(JSONNode APIresponse)
    {
        for (int i=0; i<APIresponse["totalCount"].AsInt; i++)
        {
            //生物タイプを設定
            string Choice = APIresponse["records"][i]["生物"]["value"].Value;

            //生物サイズを設定
            float Size = APIresponse["records"][i]["サイズ"]["value"].AsFloat;

            //生物初期値を設定
            int InitialPositionX = APIresponse["records"][i]["初期位置X"]["value"].AsInt;
            int InitialPositionY = APIresponse["records"][i]["初期位置Y"]["value"].AsInt;
            int InitialPositionZ = APIresponse["records"][i]["初期位置Z"]["value"].AsInt;
            Vector3 InitialPositionXYZ = new Vector3 (InitialPositionX, InitialPositionY, InitialPositionZ);

            //生物初期回転値を設定
            int InitialRotationX = APIresponse["records"][i]["初期回転値X"]["value"].AsInt;
            int InitialRotationY = APIresponse["records"][i]["初期回転値Y"]["value"].AsInt;
            int InitialRotationZ = APIresponse["records"][i]["初期回転値Z"]["value"].AsInt;
            Quaternion InitialRotationXYZ = Quaternion.Euler(InitialRotationX, InitialRotationY, InitialRotationZ) ;

            //生物をInstantiate
            GameObject GameObject = (GameObject)Resources.Load(Choice);
            GameObject SpeciesInstant = Instantiate(GameObject, InitialPositionXYZ, InitialRotationXYZ);
            SpeciesInstant.transform.localScale = new Vector3(Size, Size, Size);
        }
    }
}
動かしてみる
kintoneアプリに適当なデータを入れます。
Unityのシーンをplayしてみます。
めっちゃ値が適当で、なんかカオスになりました。
とりあえずまずこっちを向いてもらうように、各レコードの回転値を調整してみました。
最終的なkintone側のデータはこんな感じです。

Unityのシーンをplayします。
\キリッ/
ま、まぁ、とりあえずこれで良いでしょう。
これら6つのオブジェクトはkintoneアプリ内の6つのレコードから生成されています。
試しに、ドラゴンオブジェクト一匹のサイズを調整してみたいと思います。
ブラウザ上で、kintoneの『サイズ』フィールドを変更します。
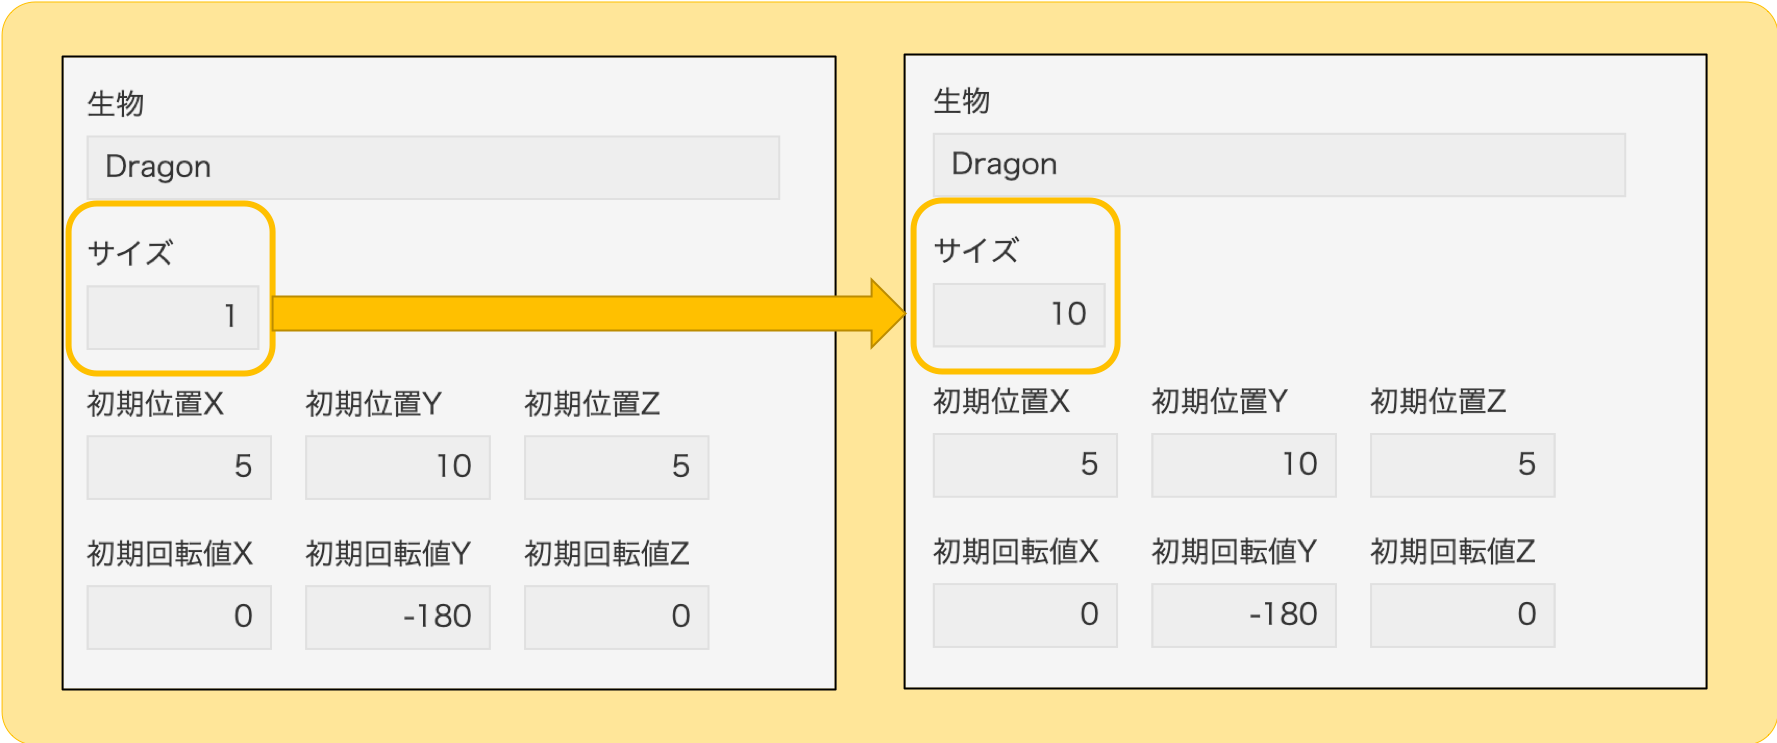
Unityのシーンをまた読み込みなおします。
こんな感じで、kintoneアプリのデータを手動で変更することにより、Unity側でもきちんと反映されることがわかります。
おまけ
最後にデータをがーーーっといっぱい入れてシーンをplayしてみましょう!
\キリッ/ \キリッ/ \キリッ/
良い感じのカオス具合が出たので、ここで終わりたいと思います (つ∀-)ホギャース