Djangoで読書メモアプリを作りました。
はやたすさんの記事を参考にしました。
この記事では、Pythonのインストール、仮想環境の構築、Djangoのインストール、アプリ作成の流れを書きます。
実行環境:MacBook Air M1, 2020
Pythonのインストール
以下のサイトにアクセスし、Latest Python 3 Release - Python 3.12.1をクリックします。
https://www.python.org/downloads/macos/

開いたページを下にスクロールし、macOS 64-bit universal2 installerをクリックします。

インストーラをダウンロードしたら、インストールを進めます。

ターミナルでPythonのバージョンを確認します。
% python3 -V
Python 3.12.1
Python 3.12.1をインストールすることができました。
仮想環境の構築
今回は、仮想環境を構築し、アプリ作成を行います。
ターミナルで以下のコマンドを実行します。
% mkdir django-reading
% cd django-reading
% python3 -m venv .venv
% source .venv/bin/activate
django-readingディレクトリを作成し、仮想環境の構築と起動を行いました。
次回からは、以下のコマンドのみを実行します。
% cd django-reading
% source .venv/bin/activate
Djangoのインストール
ターミナルで以下のコマンドを実行します。
% python -m pip install Django
% python -m django --version
5.0
アプリ作成
Djangoプロジェクトの作成
ターミナルで以下のコマンドを実行します。
% django-admin startproject config .
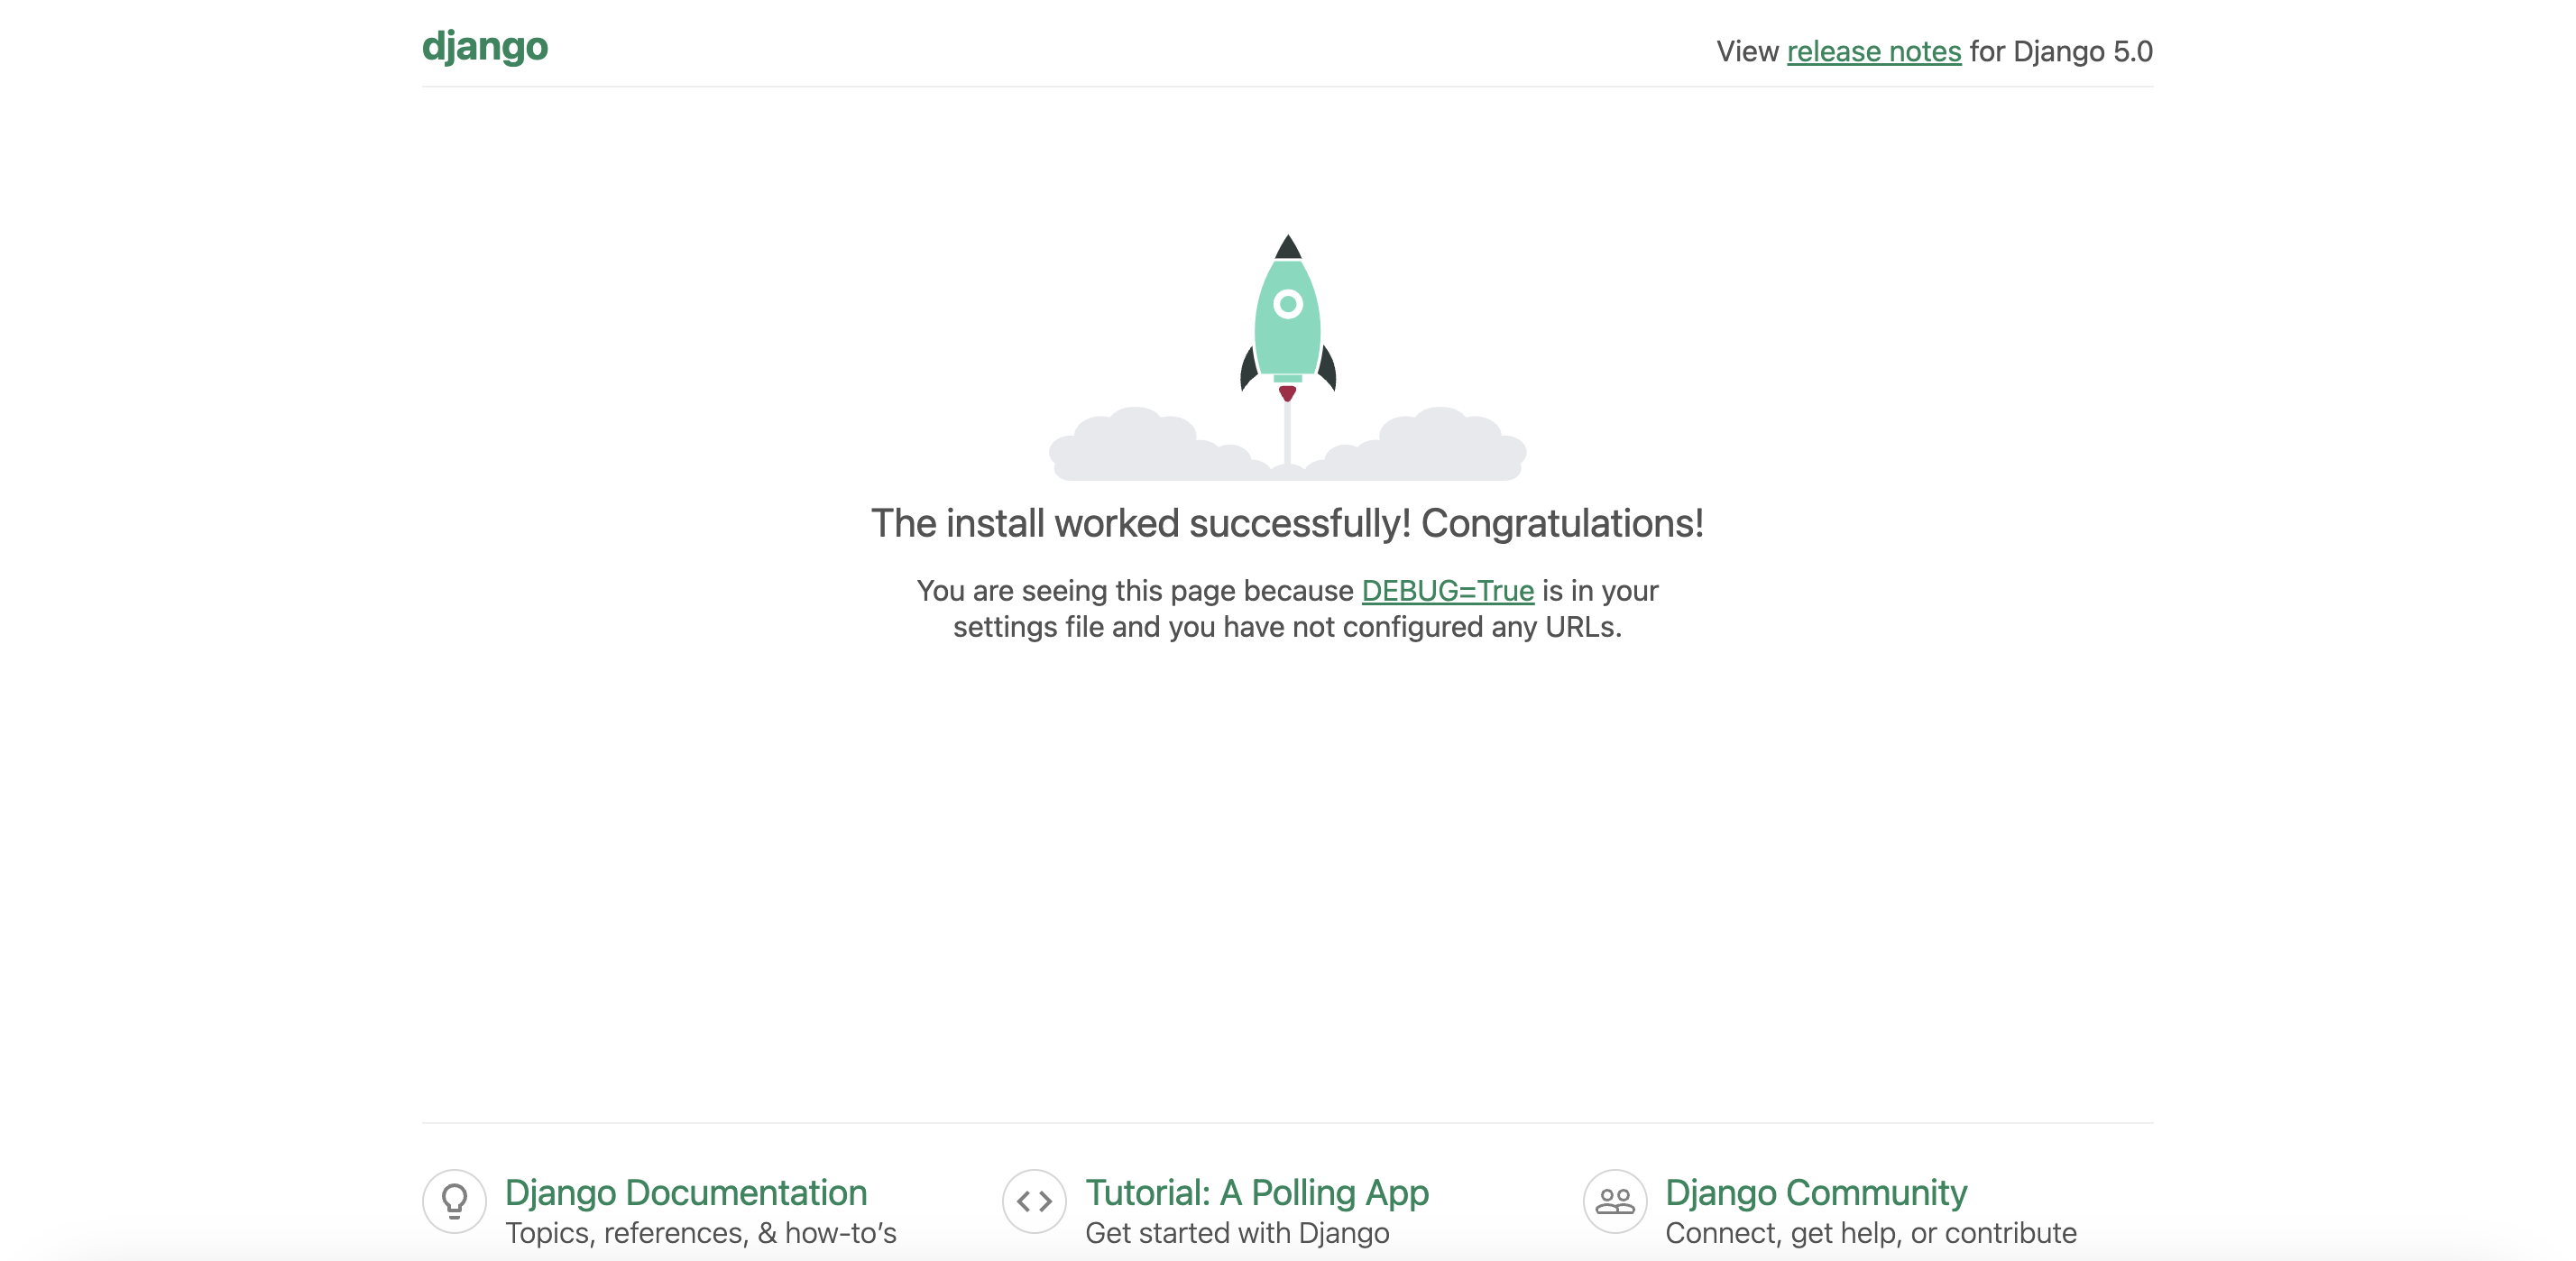
プロジェクトが動作するか確認します。
% python manage.py runserver
http://127.0.0.1:8000/にアクセスすると、以下の画面が表示されます。
Todo読書メモアプリの作成
ターミナルで以下のコマンドを実行します。
% python manage.py startapp reading
config/settings.pyを編集し、初期設定を行います。
INSTALLED_APPS = [
    'django.contrib.admin',
    'django.contrib.auth',
    'django.contrib.contenttypes',
    'django.contrib.sessions',
    'django.contrib.messages',
    'django.contrib.staticfiles',
    'reading.apps.ReadingConfig' # 追加
]

# ...

# LANGUAGE_CODE = 'en-us'
LANGUAGE_CODE = 'ja'

# TIME_ZONE = 'UTC'
TIME_ZONE = 'Asia/Tokyo'
以下のコマンドを実行します。
python manage.py runserver
http://127.0.0.1:8000/にアクセスすると、以下の画面が表示されます。
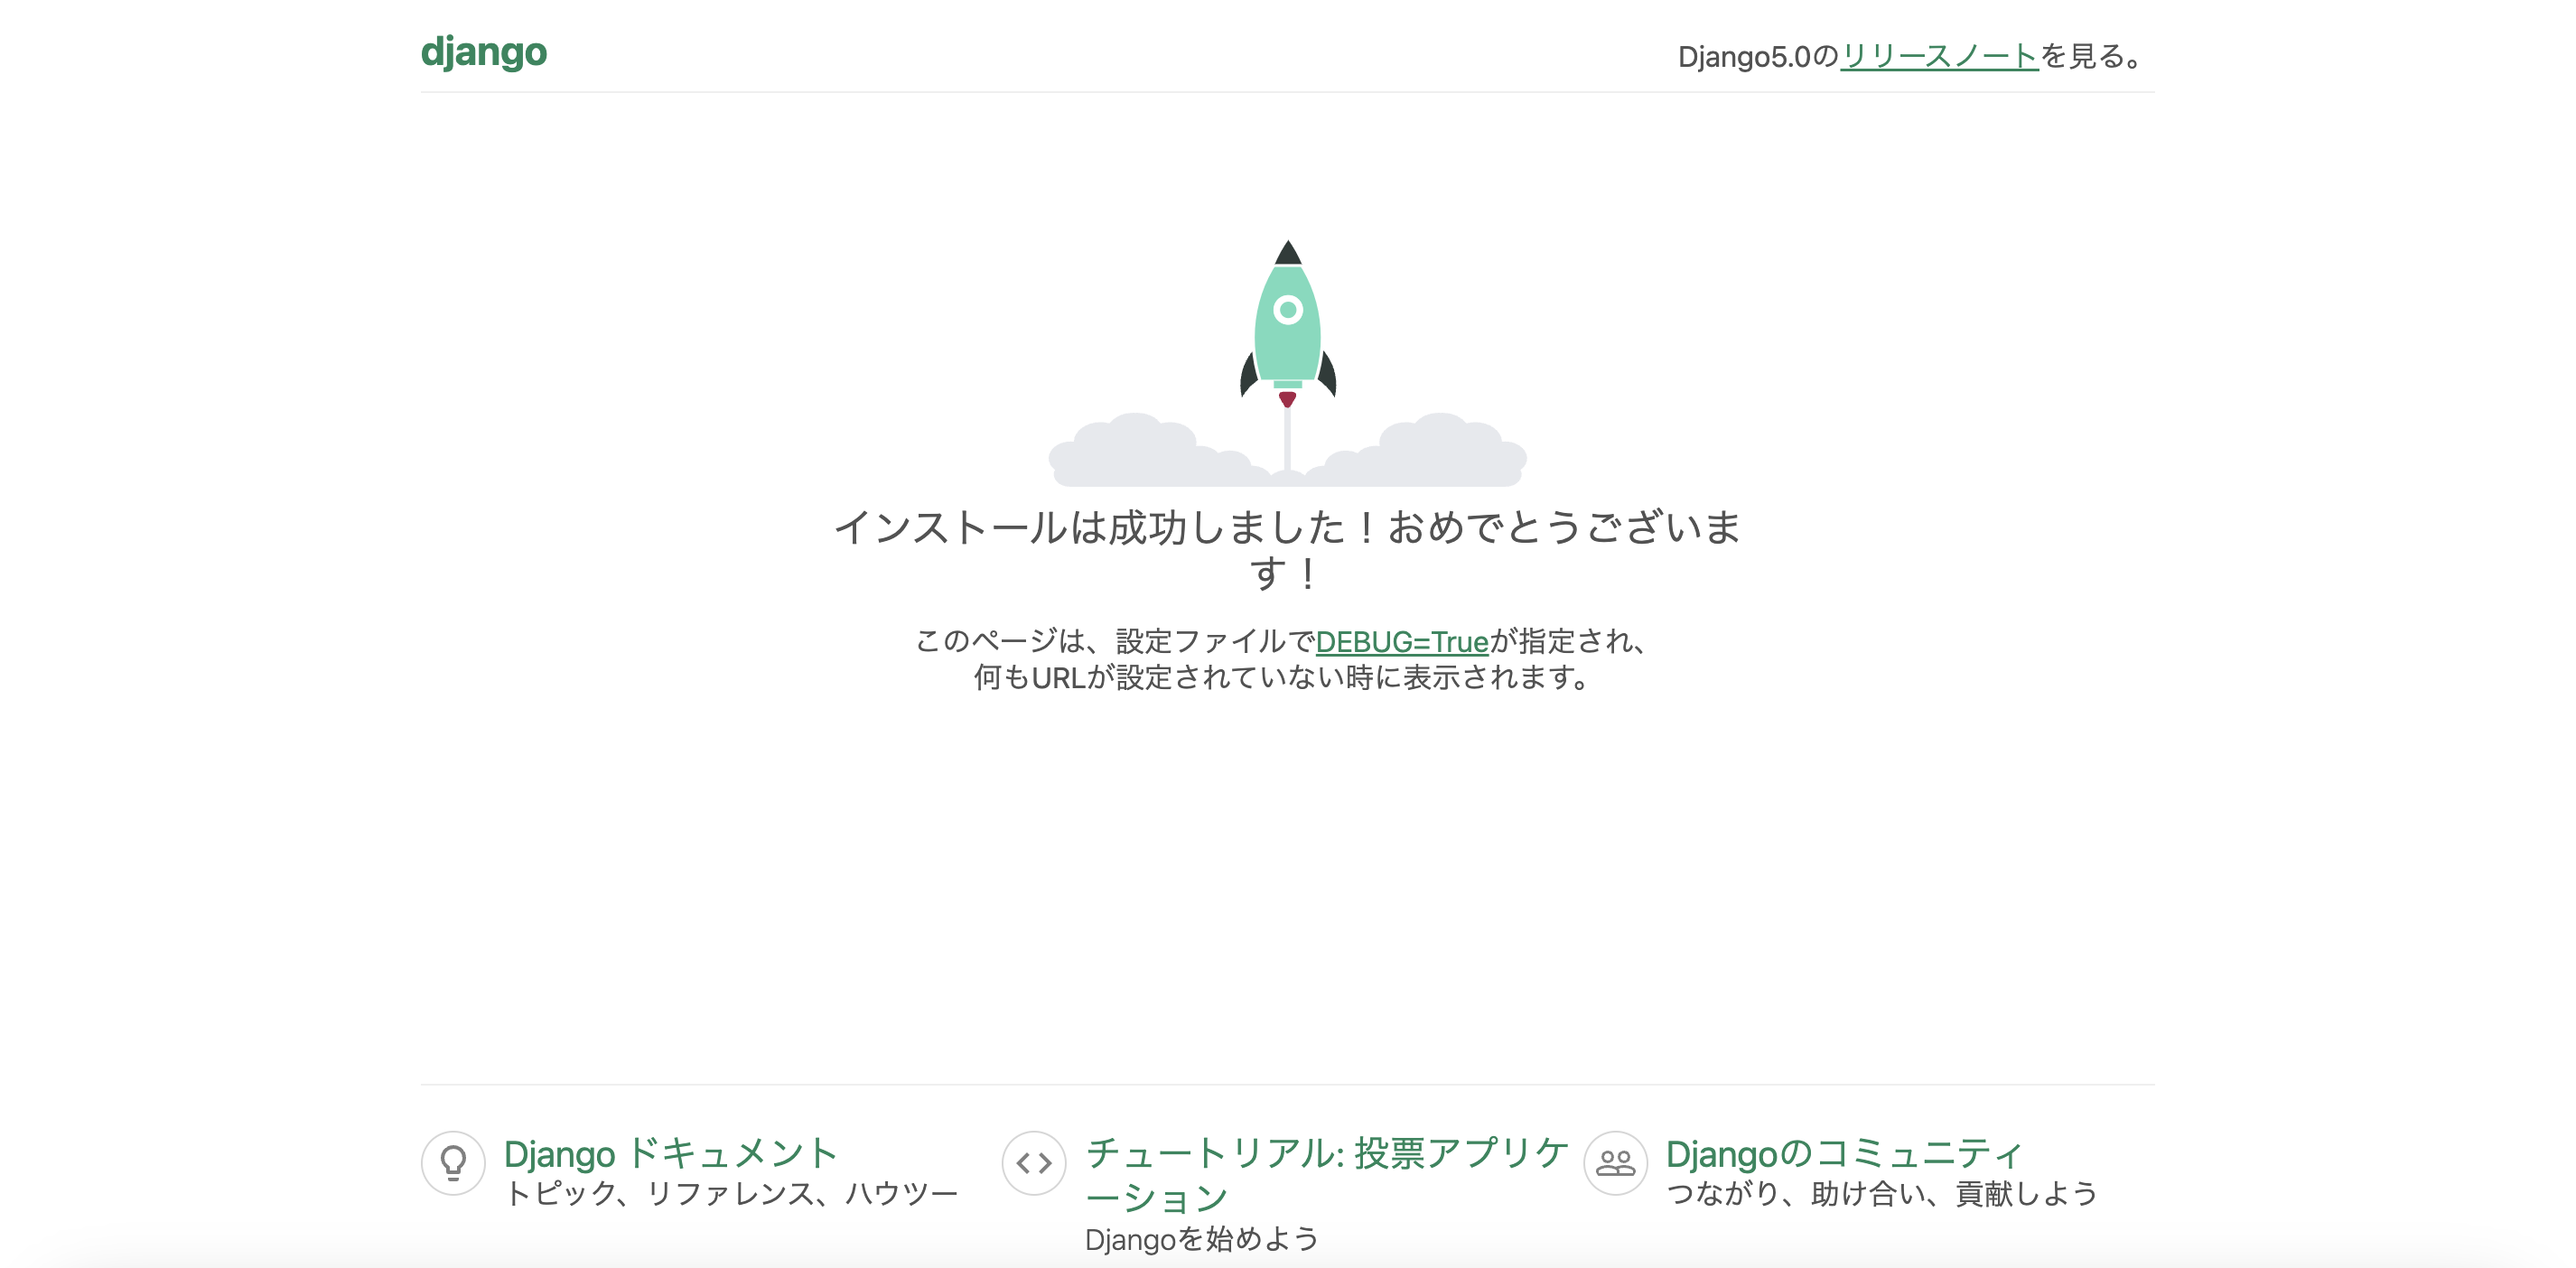
英語から日本語に変わりました。
モデルの作成と有効化
reading/models.pyを編集します。
from django.db import models


class Reading(models.Model):
    title = models.CharField("本のタイトル", max_length=30)
    writer = models.CharField("筆者", max_length=30)
    memo = models.TextField("メモ", blank=True)
    date = models.DateField("読了日")

    def __str__(self):
        return self.title
ターミナルで以下のコマンドを実行します。
% python manage.py makemigrations
% python manage.py migrate
管理ユーザーの作成
ターミナルで以下のコマンドを実行します。
% python manage.py createsuperuser
ユーザー名、メールアドレス、パスワードを入力します。
メールアドレスは必要ないようです。
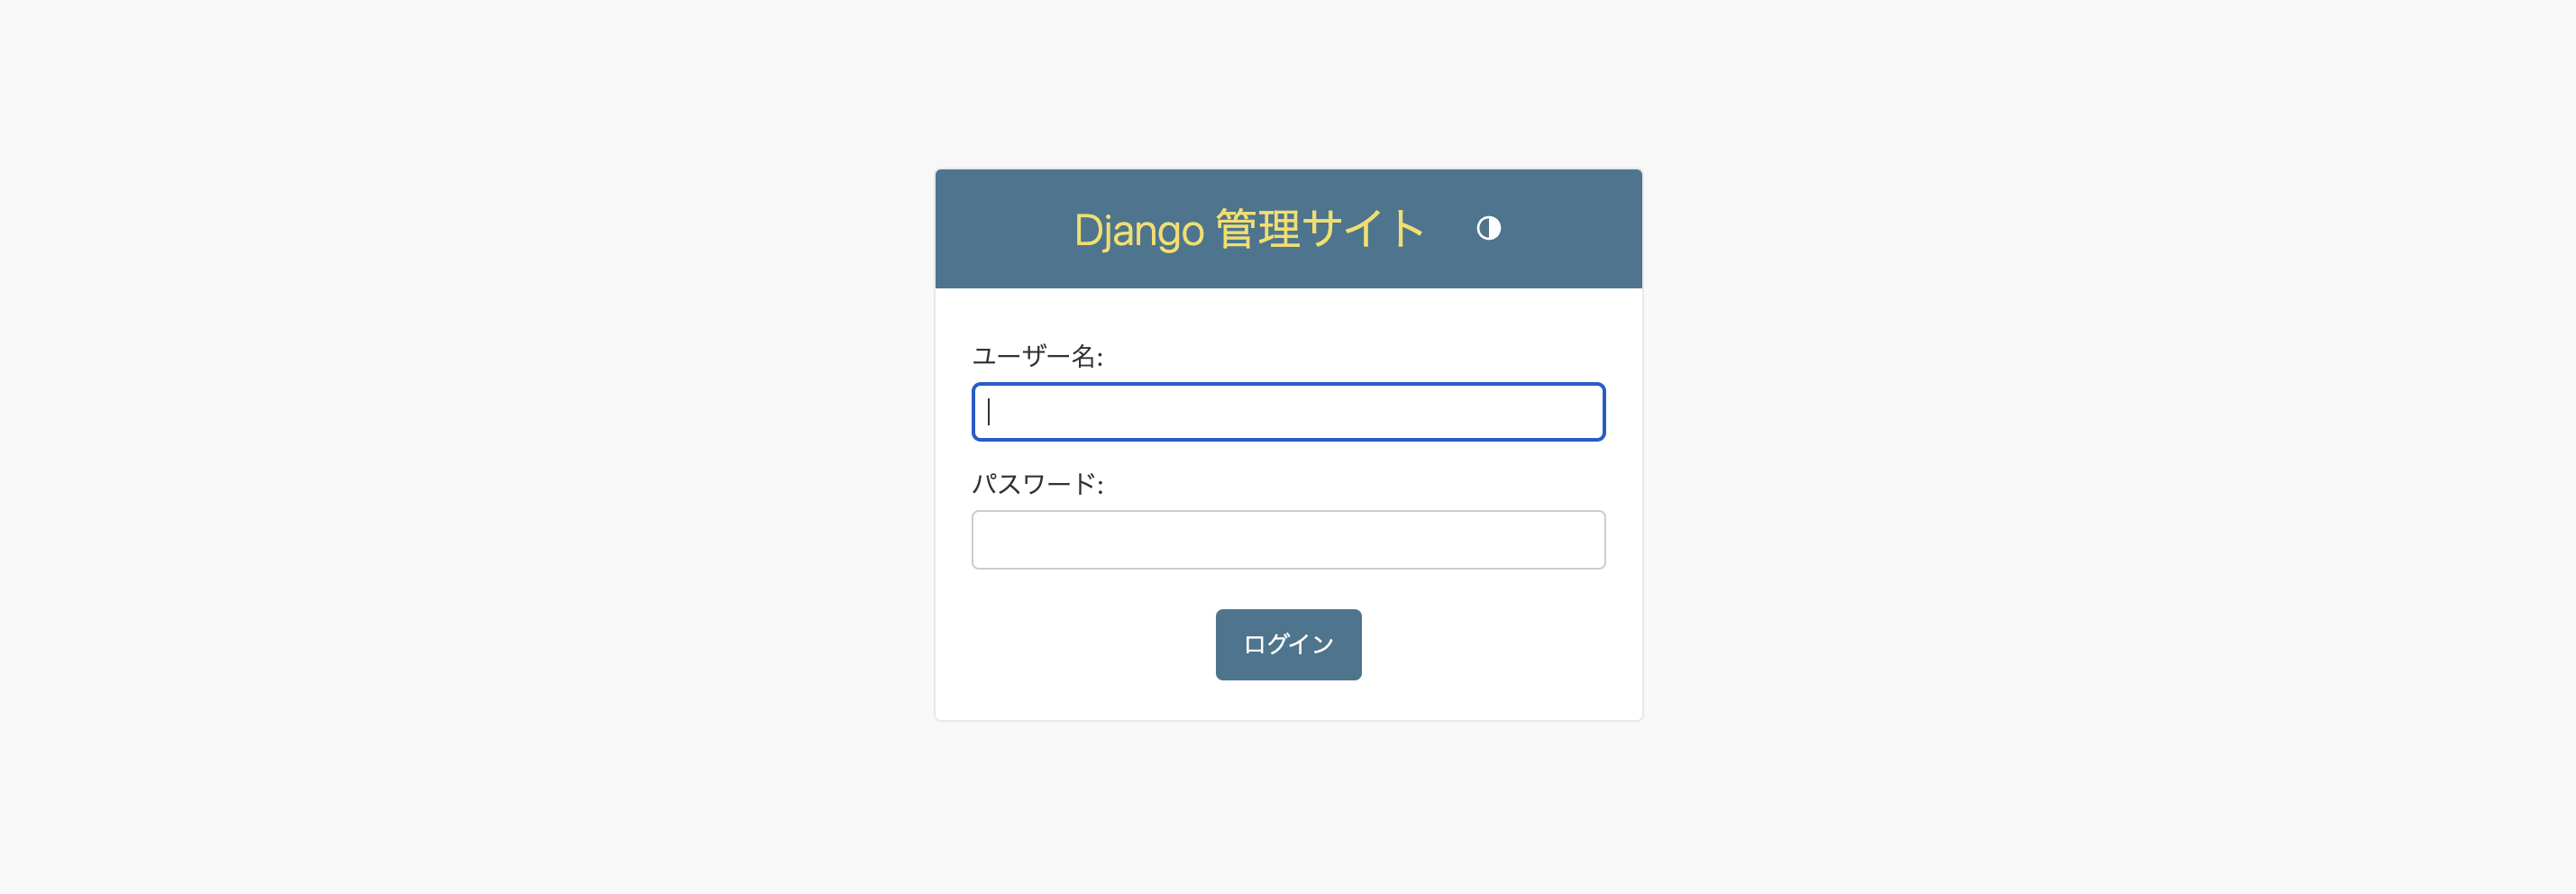
以下のコマンドを実行し、サーバーを起動します。
% python manage.py runserver
http://127.0.0.1:8000/adminにアクセスすると、以下の画面が表示されます。
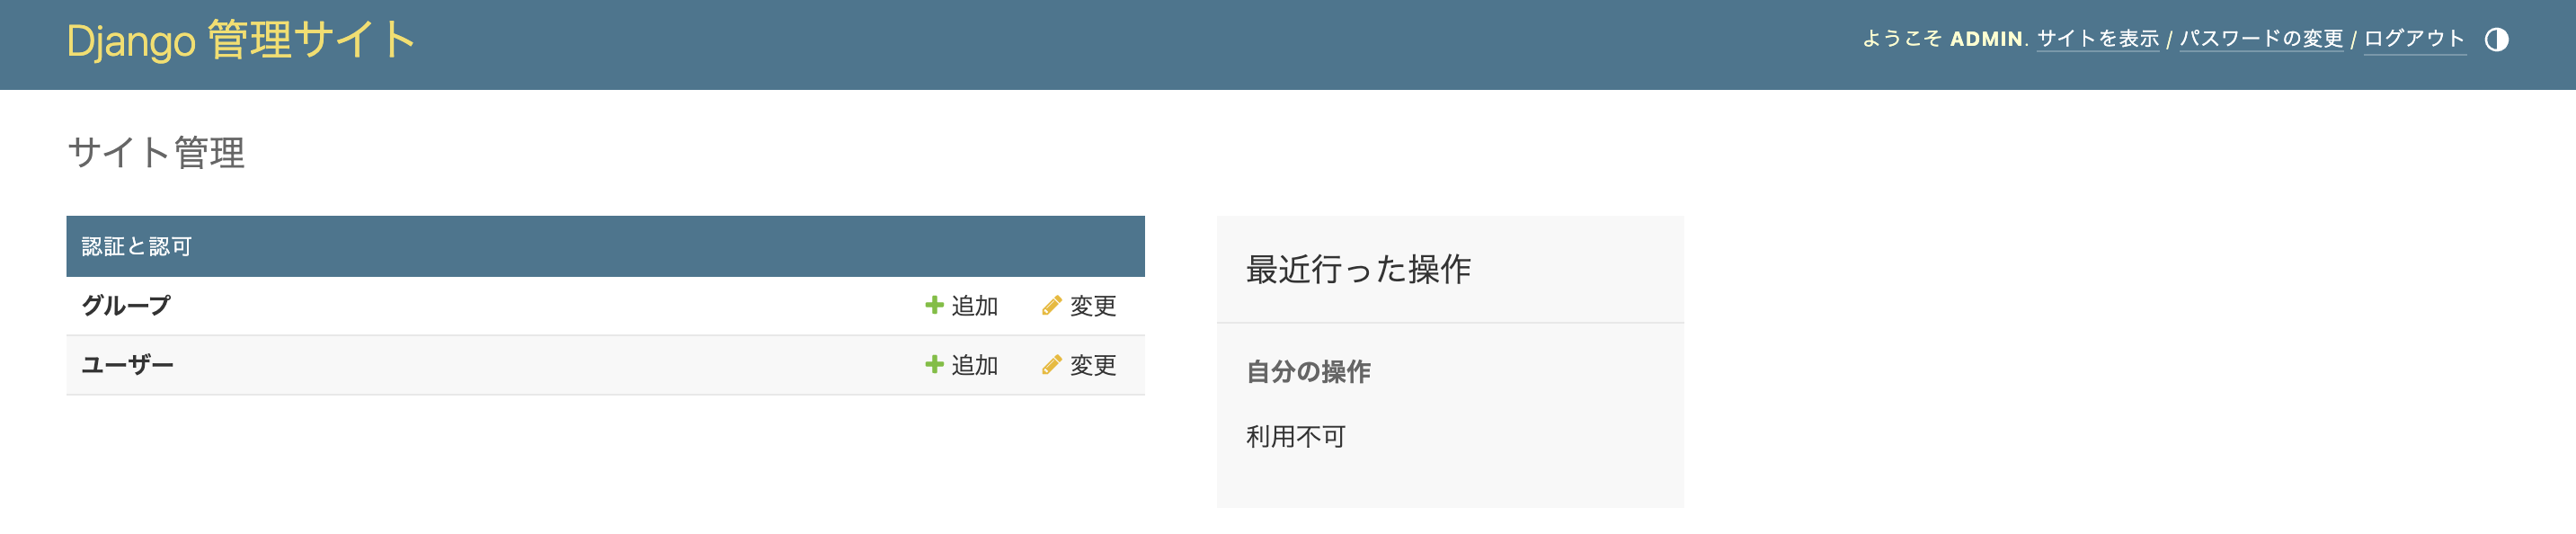
ユーザー名とパスワードを入力し、ログインすると、以下の画面が表示されます。
reading/admin.pyを編集します。
from django.contrib import admin
from .models import Reading


admin.site.register(Reading)
以下のコマンドを実行し、サーバーを起動します。
% python manage.py runserver
http://127.0.0.1:8000/adminにアクセスします。
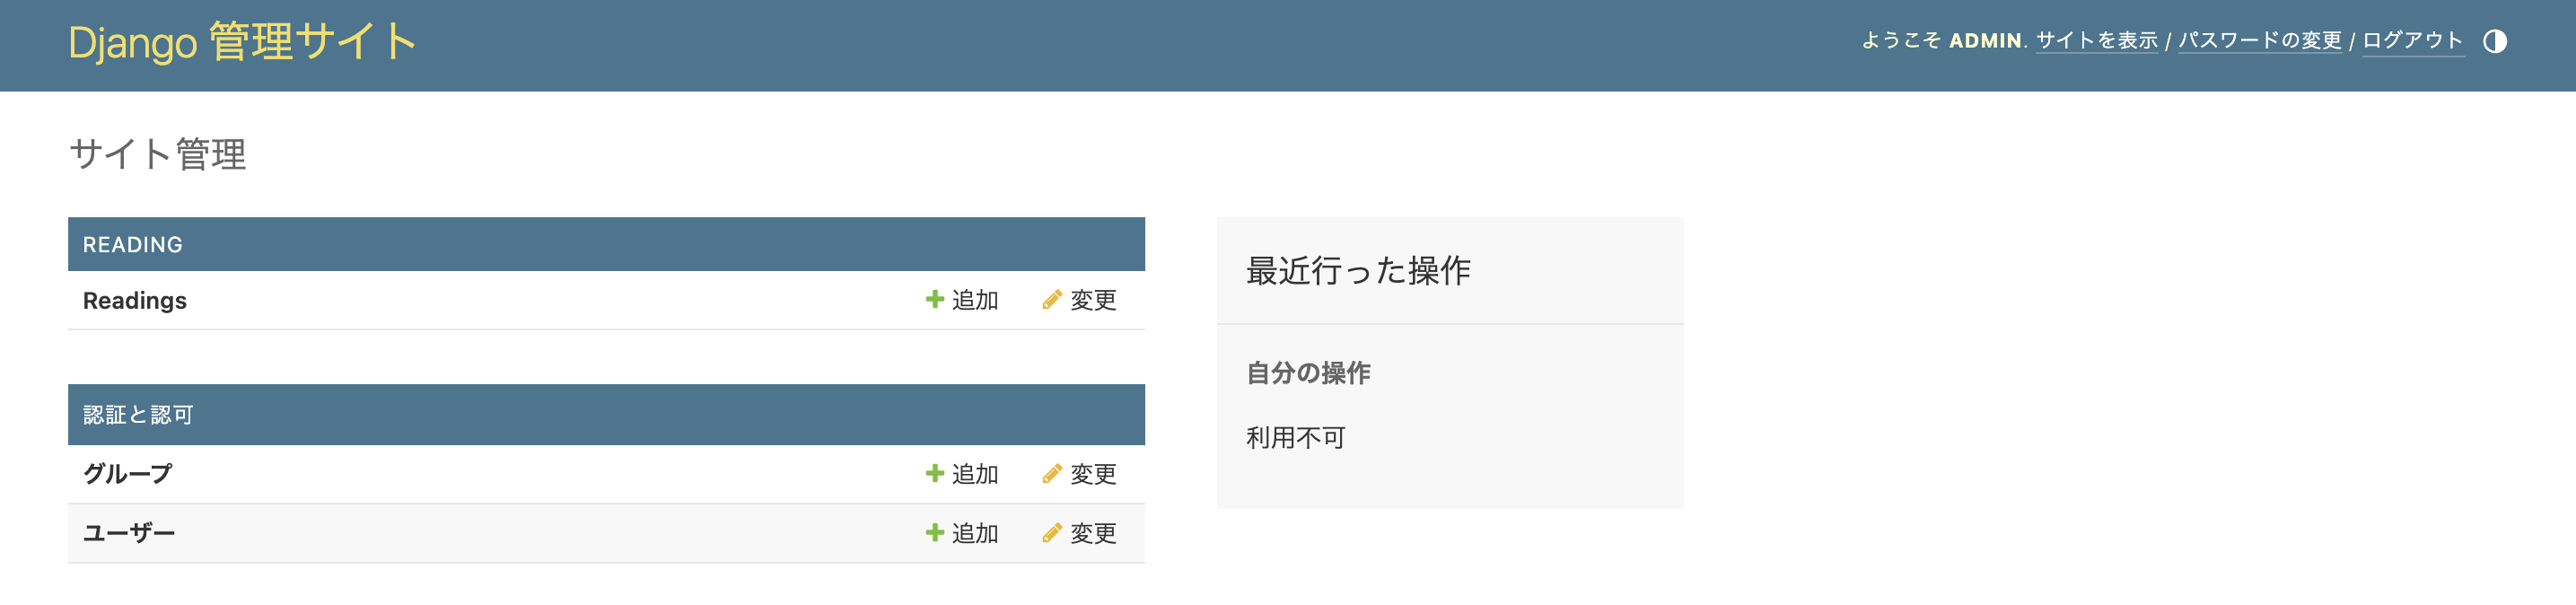
Readingテーブルが表示されました。
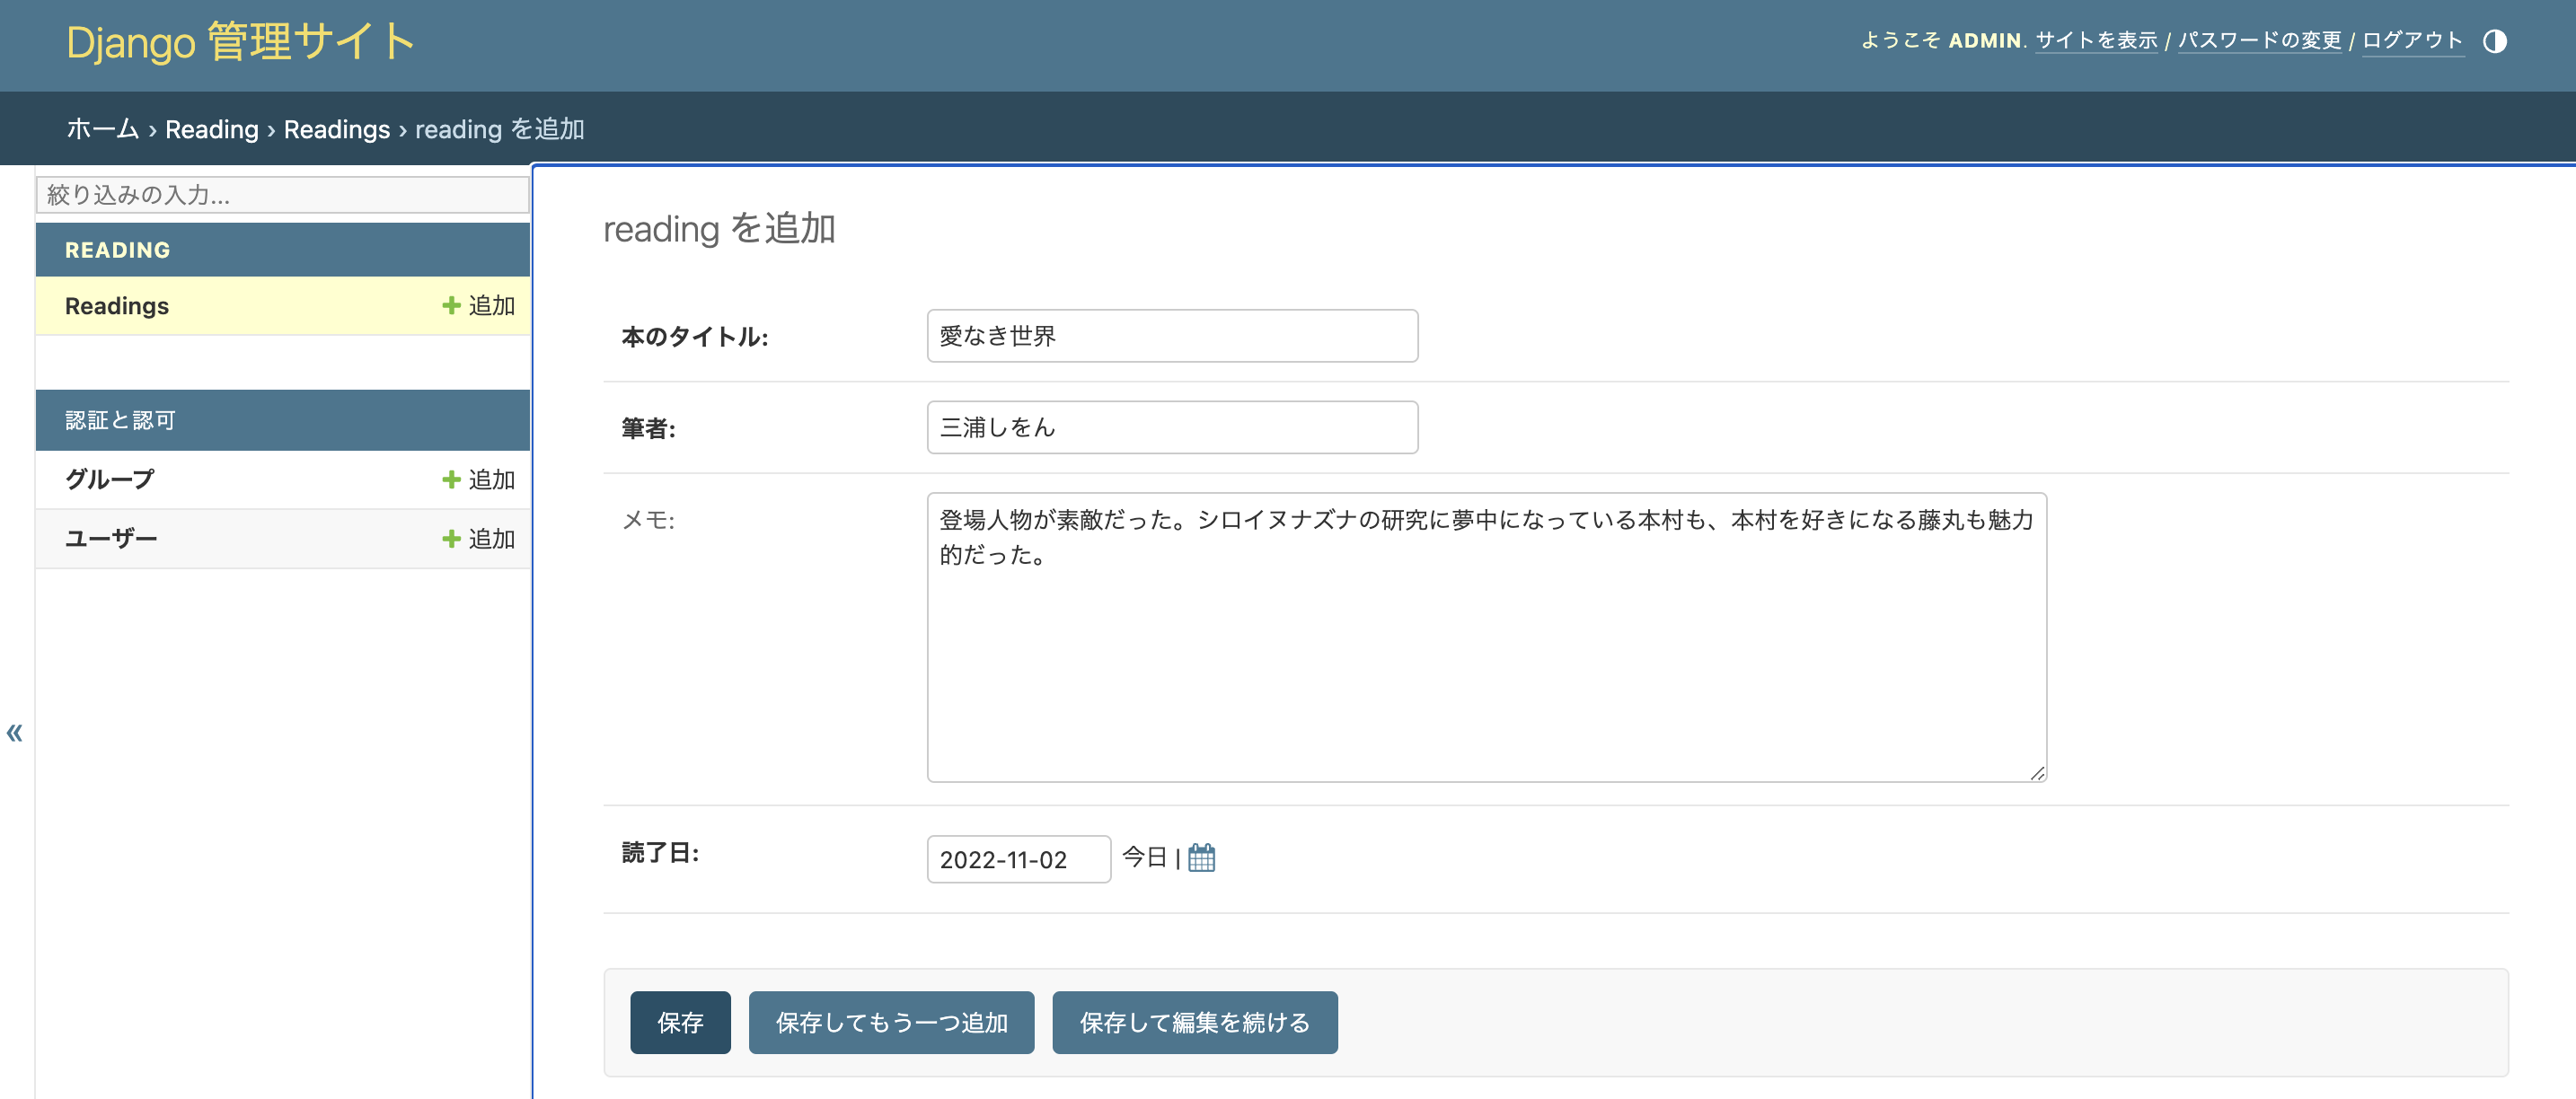
Readingを追加します。
Readingの表示
config/urls.pyを編集します。
from django.contrib import admin
from django.urls import path, include # 追加


urlpatterns = [
    path('admin/', admin.site.urls),
    path("", include("reading.urls")) # 追加
]
reading/views.pyを編集します。
from django.shortcuts import render
from django.views.generic import ListView

from .models import Reading


class ReadingList(ListView):
    model = Reading
    context_object_name = "readings"
reading/urls.pyを作成します。
from django.urls import path
from .views import ReadingList

urlpatterns = [
    path("", ReadingList.as_view(), name="list"),
]
reading/templates/reading/reading_list.htmlを作成します。
<h1>Reading Memo</h1>

<table>
    <thead>
        <tr>
        <th scope="col">title</th>
        <th scope="col">writer</th>
        <th scope="col">date</th>
        </tr>
    </thead>
    <tbody>
    {% for reading in readings %}
    <tr>
        <td>{{ reading.title }}</td>
        <td>{{ reading.writer }}</td>
        <td>{{ reading.date }}</td>
    </tr>
    {% endfor %}
    </tbody>
</table>
サーバーを起動し、http://127.0.0.1:8000/にアクセスすると、以下の画面が表示されます。

読書メモアプリを起動することができ、作成したReadingを表示することができました。
Readingの詳細の表示
reading/views.pyを編集します。
from django.shortcuts import render
from django.views.generic import ListView, DetailView

from .models import Reading


class ReadingList(ListView):
    model = Reading
    context_object_name = "readings"


class ReadingDetail(DetailView):
    model = Reading
    context_object_name = "reading"
reading/urls.pyを編集します。
from django.urls import path
from .views import ReadingList, ReadingDetail # 追加

urlpatterns = [
    path("", ReadingList.as_view(), name="list"),
    path("detail/<int:pk>", ReadingDetail.as_view(), name="detail"), # 追加
]
reading/templates/reading/reading_list.htmlを編集します。
<h1>Reading Memo</h1>

<table>
    <thead>
        <tr>
        <th scope="col">title</th>
        <th scope="col">writer</th>
        <th scope="col">date</th>
        </tr>
    </thead>
    <tbody>
    {% for reading in readings %}
    <tr>
        <td>{{ reading.title }}</td>
        <td>{{ reading.writer }}</td>
        <td>{{ reading.date }}</td>
        <td><a href="{% url 'detail' reading.pk %}">メモ</a></td>
    </tr>
    {% endfor %}
    </tbody>
</table>
reading/templates/reading/reading_detail.htmlを作成します。
<h1>Memo</h1>

<div>
    <h2>{{reading.title}}</h2>
    <p>{{reading.writer}}</p>
    <p>{{reading.date}}</p>
    <p>{{reading.memo}}</p>
</div>
サーバーを起動し、http://127.0.0.1:8000/にアクセスすると、以下の画面が表示されます。

メモをクリックすると、以下の画面が表示されます。

Readingのメモを表示することができました。
Readingの作成
reading/views.pyを編集します。
from django.shortcuts import render
from django.views.generic import ListView, DetailView, CreateView

from django.urls import reverse_lazy

from .models import Reading

# ...

class ReadingCreate(CreateView):
    model = Reading
    fields = "__all__"
    success_url = reverse_lazy("list")
reading/urls.pyを編集します。
from django.urls import path
from .views import ReadingList, ReadingDetail, ReadingCreate # 追加

urlpatterns = [
    path("", ReadingList.as_view(), name="list"),
    path("detail/<int:pk>", ReadingDetail.as_view(), name="detail"),
    path("create/", ReadingCreate.as_view(), name="create"), # 追加
]
reading/templates/reading/reading_list.htmlを編集します。
<h1>Reading Memo</h1>

<p><a href="{% url 'create' %}">新規作成</a></p>

<!-- ... -->
reading/templates/reading/reading_form.htmlを作成します。
<form action="" method="POST">{% csrf_token %}
    <table>
        {{ form.as_table }}
    </table>
    <input type="submit" value="作成">
</form>
サーバーを起動し、http://127.0.0.1:8000/にアクセスすると、以下の画面が表示されます。

新規作成をクリックし、Readingを作成します。
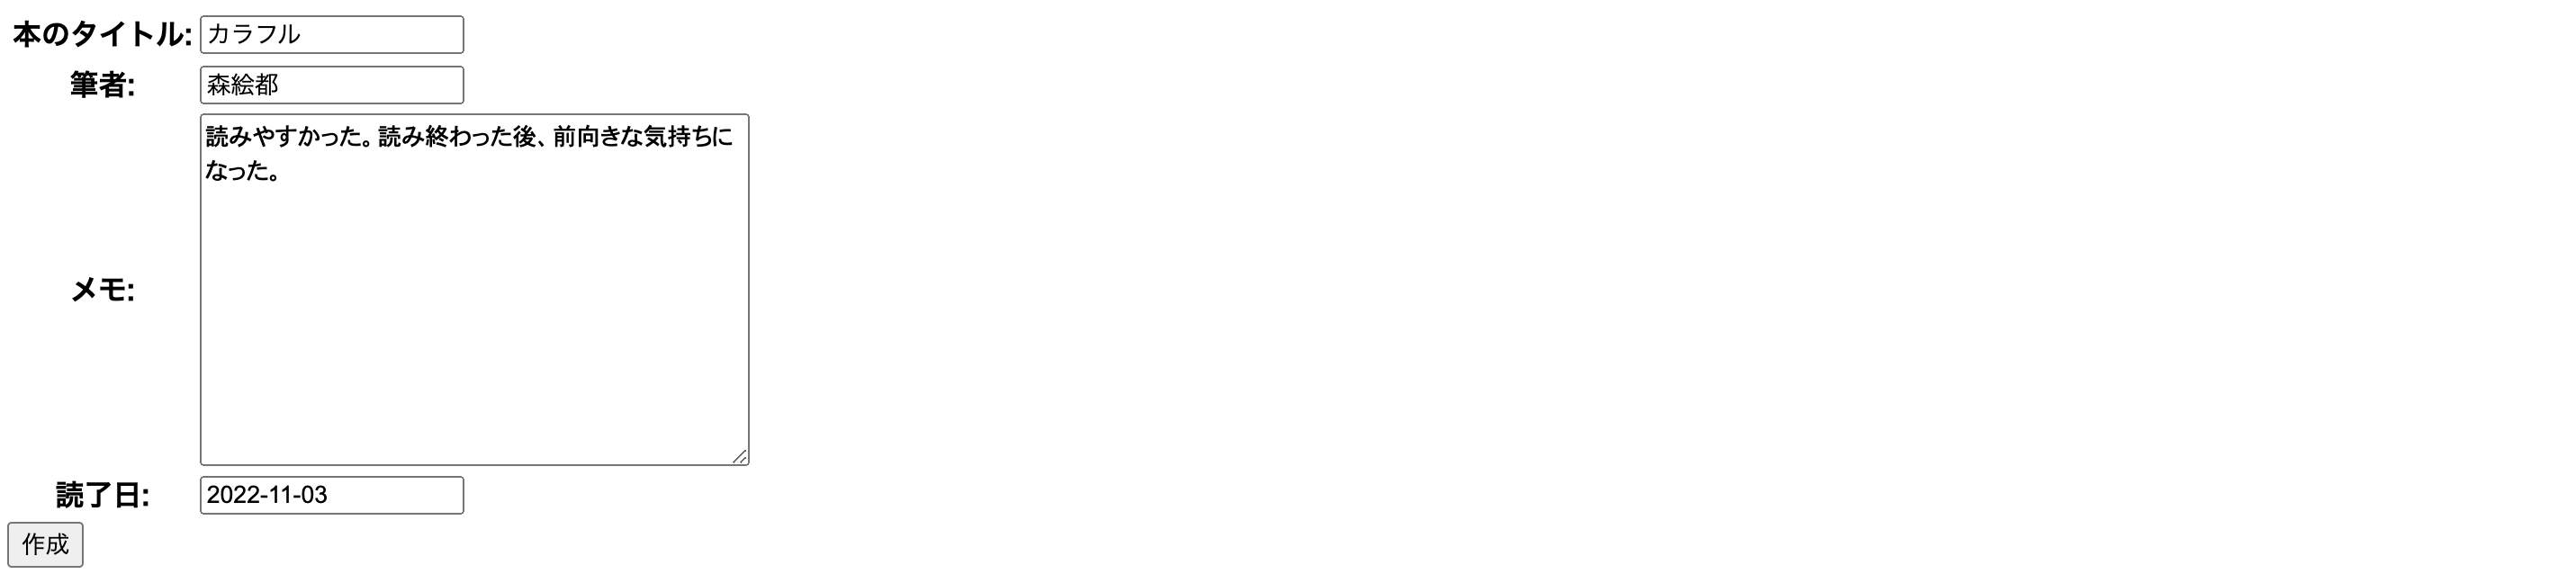
作成をクリックすると、以下の画面が表示されます。

Readingを作成することができました。
Readingの編集
reading/views.pyを編集します。
from django.shortcuts import render
from django.views.generic import ListView, DetailView, CreateView, UpdateView

from django.urls import reverse_lazy

from .models import Reading

# ...

class ReadingUpdate(UpdateView):
    model = Reading
    fields = "__all__"
    success_url = reverse_lazy("list")
reading/urls.pyを編集します。
from django.urls import path
from .views import ReadingList, ReadingDetail, ReadingCreate, ReadingUpdate # 追加

urlpatterns = [
    path("", ReadingList.as_view(), name="list"),
    path("detail/<int:pk>", ReadingDetail.as_view(), name="detail"),
    path("create/", ReadingCreate.as_view(), name="create"),
    path("update/<int:pk>", ReadingUpdate.as_view(), name="update"), # 追加
]
reading/templates/reading/reading_list.htmlを編集します。
<h1>Reading Memo</h1>

<p><a href="{% url 'create' %}">新規作成</a></p>

<table>
    <thead>
        <tr>
        <th scope="col">title</th>
        <th scope="col">writer</th>
        <th scope="col">date</th>
        </tr>
    </thead>
    <tbody>
    {% for reading in readings %}
    <tr>
        <td>{{ reading.title }}</td>
        <td>{{ reading.writer }}</td>
        <td>{{ reading.date }}</td>
        <td><a href="{% url 'detail' reading.pk %}">メモ</a></td>
        <td><a href="{% url 'update' reading.pk %}">編集</a></td>
    </tr>
    {% endfor %}
    </tbody>
</table>
サーバーを起動し、http://127.0.0.1:8000/にアクセスすると、以下の画面が表示されます。

Readingを編集することができるようになりました。
Readingの削除
reading/views.pyを編集します。
from django.shortcuts import render
from django.views.generic import ListView, DetailView, CreateView, UpdateView, DeleteView

from django.urls import reverse_lazy

from .models import Todo

# ...

class ReadingDelete(DeleteView):
    model = Reading
    context_object_name = "reading"
    success_url = reverse_lazy("list")
reading/urls.pyを編集します。
from django.urls import path
from .views import ReadingList, ReadingDetail, ReadingCreate, ReadingUpdate, ReadingDelete # 追加

urlpatterns = [
    path("", ReadingList.as_view(), name="list"),
    path("detail/<int:pk>", ReadingDetail.as_view(), name="detail"),
    path("create/", ReadingCreate.as_view(), name="create"),
    path("update/<int:pk>", ReadingUpdate.as_view(), name="update"),
    path("delete/<int:pk>", ReadingDelete.as_view(), name="delete"), # 追加
]
reading/templates/reading/reading_list.htmlを編集します。
<h1>Reading Memo</h1>

<p><a href="{% url 'create' %}">新規作成</a></p>

<table>
    <thead>
        <tr>
        <th scope="col">title</th>
        <th scope="col">writer</th>
        <th scope="col">date</th>
        </tr>
    </thead>
    <tbody>
    {% for reading in readings %}
    <tr>
        <td>{{ reading.title }}</td>
        <td>{{ reading.writer }}</td>
        <td>{{ reading.date }}</td>
        <td><a href="{% url 'detail' reading.pk %}">メモ</a></td>
        <td><a href="{% url 'update' reading.pk %}">編集</a></td>
        <td><a href="{% url 'delete' reading.pk %}">削除</a></td>
    </tr>
    {% endfor %}
    </tbody>
</table>
reading/templates/reading/reading_confirm_delete.htmlを作成します。
<h1>削除</h1>
<form action="" method="POST">{% csrf_token %}
    <p>{{reading}}</p>
    <input type="submit" value="delete">
</form>
サーバーを起動し、http://127.0.0.1:8000/にアクセスすると、以下の画面が表示されます。

削除をクリックすると、以下の画面が表示されます。

deleteをクリックします。

Readingが削除されました。
見た目の変更
reading/templates/reading/base.htmlを作成します。
<!DOCTYPE html>
<html lang="ja">
<head>
    <meta charset="utf-8">
    <meta name="viewport" content="width=device-width, initial-scale=1">
    <title>Reading Memo</title>
    <link href="https://cdn.jsdelivr.net/npm/bootstrap@5.3.0/dist/css/bootstrap.min.css" rel="stylesheet" integrity="sha384-9ndCyUaIbzAi2FUVXJi0CjmCapSmO7SnpJef0486qhLnuZ2cdeRhO02iuK6FUUVM" crossorigin="anonymous">
    <link rel="preconnect" href="https://fonts.googleapis.com">
    <link rel="preconnect" href="https://fonts.gstatic.com" crossorigin>
    <link href="https://fonts.googleapis.com/css2?family=Noto+Sans+JP&display=swap" rel="stylesheet">
    <style>
        body{
            padding: 20px;
            font-family: 'Noto Sans JP', sans-serif;
        }
    </style>
</head>
<body>
    {% block header %}
    {% endblock header %}

    {% block content %}
    {% endblock content %}
</body>
</html>
reading/templates/reading/reading_list.htmlを編集します。
{% extends 'reading/base.html' %}

{% block header %}
<h1>Reading Memo</h1>

<p><a href="{% url 'create' %}">新規作成</a></p>
{% endblock header %}

{% block content %}
<table>
    <thead>
        <tr>
        <th scope="col">title</th>
        <th scope="col">writer</th>
        <th scope="col">date</th>
        </tr>
    </thead>
    <tbody>
    {% for reading in readings %}
    <tr>
        <td>{{ reading.title }}</td>
        <td>{{ reading.writer }}</td>
        <td>{{ reading.date }}</td>
        <td><a href="{% url 'detail' reading.pk %}">メモ</a></td>
        <td><a href="{% url 'update' reading.pk %}">編集</a></td>
        <td><a href="{% url 'delete' reading.pk %}">削除</a></td>
    </tr>
    {% endfor %}
    </tbody>
</table>
{% endblock content %}
以下に変更前と変更後の見た目を示します。
変更前の見た目
変更後の見た目

見た目が変わりました。
フォントを変えます。
reading/templates/reading/base.htmlを編集します。
<!DOCTYPE html>
<html lang="ja">
<head>
    <meta charset="utf-8">
    <meta name="viewport" content="width=device-width, initial-scale=1">
    <title>Reading Memo</title>
    <link href="https://cdn.jsdelivr.net/npm/bootstrap@5.3.0/dist/css/bootstrap.min.css" rel="stylesheet" integrity="sha384-9ndCyUaIbzAi2FUVXJi0CjmCapSmO7SnpJef0486qhLnuZ2cdeRhO02iuK6FUUVM" crossorigin="anonymous">
    <link rel="preconnect" href="https://fonts.googleapis.com">
    <link rel="preconnect" href="https://fonts.gstatic.com" crossorigin>
    <link href="https://fonts.googleapis.com/css2?family=Kaisei+HarunoUmi&display=swap" rel="stylesheet">
    <style>
        body{
            padding: 20px;
            font-family: 'Kaisei HarunoUmi', serif;
        }
    </style>
</head>
<body>
    {% block header %}
    {% endblock header %}

    {% block content %}
    {% endblock content %}
</body>
</html>
以下に変更前と変更後の見た目を示します。
変更前の見た目
変更後の見た目

フォントが変わりました。
はやたすさんの記事を参考にしながら、Djangoで読書メモアプリを作ることができました。
また、BootstrapやGoogle Fontsを用いて、見た目を変えることができました。
参考文献
https://docs.djangoproject.com/ja/5.0/topics/install/
https://tech-diary.net/django-todo-tutorial/
https://qiita.com/white1107/items/5063d38cd5474b412e3e
https://getbootstrap.jp/docs/5.3/getting-started/introduction/
https://fonts.google.com/noto/specimen/Noto+Sans+JP
https://fonts.google.com/specimen/Kaisei+HarunoUmi