導入
$ git clone https://github.com/pjreddie/darknet.git
$ cd darknet
$ vi Makefile
$ make
$ wget https://pjreddie.com/media/files/yolov3.weights
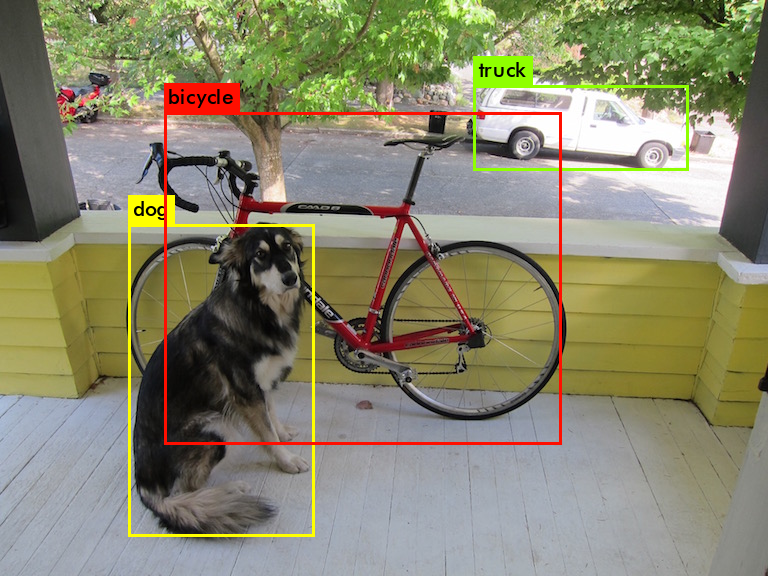
$ ./darknet detect cfg/yolov3.cfg yolov3.weights data/dog.jpg
結果
layer     filters    size              input                output
    0 conv     32  3 x 3 / 1   416 x 416 x   3   ->   416 x 416 x  32  0.299 BFLOPs
    1 conv     64  3 x 3 / 2   416 x 416 x  32   ->   208 x 208 x  64  1.595 BFLOPs
    .......
  105 conv    255  1 x 1 / 1    52 x  52 x 256   ->    52 x  52 x 255  0.353 BFLOPs
  106 detection
truth_thresh: Using default '1.000000'
Loading weights from yolov3.weights...Done!
data/dog.jpg: Predicted in 0.029329 seconds.
dog: 99%
truck: 93%
bicycle: 99%
MY Original YOLO
手順
- 画像のダウンロード
- 画像にラベリング
- ラベリングをYOLOで使用する形に変換
- train用とtest用に分ける
- 設定ファイル作成
- 学習!
1. 画像のダウンロード
- ImageNetからガシガシダウンロード
1.1. ImageNetのサイトから画像がダウンロードできるURLが載ったtxtをダウンロードしてきます。
1.2python download_imagenet.pyで落としてきます。
コードは作りました - Google Imagesからダウンロード
sudo apt-get install chromium-chromedriver
sudo pip install google_images_download
googleimagesdownload -k "なす 栽培" -la Japanese -l 2000 -f "jpg" -cd "/usr/lib/chromium-browser/chromedriver"
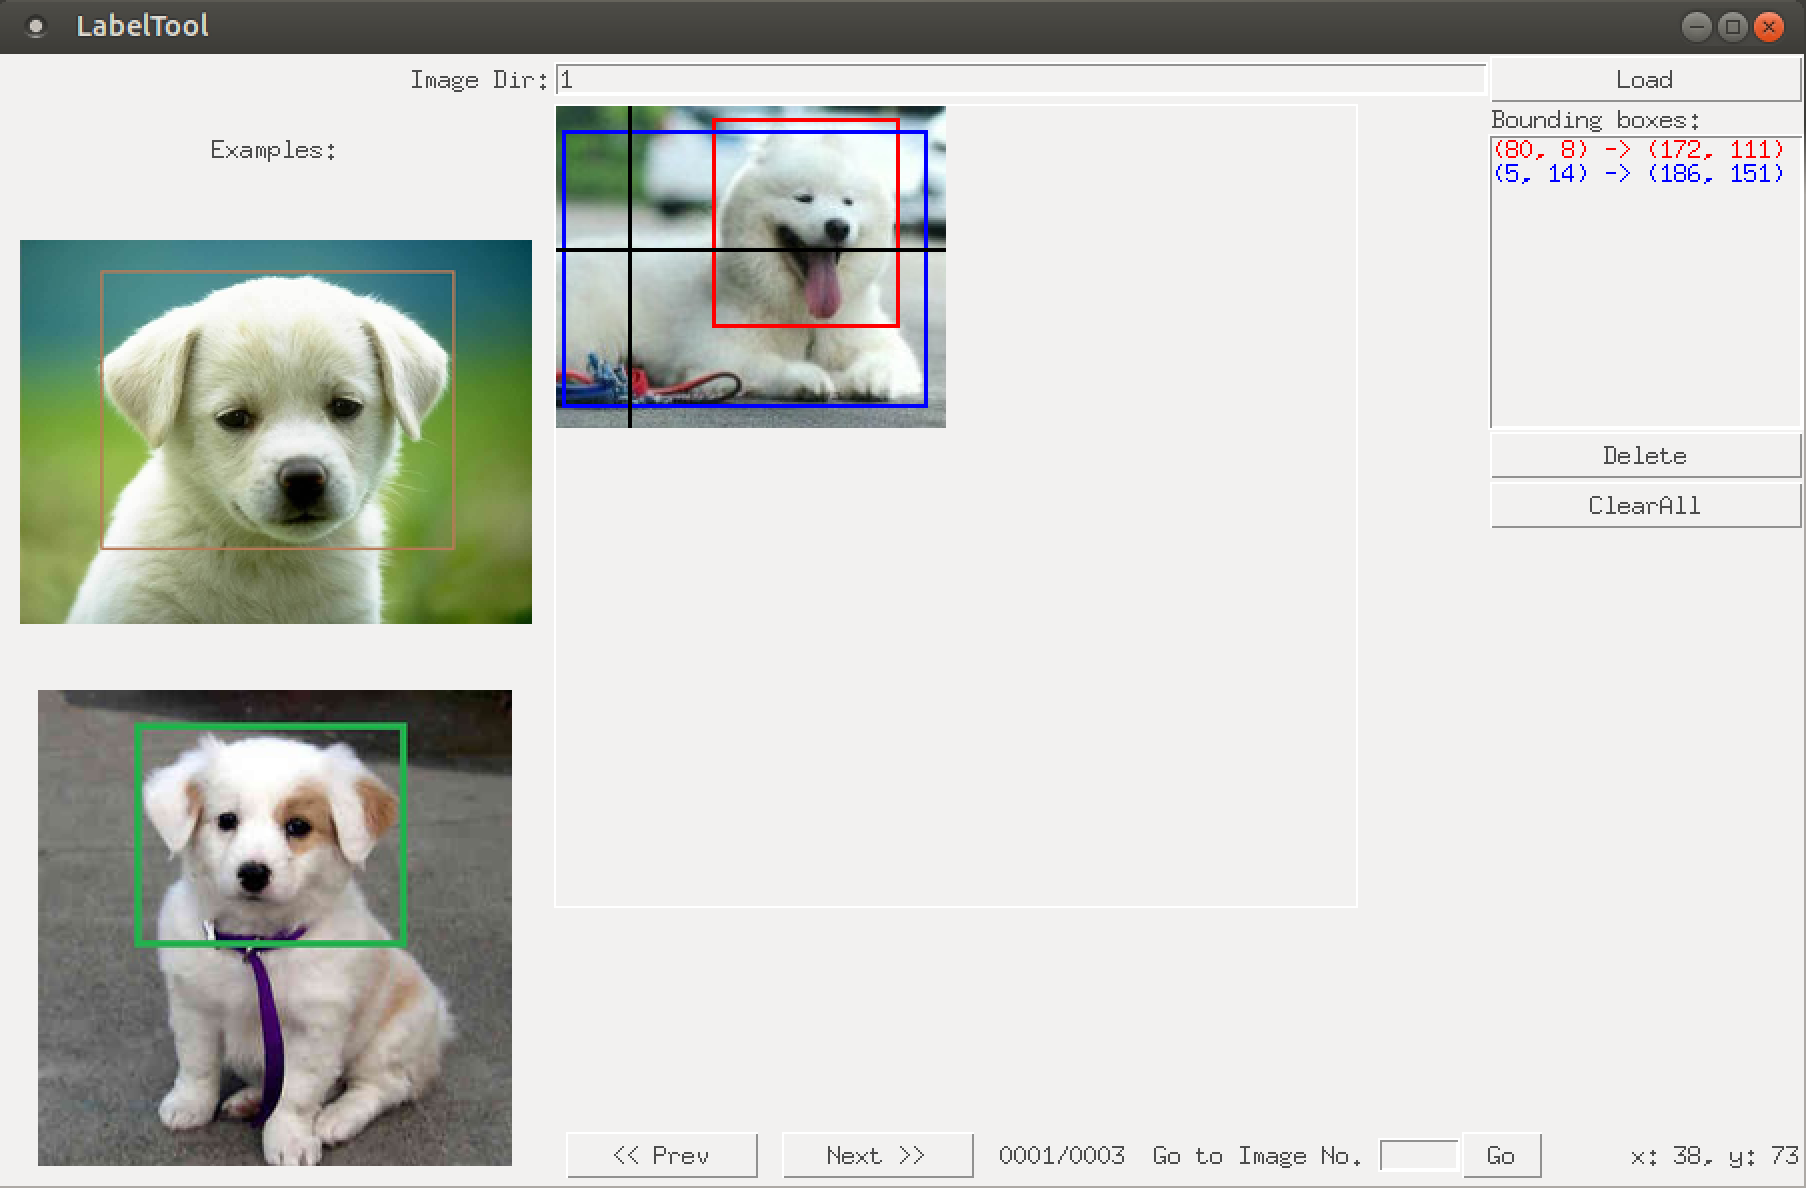
2. 画像にラベリング
BBox-Label-Toolを使ってラベリングします。
git clone https://github.com/puzzledqs/BBox-Label-Tool
cd BBox-Label-Tool/
python main.py
画像は以下のフォルダーのようにおいておきます。
BBox-Label-Tool
 |- Images
   |- 001
     |- 001.jpg
     |- 002.jpg ....
2. ラベリングをYOLOで使用する形に変換
convert.pyをhttps://github.com/Guanghan/darknet/blob/master/scripts/convert.pyからダウンロードしてきます。
先ほどラベリングした画像とラベルをconvert.pyのフォルダーに入れます。
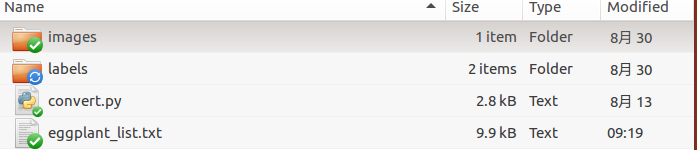
python convert.py
4. train用とtest用に分ける
再度先ほどconvertした画像とラベルをdarknetのフォルダに入れておきます。
全体像
darknet
 |- data
 |   |- images
 |       |- 001.jpg
 |       |- 002.jpg
 |       |- 003.jpg ...
 |       |- divide_into_traintestdata.py
 |       |- test.txt
 |       |- train.txt
 |       |- obj.name
 |   |- labels
 |       |- 001.txt
 |       |- 002.txt
 |       |- 003.txt ...
 |- cfg
     |- obj.data
     |- yolov3-obj.cfg
gitからdivide_into_traintestdata.pyをダウンロードして走らせれば学習データとテストデータにわけられます。
5. 設定ファイル作成
- 物体名一覧ファイル
- ネットワークの構成
- これら全体のファイルの保存場所を示すファイル
5.1 物体名一覧ファイル
obj.name
eggplant
5.2 ネットワークの構成
cp yolov3.cfg yolov3-obj.cfg
中身を書き換えていく。
1〜7行目を以下のように変更する。
# Testing
# batch=1
# subdivisions=1
# Training
batch=64
subdivisions=16 # 16
次に、classesとfiltersを変更する。
filters=(クラス数+5)*3なので、filtersは18とする。
605行目 filters=18
611行目 classes=1
689行目 filters=18
695行目 classes=1
773行目 filters=18
779行目 classes=1
6. 学習
cd darknet/
wget https://pjreddie.com/media/files/darknet53.conv.74
./darknet detector train cfg/obj.data cfg/yolov3-obj.cfg darknet53.conv.74
学習させたYOLOをrosで動かす
あると望ましい
- CUDA
install
cd ~/catkin_ws/src
git clone –recursive git@github.com:leggedrobotics/darknet_ros.git
cd ..
catkin_make -DCMAKE_BUILD_TYPE=Release
設定
重み
重みとネットワークの構成は以下のフォルダに入れる
catkin_ws/src/darknet_ros/darknet_ros/yolo_network_config/weights/
catkin_ws/src/darknet_ros/darknet_ros/yolo_network_config/cfg/
画像トピックの設定
catkin_ws/src/darknet_ros/darknet_ros/config/ros.yaml
ros.yaml
topic: /camera/color/image_raw
全体の設定
cd ~/catkin_ws/src/darknet_ros/darknet_ros/config
cp yolov3.yaml  yolov3-obj.yaml
yolov3-obj.yaml
yolo_model:
  config_file:
    name: yolov3-obj.cfg
  weight_file:
    name: yolov3-obj_900.weights
  threshold:
    value: 0.3
  detection_classes:
    names:
      - eggplant
launch file
cp yolo_v3.launch eggplant.launch
eggplant.launch
<rosparam command="load" ns="darknet_ros" file="$(find darknet_ros)/config/yolov3-obj.yaml"/>
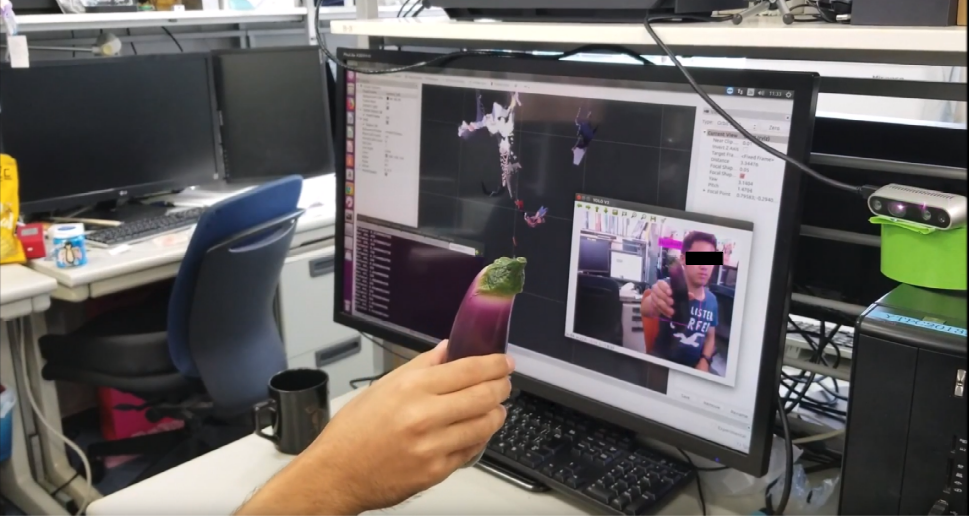
RealSenseで認識して距離をとってくる。
YOLOで認識した画像中の物体の距離を取得するプログラムは自作した。
https://github.com/higemojakandhi/darknet_ros/blob/master/darknet_ros/scripts/ObjectDepth.py
実行する
roslaunch realsense2_camera rs_rgbd.launch
roslaunch darknet_ros yolo_v3.launch
rosrun darknet_ros ObjectDepth.py
rviz
rvizでcamera/depth_registered/pointsトピックが飛ばしているPointCloud2データを可視化させると以下のようになる