Docker を業務で扱うようになり、これまで職場ではOracle JDK を使っていましたが、環境ごとにバージョンがバラついていたため、Eclipse Temurin OpenJDKに統一することにしました。
この記事では、Windows 11環境でのインストール手順をまとめます。
環境
- OS:Windows 11
- JDK:Eclipse Temurin OpenJDK 25.0.2+10
Temurin JDKのインストール(GUI)
1.公式HPにアクセス
Windows用のインストーラーをダウンロードします
https://adoptium.net/temurin/releases

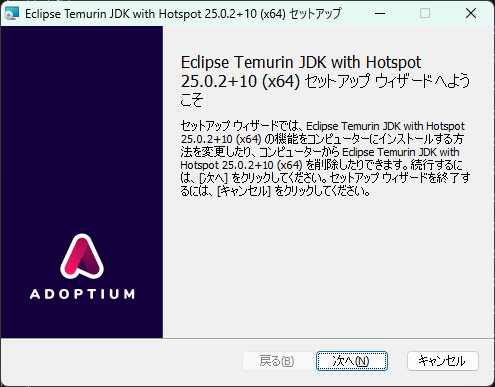
2.インストーラーを起動して次へをクリック
3.同意して次へをクリック

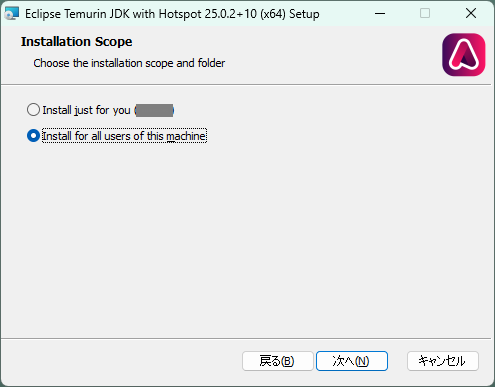
4.Install for all users of this machineを選択して次へをクリック
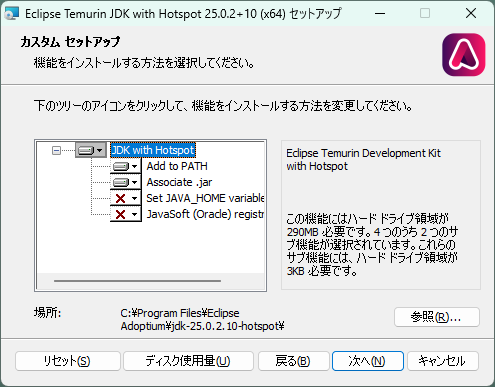
5.そのまま次へをクリック
※Set JAVA_HOME variableを有効にするとJAVA_HOMEが設定できます。
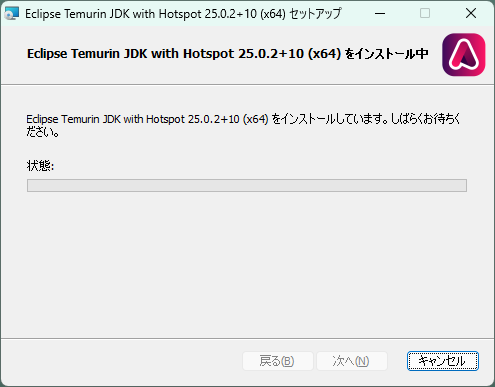
6.インストールをクリック
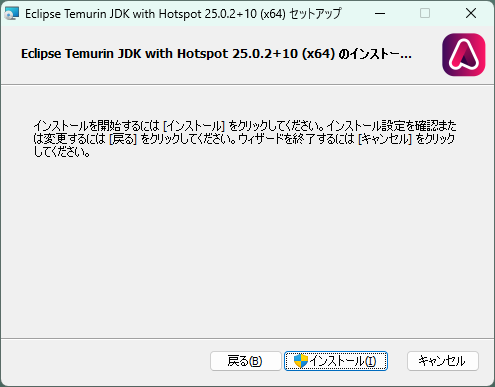
少し待ちます
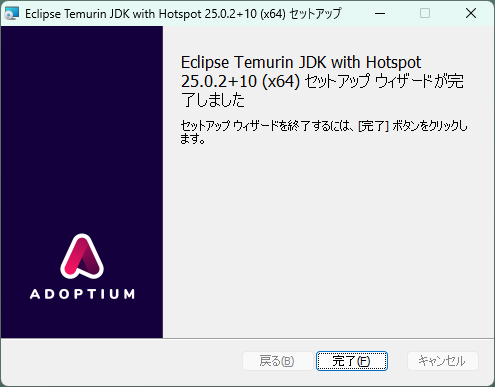
7.完了
環境変数にJAVA_HOME追加(手動)
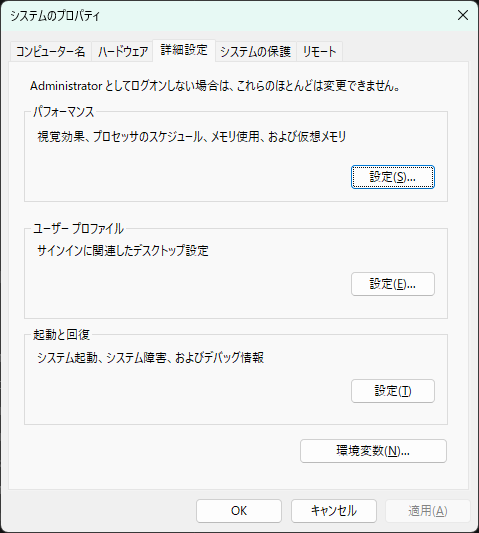
1.Windows検索バーで「システム環境変数の編集」を検索して開きます。
2.「環境変数」をクリックします。
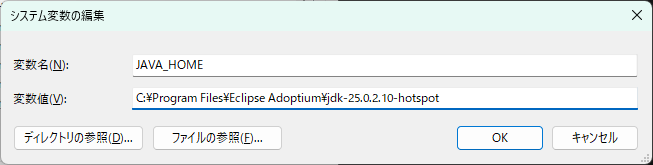
3.システム環境変数に以下を追加して完了です。
変数名:JAVA_HOME
変数値:C:\Program Files\Eclipse Adoptium\jdk-25.0.2.10-hotspot
winget でインストールする場合(CLI)
GUI を使わずにインストールしたい場合はこちら。
# JDK 25.0.2.10 を指定してインストール
winget install EclipseAdoptium.Temurin.25.JDK --version 25.0.2.10

# JAVA_HOME を設定(管理者権限で実行)
setx JAVA_HOME "C:\Program Files\Eclipse Adoptium\jdk-25.0.2.10-hotspot" /M

# バージョン確認
java -version
最後に
Eclipse Temurin OpenJDK に統一したことでDockerfileに定義しているイメージと統一ができました。
GUI / wingetどちらからでもインストール可能ですので簡単に導入することができます。