前のステップ
Bot Serviceを作る
作成したナレッジベースを元にBot Serviceを作ると、TeamsやWebサイトでチャットボットを利用できるようになる。
QnA ボット - Azure Bot Service - QnA Maker - Azure Cognitive Services | Microsoft Docs
チャットボットの挙動をカスタマイズする
チャットボットの挙動、例えば初めの挨拶や回答の返し方など、をカスタマイズする場合は、Bot Service作成時に一緒に出来上がったApp Serviceのソースコードをカスタマイズする。
前提条件:
- SDKではNode.jsを選択した。botbuilder v4
- PCにNode.js、Visual Studio Codeがインストールされている。
Gitでソースコードを取得する
QnA MakerからBot Serviceを作成した場合、Bot ServiceのApp Serviceは既にボットとして利用できる状態になっている。
カスタマイズしたいときは、配置済みのApp Serviceから一旦ソースを取得する。
本稿には、ローカルGitと連携する方法を載せる。
ローカル Git リポジトリからデプロイする - Azure App Service | Microsoft Docs
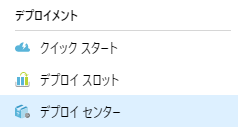
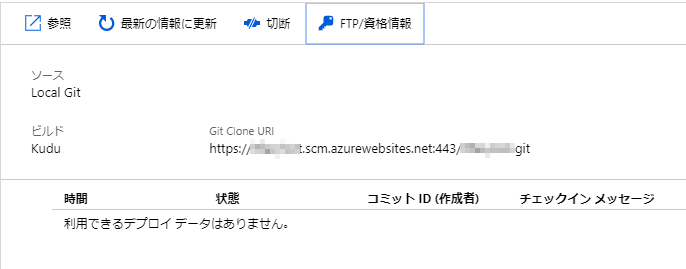
上記手順の、クイックスタートでソースとしてローカルGitを指定した後、デプロイセンターから資格情報の設定を行う。

「ユーザーの資格情報」タブを選び、IDとパスワードを入力する。IDは既定値が設定されている。

パスワード設定後、App Service 概要ページでGitリポジトリのURLを確認できるので、これをコピーしてリポジトリをクローンする。

Visual Studio Codeで編集する
クローンしたリポジトリをVisual Studio Codeで開く。
まずターミナルを開き、必要なモジュール群をダウンロードする。
ターミナルで「npm install」と入力し、実行。

しばらく待てば、モジュールがダウンロードされる。
ボットの機能は、bots/qnaBot.jsに書かれている。主にここを編集する。

生成されたソースでは、あいさつ文などが英語なので、ひとまず日本語に直す。

編集したソースをコミット&プッシュすれば、Azure上のソースが置き換わる。
Bot Serviceのサンプル集
microsoft/BotBuilder-Samples (GitHubにあるMS提供のBot Serviceサンプル集)
マルチターン(follow-up prompt)に対応する
自動的に作られたボット用スクリプトがマルチターンの会話に対応していない場合、スクリプトを改修して対応させる必要がある。
私がBot Serviceを作成した時点ではまだfollow-up promptがPREVIEWの段階だったため、スクリプトも対応していなかったが、2019年11月現在、PREVIEWでは無くなったようなので、Bot Serviceのスクリプトもfollow-up promptに対応しているかもしれない。
実装サンプル
まず、新たにjsファイルを作成し、QnA Makerから返ってきた回答にfollow-up promptが付いているか確認し、付いている場合は返答にボタンを追加する処理を作る。
const { MessageFactory } = require('botbuilder');

/**
 * QnA Maker から返ってきた答えを適切な形にしてクライアントへ返す
 *
 * @param {string} qnaResult QnA Maker から返ってきたanswer
 * @returns Activity
 */
module.exports.createAnswer = function(context, qnaResult) {

    if (qnaResult.context && qnaResult.context.prompts && qnaResult.context.prompts.length > 0) {
        // answerにfollow-up promptが付いている
        return createPrompt(qnaResult);
    } else {
        return qnaResult.answer;
    }
}

/**
 * follow-up prompt をクライアントへ返す
 *
 * @param {QnAMakerResult} qnaResult
 * @returns Activity
 */
function createPrompt(qnaResult) {
    let title = qnaResult.answer;
    let prompts = qnaResult.context.prompts;
    let buttons = [];

    // DisplayOrderで並べ替え
    prompts.sort(function(a, b) {
        if (a.displayOrder == b.displayOrder) {
            return 0;
        } else if (a.displayOrder < b.displayOrder) {
            return -1;
        }
        return 1;
    });

    // follow-up promptのボタンを作る
    for (let prompt of prompts) {
        buttons.push(prompt.displayText);
    }

    return MessageFactory.suggestedActions(buttons, title);
}
次に、既存のqnaBot.jsのonMessageの処理を修正し、回答を返す部分で、先ほど作ったHelperクラスのメソッドを呼び出すようにする。
this.onMessage(async (context, next) => {
    this.logger.log('Calling QnA Maker');

    const qnaResults = await this.qnaMaker.getAnswers(context);

    // If an answer was received from QnA Maker, send the answer back to the user.
    if (qnaResults[0]) {
        // 自作したHelperのメソッドを呼び出す
        let answer = QnAResultHelper.createAnswer(context, qnaResults[0]);
        await context.sendActivity(answer);

    // If no answers were returned from QnA Maker, reply with help.
    } else {
        await context.sendActivity('お答えできません。他の言い方で質問してみてください。');
    }

    // By calling next() you ensure that the next BotHandler is run.
    await next();
});
ローカルでテストする
.envファイルの作成
Azureからクローンしたリポジトリには.envファイルが含まれていないため、ローカルでテストする際には追加する必要がある。
置く場所はリポジトリフォルダ直下。
MicrosoftAppId=""
MicrosoftAppPassword=""

QnAKnowledgebaseId="<knowledge-base-id>"
QnAAuthKey="<your-endpoint-key>"
QnAEndpointHostName="<your-hostname>"
上記2つは空白で良い。下3つは、Bot ServiceのWeb Appの構成を見ると分かる。

しかし、テキストを選択してコピーするのが難しい作りになっているので、見ながら打ち込むか、HTMLソースを開いてコピーするとかするしかない。
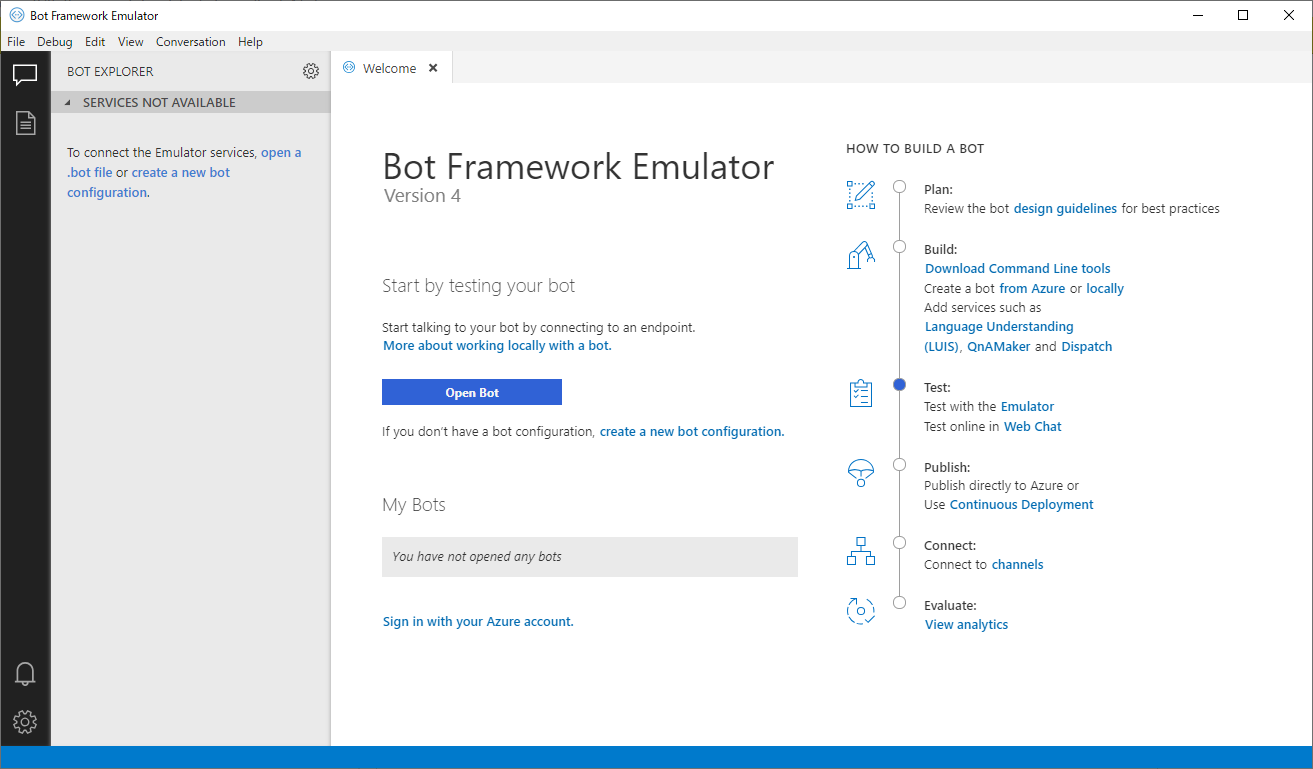
Bot Framework Emulatorのインストール
公式サイト
https://github.com/Microsoft/BotFramework-Emulator/blob/master/README.md
ローカルで起動したBot Serviceに対してテストできるツール。テスト先はローカル以外にも、Azureにデプロイ済みのBotも可能。
上記サイトへ行き、最新のインストーラをダウンロード、実行する。
Visual Studio Codeでデバッグを実行する
Visual Studio Code でBot Serviceのソースを開いた状態の画面で、メニュー→「デバッグ」→「デバッグの開始」を押す。

初めてデバッグ実行するときは言語を選ぶダイアログ(?)が表示されるので、「Node.js」を選ぶ。
デバッグコンソールに、Bot Serviceのポート番号が表示される。これをBot Emulatorで使用する(画像だと3978がポート番号)。
Bot Service Emulatorから接続する
「Bot URL」にhttp://localhost:3978/api/messagesと入力し、他は空白のまま Connect を押す。このURLのポート番号は、先ほどのデバッグ実行したときに表示されたものに合わせる。

サンプルコード
GitHubに実際に作ったものを置いた。
vicugna-pacos/js-azure-qnamaker-bot


