こちらの記事を参照して、アプリを作成しておりましたが、
バックエンド側で認証したユーザのユーザ名とアイコンを取得しようとした際に、
ちょうど良い記事が見つからず手間取ったので、メモも兼ねて投稿いたします。
初学者のため、誤り等があればご指摘ください。
やりたい事
Access Tokenに、ユーザ名、アイコンのデータを付与することで、Rails側でデコードした際に、ペイロードからその情報を取得できるようにする。
下記のチュートリアルでいうとverify_tokenのところで取得できるはず。
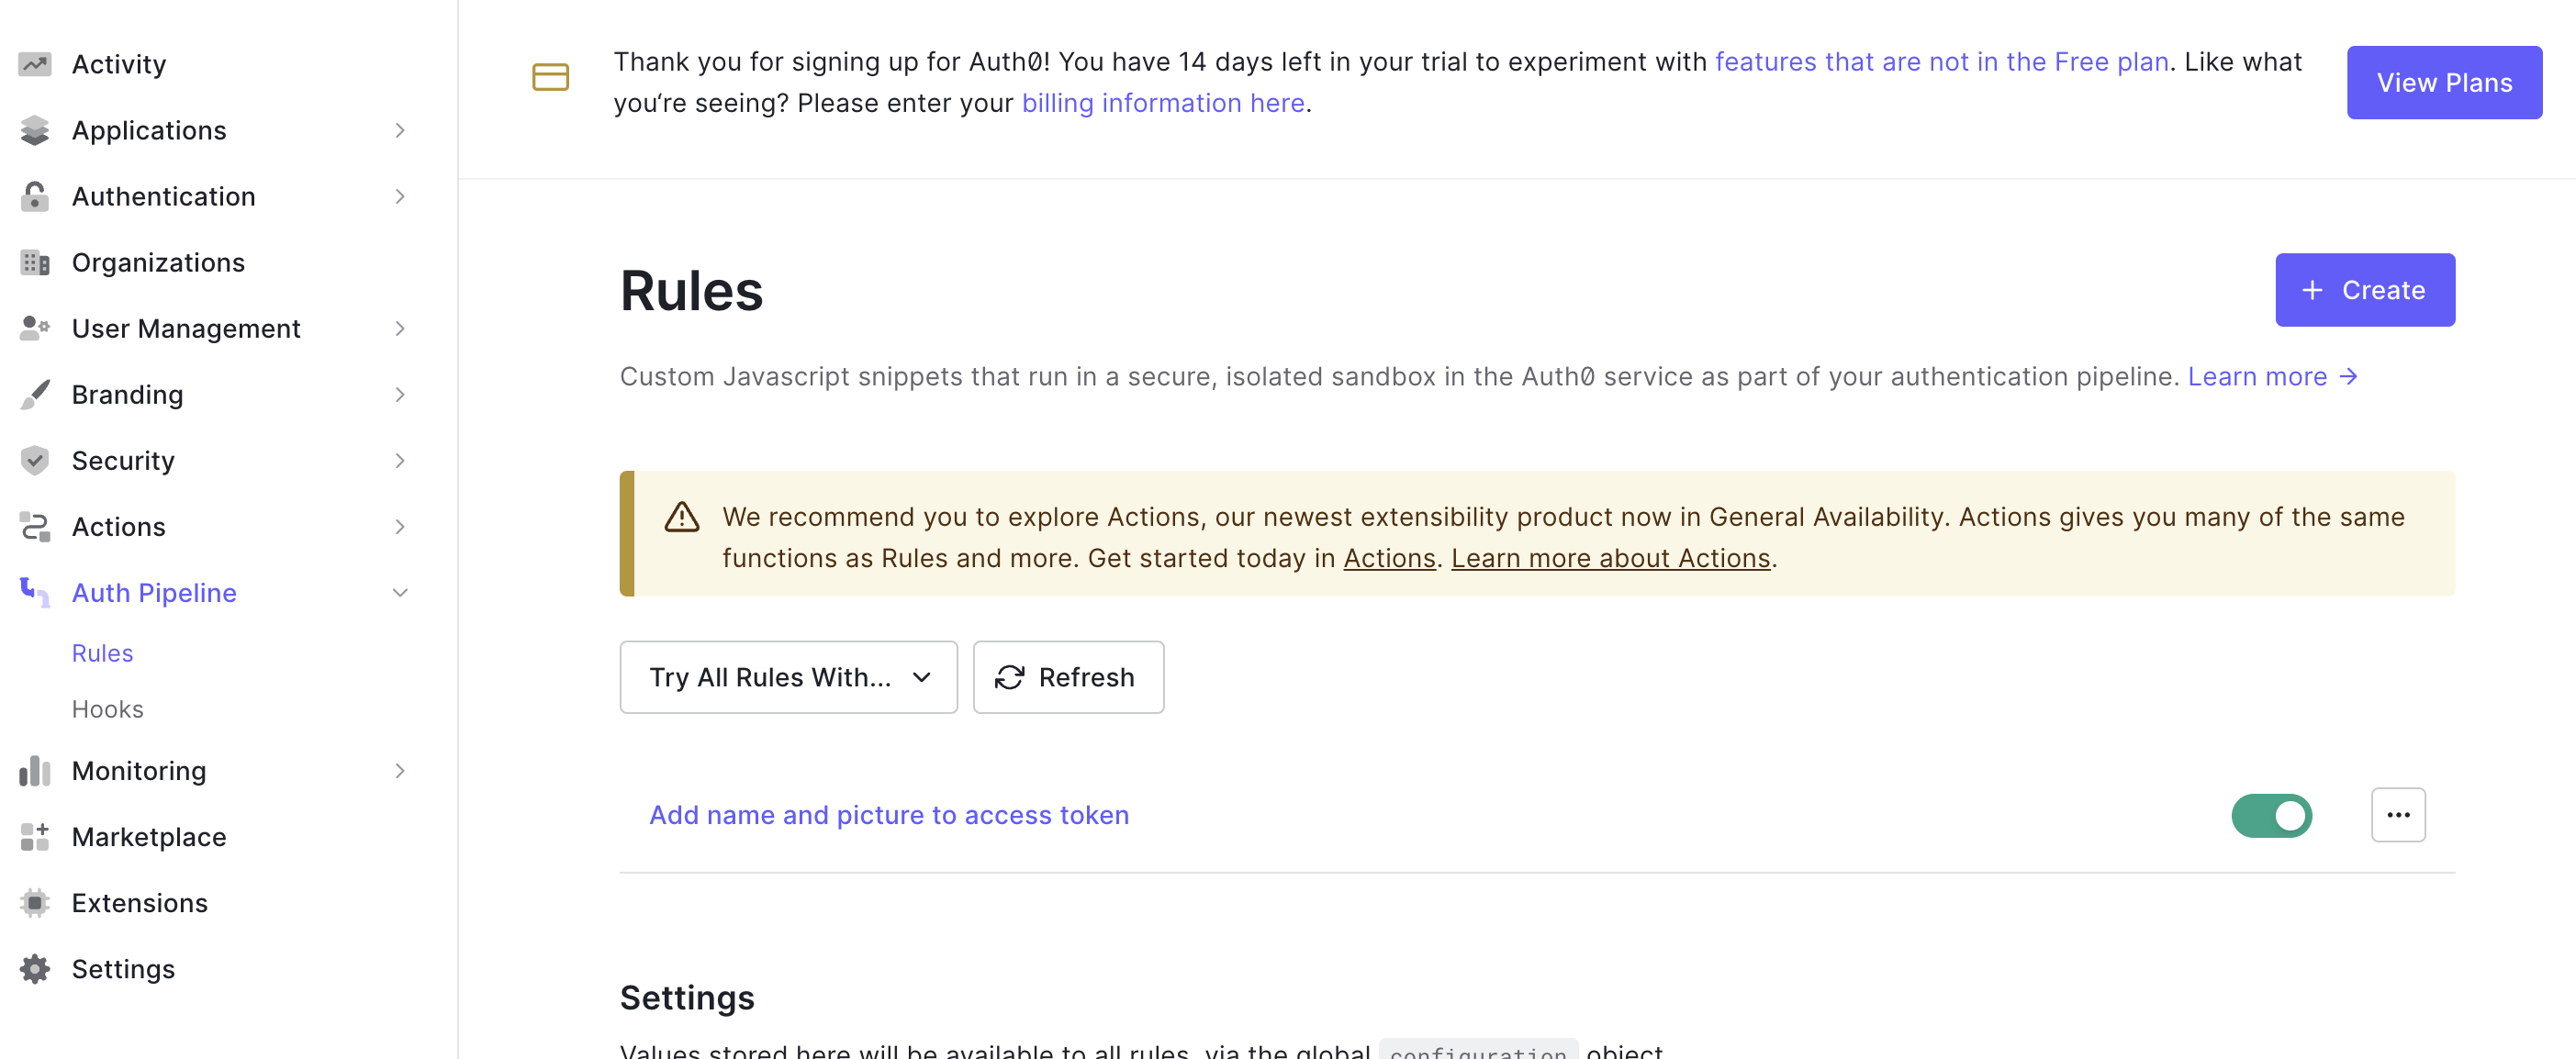
手順① Auth0のRulesを開いて、Createを押下
手順② テンプレートとして、Add email to access tokenを選択
手順③ Rulesを編集
必要なものをcontextに追加していく。
※ここの書き方について、もともと「context.accessToken[namespace + 'email'] = user.email;」となっていましたが、使いづらかったので['email']に直したところ、ドットをつけた方がよいというメッセージが出たため、とりあえず['.email']にしていますが、正しいのかはわからないです。。
function addEmailToAccessToken(user, context, callback) {
  // This rule adds the authenticated user's email address to the access token.

  var namespace = 'https://example.com/';

  context.accessToken['.email'] = user.email;
  context.accessToken['.name'] = user.name;
  context.accessToken['.picture'] = user.picture;

  return callback(null, user, context);
}
手順④「Save Changes」を押下
以上。
かなり苦労して色々な方法を試したのですが、やり方がわかればあっさりできました。英語ができればもっと早く辿り着けたかも知れぬ。。英語も勉強します。。。
【参考にした記事】

