はじめに
.NET でカバレッジを計測しようとしたときいくつかの選択肢があります。
有料であれば Visual Studio Enterprise や dotCover が選択に上がりますが、やはりお金がかかるのがネックです。
もちろん有料ツールのほうがサポートや機能面で優れている場合が多いですが、個人で開発する場合やあまり予算に余裕がないプロジェクトではなかなか導入できないと思います。
そこで候補に挙がるのは OSS のカバレッジツールです。最近の .NET では Coverlet などの OSS のカバレッジツールも充実してきており、費用をかけずにコードカバレッジの計測ができるようになっており非常にありがたいです。
Coverlet などは Microsoft の公式ドキュメントにも使い方が書かれており、導入が非常に簡単です!ぜひ積極的に使っていきたいところです。
しかし、"最近"の .NET を使った開発であれば無料で簡単にできるコードカバレッジの計測も、昔の .NET Framework のプロジェクトで計測をしようと思うと結構大変だったので記事にしておこうと思います。
昔の .NET Framework のプロジェクトとは?
昔の形式の .csproj は XML の <Project /> タグに次のような属性が設定されています。
<Project ToolsVersion="15.0" xmlns="http://schemas.microsoft.com/developer/msbuild/2003">
...
</Project>
また、パッケージの管理も packages.config を使用し、NuGet や Visual Studio を使わなければリストアされません。
今回の対象としている昔の .NET Framework のプロジェクトはこの形式のものになります。
因みに、新しい形式の .csproj は以下のように Sdk 属性を指定します。
Sdk の値はコンソールやWeb、WPFなどで異なります。
<Project Sdk="Microsoft.NET.Sdk">
...
</Projct>
昔の形式ではプロジェクトに含めるソースコードなども .csproj に記述をしなくてはならず、複数人でプロジェクトを編集しているときにプロジェクトファイルのコミット忘れでコンパイルエラーが発生したり、プロジェクトファイルがコンフリクトするといったことが時々ありましたが、新しい .csproj では記述がシンプルになりそのあたりの手間がぐっと減りました。
.NET Core や .NET 5,6 のプロジェクトを作るときはこの新しい形式になっていますが .NET Framework もこちらの新しいプロジェクトの形式で記述することができます。
もし新しい形式の .csproj を使いたいけど .NET Framework なんだよな... と諦めていた方は一度試してみるとプロジェクトの管理が楽になるかもしれません。
.NET Framework を使う場合は以下のリンクにのっている使用したいターゲットフレームワークを <TargetFramework /> に設定してください。
環境
.NET Framework
- .NET Framework 4.6.2
ツール
- Visual Studio Community 2022
- PowerShell 7.2.3
NuGet パッケージ
<?xml version="1.0" encoding="utf-8"?>
<packages>
  <package id="NUnit" version="3.13.3" targetFramework="net462" />
  <package id="NUnit.ConsoleRunner" version="3.15.0" targetFramework="net462" />
  <package id="OpenCover" version="4.7.1221" targetFramework="net462" />
  <package id="ReportGenerator" version="5.1.6" targetFramework="net462" />
</packages>
カバレッジの計測方法
1. テスト対象のプロジェクトを作成
まずテスト対象のプロジェクトを作成します。
Visual Studio を立ち上げコンソールアプリを作成します。
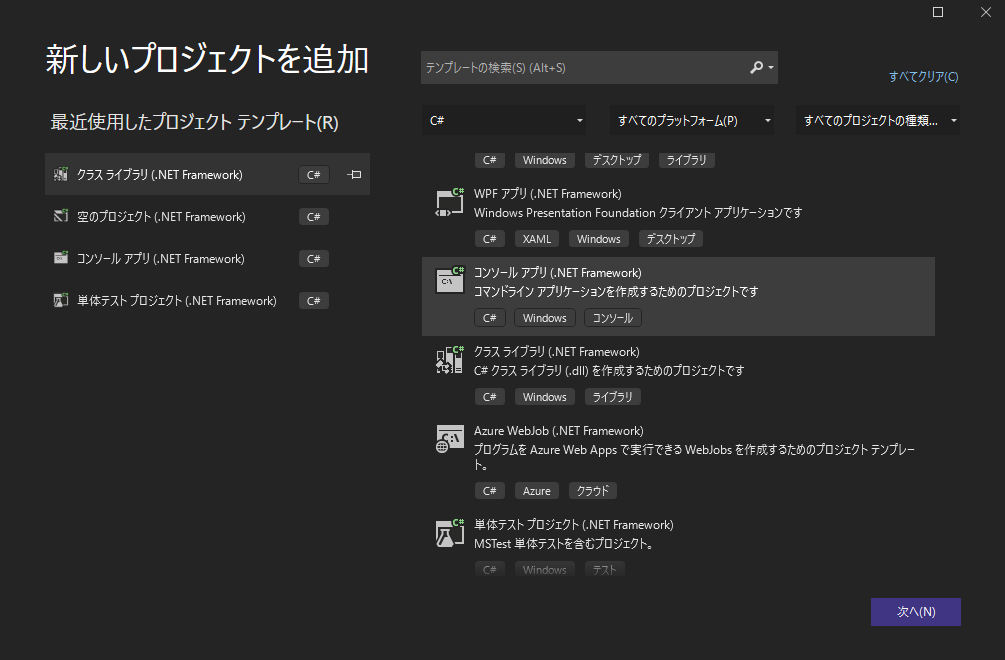
この時フレームワークは .NET Framework 4.6.2 を選択します。4.6.2 を選択するのは現時点(2022-05-16)でサポートが切れていない一番古い4系のためです。
そしてテスト対象となるソースを作成します。
namespace SampleCli
{
    public class Sample
    {
        public int Addition(int x, int y)
        {
            return x + y;
        }

        public int Subtraction(int x, int y)
        {
            return x - y;
        }

        public string GetHello()
        {
            return "Hello,World!";
        }

        public bool IsZero(int x)
        {
            bool res = false;
            // 分岐確認のために if 文を追加する
            if (0 == x)
            {
                res = true;
            }
            return res;
        }
    }
}
今回はこの Sample クラスのテストを実施します。
2. テストプロジェクトを作成
テスト対象のプロジェクトができたらテストプロジェクトを作成します。
ソリューションに追加で新しいプロジェクトを作成します。
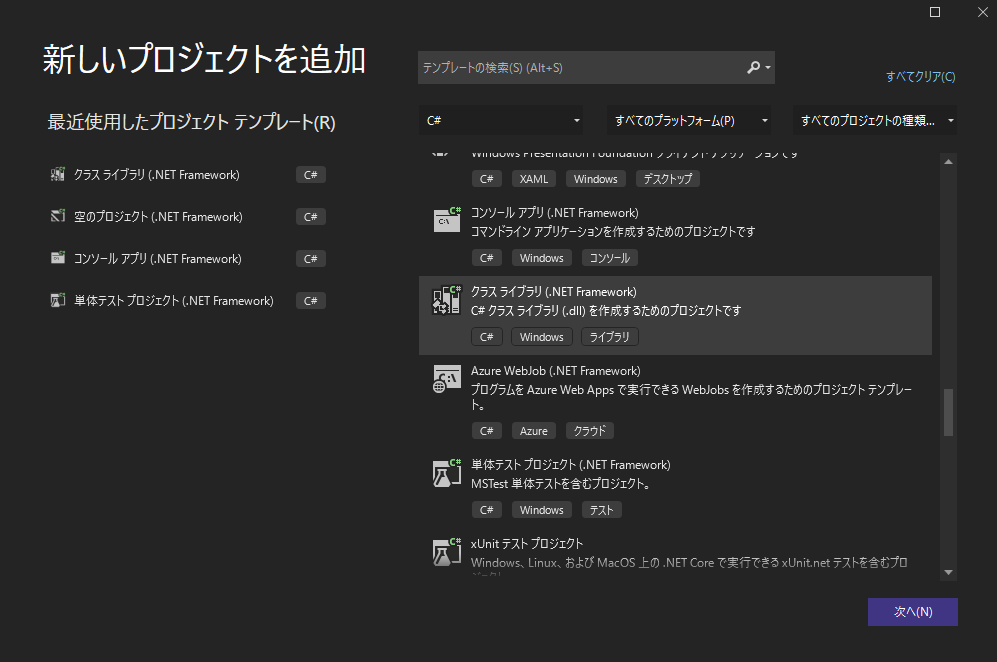
単体テスト用のプロジェクトもありますが今回はクラスライブラリから作成していきます。
このテストプロジェクトもフレームワークを .NET Framework 4.6.2 にします。
プロジェクトができたら NuGet を使い必要なライブラリやツールをテストプロジェクトに追加します。
今回は NUnit を使ったテストを作成していきます。
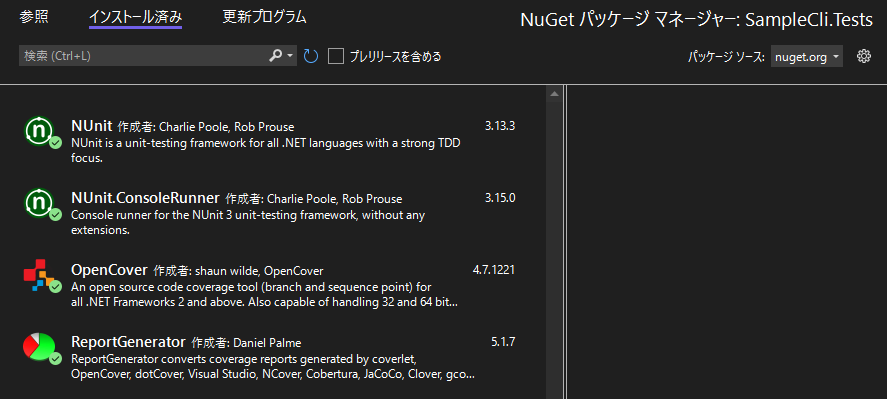
追加するパッケージの簡単な説明は以下です。
| パッケージ | 説明 |
|---|---|
| NUnit | 単体テストライブラリ |
| NUnit.ConsoleRunner | テストを実行するランナーツール |
| OpenCover | カバレッジツール |
| ReportGenerator | カバレッジの結果を HTML 形式のレポートに変換するツール |
パッケージを追加した後、テストコードを追加します。
using NUnit.Framework;

namespace SampleCli.Tests
{
    [TestFixture]
    public class SampleTests
    {
        [TestCase(1, 2, 3)]
        [TestCase(10, 5, 15)]
        [TestCase(5, -5, 0)]
        public void AdditionTest(int x, int y, int expected)
        {
            var sample = new Sample();

            var actual = sample.Addition(x, y);
            Assert.AreEqual(expected, actual);
        }

        [TestCase(1, 2, -1)]
        [TestCase(10, 5, 5)]
        [TestCase(5, -5, 10)]
        public void SubtractionTest(int x, int y, int expected)
        {
            var sample = new Sample();

            var actual = sample.Subtraction(x, y);

            Assert.AreEqual(expected, actual);
        }

        [TestCase("Hello,World!")]
        public void GetHelloTest(string expected)
        {
            var sample = new Sample();

            var actual = sample.GetHello();

            Assert.AreEqual(expected, actual);
        }

        [TestCase(0, false)]
        public void GetHelloTest(int x, bool expected)
        {
            var sample = new Sample();

            var actual = sample.IsOverZero(x);

            Assert.AreEqual(expected, actual);
        }
    }
}
ここまでのファイル構成を tree コマンドで出力すると以下のようになります。
プロジェクトフォルダ
│  CoverageSample.sln
│
├─src
│  └─SampleCli
│      │  App.config
│      │  Program.cs
│      │  Sample.cs
│      │  SampleCli.csproj
│      │
│      └─Properties
│              AssemblyInfo.cs
│
└─test
    └─SampleCli.Tests
        │  packages.config
        │  SampleCli.Tests.csproj
        │  SampleTests.cs
        │
        └─Properties
                AssemblyInfo.cs
3. Restore スクリプトを作成
古い形式のプロジェクトの場合 Visual Studio や NuGet を使用してパッケージをリストアすることができます。
Visual Studio でリストアしても問題ないですがスクリプト化しておくと自動化がしやすいので以下のようなリストア用のスクリプトを作成し、ソリューションファイルと同じフォルダに配置します。
Push-Location -Path $PSScriptRoot | Out-Null

$NugetSrcUrl = "https://dist.nuget.org/win-x86-commandline/latest/nuget.exe"
$NugetDir = "./nuget"
$NugetTool = "$NugetDir/nuget.exe"


try{
    if( -not (Test-Path $NugetDir) ){
        New-Item -ItemType Directory -Path $NugetDir | Out-Null
    }

    if( -not (Test-Path $NugetTool) ){
        # NuGet が存在しない場合ダウンロードする
        Invoke-WebRequest -Uri $NugetSrcUrl -OutFile $NugetTool
    }

    # NuGet でパッケージをリストアする
    & $NugetTool restore
}
finally{
    Pop-Location | Out-Null
}
4. Test スクリプトを作成
テストを実行するためのスクリプトを作成します。
この時 Visual Studio をインストールしたときの MSBuild を使用するため、もし 2022 以外の Visual Studio をインストールした場合はそのバージョンに合わせて $MSBuild のパスを変更してください。
作成したスクリプトはソリューションと同じフォルダに配置します。
Push-Location -Path $PSScriptRoot | Out-Null

$MSBuild = "C:\Program Files\Microsoft Visual Studio\2022\Community\MSBuild\Current\Bin\MSBuild.exe"
$TestRunner = ".\packages\NUnit.ConsoleRunner.3.15.0\tools\nunit3-console.exe"
$CoverageTool = ".\packages\OpenCover.4.7.1221\tools\OpenCover.Console.exe"
$ReportGenTool = ".\packages\ReportGenerator.5.1.7\tools\net47\ReportGenerator.exe"


$SlnPath = ".\CoverageSample.sln"

$TestTargetPath = ".\test\SampleCli.Tests\bin\Debug\SampleCli.Tests.dll"
$Filters = "+[SampleCli]*"

$ReportDirPath = ".\report"
$TestReportPath = "$ReportDirPath\TestResult.xml"
$CoverageReportPath = "$ReportDirPath\coverage.opencover.xml"
$CoverageHtmlReportPath = "$ReportDirPath\coverage"
$CoverageHtmlReportHistoryPath = "$ReportDirPath\coverage\histories"


try{
    if( -not (Test-Path ".\packages")){
        Write-Error "'.\packages' is not found. Please run 'restore.ps1'." -ErrorAction Stop
    }

    if( -not (Test-Path $ReportDirPath) ){
        New-Item -ItemType Directory -Path $ReportDirPath | Out-Null
    }

    # Build する
    & $MSBuild $SlnPath /t:rebuild /p:Configuration=Debug /p:Platform="Any CPU"

    # カバレッジを計測する
    & $CoverageTool -register:user -target:"$TestRunner" `
        -targetargs:"--out=""$TestReportPath"" ""$TestTargetPath""" `
        -targetdir:"." `
        -filter:"$Filters" `
        -output:"$CoverageReportPath" -mergebyhash

    # カバレッジの結果を HTML 形式のレポートに変換する
    & $ReportGenTool "-reports:$CoverageReportPath" `
        "-targetdir:$CoverageHtmlReportPath" `
        "-historydir:$CoverageHtmlReportHistoryPath" `
        -reporttypes:Html
}
finally{
    Pop-Location | Out-Null
}
ここまでのファイル構成を tree コマンドで出力すると以下のようになります。
プロジェクトフォルダ
│  CoverageSample.sln
│  restore.ps1
│  test.ps1
│
├─src
│  └─SampleCli
│      │  App.config
│      │  Program.cs
│      │  Sample.cs
│      │  SampleCli.csproj
│      │
│      └─Properties
│              AssemblyInfo.cs
│
└─test
    └─SampleCli.Tests
        │  packages.config
        │  SampleCli.Tests.csproj
        │  SampleTests.cs
        │
        └─Properties
                AssemblyInfo.cs
5. スクリプトの実行
作成したスクリプトを実行し、テストを行います。
パッケージをリストアしていない場合は restore.ps1 を実行します。
.\restore.ps1
パッケージをレストアあと test.ps1 を実行します。
.\test.ps1
実行が完了すると report フォルダが作成され以下のようなファイルが作成されます。
プロジェクトフォルダ
│
└─report
   │  coverage.opencover.xml
   │  TestResult.xml
   │
   └─coverage
       │  class.js
       │  icon_cube.svg
       │  icon_cube_dark.svg
       │  icon_down-dir_active.svg
       │  icon_down-dir_active_dark.svg
       │  icon_fork.svg
       │  icon_fork_dark.svg
       │  icon_info-circled.svg
       │  icon_info-circled_dark.svg
       │  icon_minus.svg
       │  icon_minus_dark.svg
       │  icon_plus.svg
       │  icon_plus_dark.svg
       │  icon_search-minus.svg
       │  icon_search-minus_dark.svg
       │  icon_search-plus.svg
       │  icon_search-plus_dark.svg
       │  icon_sponsor.svg
       │  icon_star.svg
       │  icon_star_dark.svg
       │  icon_up-dir.svg
       │  icon_up-dir_active.svg
       │  icon_wrench.svg
       │  icon_wrench_dark.svg
       │  index.htm
       │  index.html
       │  main.js
       │  report.css
       │  SampleCli_Program.html
       │  SampleCli_Sample.html
       │
       └─histories
               2022-05-17_00-49-20_CoverageHistory.xml
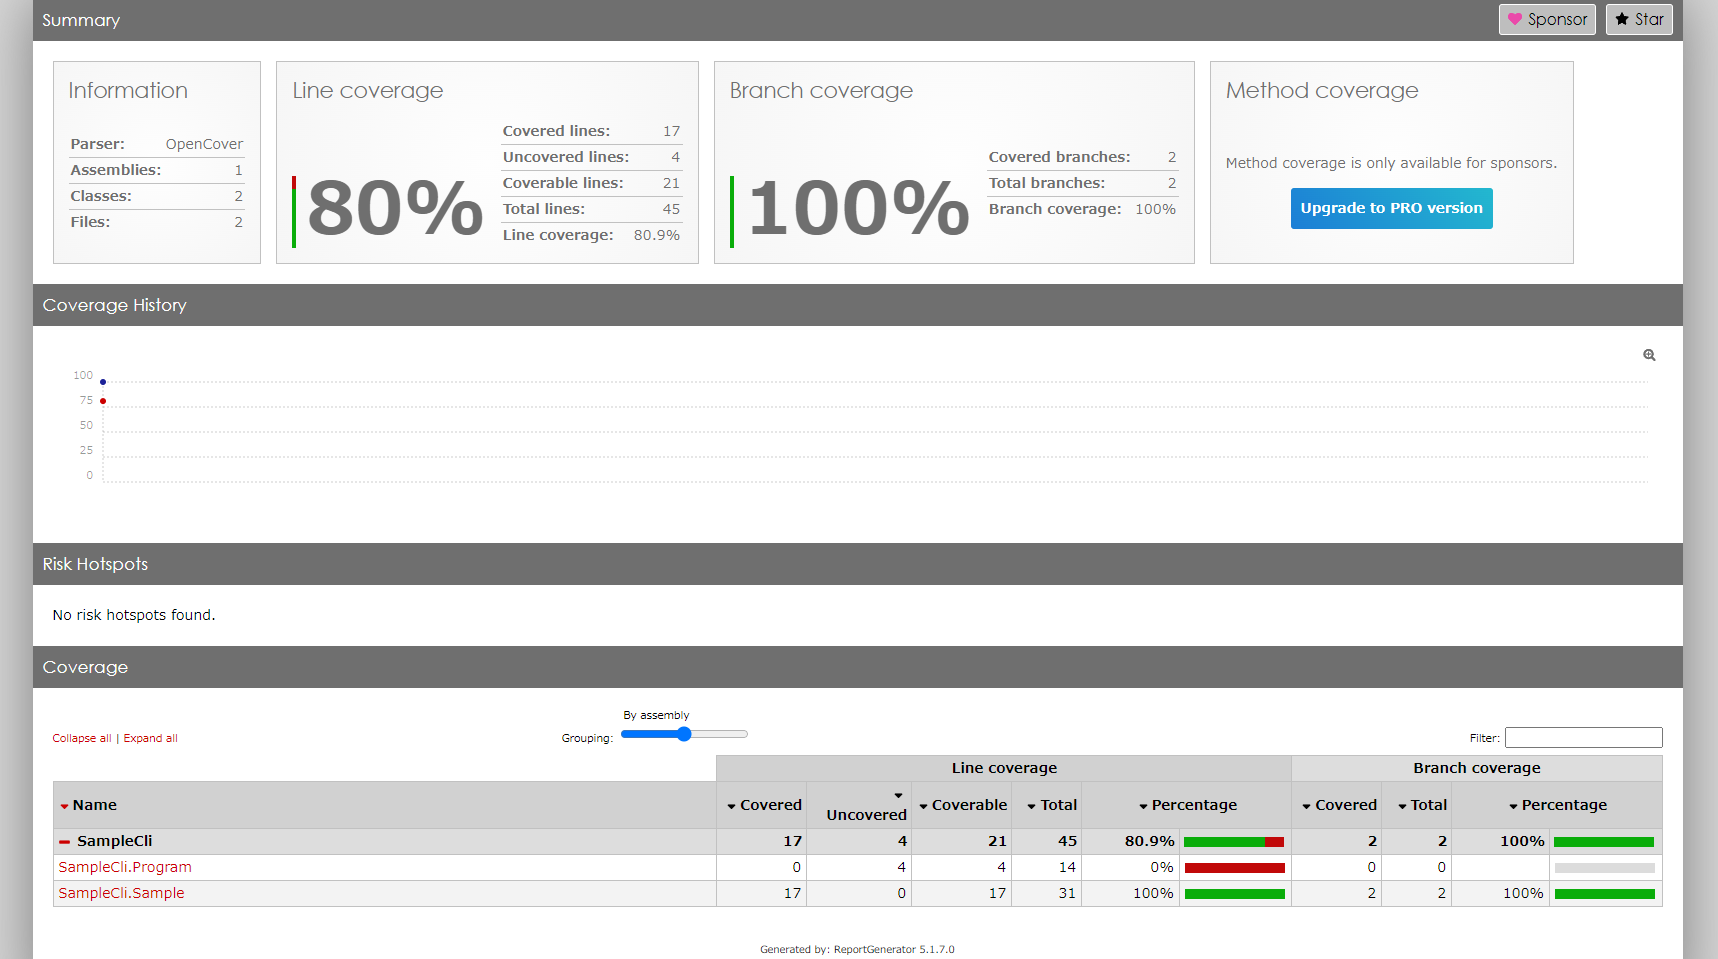
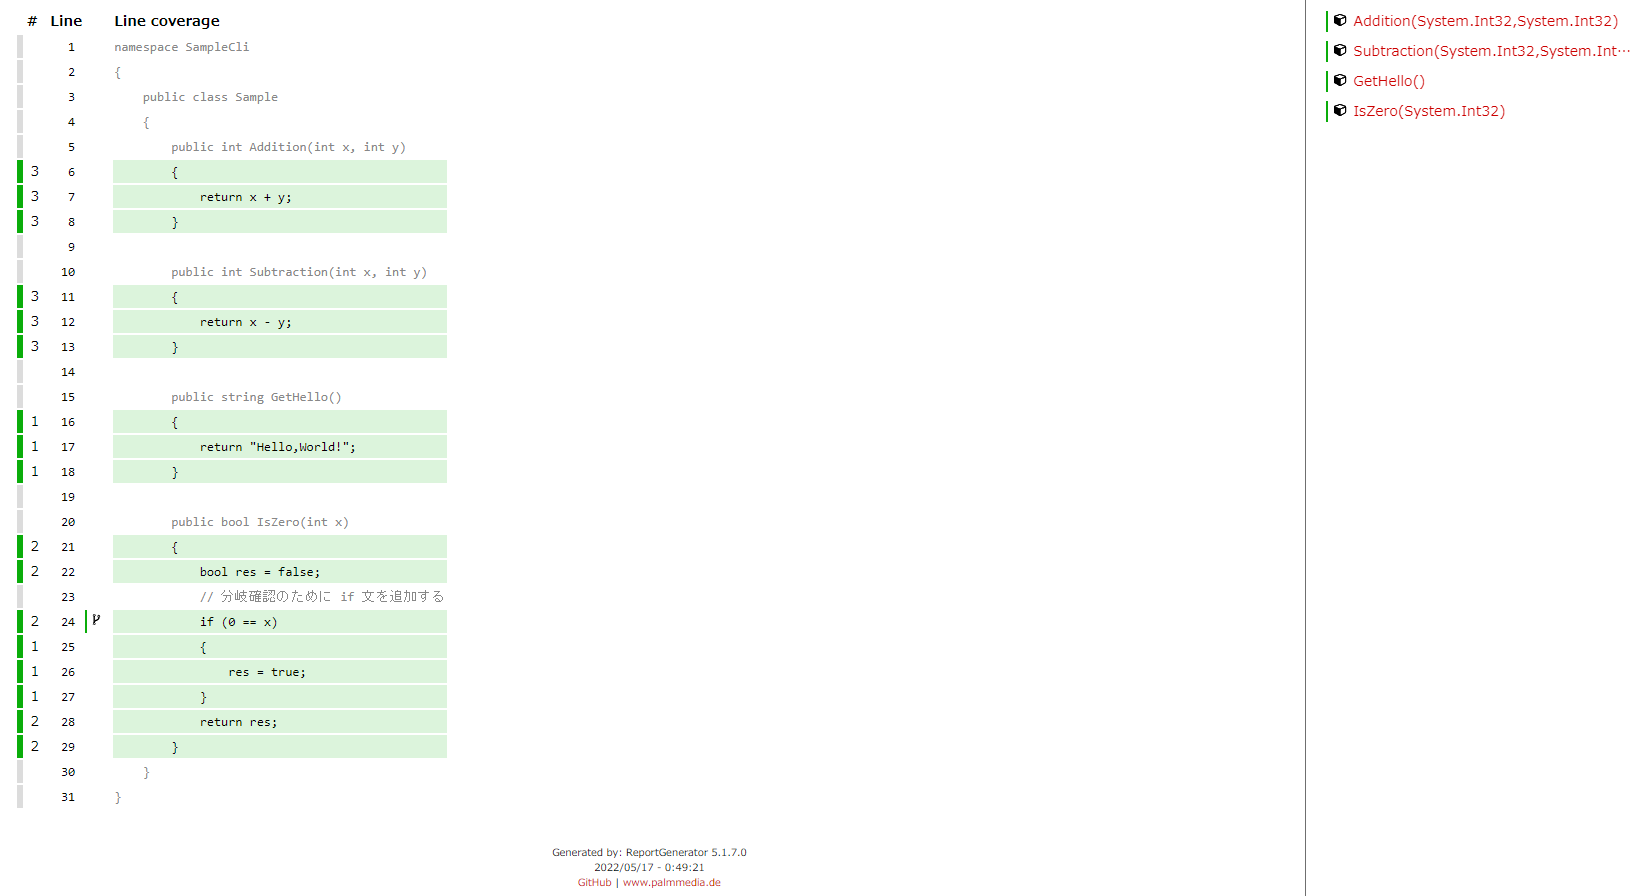
この中の report/coverage/index.html カバレッジの結果になります。
以上が古い .NET Framework プロジェクトでコードカバレッジを取得する方法になります。
サンプルコード
ここで紹介したサンプルコードは以下の GitHub レポジトリにアップロードしたので良ければ使用してください。
注意点
注意点として OpenCover はすでに保守がされていないため、可能であれば古い形式のプロジェクトから新しい <Project Sdk="Microsoft.NET.Sdk"> 形式のプロジェクトに変換し、Coverlet などを使用するほうが良いと思います。
参考
- dotCover:JetBrainsによる.NET用コードカバレッジツール
- 単体テストにコードカバレッジを使用する - .NET
- GitHub - coverlet-coverage/coverlet: Cross platform code coverage for .NET
- GitHub - OpenCover/opencover: A code coverage tool for .NET 2 and above (WINDOWS OS only), support for 32 and 64 processes with both branch and sequence points
- GitHub - danielpalme/ReportGenerator: ReportGenerator converts coverage reports generated by coverlet, OpenCover, dotCover, Visual Studio, NCover, Cobertura, JaCoCo, Clover, gcov or lcov into human readable reports in various formats.