はじめに
Elasticsearchを触ってみたかったので手元に環境を作ってみることにしました。
せっかくなので最近リリースされた最新の7.4.0+前回記事で構築したk3s環境を使用します。
(k3s特有の要素はないので、通常のKubernetes環境でも変わらず動くと思います)
CRD作成
Elastic Cloud on KubernetesではElasticsearchやKibanaを独自のCustom Resourceとして定義しています。
公式ドキュメントのQuickStartにある、
$ kubectl apply -f https://download.elastic.co/downloads/eck/1.0.0-beta1/all-in-one.yaml
を実行します。
※2019/10/12現在、公式ドキュメント記載のURLは404になっています。
URLのバージョン部分をGithubのReleaseで公開されている表記にすればよさそうです。
上記では「1.0.0-beta1-bc12」としています。
※2019/10/23更新
1.0.0-beta1の公開に伴い、上記の記述は必要なくなりました。
公式ドキュメントの記載通りで問題ありません。
Namespace作成
管理上Namespaceを分けたいので作成します。
今回は「elastic」としました。
apiVersion: v1
kind: Namespace
metadata:
  name: elastic
  labels:
    name: elastic
$ kubectl apply -f namespace.yaml
namespace/elastic created
Elasticsearch デプロイ
今回はお手軽にホストのディレクトリをhostPathでデータ永続化に利用します。
複数ノード構成にするときは要検討。
また、LoadBalancerで外部からのアクセスをHTTPで受けれるようにします。
apiVersion: elasticsearch.k8s.elastic.co/v1beta1
kind: Elasticsearch
metadata:
  name: elasticsearch
  namespace: elastic
spec:
  version: 7.4.0
  nodeSets:
  - name: node
    count: 1
    config:
      node.master: true
      node.data: true
      node.ingest: true
      node.store.allow_mmap: false
    podTemplate:
      spec:
        volumes:
        - name: elasticsearch-data
          hostPath:
            path: /opt/k8s-elastic
  http:
    tls:
      selfSignedCertificate:
        disabled: true
    service:
      spec:
        ports:
          - port: 9200
            targetPort: 9200
        type: LoadBalancer
        loadBalancerIP: 192.168.24.103
$ kubectl apply -f elasticsearch.yaml
elasticsearch.elasticsearch.k8s.elastic.co/elasticsearch created
少し待ってからelasticsearchリソースの状態を確認し、
$ kubectl get elasticsearch -n elastic
NAME            HEALTH   NODES   VERSION   PHASE   AGE
elasticsearch   green    1       7.4.0     Ready   3m15s
上記のようにHEALTHがgreen、PHASEがReadyであればOKです。
パスワードがsecretに格納されているので以下のように取得し、
$ PASSWORD=$(kubectl get secret elasticsearch-es-elastic-user -o=jsonpath='{.data.elastic}' -n elastic | base64 --decode)
curlでアクセスしてみます。
$ curl -u "elastic:$PASSWORD" http://192.168.24.103:9200
{
  "name" : "elasticsearch-es-node-0",
  "cluster_name" : "elasticsearch",
  "cluster_uuid" : "WGWsr4wSQV2eodUKapxyoA",
  "version" : {
    "number" : "7.4.0",
    "build_flavor" : "default",
    "build_type" : "docker",
    "build_hash" : "22e1767283e61a198cb4db791ea66e3f11ab9910",
    "build_date" : "2019-09-27T08:36:48.569419Z",
    "build_snapshot" : false,
    "lucene_version" : "8.2.0",
    "minimum_wire_compatibility_version" : "6.8.0",
    "minimum_index_compatibility_version" : "6.0.0-beta1"
  },
  "tagline" : "You Know, for Search"
}
Kibana のデプロイ
KibanaもLoadBalancerで外部からのアクセスをHTTPで受けれるようにします。
apiVersion: kibana.k8s.elastic.co/v1beta1
kind: Kibana
metadata:
  name: kibana
  namespace: elastic
spec:
  version: 7.4.0
  count: 1
  elasticsearchRef:
    name: elasticsearch
  http:
    tls:
      selfSignedCertificate:
        disabled: true
    service:
      spec:
        ports:
          - port: 80
            targetPort: 5601
        type: LoadBalancer
        loadBalancerIP: 192.168.24.104
$ kubectl apply -f kibana.yaml
kibana.kibana.k8s.elastic.co/kibana created
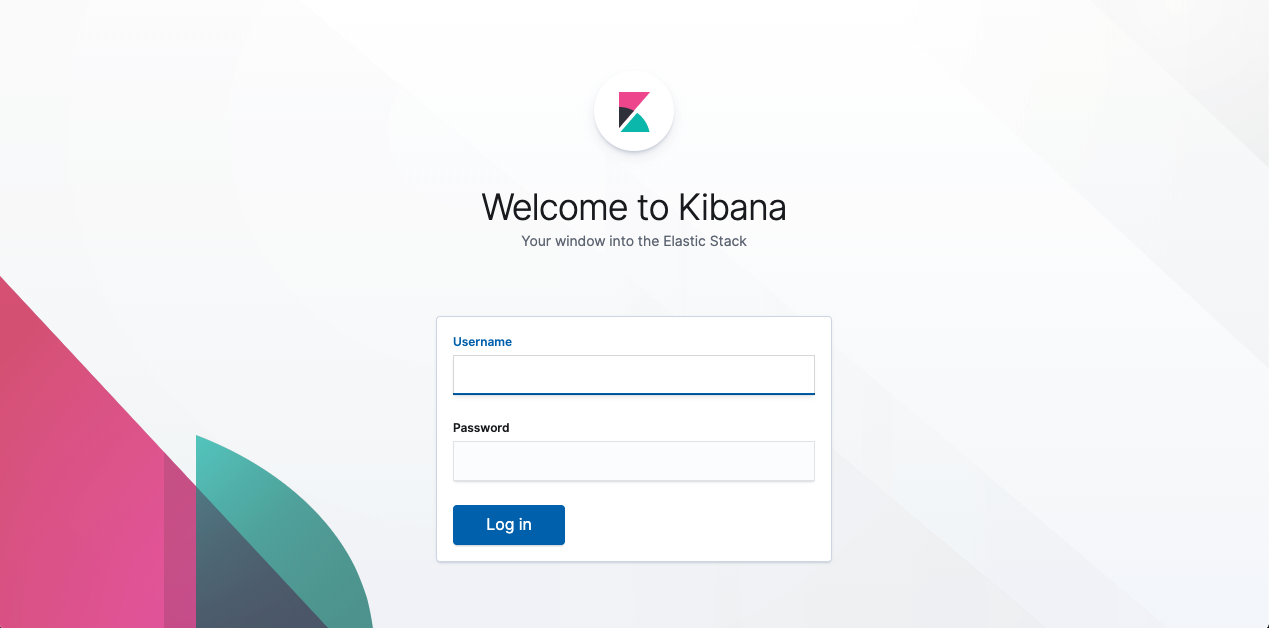
デプロイ終わったらブラウザでhttp://192.168.24.104にアクセスすると、

ログイン画面が表示されます。
Username,PasswordはElasticsearchと同じ物を入力すればOKです。