Googleカレンダーから当日の予定を取得し、任意のLINEに送信するBotをGASで作成しました。
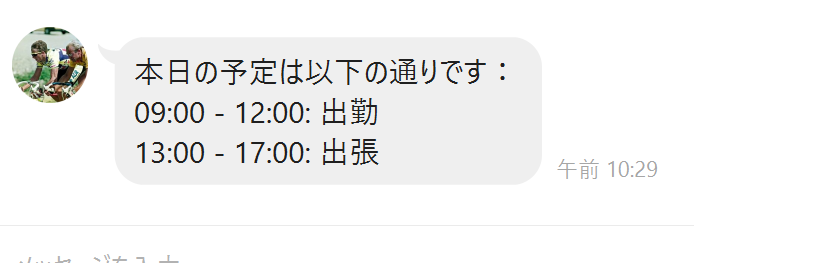
下図のように、任意の時間帯にLINEに当日予定を送信することが出来ます。
通常、この類の通知自動化はLINE Notify上で行うケースが多いかもしれませんが、このBotでは任意のLINEに対して送信することが出来ます。
また、先日記述したこちらのGooglカレンダー自動登録プログラムと組み合わせると、非常に有用かと思います。
https://qiita.com/ussoewwin/items/c73525855d96fbb0fed3
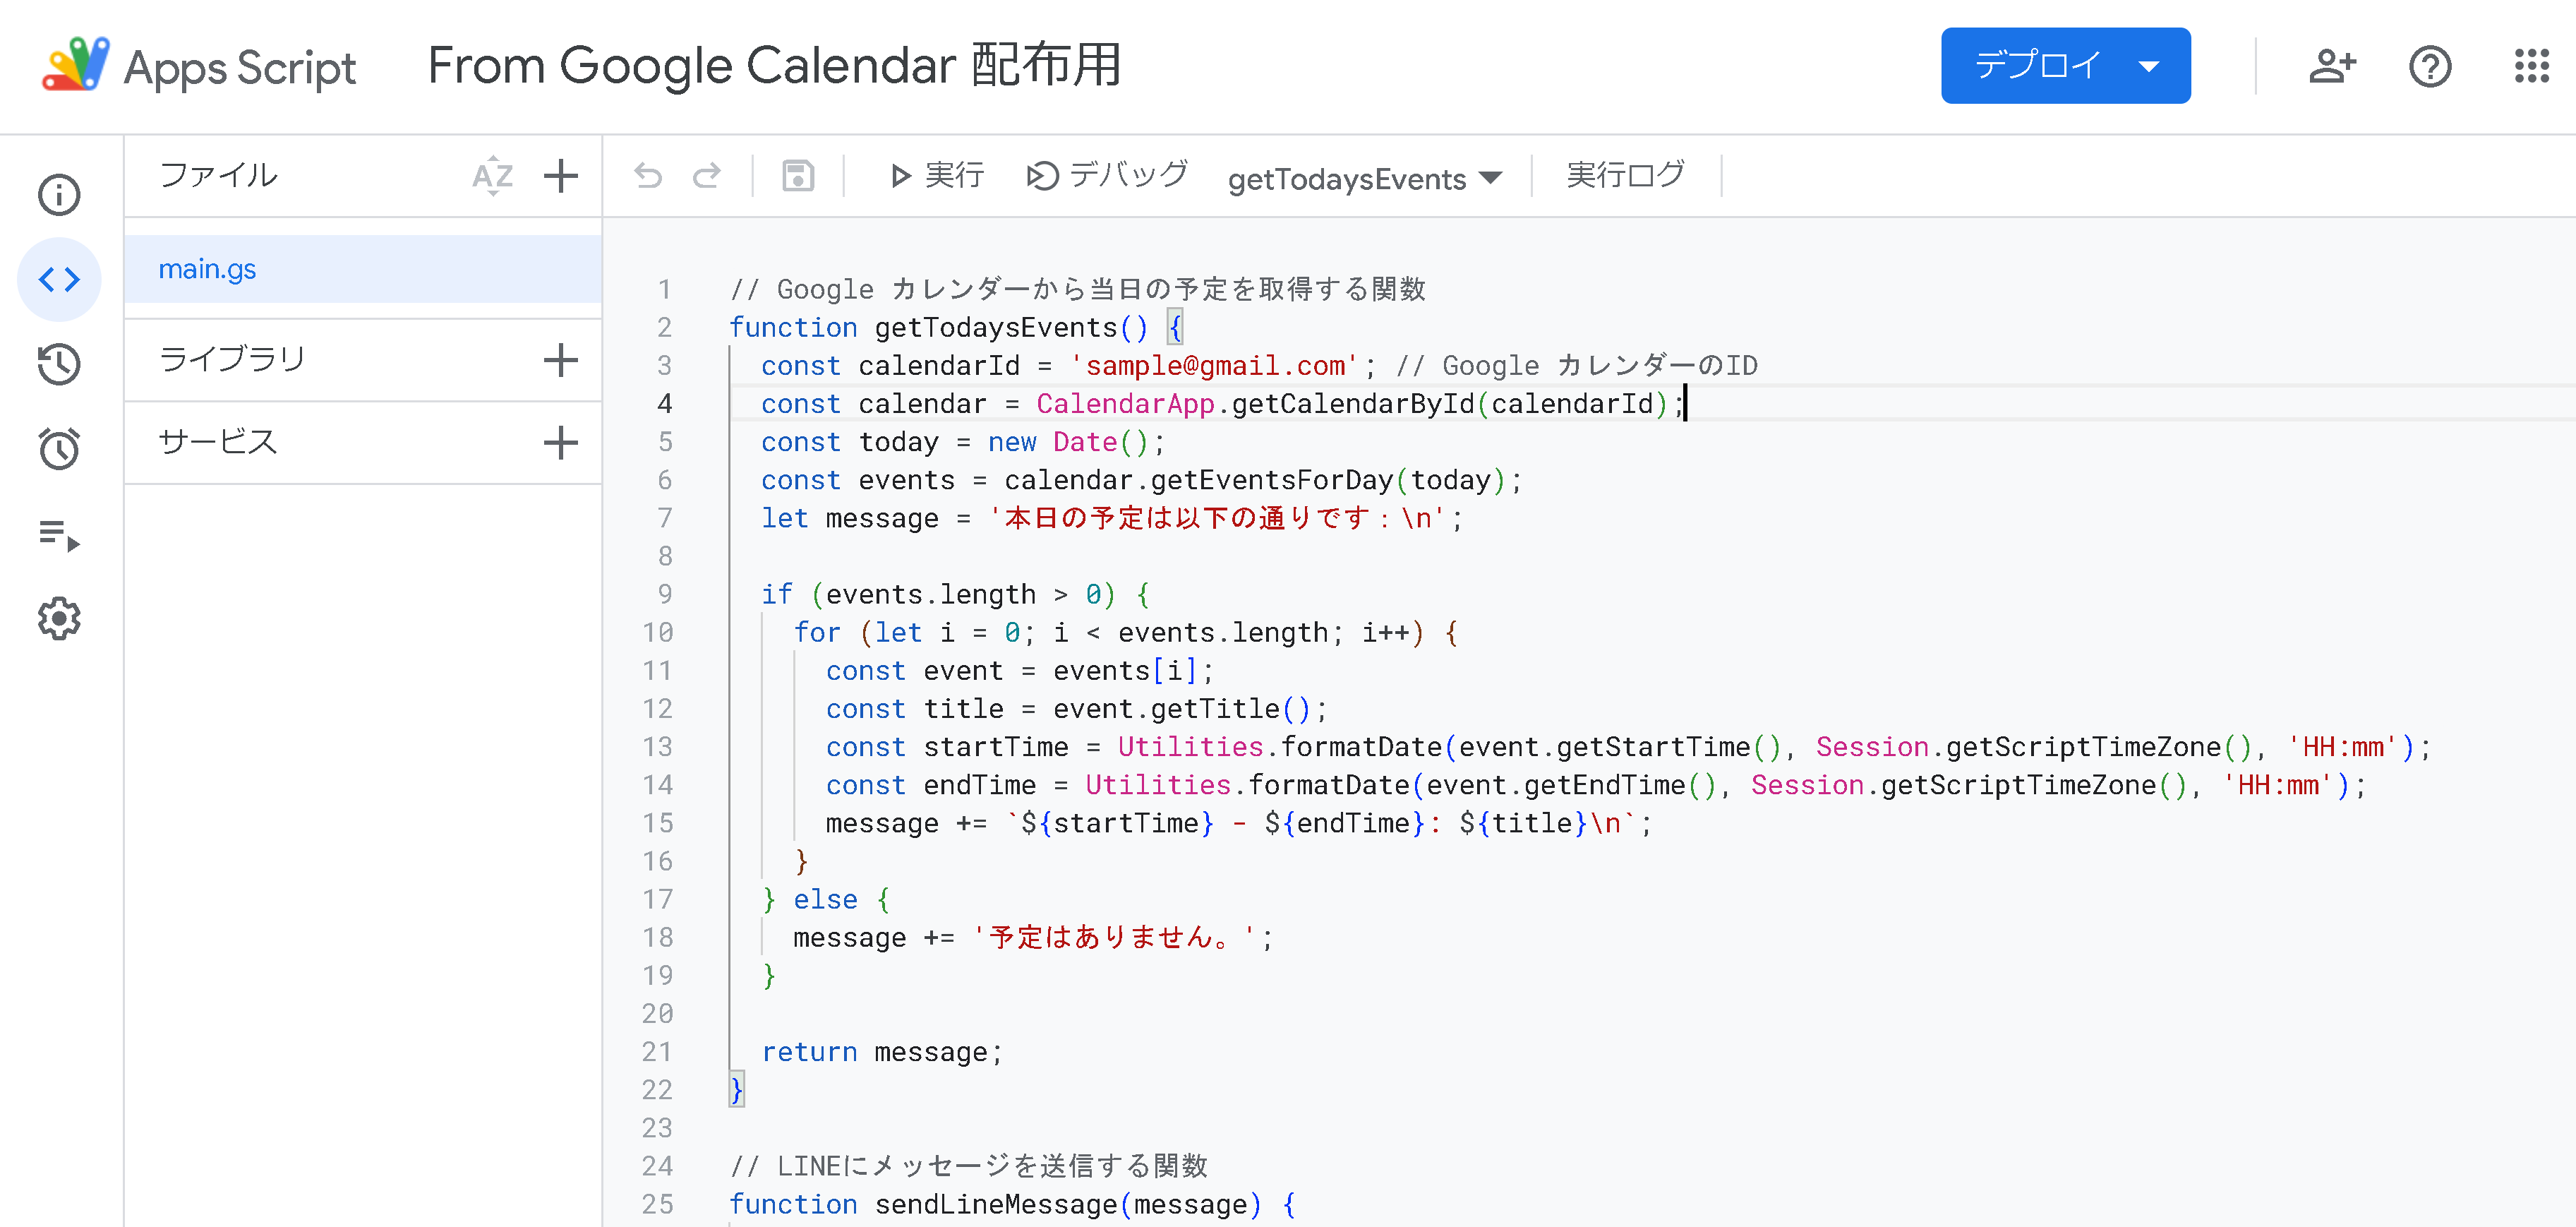
まず始めに、GASで新しいプロジェクトを作成し、下のコードを貼りつけてください。
main.gs
// Google カレンダーから当日の予定を取得する関数
function getTodaysEvents() {
  const calendarId = 'sample@gmail.com'; // Google カレンダーのID
  const calendar = CalendarApp.getCalendarById(calendarId);
  const today = new Date();
  const events = calendar.getEventsForDay(today);
  let message = '本日の予定は以下の通りです:\n';

  if (events.length > 0) {
    for (let i = 0; i < events.length; i++) {
      const event = events[i];
      const title = event.getTitle();
      const startTime = Utilities.formatDate(event.getStartTime(), Session.getScriptTimeZone(), 'HH:mm');
      const endTime = Utilities.formatDate(event.getEndTime(), Session.getScriptTimeZone(), 'HH:mm');
      message += `${startTime} - ${endTime}: ${title}\n`;
    }
  } else {
    message += '予定はありません。';
  }

  return message;
}

// LINEにメッセージを送信する関数
function sendLineMessage(message) {
  const CHANNEL_ACCESS_TOKEN = 'ここに入力する'; // LINE Botのアクセストークン
  const userId = 'ここに入力する'; // 送信先のユーザーID
  const url = 'https://api.line.me/v2/bot/message/push';
  const headers = {
    'Content-Type': 'application/json',
    'Authorization': 'Bearer ' + CHANNEL_ACCESS_TOKEN,
  };
  const postData = {
    to: userId,
    messages: [{
      type: 'text',
      text: message,
    }],
  };

  const options = {
    method: 'post',
    headers: headers,
    payload: JSON.stringify(postData),
    muteHttpExceptions: true,
  };

  UrlFetchApp.fetch(url, options);
}

// トリガー用のラッパー関数
function sendTodaysEventsToLine() {
  const message = getTodaysEvents();
  sendLineMessage(message);
}
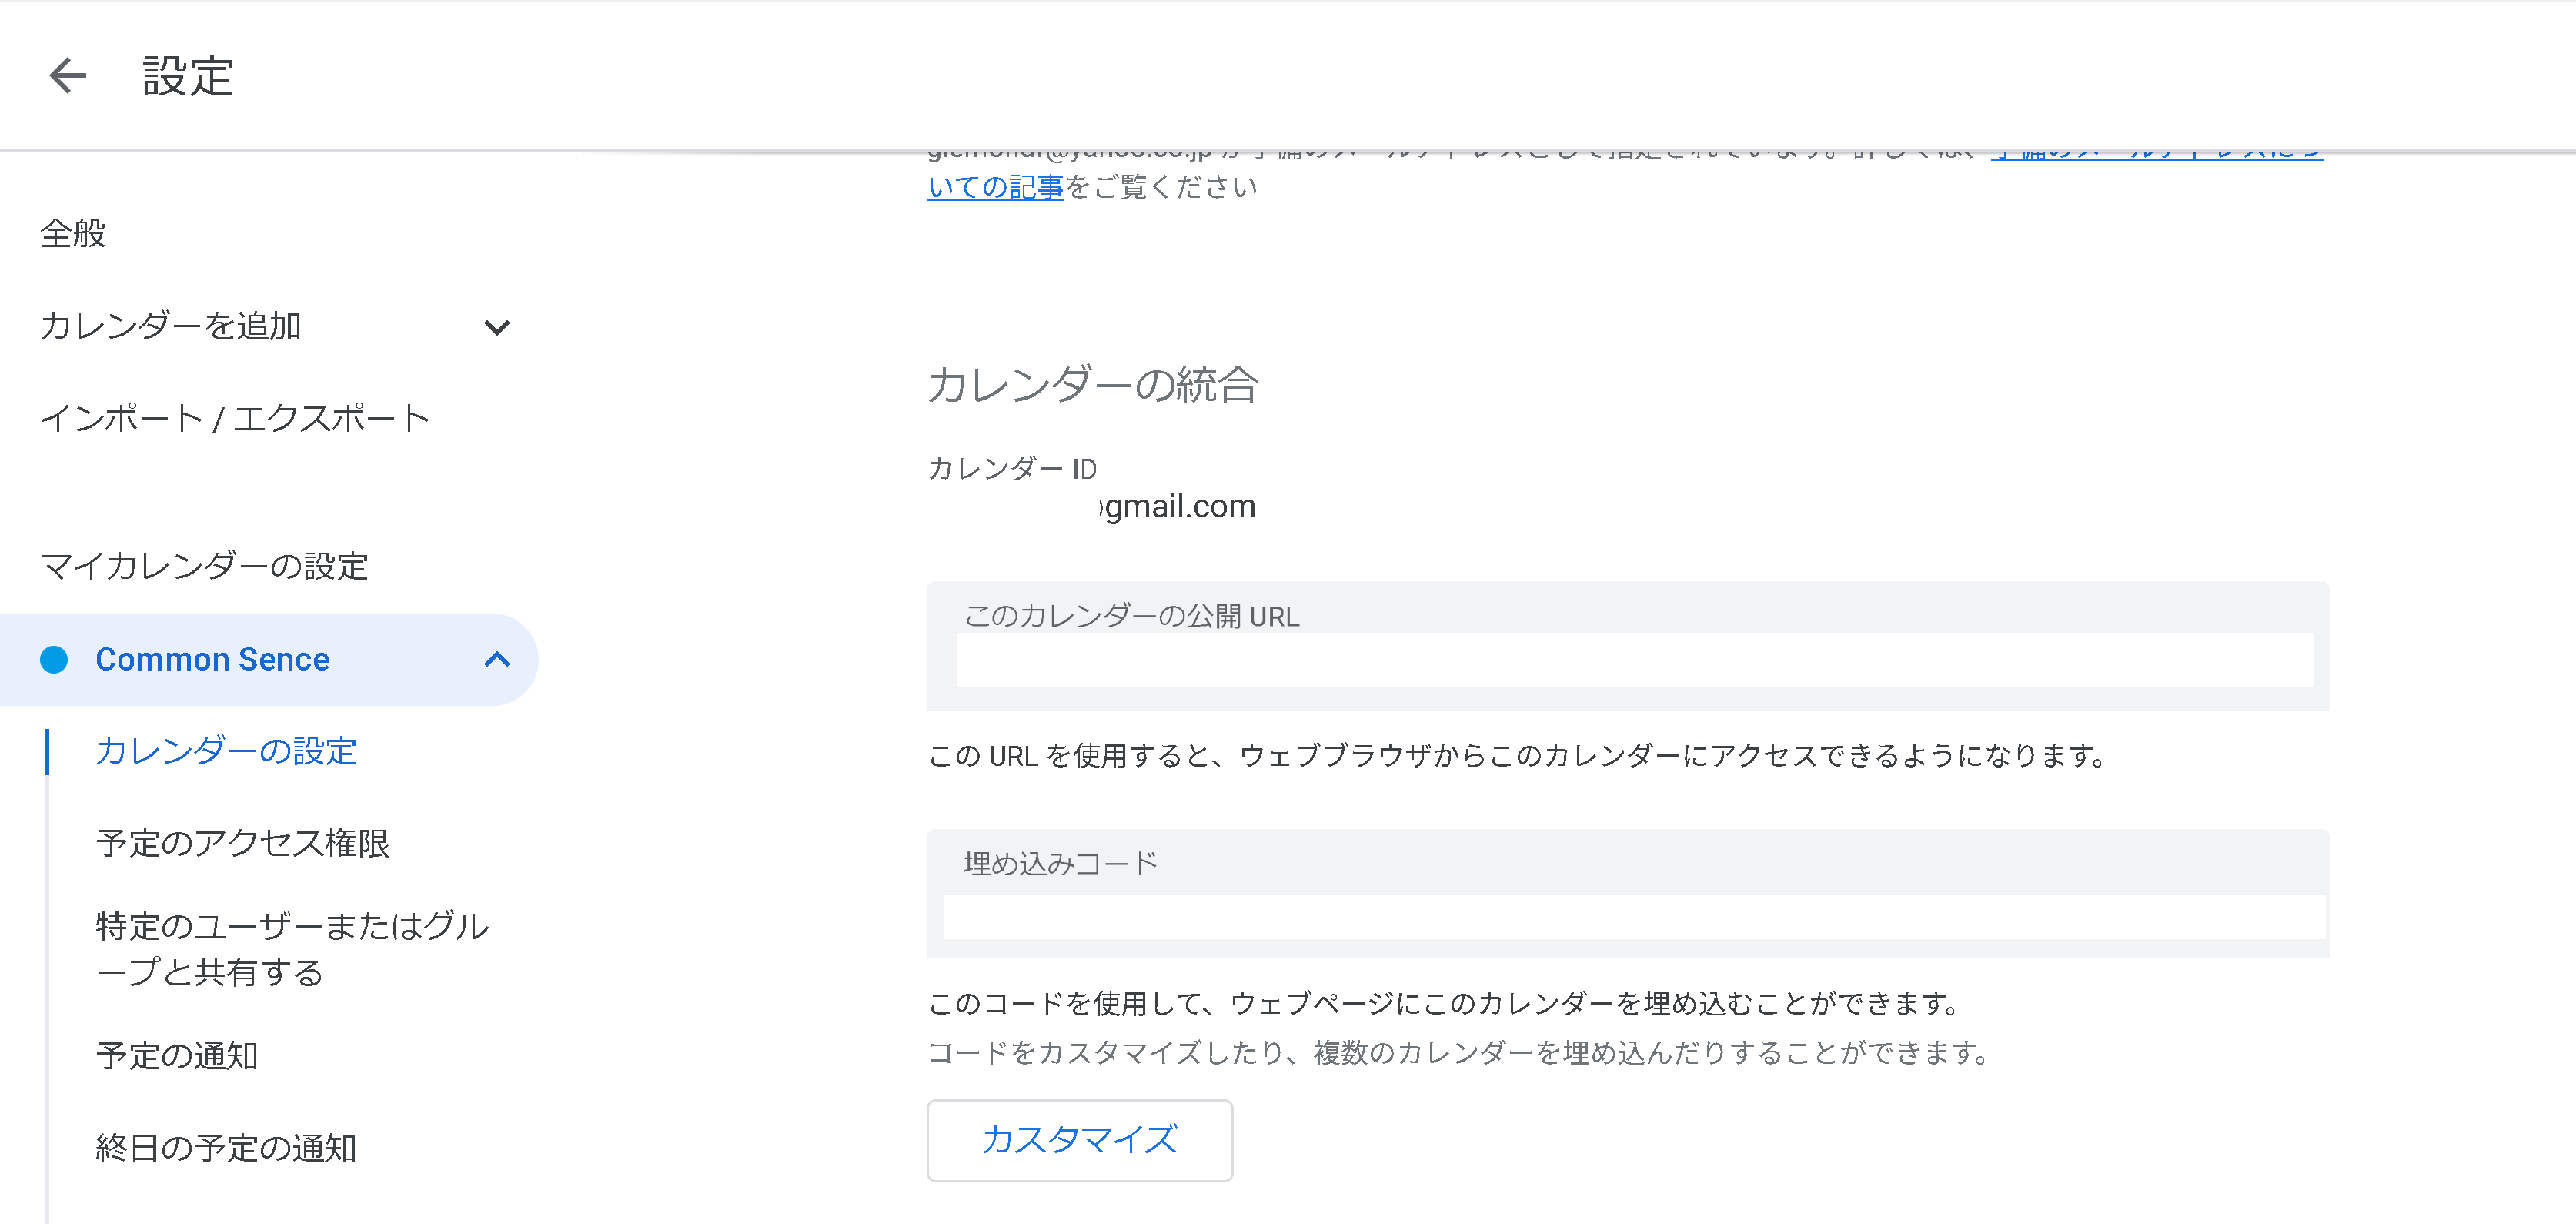
カレンダーID、LINEのアクセストークン、LINEユーザーIDの入力が必要です。
カレンダーIDは、Googleカレンダーの設定画面から確認することが出来ます。
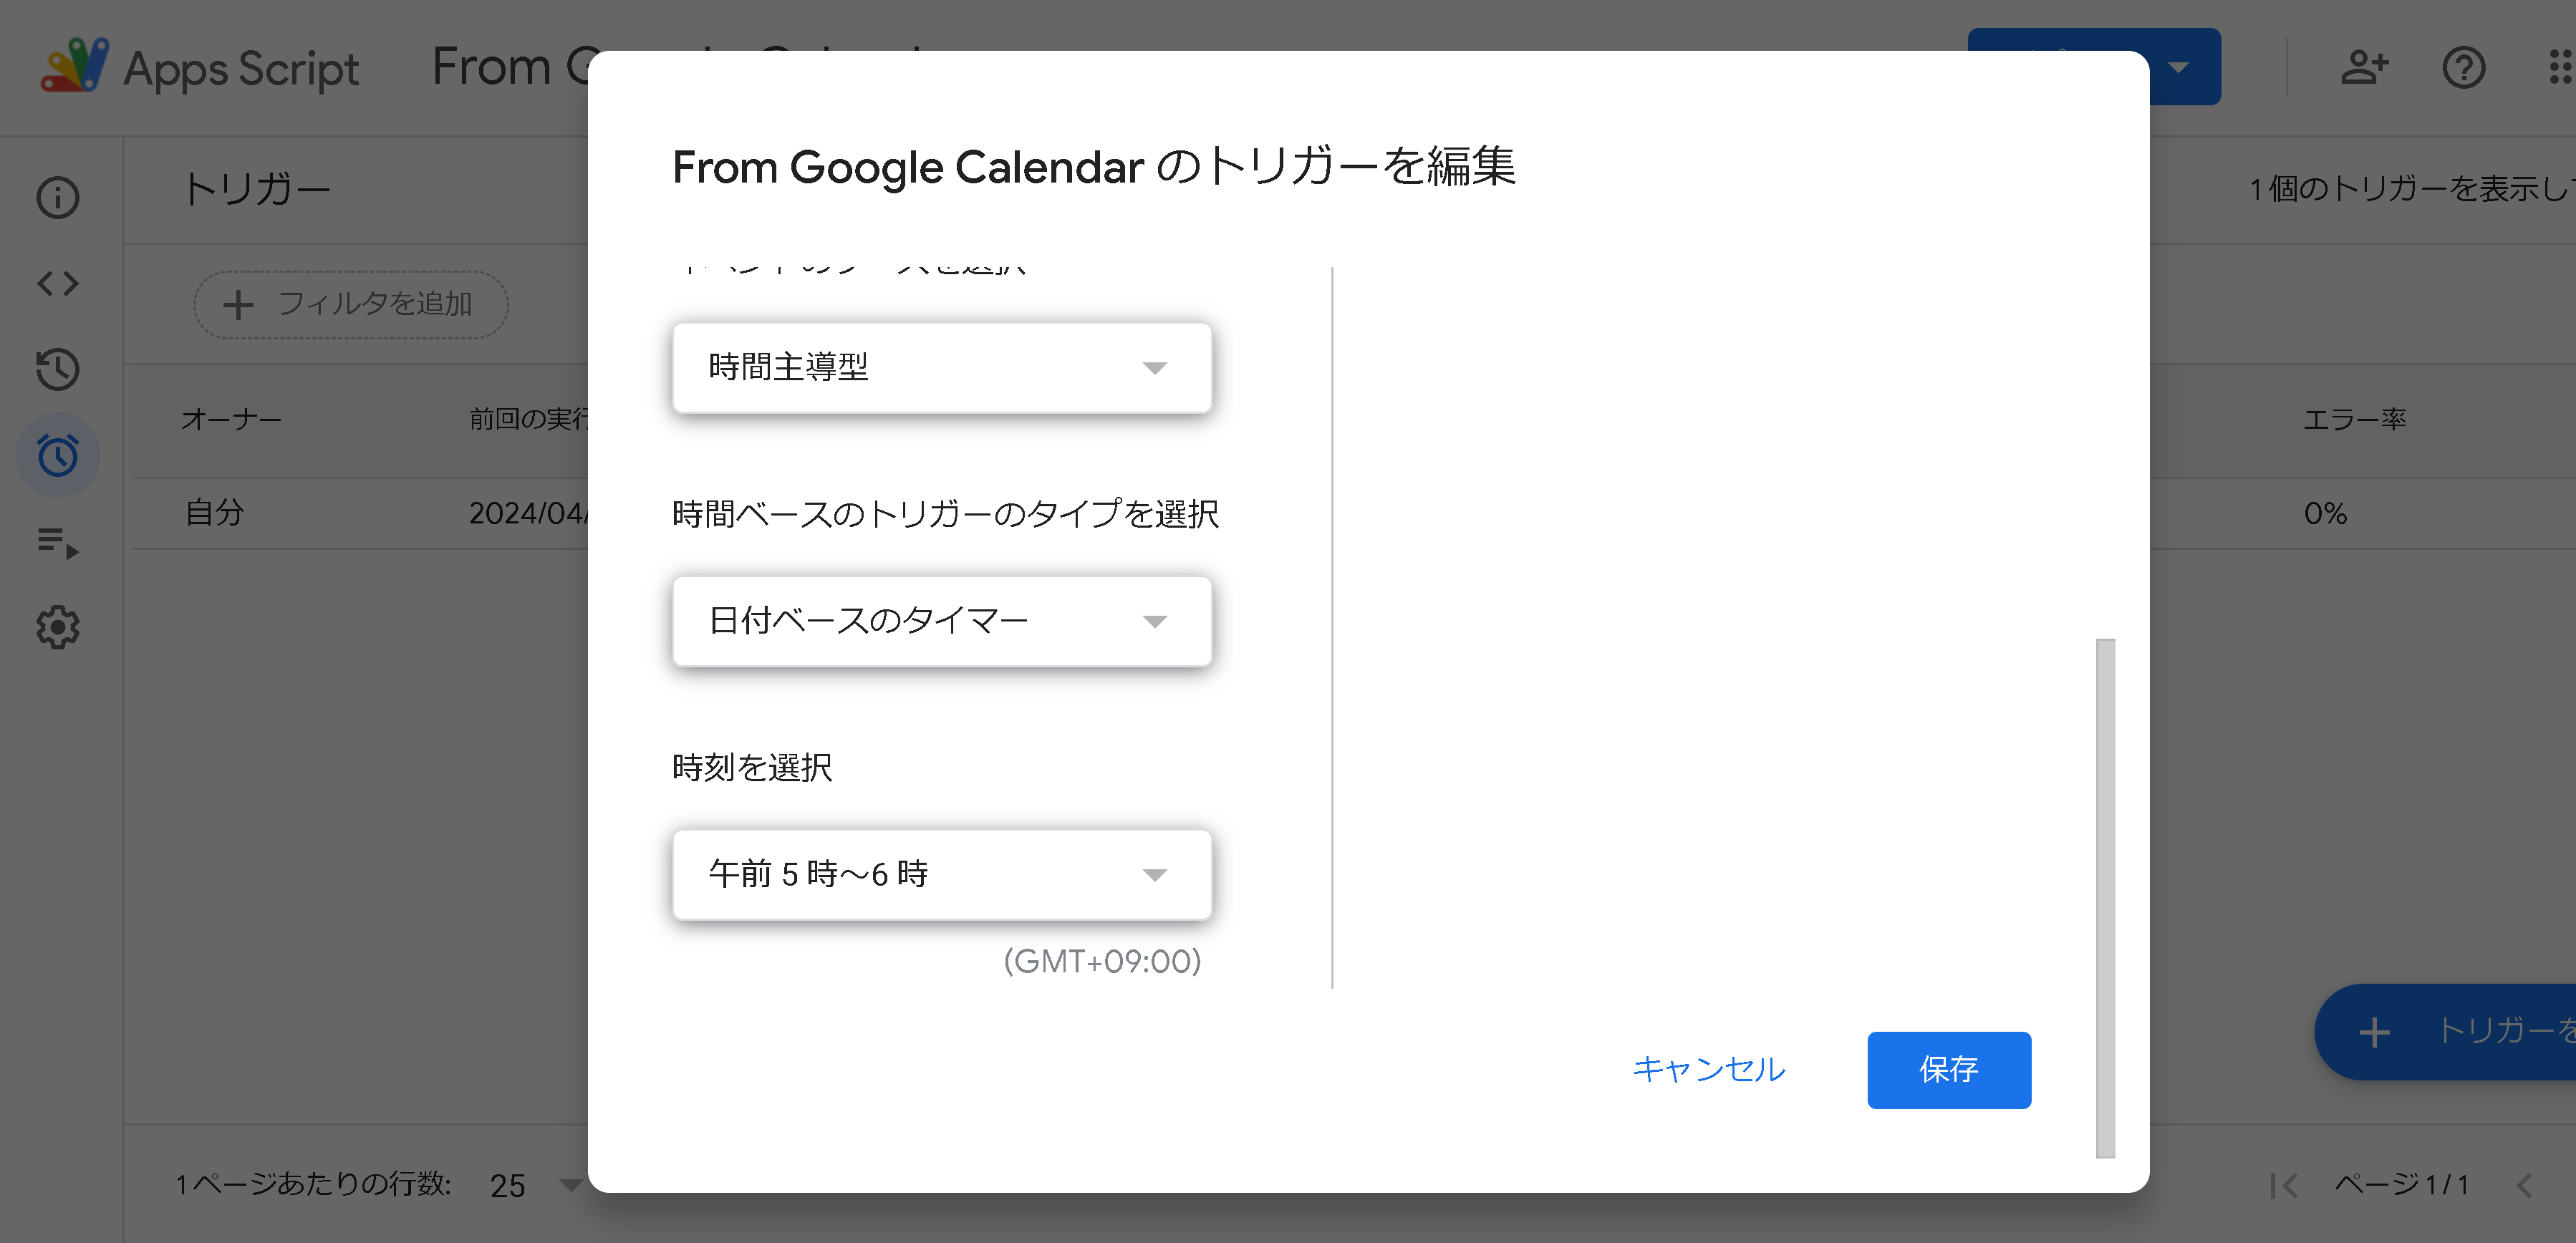
次に、トリガーを設定します。
まず、下図のように実行関数は「sendTodaysEventsToLine」を指定し、イベントソースは「時間主導型」に設定します。
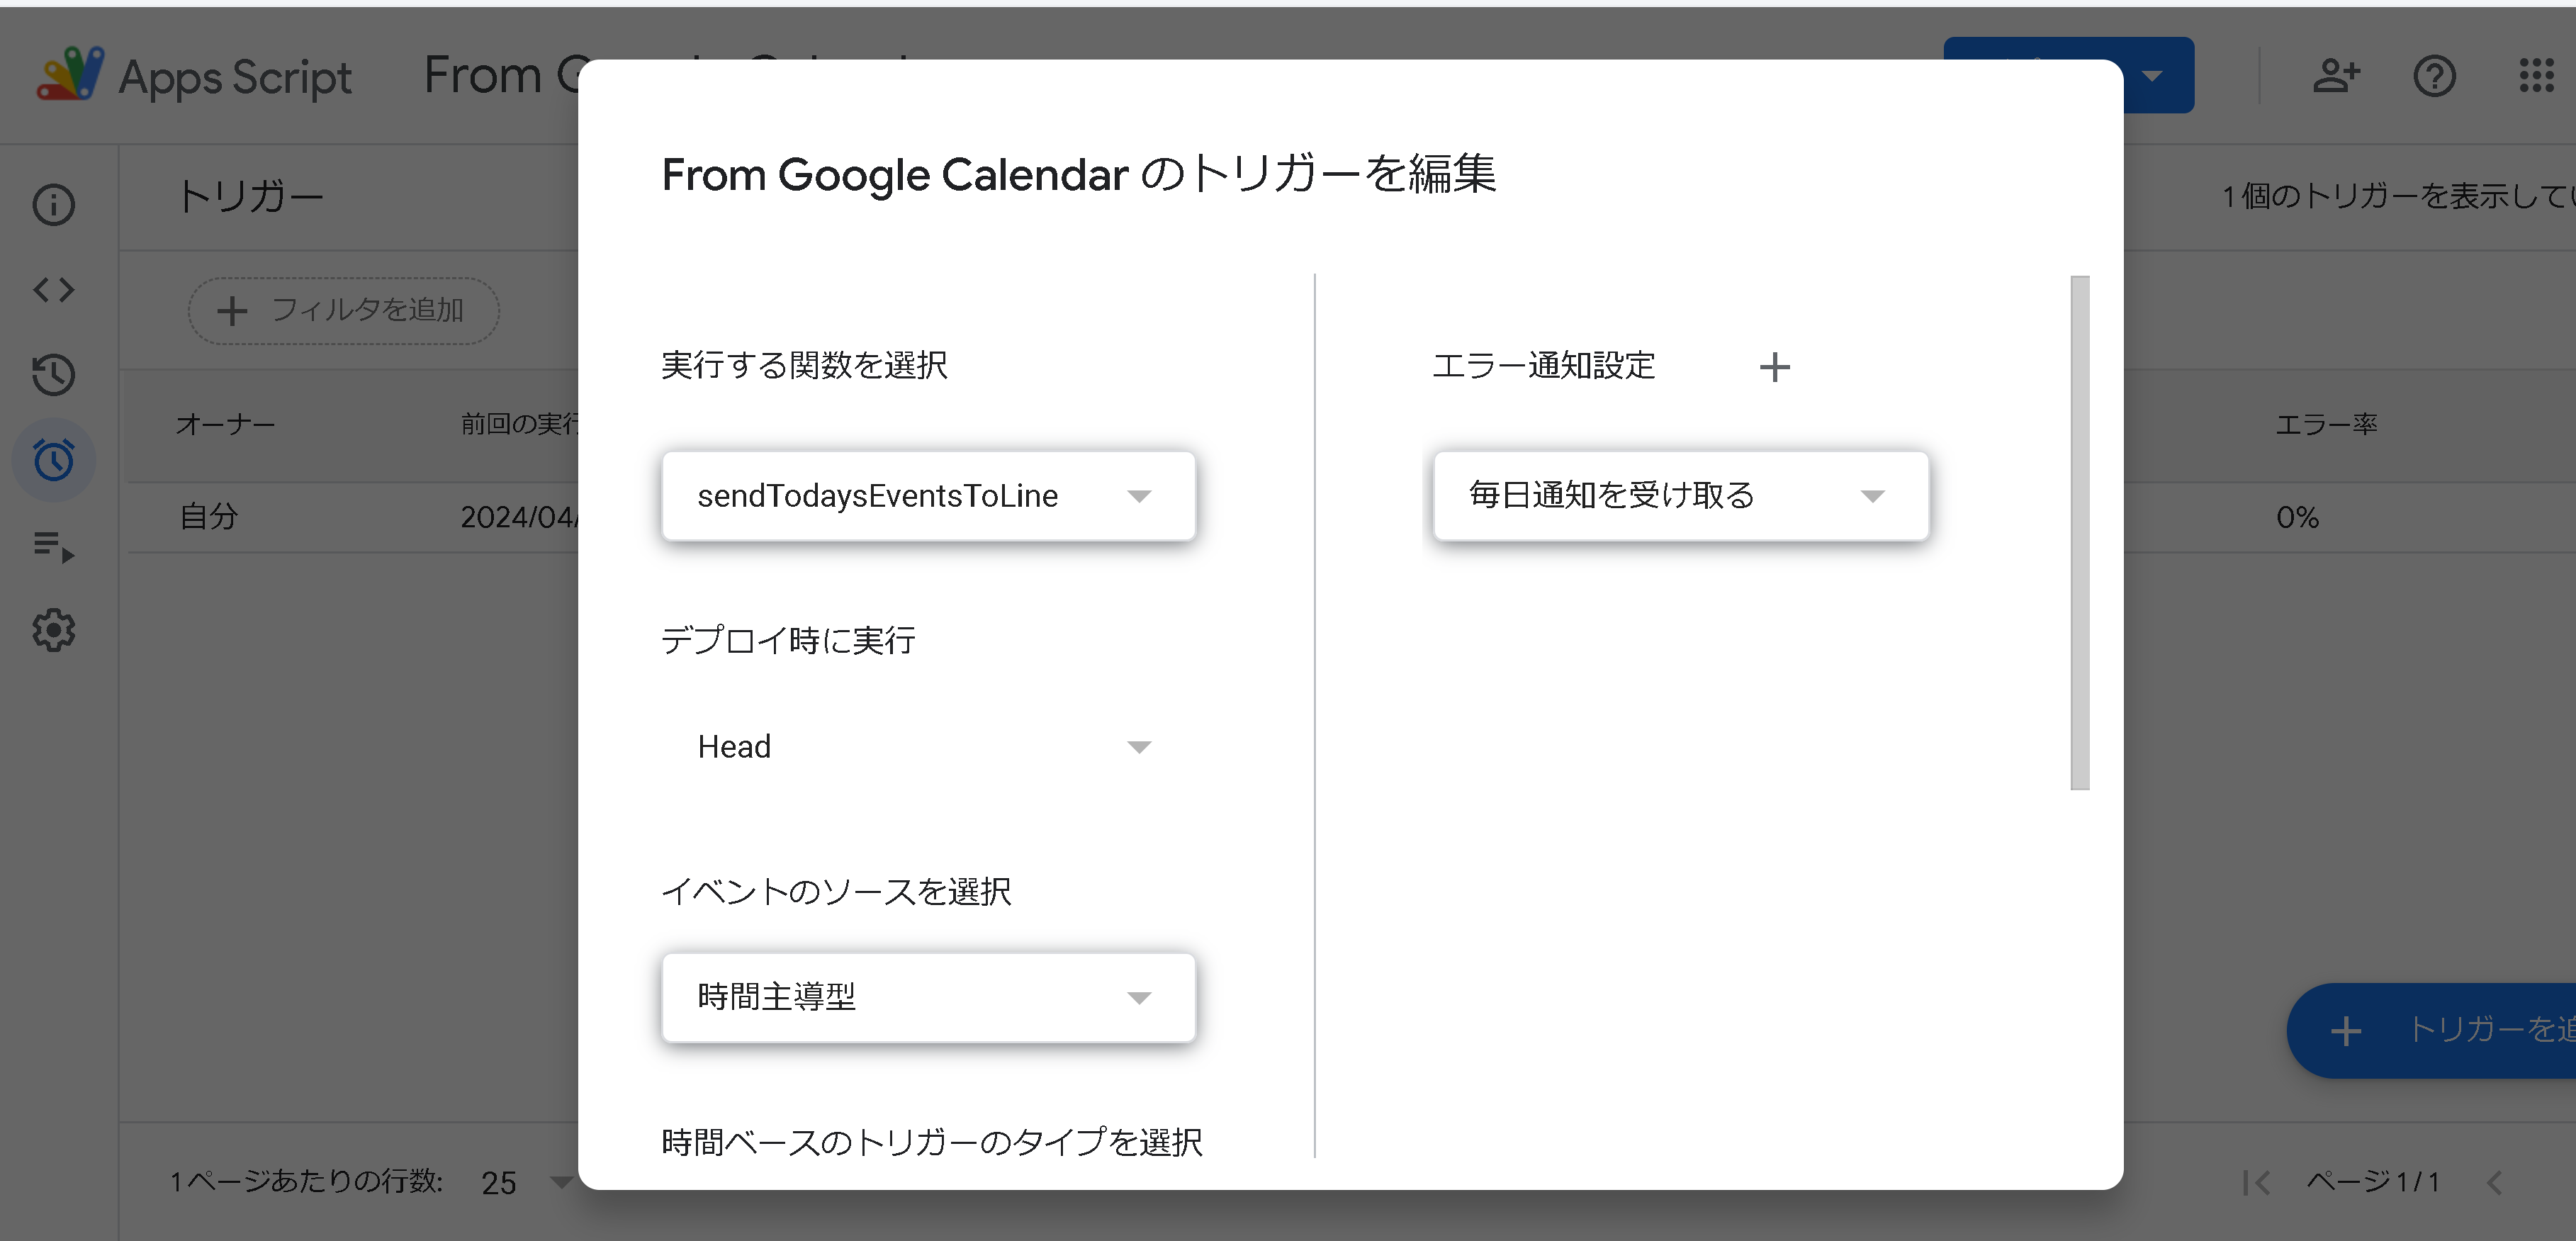
時間設定は、自由に希望の時間帯や実行間隔を設定してください。
これでコードの準備は完了したので、ウェブアプリとしてデプロイを行い、初回のアカウント承認を実行してください。
コードそのものはトリガーで動作するので、LINE DevelopersのWebhookにリンクさせる必要はありません。
1日の中に複数のスケジュールが入力されている場合でも、下図のようにまとめて送信されます。