S3をWindows Serverでストレージ(共有フォルダ)として利用してみる。
今だと、要件にもよるがWindows Serverならば
「Amazon FSx for Windows File Server」がありますし、
Linuxならば「Amazon EFS」があるので利用機会は少ないのかなと思っています。
※AWS利用の場合です。
以前使う機会があったので備忘のため残しておく。
・s3fs
https://github.com/s3fs-fuse/s3fs-fuse
・Amazon FSx
https://aws.amazon.com/jp/fsx/
前提
Amazon Linux2
Windows Server2019
利用するソフトウェア
- s3fs
- samba
手順
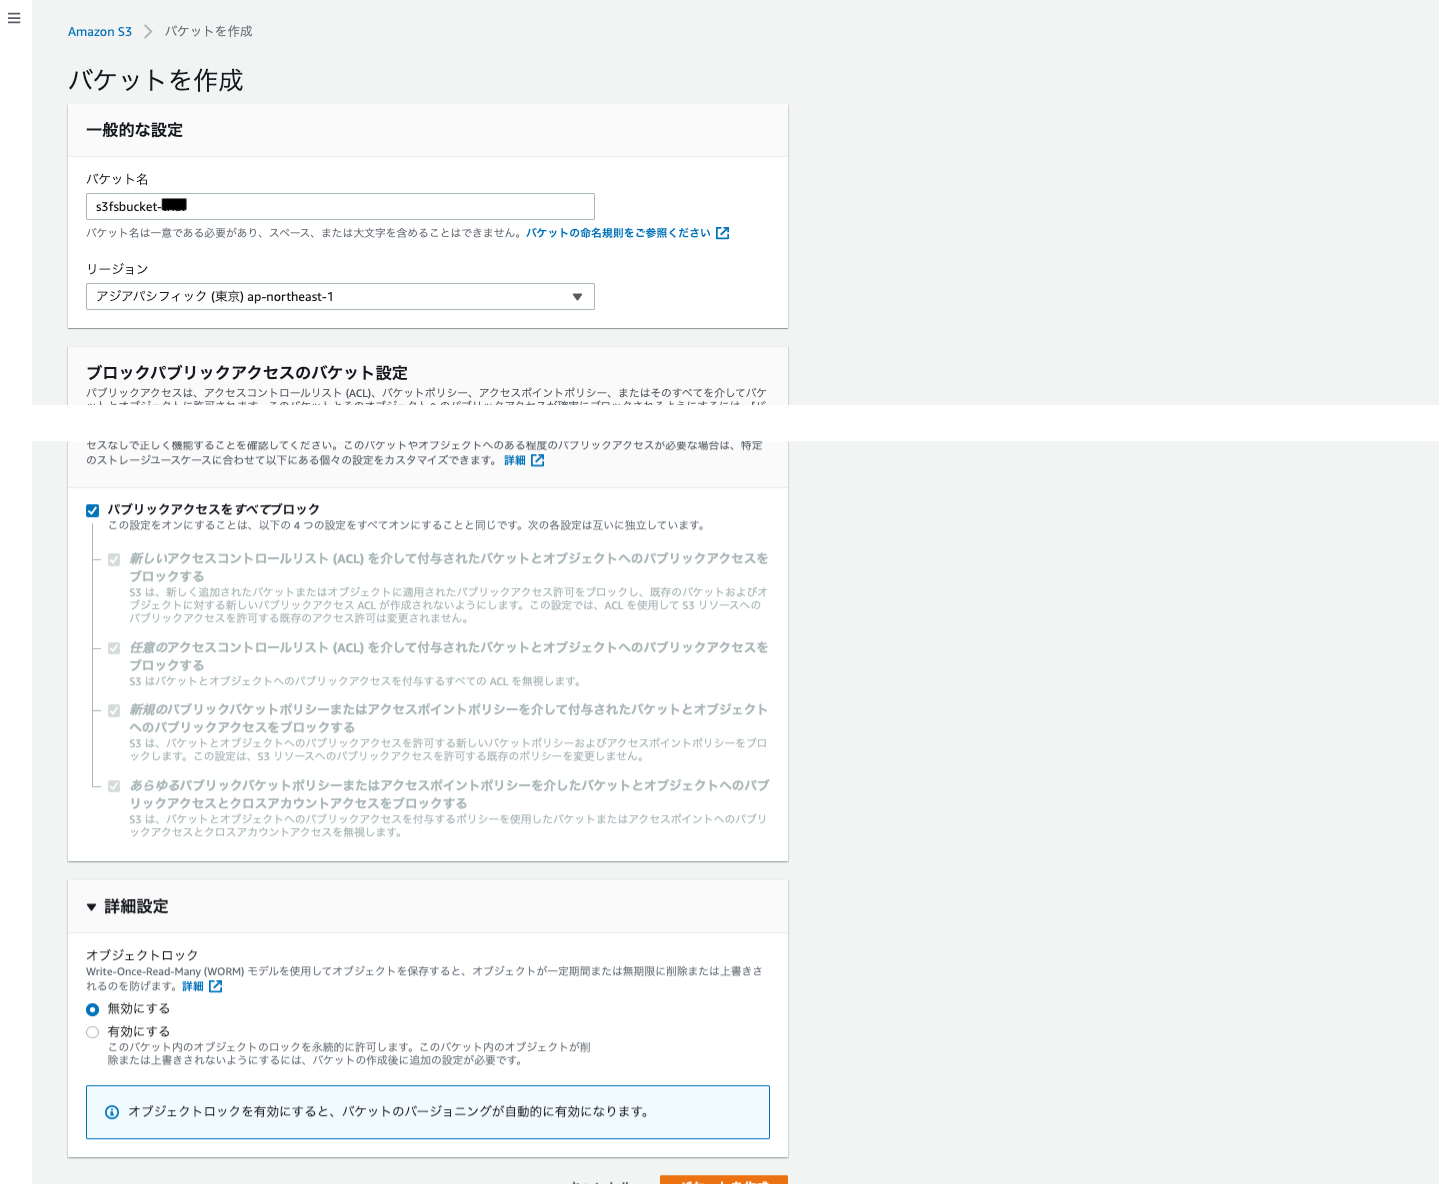
1. S3バケットを作成する
s3バケットを作成します。すでに作成済であればそちらを利用でも構いません。

バケット作成後、予め動作確認用のファイルをアップしておきます。
今回は、sample.txtをアップしておきました。
2. IAM Roleを作成する
「AmazonS3FullAccess」,「AmazonEC2RoleforSSM」
をアタッチしたRoleを作成します。
※
AmazonEC2RoleforSSMは、SSHではなくセッションマネージャーでサーバにログインするため。
SSHを利用する場合は不要。
3. Amazon Linux2をデプロイする
最新のAMIからインスタンスを作成する。
※
7で作成するインスタンスからの通信を許可する必要がある。
セキュリティグループ(インバウンド)で下記のように設定する。
port:137, 138 UDP
port:139, 445 TCP
Windows ServerのプライベートIPを指定する。
4. s3fsをインストールする
sudo yum update
sudo amazon-linux-extras install epel
sudo yum install s3fs-fuse
sudo s3fs --version

sh-4.2$ s3fs --version
Amazon Simple Storage Service File System V1.86 (commit:unknown) with OpenSSL
Copyright (C) 2010 Randy Rizun <rrizun@gmail.com>
License GPL2: GNU GPL version 2 <https://gnu.org/licenses/gpl.html>
This is free software: you are free to change and redistribute it.
There is NO WARRANTY, to the extent permitted by law.`
5. s3fsでS3をマウント
sudo mkdir /mnt/s3fs-bucket
自動マウント設定
# fstabに登録
echo "s3fsbucket-tri /mnt/s3fs-bucket fuse.s3fs _netdev,iam_role=auto,allow_other 0 0" | sudo tee -a /etc/fstab

# 追記できていることを確認
cat /etc/fstab

# mountを実行
sudo mount -a

# mountを確認
df -h
ls -la /mnt/s3fs-bucket

# ファイルが作成できるか試す。
sudo touch sample2.txt
6. sambaインストール&設定
sudo yum install samba

sambaユーザを作成する
sudo smbpasswd -a root

下記を追加する
sudo vi /etc/samba/smb.conf

[s3files]
       path = /mnt/s3fs-bucket
        public = yes
        writable = yes
        printable = no
        sudo systemctl start smb
7. Windows Server2019をデプロイする
最新のAMIからインスタンスを起動する。
※IAM Roleは不要。
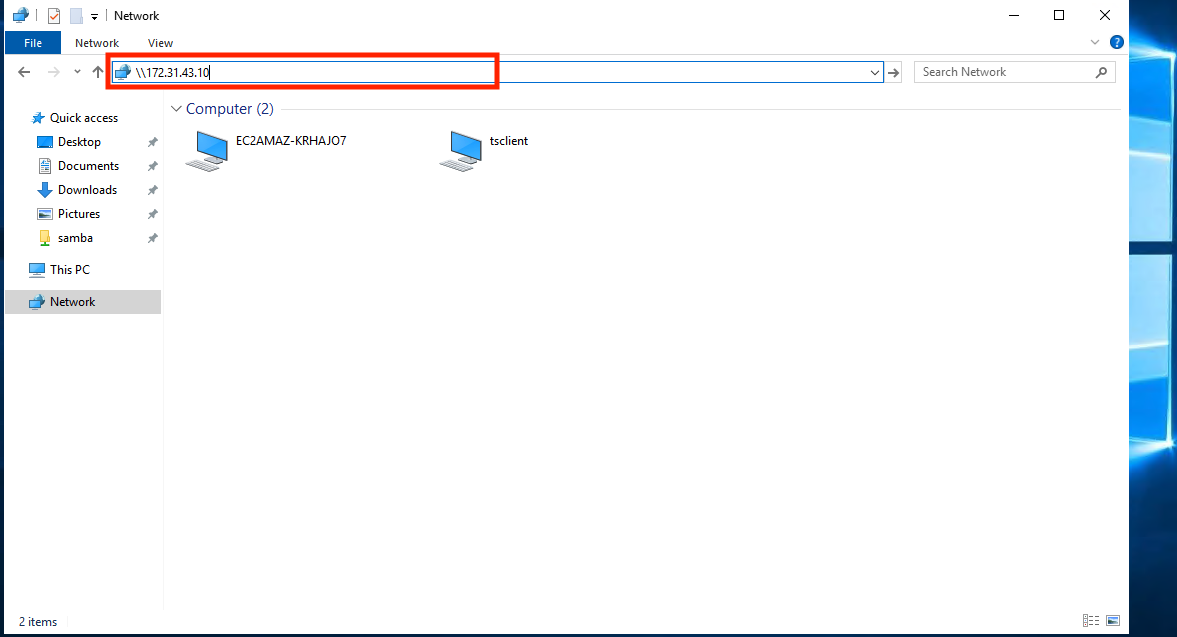
8. Windows Serverで共有フォルダをアタッチする。
エクスプローラーで ¥¥LinuxのプライペートIPを入力


