TouchGFXを使おう~導入編~の続きです。
Screenを追加する
Add Screen 横の + からスクリーンを追加できます。

背景を設定する
背景には画像と単色が使用出来ます。
画像を背景にする
Images⇒imageを選択します。
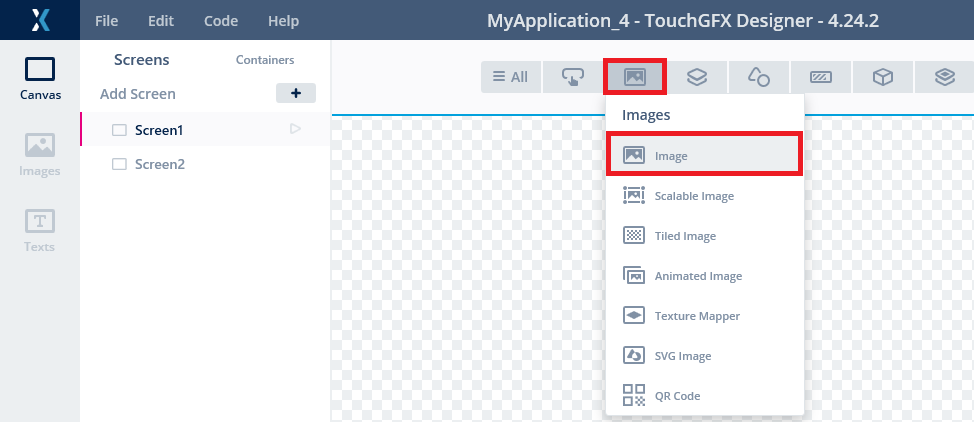
ツールバー⇒images⇒No image を クリック します。
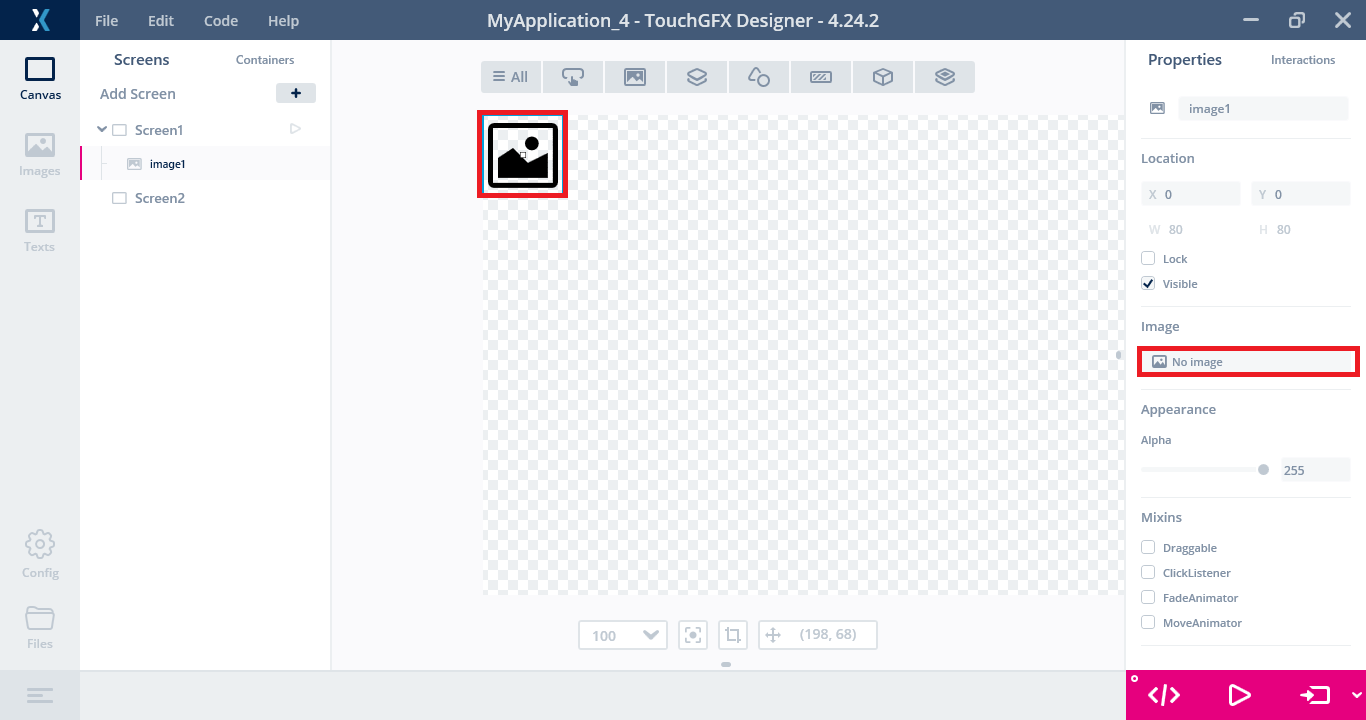
Stock を クリック し、合ったサイズの背景を選択します。

単色を背景にする
Shapes⇒Box を クリック します。

サイズと色を指定します。

Locationから縦横を指定し、Colorで色を指定します。

ボタンを配置する
Buttons から Button With Labed を選択します。

ボタンの文字を変更する
Translation に表示する文字を入力します。

ボタンを変更する
Preset からボタンの形状や色を変更します。

Preset
プリセットで変更する場合

Image
ボタンの色と形状をそれぞれ変更する場合

フォントを追加する
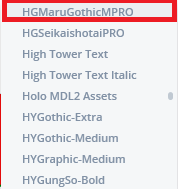
フォントを追加するには assets⇒fonts フォルダに追加します。

フォントを指定する
Text⇒Typography を クリック し、+ から日本語が使える文字種を選択します。


日本語に対応したフォントを選択すると日本語が表示できるようになります。

画面表示の順番
ボタンやimageなどは上に行くほど上位レイヤーになります。

TouchGFXを使おう3~画面遷移編~に続きます