0
0

Delete article

Deleted articles cannot be recovered.

Draft of this article would be also deleted.

Are you sure you want to delete this article?

More than 5 years have passed since last update.

アナログ・デバイセズ EV-COG-AD4050LZ でADT7420を使ってみよう Mbed編

Last updated at Posted at 2019-08-01

EV-COG-AD4050LZ でADT7420を使ってみましょう。
これは、アナログ・デバイセズ EV-COG-AD4050LZ でLチカしよう Mbed編の続きです。
https://qiita.com/usashirou/items/3d1207c3d1909517e317

まずは、プログラムを用意してみましょう。
https://os.mbed.com/users/APS_Lab/code/COG4050_ADT7420/file/0901bc032f82/main.cpp/
ちなみに、これAPSLabのもので、インスケイプAPSの浦邉さん製作のものです。
よって、セミナーで使ったものとほぼ同じと思われます。

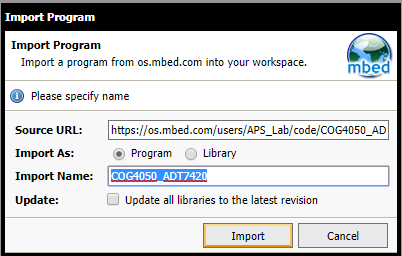
Import into Compilerでインポートします。
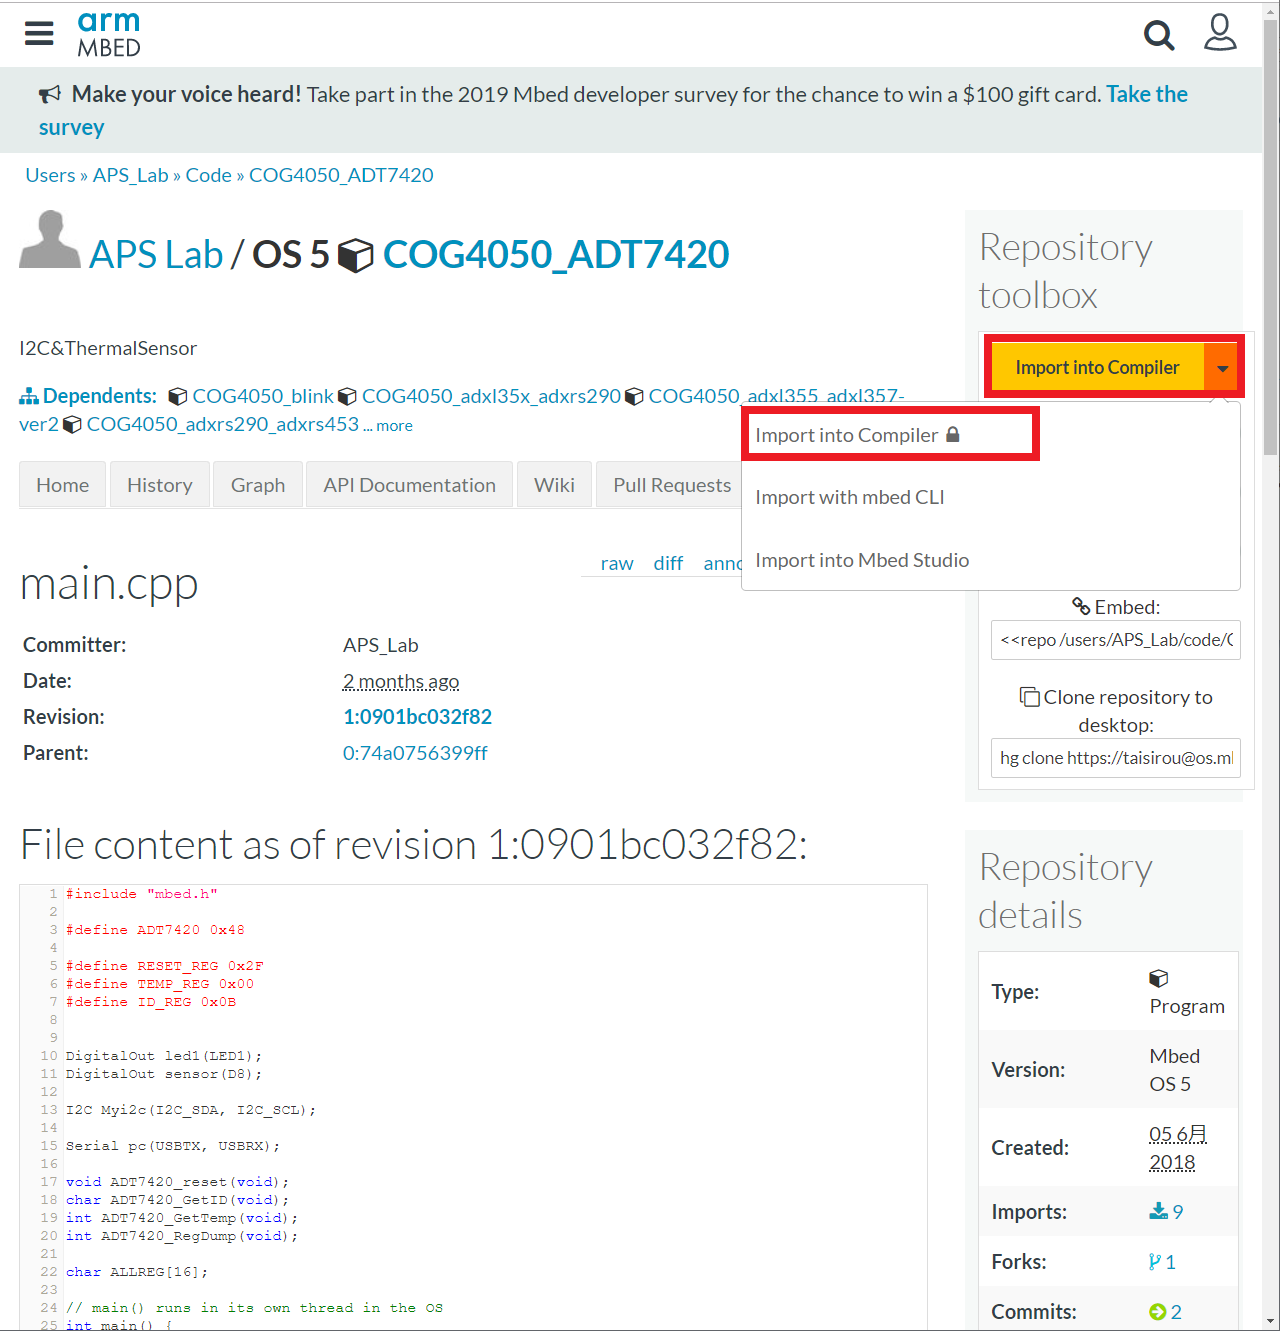
image.png

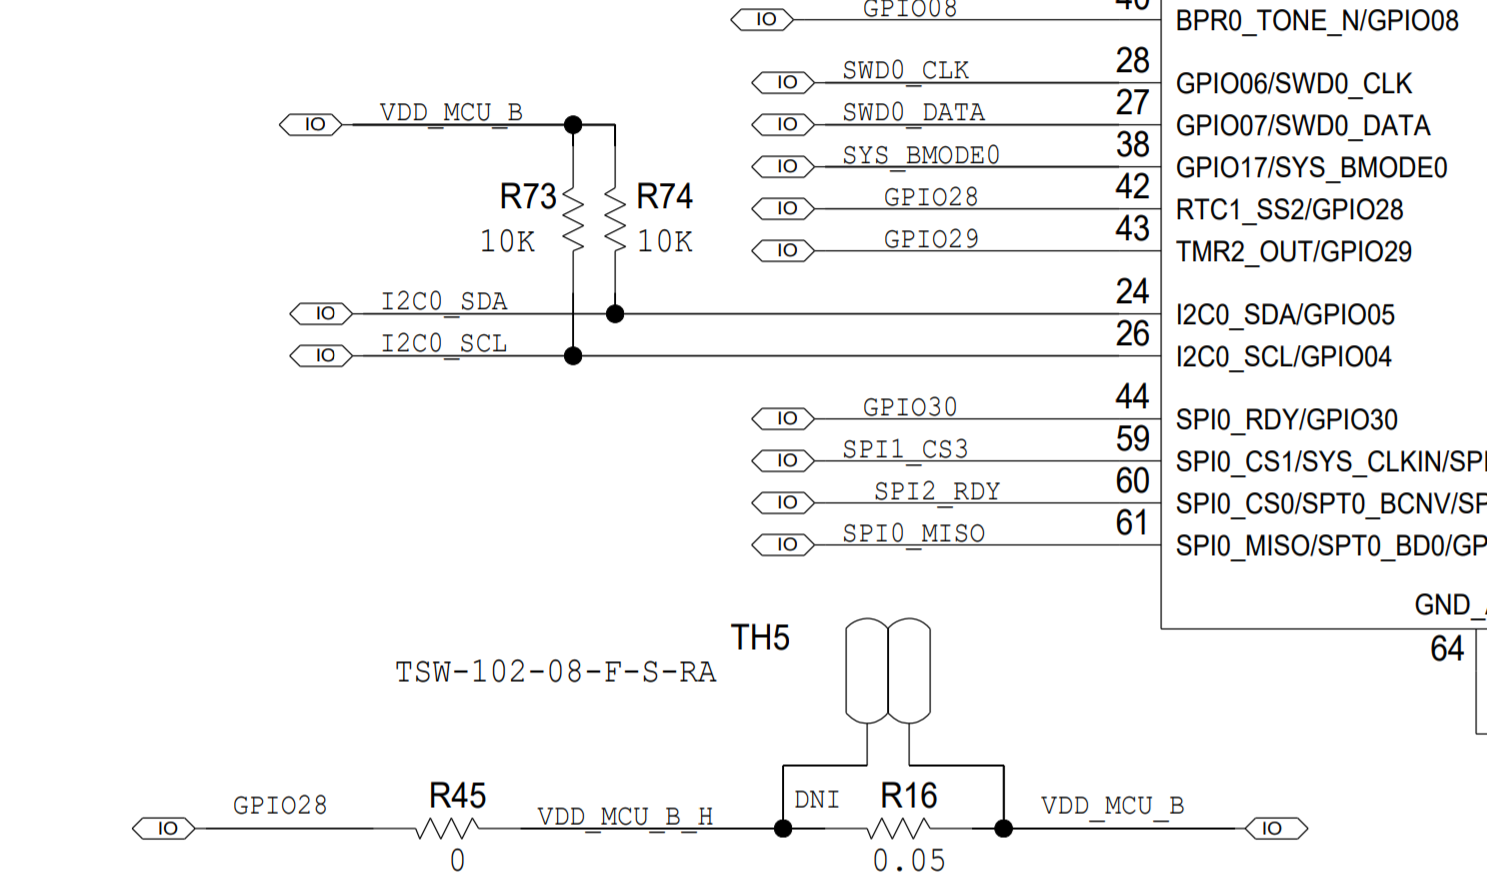
なお、このボードを使用するうえで重要なのはI2Cのプルアップです。
image.png

GPIO28を有効にすることでI2Cのプルアップが稼働し、I2Cデバイスが使用可能になります。
GPIO28はD8に当たるそうです。

DigitalOut sensor(D8);

Programを選択し、OKを押します。
image.png

そして、コンパイルを押して、ファームウェアがダウンロードされるので、ドラッグアンドドロップで、DAPLINKに書き込みます。
image.png

書き込み完了後、DETAILSとMBED以外なくなったらリセットボタンを押します。
image.png

それでは、TeraTermなどを使って、シリアルのデータを見てみましょう。
設定⇒シリアルポート
スピード:115200
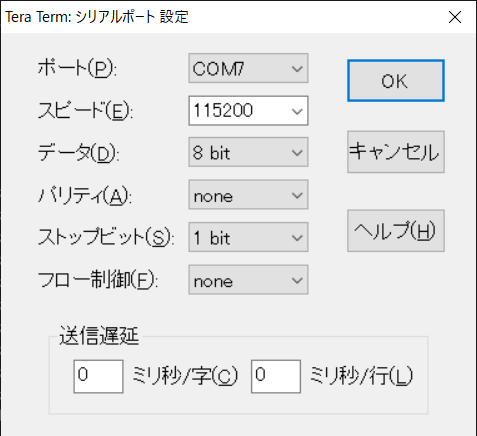
image.png

設定⇒端末
受信:AUTO
送信:CR+LF
image.png
としましょう。
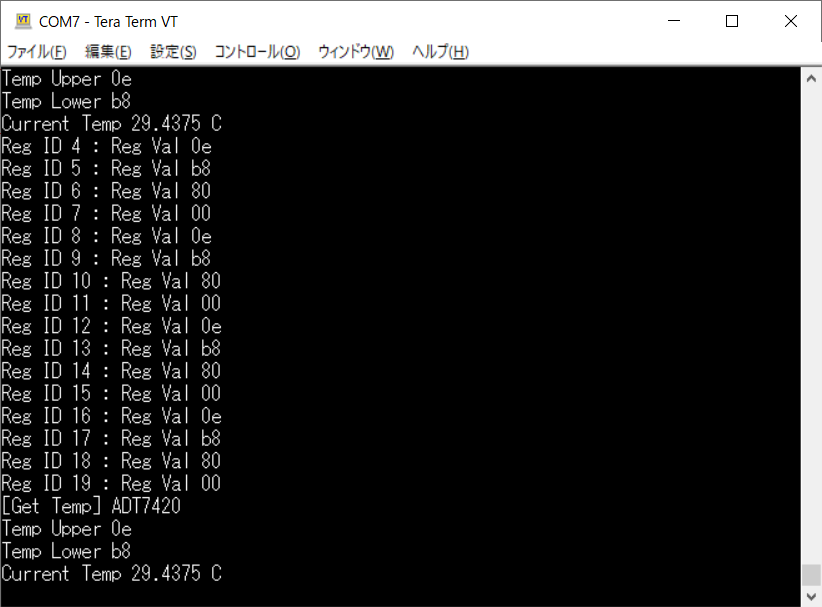
すると、温湿度のデータが見えると思います。
image.png

ADXL362のデータはこちらのようです。
https://os.mbed.com/users/APS_Lab/code/ADXL362/
0
0
0

Register as a new user and use Qiita more conveniently

  1. You get articles that match your needs
  2. You can efficiently read back useful information
  3. You can use dark theme
What you can do with signing up
0
0

Delete article

Deleted articles cannot be recovered.

Draft of this article would be also deleted.

Are you sure you want to delete this article?