今回もATtiny1616でエンコーダーモーターを動かしてみましょう
使用したのは___8bitマイコンを使おう~2Vで動くステッピングモーターPF25-48281をATtiny1616で使う~
https://qiita.com/usashirou/items/e0cdf1be2f93440c27e8
STM32CubeIDEを使ってみよう How To STM32CubeIDE 日本語版(16) モーターを回そう___で使用した
MX1508のモータードライバーとエンコーダーモーターです。
https://qiita.com/usashirou/items/a4901fd99940ae65bd8b
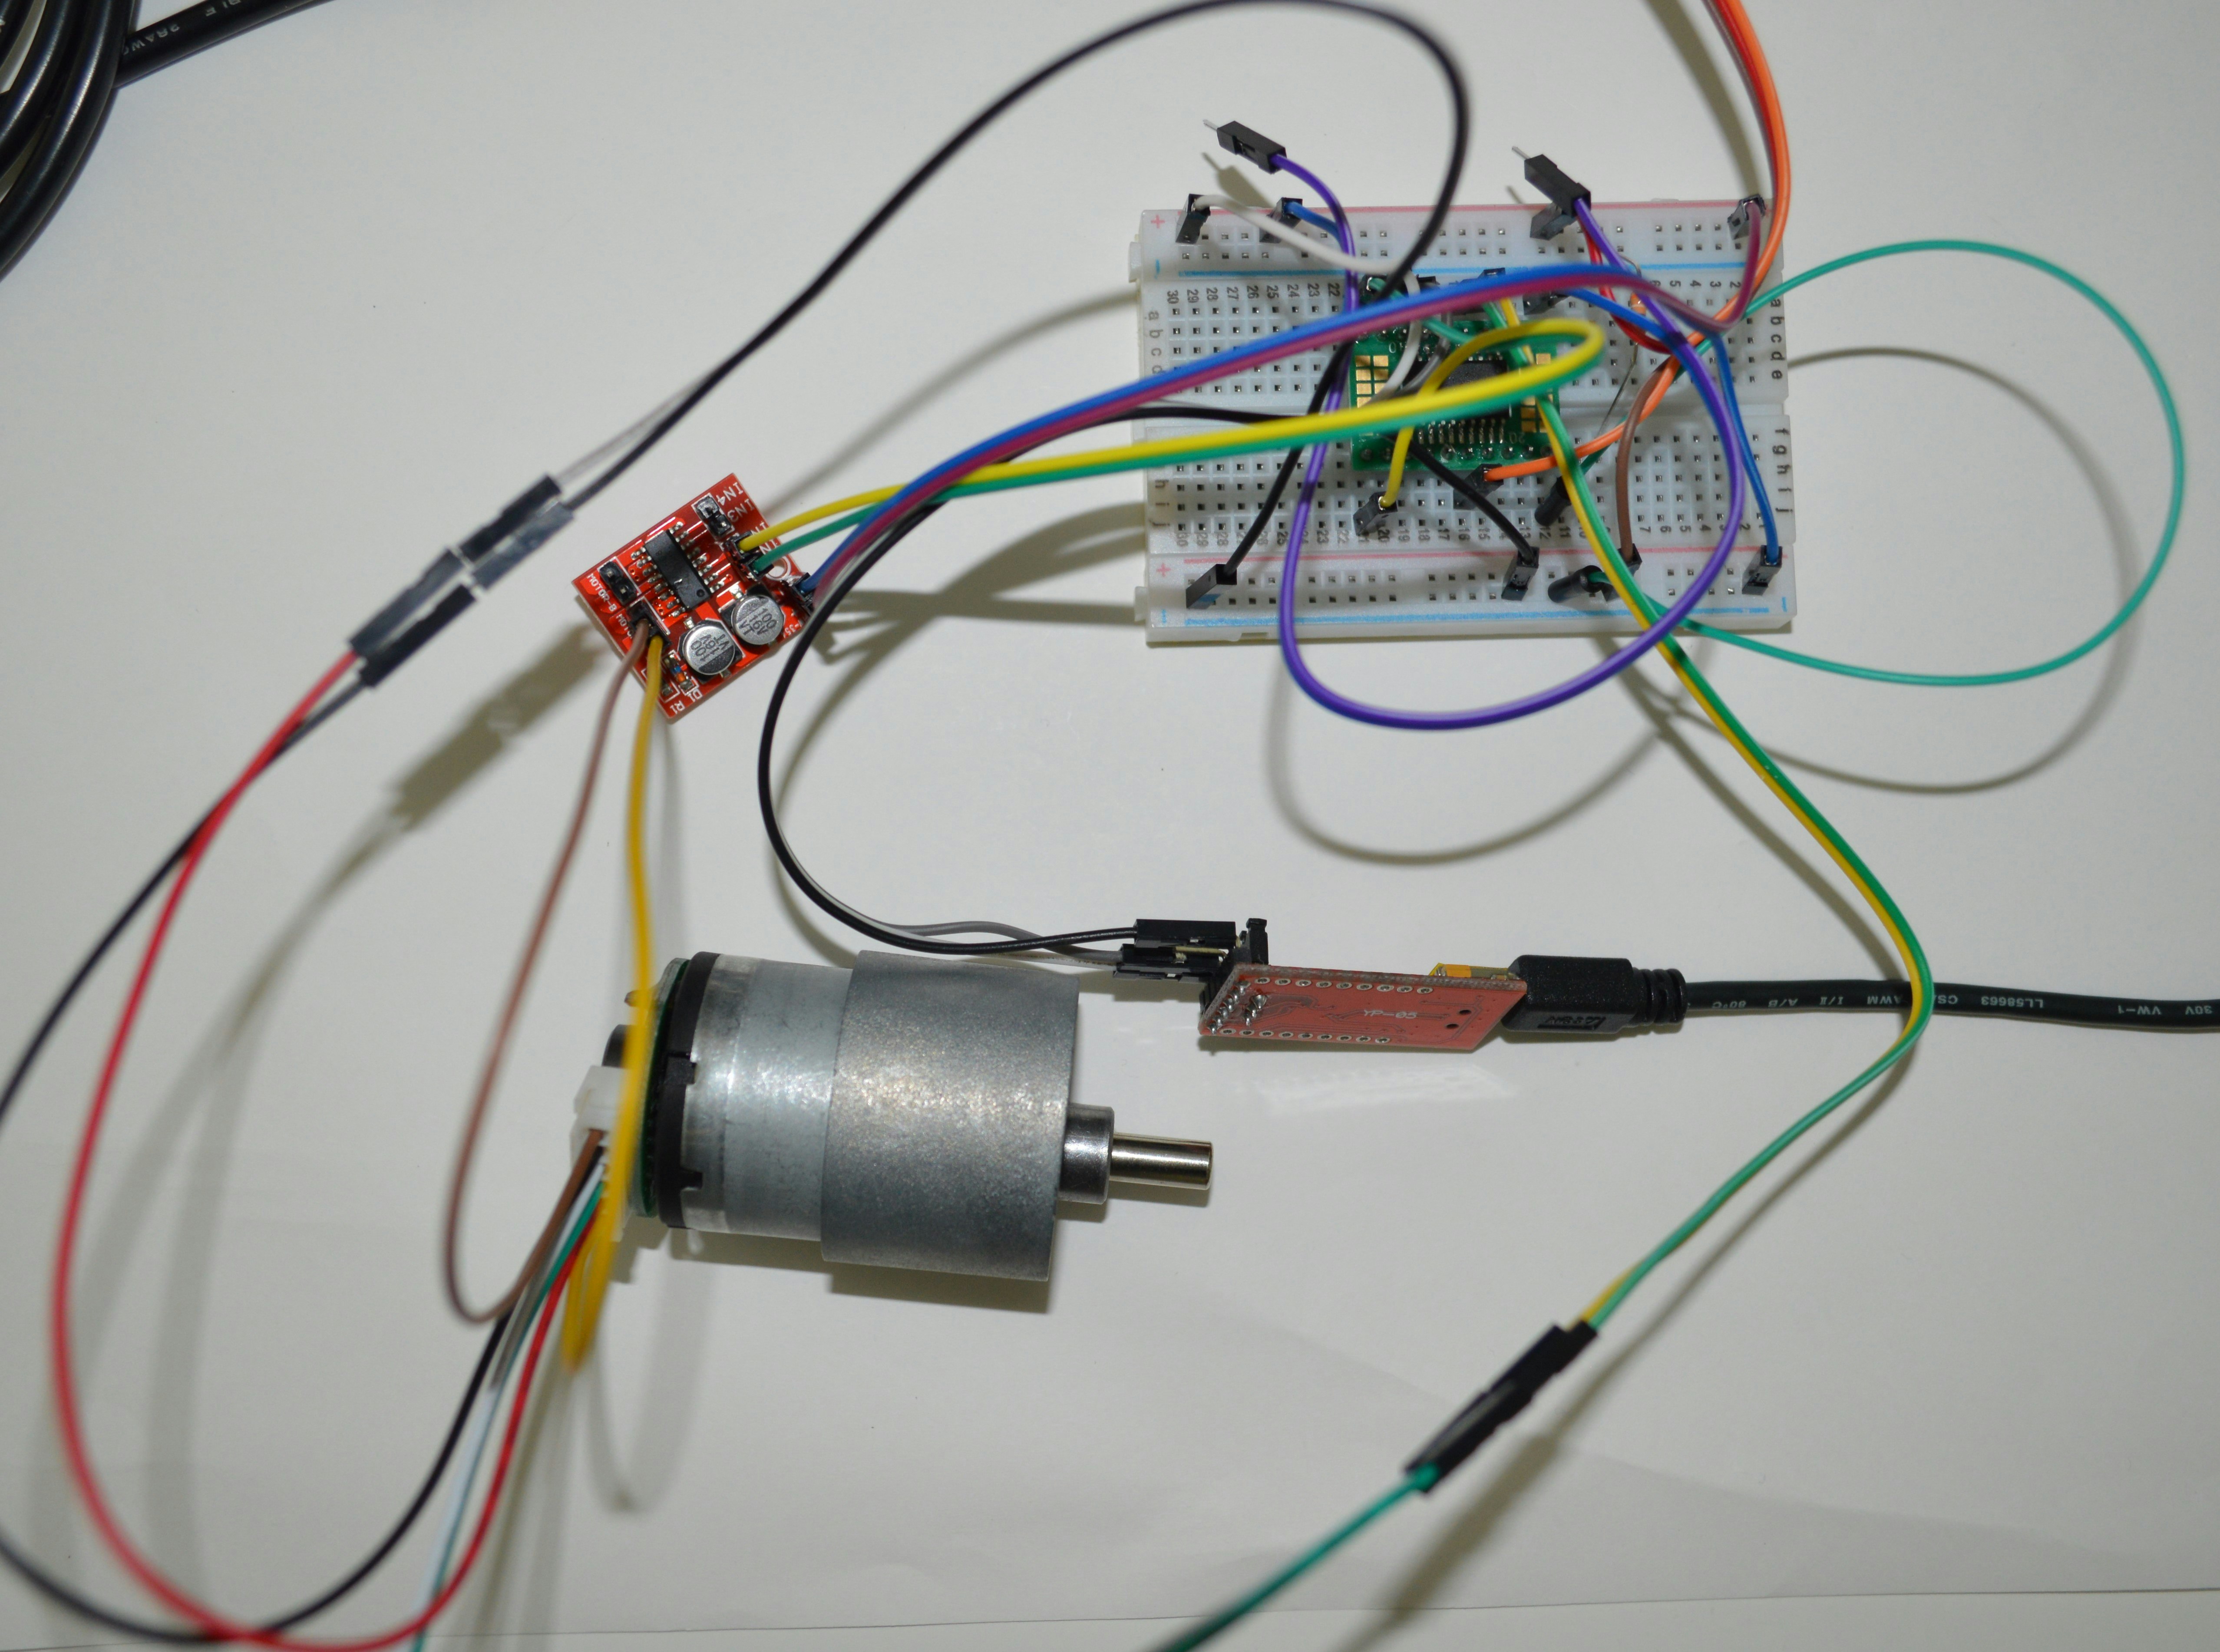
接続
各ピンは表のように接続しました
| Attiny1616 | MotorDriver | Motor |
|---|---|---|
| 5V | + | 5V |
| GND | - | GND |
| 2 | A相 | |
| 3 | B相 | |
| 8 | IN1 | |
| 9 | IN2 | |
| 写真ではよくわからないですね | ||
 |
プログラム
当初Encoder.hを使用しようと思いましたがうまくいかないので別のプログラムを使用しました。
使用したプログラムは以下を流用しました。
https://github.com/curiores/ArduinoTutorials/blob/master/encoderControl/part3/part3.ino
MX1508はPWMで駆動する為、analogWriteを出力するように変更しています。
# define ENCA 2 // YELLOW
# define ENCB 3 // WHITE
# define IN2 8
# define IN1 9

int pos = 0;

void setup() {
  Serial.begin(9600);
  pinMode(ENCA,INPUT);
  pinMode(ENCB,INPUT);
  attachInterrupt(digitalPinToInterrupt(ENCA),readEncoder,RISING);
}

void loop() {
  setMotor(1, 200,IN1, IN2);
  delay(2000);
  Serial.println(pos);
  setMotor(0, 0, IN1, IN2);
  delay(500);
  setMotor(-1, 250,IN1, IN2);
  delay(2000);
  Serial.println(pos);
  setMotor(0, 0, IN1, IN2);
  delay(500);
  Serial.println(pos);
}

void setMotor(int dir, int pwmVal,  int in1, int in2){
  if(dir == 1){
    analogWrite(in1,pwmVal);
    digitalWrite(in2,LOW);
  }
  else if(dir == -1){
    digitalWrite(in1,LOW);
    analogWrite(in2,pwmVal);
  }
  else{
    digitalWrite(in1,LOW);
    digitalWrite(in2,LOW);
  }
}

void readEncoder(){
  int b = digitalRead(ENCB);
  if(b > 0){
    pos++;
  }
  else{
    pos--;
  }
}
出力
シリアルモニタよる出力は以下のようになります。

これでAttiny1616でエンコーダーモーターを動かす事が出来るようになりましたね