電池で動くステッピングモーターを日本パルスモーターが製作しキャンペーンをしていたので応募してみました。
低電圧ステッピングモーター プレゼント
https://www.pulsemotor.com/support/motor-present.html
PF25-48281
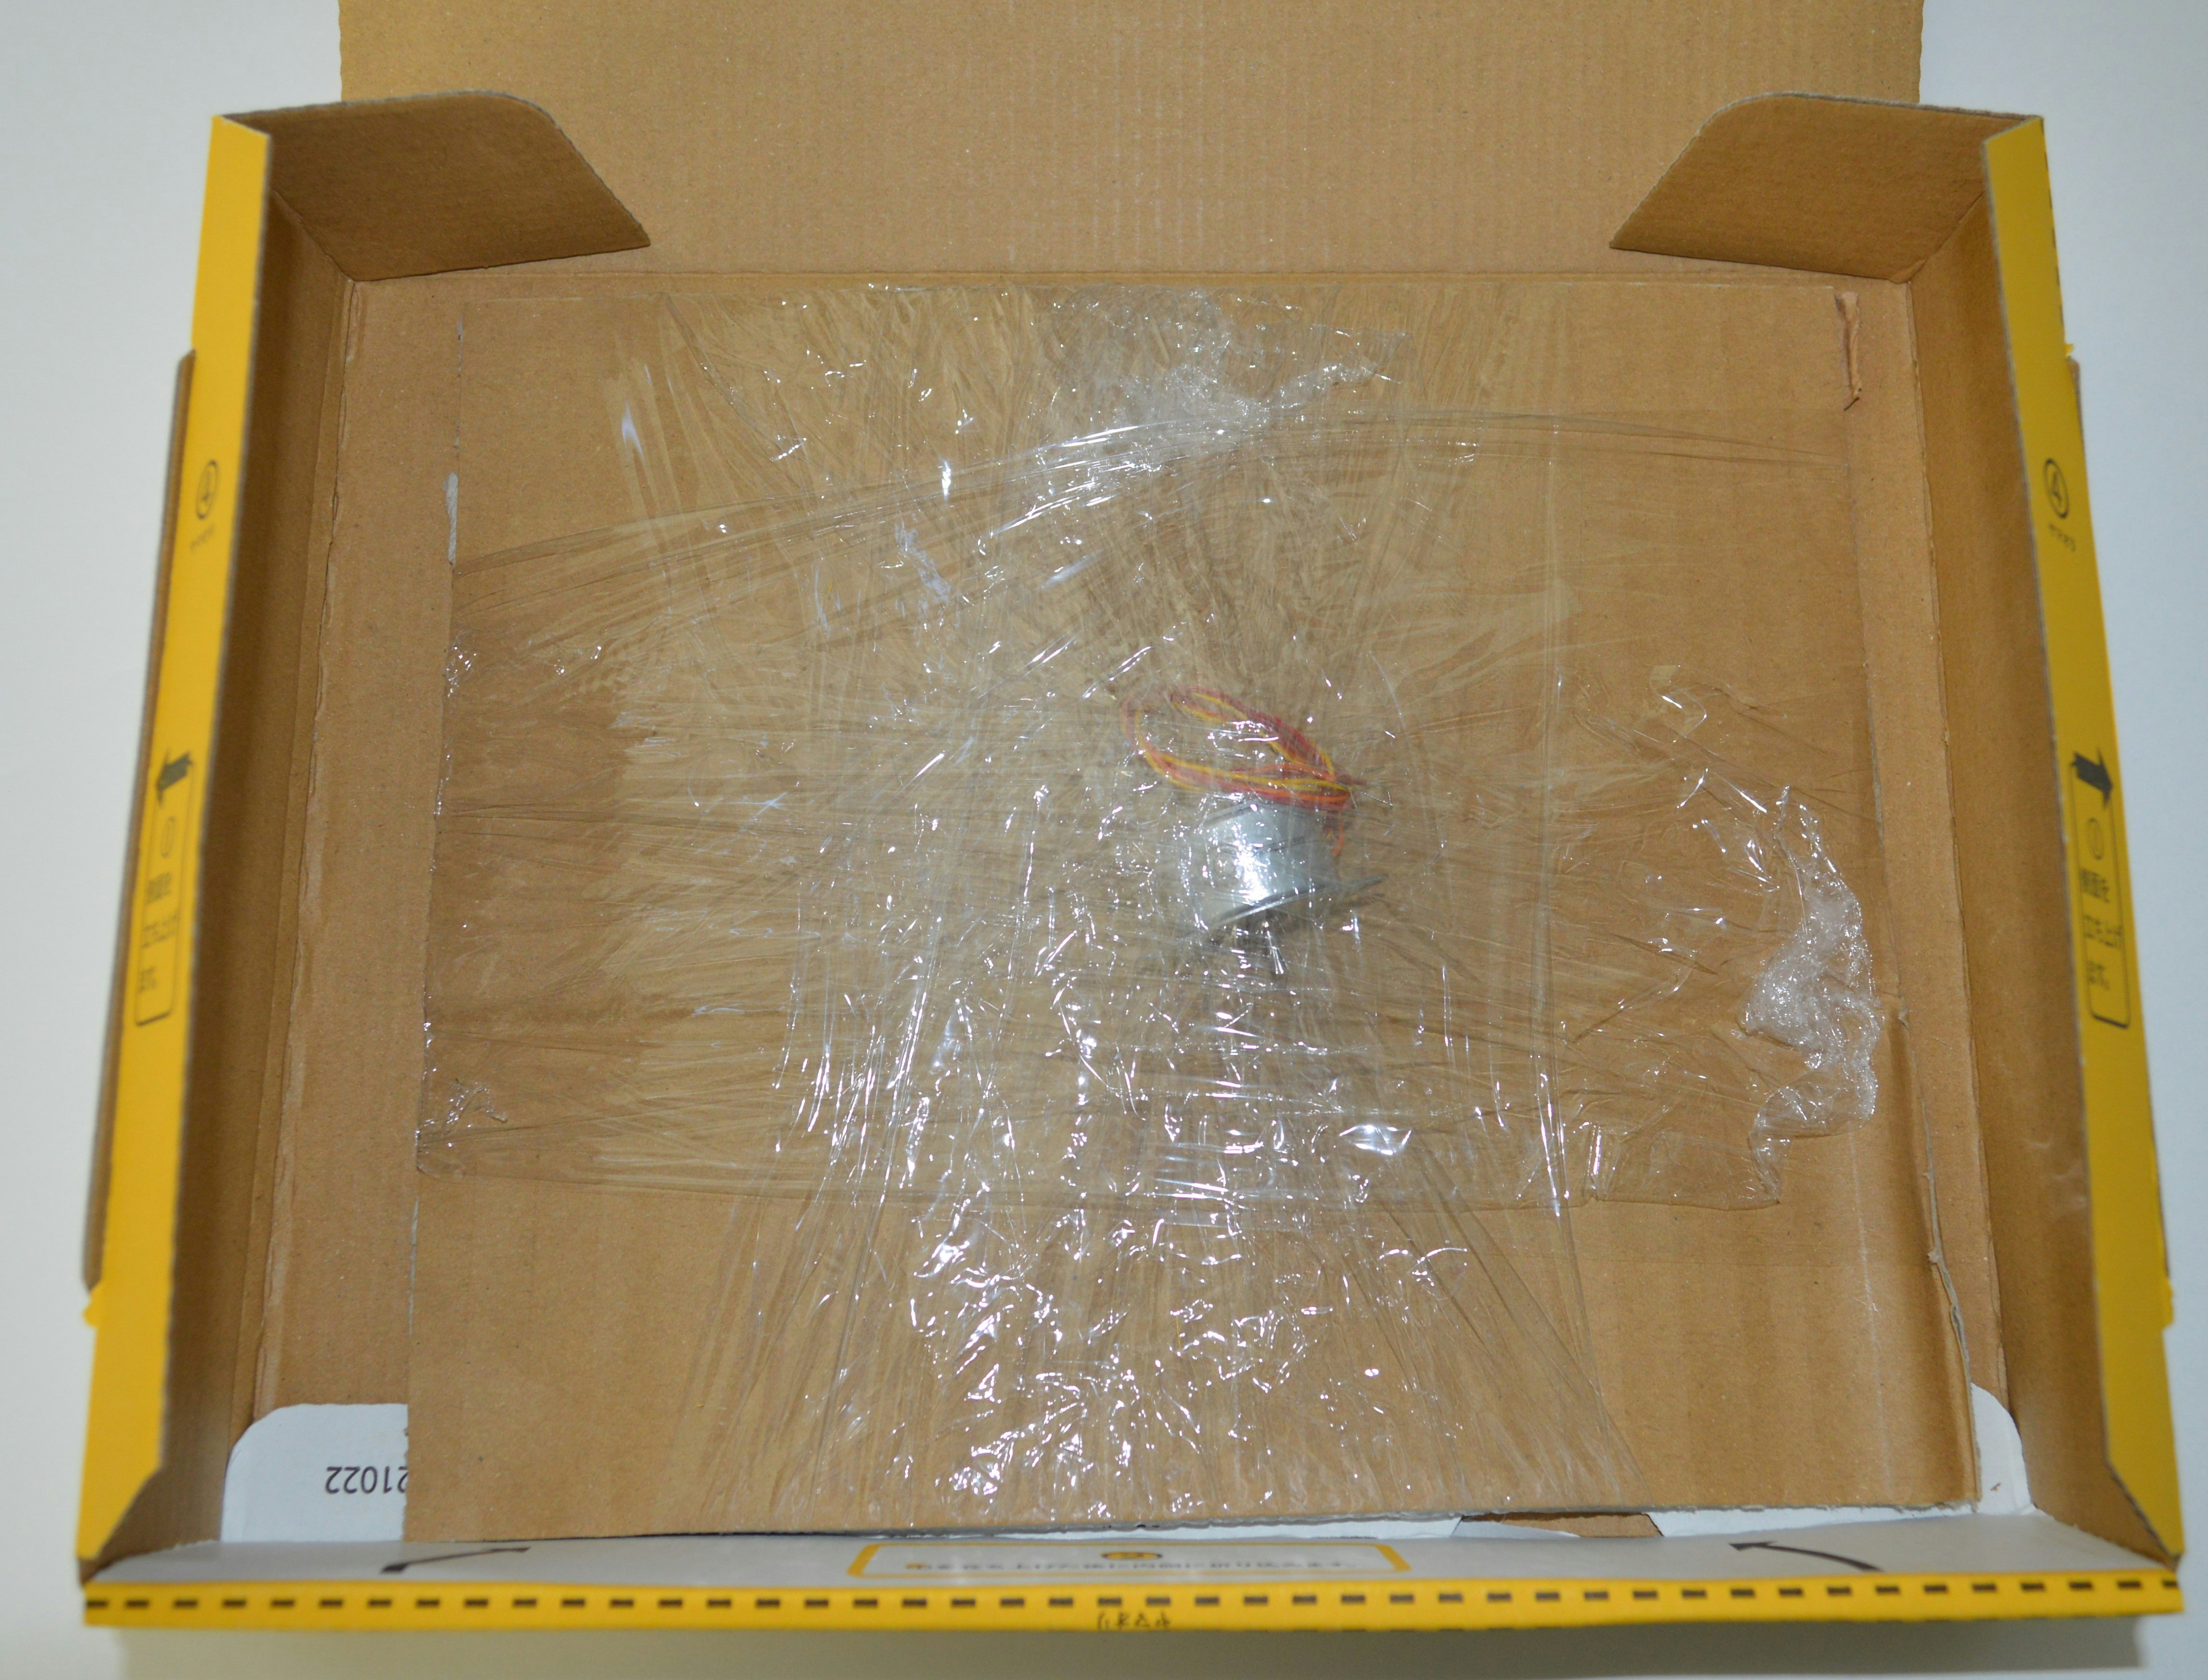
写真のようにヤマトのネコポスの箱にステッピングモーターと仕様書が入っていました。
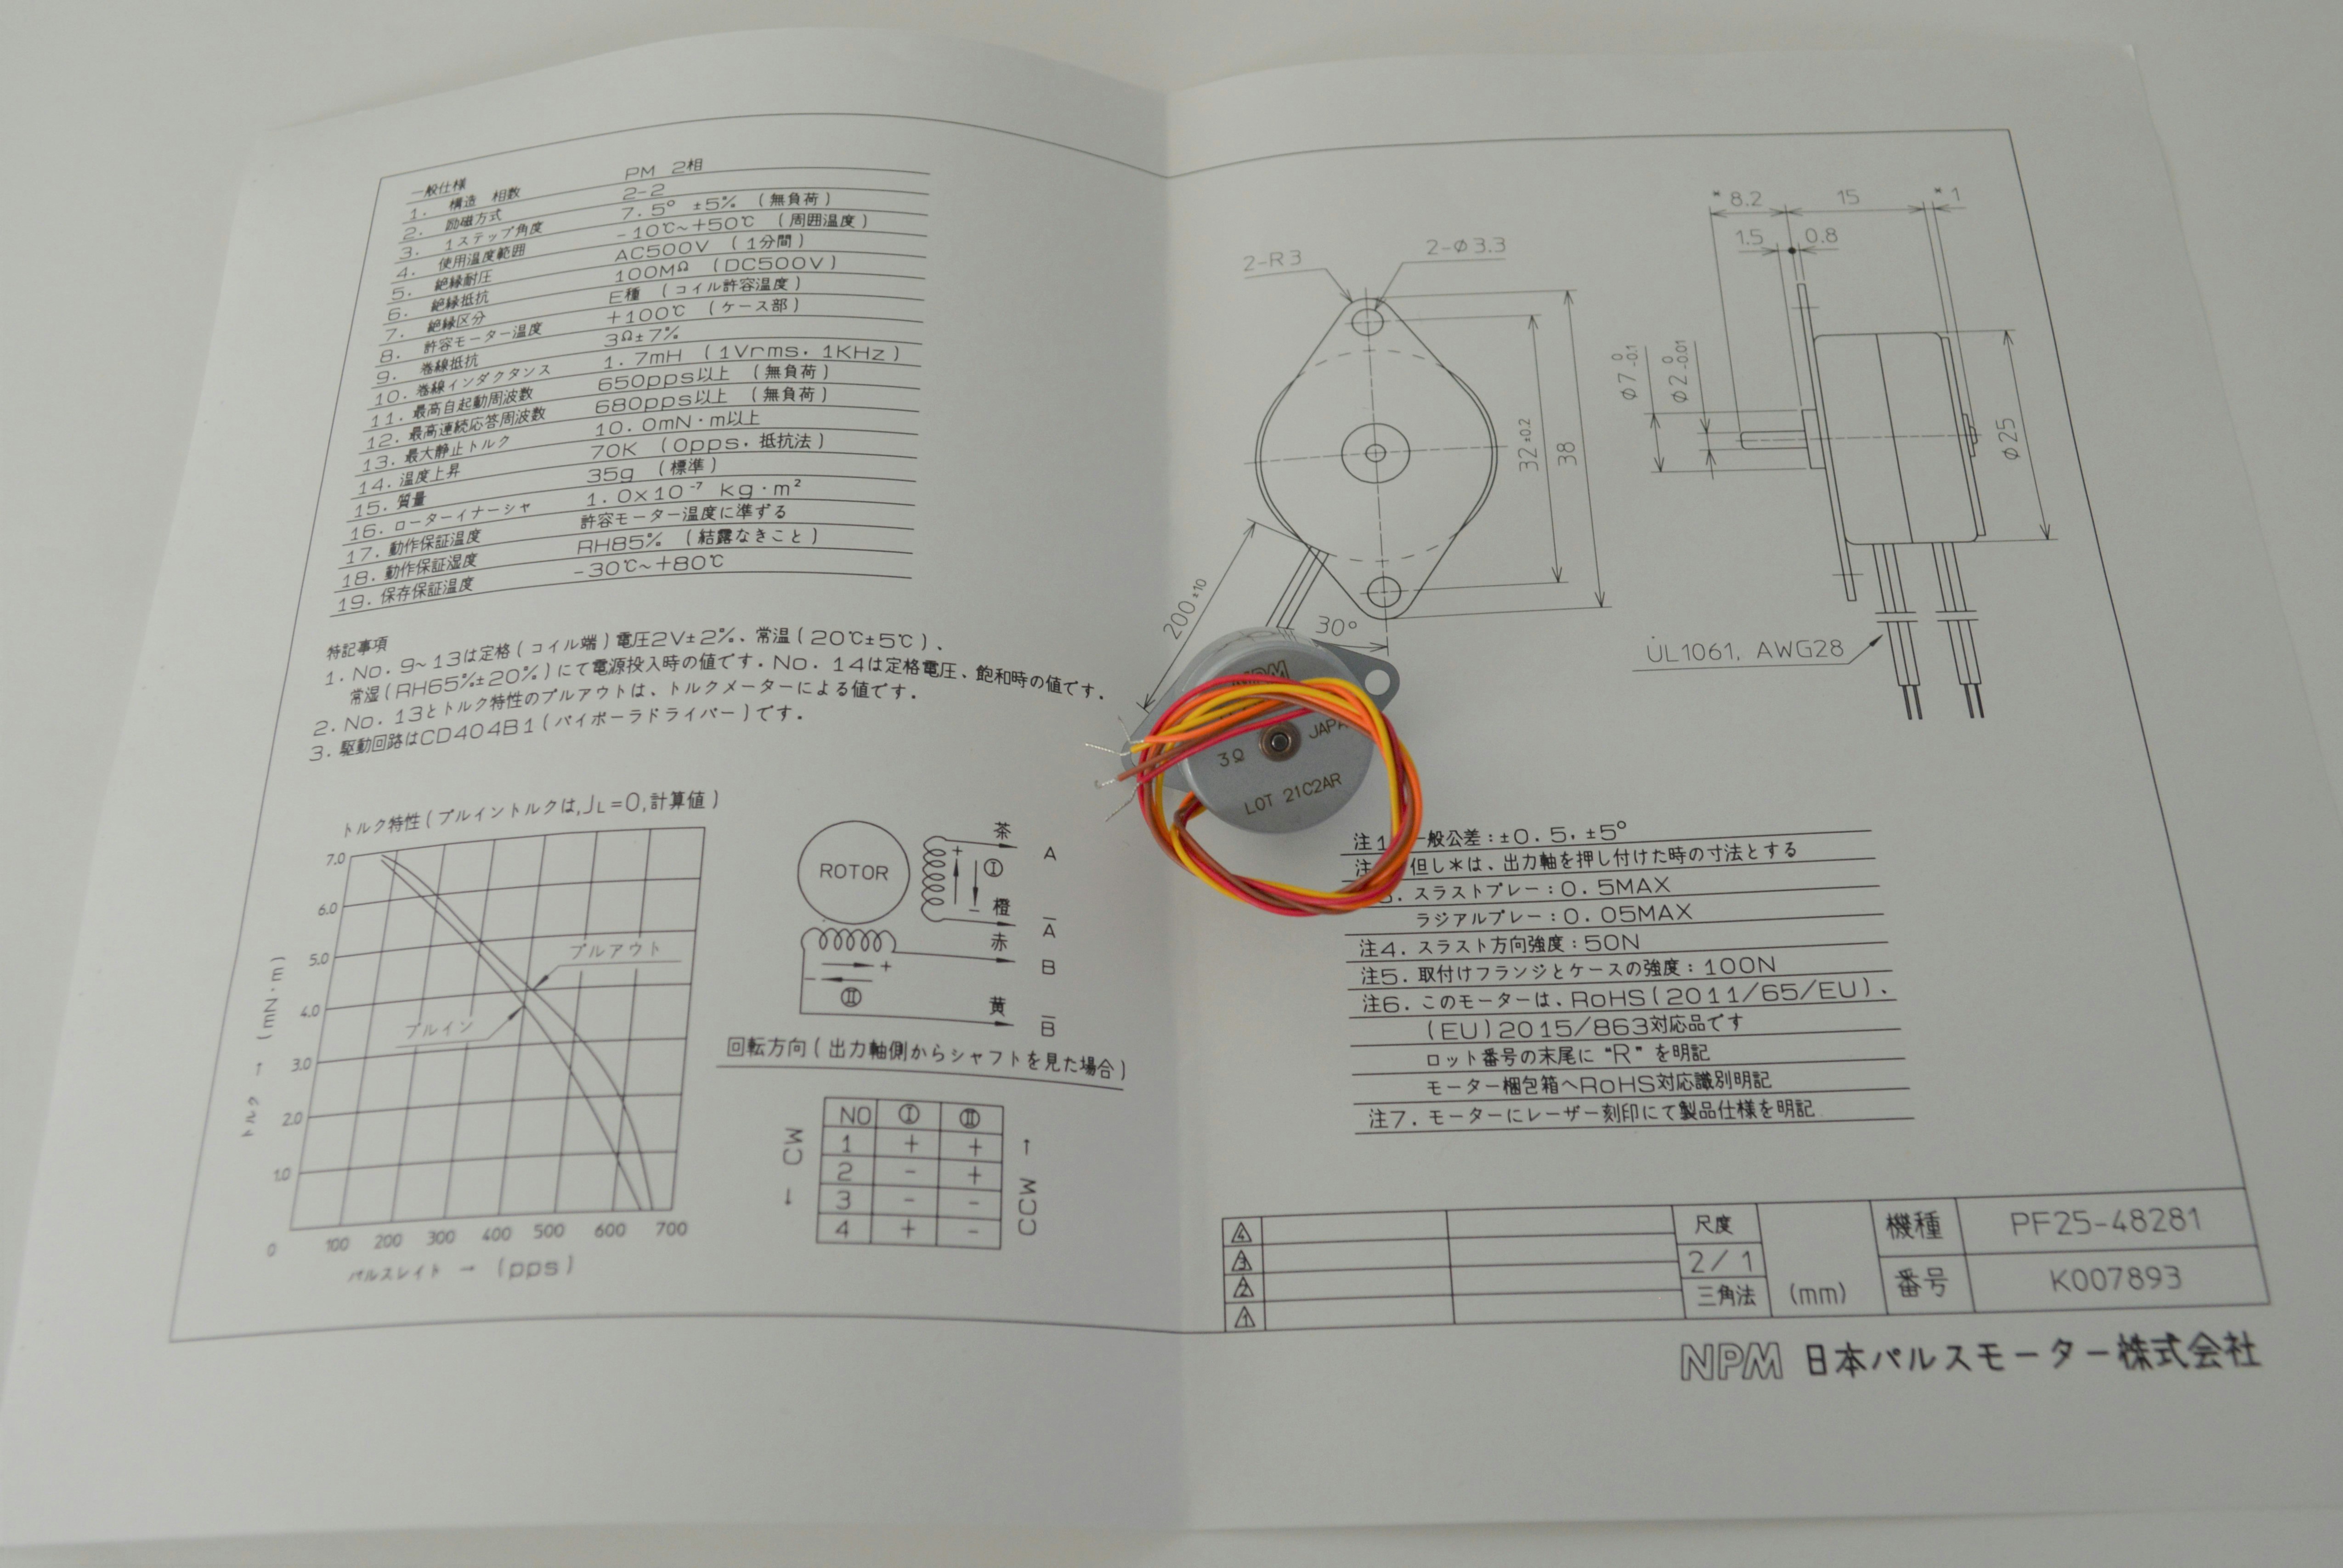
駆動電圧2Vで動くステッピングモーターで3Vで比較的高速に動くという事です。
2Vという事は乾電池2本程度ですね
(乾電池は1本1.5V、充電池は1.2V相当)
動作環境を考える
普段使うマイコンは3.3vや5Vが多く2VというとSpresenseの1.8Vになります
もっと安く簡単に使える上に2V前後で動くマイコンは無いかと思ったところAttiny1616を思い出しました。
Attiny1616は1.8V~5Vで動作します。
8bitマイコンを使おう~ATTINY1616を使う~
https://qiita.com/usashirou/items/48b30630c4320495d0c3
ステッピングモーターを回すには
ステッピングモーターを動かすにはモータードライバを使用します。
普通の2つのモーターを動かすことが可能なモータードライバで動かすことが出来ます。
2つのモーターを動かす4つの出力の+-を切り替える事でステッピングモーターを回すことが可能です。
モータードライバ
モータードライバーは以前使った1枚50円以下のMX1508を使用します。
STM32CubeIDEを使ってみよう How To STM32CubeIDE 日本語版(16) モーターを回そう
https://qiita.com/usashirou/items/a4901fd99940ae65bd8b
MX1508は1.8Vから使用できます。
配線
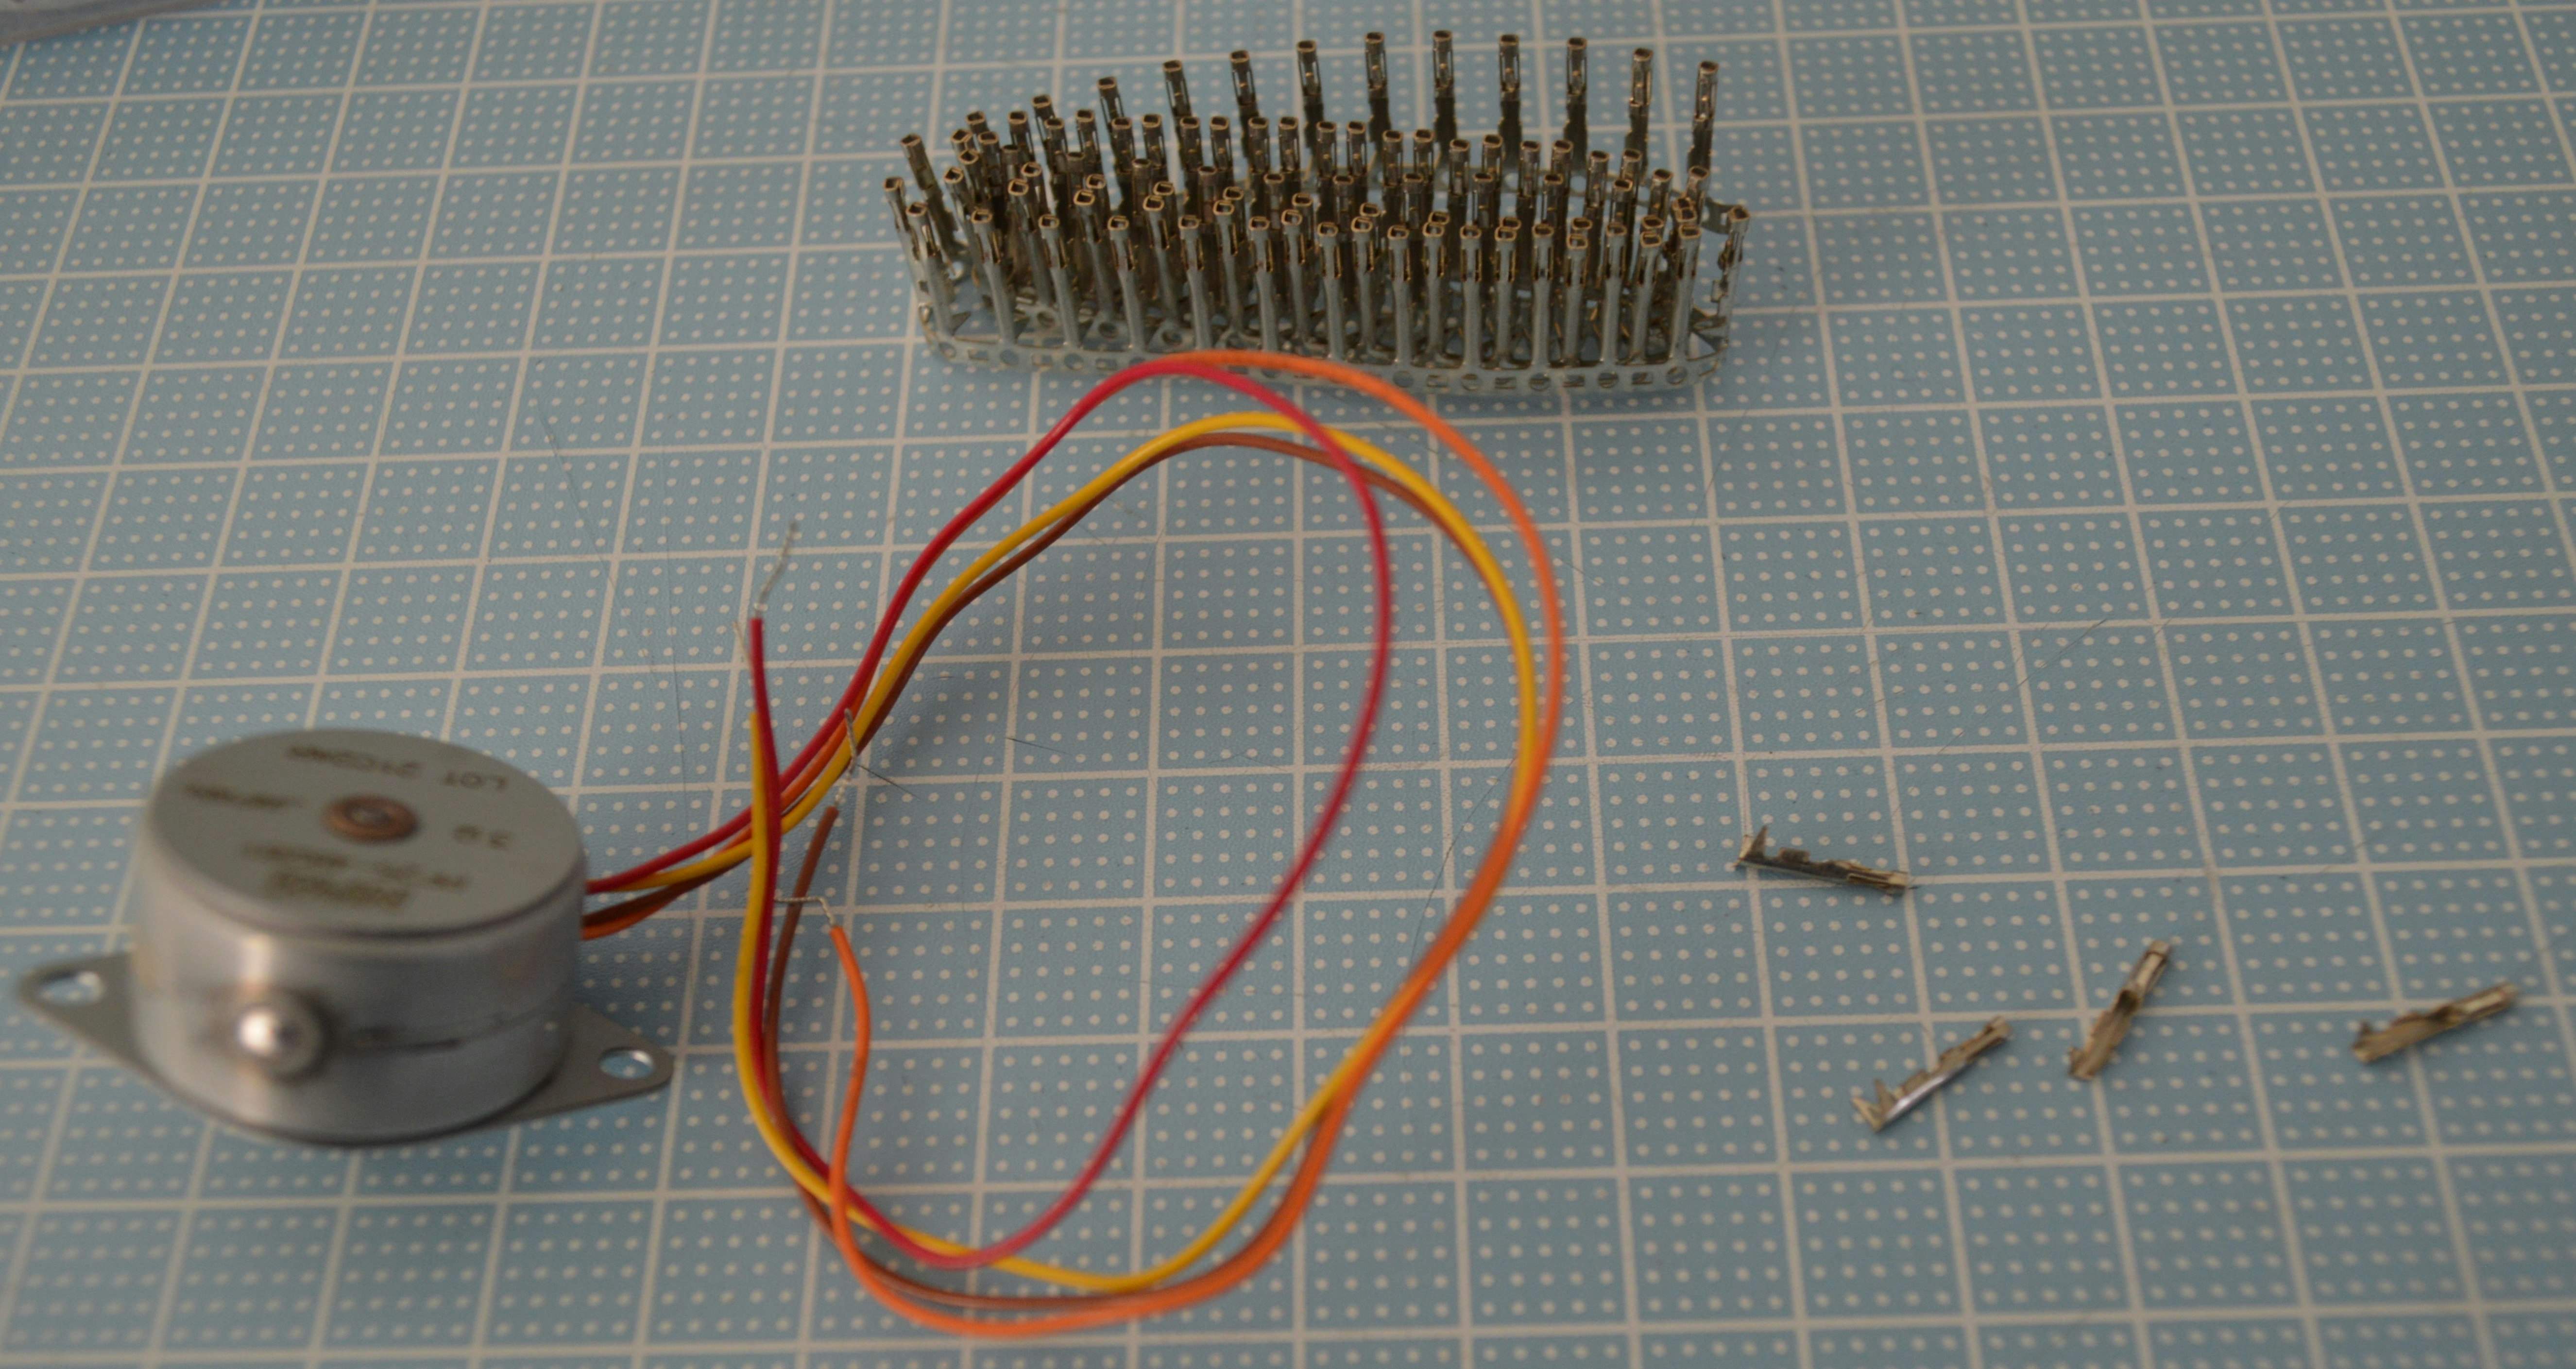
今回は、写真のようにまずは、コネクタを圧着します。
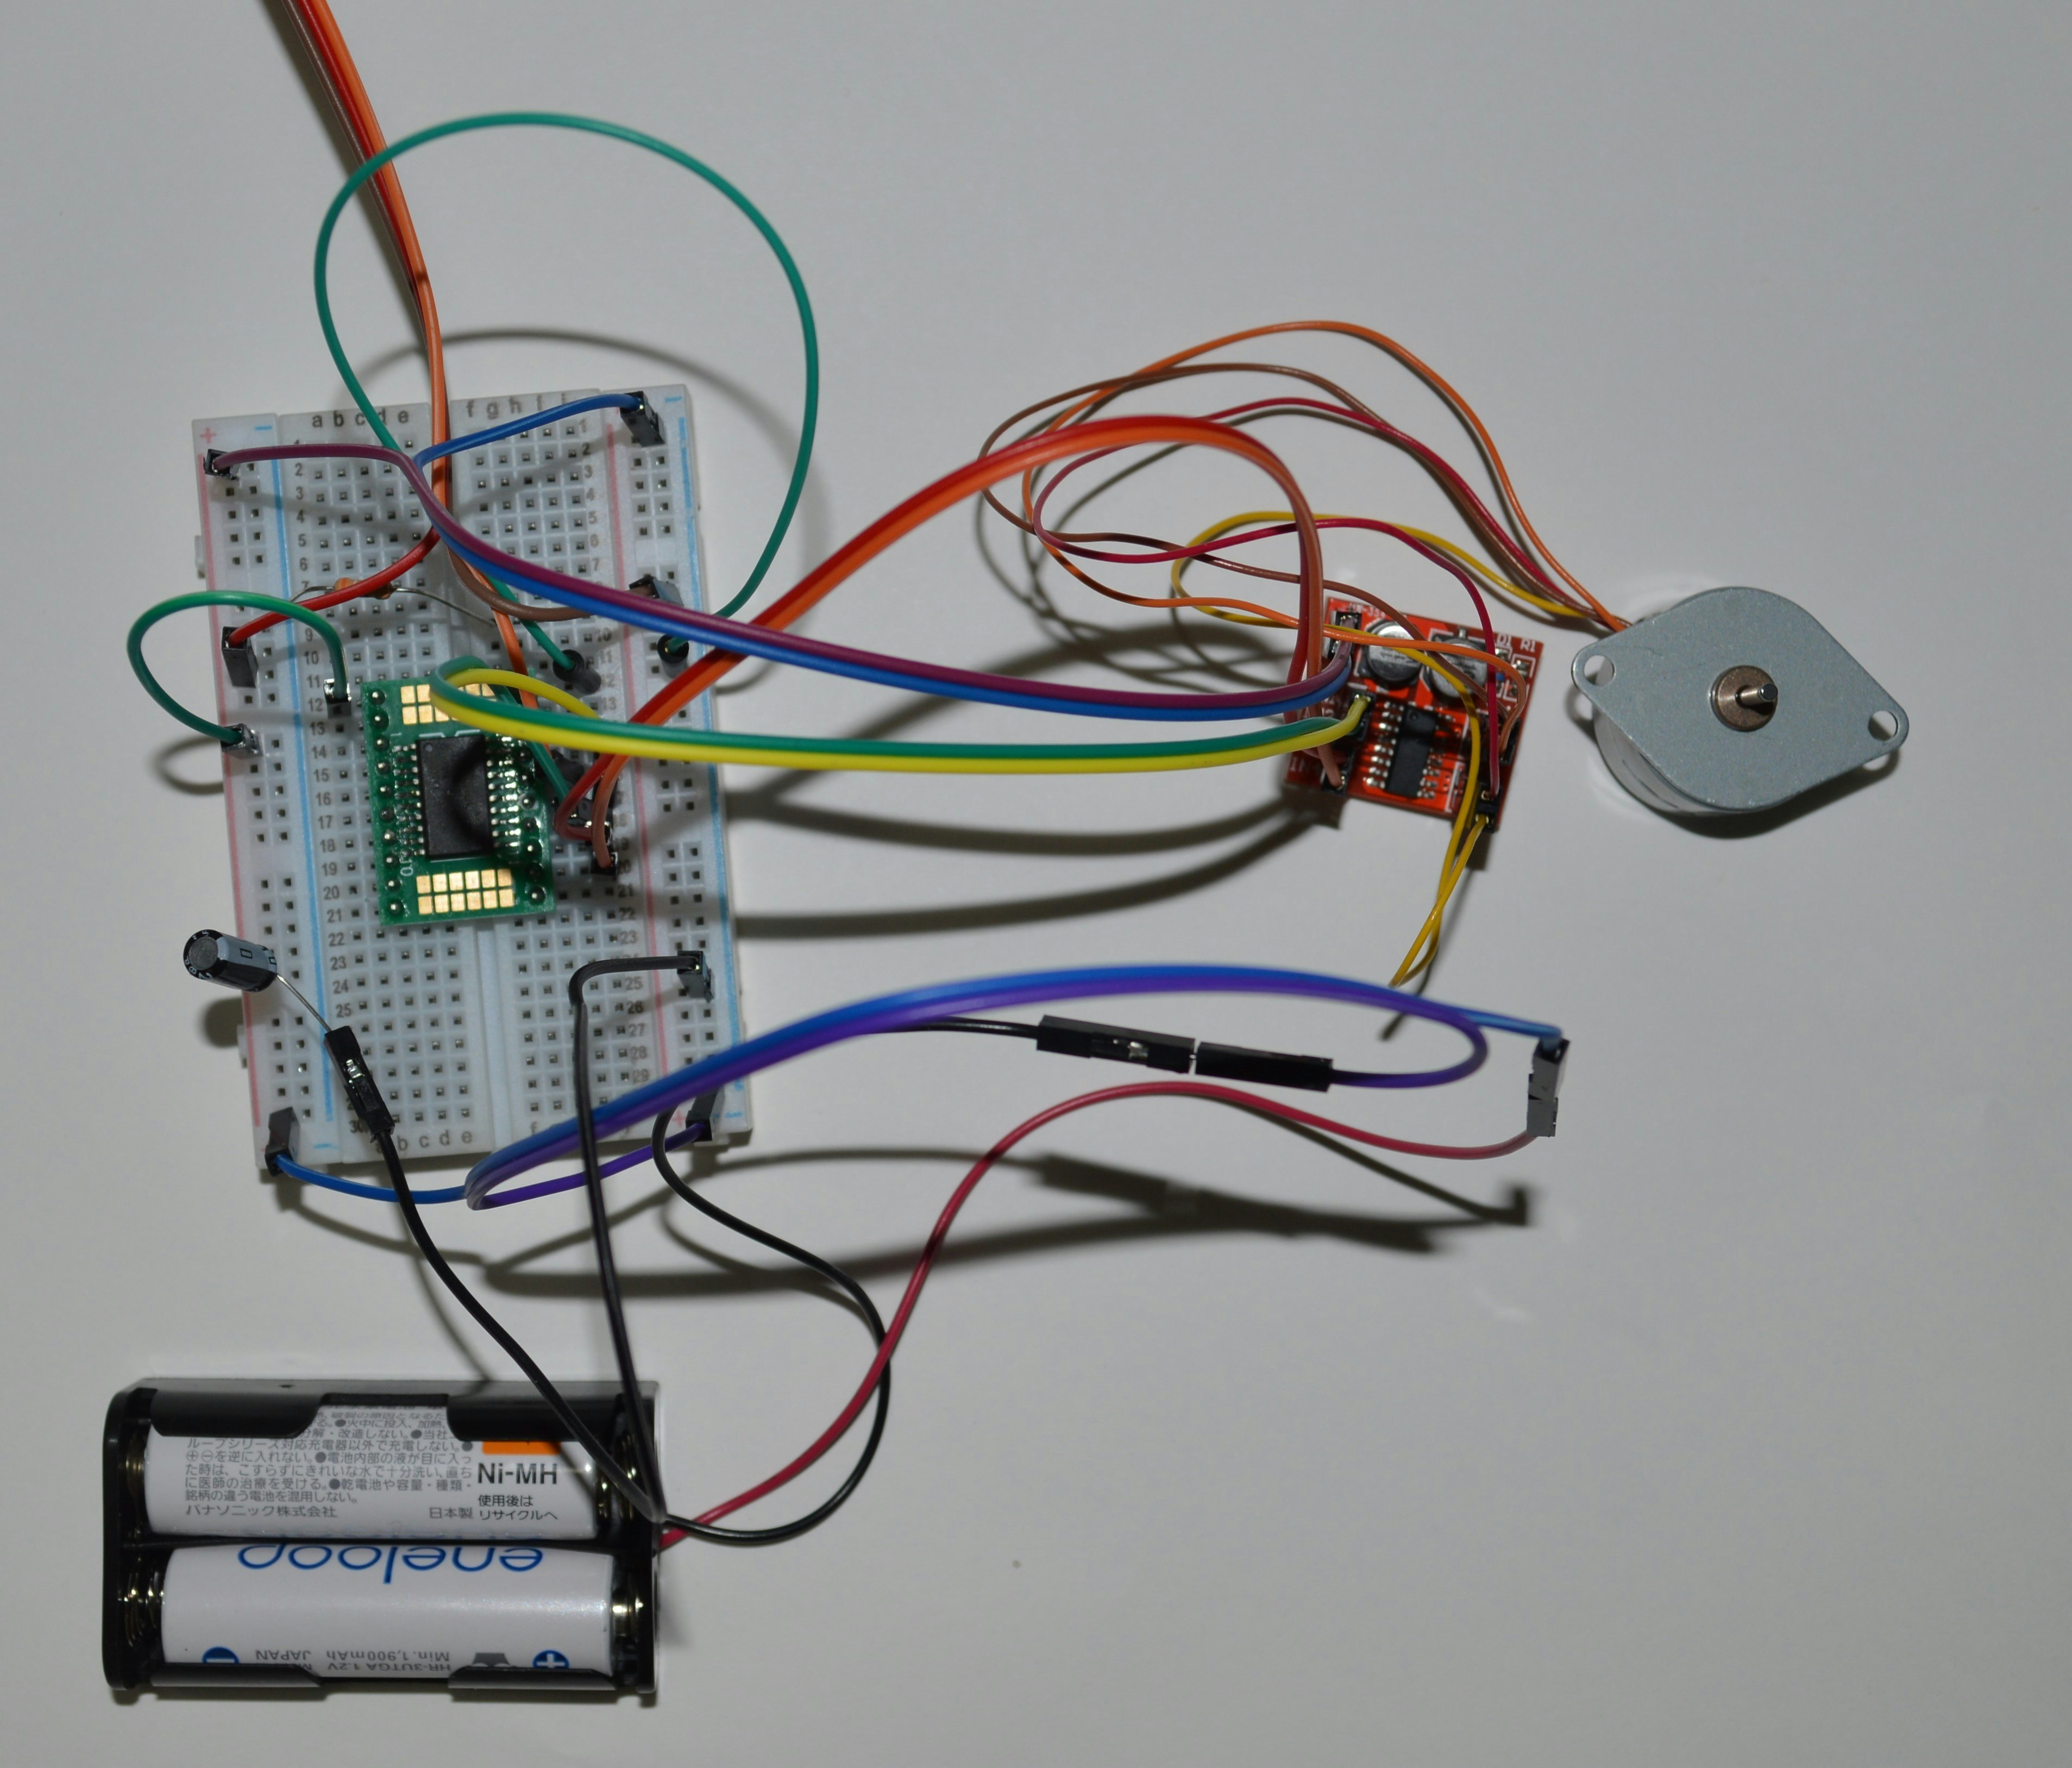
次に電池ボックスを+-へ10~13のピンをモータードライバに接続します。
充電池なので2.4V程度出力されそうですが、テスターで測ると2V程度でした。
(当初ダイオードを入れて0.4V落としていましたが外しました)
プログラムの概要
既に使われている方がいらっしゃいました。
星を見るために
http://south-alps.sakura.ne.jp/m5stack/Tenmon.html
プログラムは同じく___Arduinoでステッピングモータを制御してみる___を使用させてもらいました。
https://novicengineering.com/arduino%E3%81%A7%E3%82%B9%E3%83%86%E3%83%83%E3%83%94%E3%83%B3%E3%82%B0%E3%83%A2%E3%83%BC%E3%82%BF%E3%82%92%E5%88%B6%E5%BE%A1%E3%81%97%E3%81%A6%E3%81%BF%E3%82%8B/
最初にArduinoにStepper.hをインクルードします
#include <Stepper.h>
今回のステッピングモーターのステップ数は48なので48を入れます。
const int stepsPerRotate = 48;//ステップ数 = 360 / ステップ角 = 360 / 7.5 = 48
次に接続するピンを指定します
| ATtiny1616 | Motor Driver | PF25-48281 |
|---|---|---|
| 13 | IN1 | 茶 |
| 12 | IN2 | 橙 |
| 11 | IN3 | 赤 |
| 10 | IN4 | 黄 |
Stepper myStepper(stepsPerRotate, 13,12,11,10);
Arduinoプログラム
# include <Stepper.h>

const int stepsPerRotate = 48;//ステップ数 = 360 / ステップ角 = 360 / 7.5 = 48
Stepper myStepper(stepsPerRotate, 13,12,11,10);

void setup(){
Serial.begin(9600);
Serial.print("Start");
}

void loop(){
  myStepper.setSpeed(50);
  myStepper.step(200);
  delay(1000);
  myStepper.setSpeed(80);
  myStepper.step(200);
  delay(1000);
}
以上で動作すると思います。
乾電池2本で動くサーボモーター
なかなか面白い商品だけに、何に使えるかな?と考えてしまいますね。
逆に、8bitマイコンのような低電圧マイコンの活用も面白いかもしれませんね