DjangoをAWS Lambdaにデプロイできました。Serverless Frameworkを使うと簡単です。
URLとレポジトリはこちらです。
https://django-sls-helloworld.umihi.co/
https://github.com/umihico/django-sls-helloworld
2021/05/26追記
Laravel,Nuxtバージョンもあります。
slsのデフォルトプロジェクトを作成し、f1a13ba
動作確認したらカスタムドメインをプラグインをインストールします。0970afe
API GatewayはURL末端につくstage名を外せず、djangoのルーティングと相性が悪いようで、カスタムドメインを先に整えました。
$ serverless create --template aws-python3 --path django-sls-helloworld # プロジェクト作成
$ cd django-sls-helloworld
$ serverless deploy # 一度デプロイ
$ serverless invoke -f hello # 正常に動くかテスト
{
    "statusCode": 200,
    "body": "{\"message\": \"Go Serverless v1.0! Your function executed successfully!\", \"input\": {}}"
}
$ sls plugin install -n serverless-domain-manager # ドメイン設定のためのプラグインインストール
serverless.ymlを編集します。603753b
+ custom:
+   customDomain:
+     domainName: django-sls-helloworld.umihi.co
+     certificateName: umihi.co
+     basePath: ''
+     stage: ${opt:stage, self:provider.stage}
+     createRoute53Record: true
+     endpointType: 'edge'
+     securityPolicy: tls_1_2

provider:
  name: aws
  runtime: python3.8
$ sls create_domain
# 最大40分かかると言われるが、次のデプロイコマンドはすぐにできる。ただドメイン適用に時間がかかるだけ。
$ sls deploy
これで、カスタムドメイン設定されたWEBページが完成しました。次にDjangoに必要なライブラリをインストールします。80e8f1b
$ sls plugin install -n serverless-python-requirements
以下のファイルを追加し、不要ですがインポートされてるかテストのため、handler.pyも編集しました。ec47570
import os
import sys

requirements = os.path.join(
    os.path.split(__file__)[0],
    '.requirements',
)

if requirements not in sys.path:
    sys.path.append(requirements)
Django
Werkzeug
PyMySQL
import json
+ import requirements

def hello(event, context):
+     # testing import libraries
+     import django
+     import werkzeug
+     import pymysql
    body = {
        "message": "Go Serverless v1.0! Your function executed successfully!",
デプロイし、serverless invoke -f helloが正常であれば、importは成功です。
次に、Djangoのプロジェクトを作成します。930a0c2
そして、サーバレスライブラリ用のWSGIプラグインをインストールします。52386e4
$ django-admin startproject django_sls_helloworld .
$ sls plugin install -n serverless-wsgi
最後に、
MySQLdbの代わりにPyMySQLをインストールする修正と、その際に指摘されるバージョン違いを修正し、30361dd
ALLOWED_HOSTに設定したドメインを名を加え、1966857
LambdaがWSGIを参照するように振り分けます。1dce3d3
import os
+ import pymysql
+
+ pymysql.version_info = (1, 4, 2, "final", 0)
+ pymysql.install_as_MySQLdb()
# Build paths inside the project like this: os.path.join(BASE_DIR, ...)

省略

DATABASES = {
    'default': {
-         'ENGINE': 'django.db.backends.sqlite3',
-         'NAME': os.path.join(BASE_DIR, 'db.sqlite3'),
+         'ENGINE': 'django.db.backends.mysql',
+         'NAME': 'djangodemo',
    }
}

省略

- ALLOWED_HOSTS = []
+ ALLOWED_HOSTS = ["django-sls-helloworld.umihi.co"]
  endpointType: 'edge'
  securityPolicy: tls_1_2
+ wsgi:
+   app: django_sls_helloworld.wsgi.application
+   packRequirements: false

省略

functions:
  hello:
-     handler: handler.hello
+     handler: wsgi_handler.handler
#    The following are a few example events you can configure
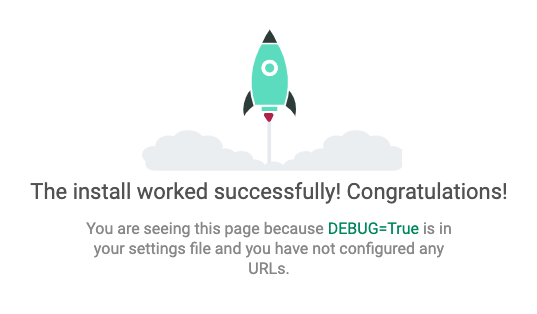
デプロイしてお馴染みの画面がカスタムドメイン先でも現れました。以上です。
ちなみに使い捨てプロジェクトなので、DEBUG=Trueでデプロイし、かつSECRET_KEYもGithubにあげてますが、実運用ではタブーなのでご注意ください。