■開発環境
- Python3
- Django==2.0.6
■DjangoアプリのREST化
Django REST Frameworkを使って爆速でAPIを実装する
こちらを参考に作成してください。
尚、本編ではdjango2でやっているので
プロジェクトのurls.pyを以下のように変えても構いません。
from django.urls import path
from django.conf.urls import url, include
from django.contrib import admin

from blog.urls import router as blog_router

urlpatterns = [
    path('admin/', admin.site.urls),
    path('api/', include(blog_router.urls)),
]
■XcodeでiOSアプリ作成
先ほど作成したDjangoアプリをスマホアプリから叩いてみましょう。
1、プロジェクト作成
Xcodeを立ち上げます。
Single View Applicarionから、プロジェクトを一つ作成します。
設定はなんでも構いません。
今回project name は test_restにしました。
2、インストール
必要モジュールのインストールを行います。
- Cocoapod
- Alamofire
Alamofireの導入および準備 を参考にインストールしてください。
これで、外部へのアクセスが可能になります。
3、ボタンとテキストビューの設置
Xcodeを開きます。
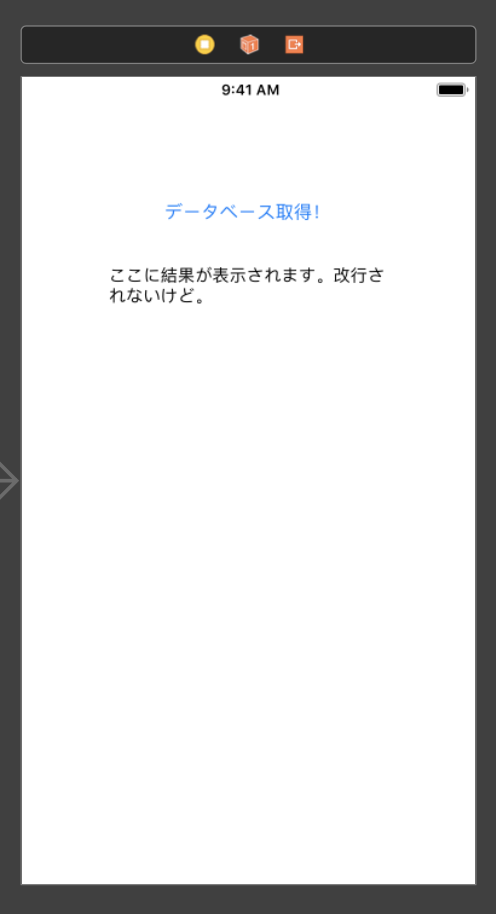
まずは中央にUIButtonを設置します。「データベース取得!」
その下にTextViewを設置します。

4、ボタンのコネクト
ボタンをcontrolを押しながらViewController.swiftに接続します。
場所は、class内の、override func viewDidLoad() {}が閉じたあとです。
今回はpushという関数名で接続しました。
@IBAction func push(_ sender: UIButton) {
    // 郵便番号APIにアクセスする
        Alamofire.request("http://zipcloud.ibsnet.co.jp/api/search?zipcode=7830060").responseJSON {response in

            print("Request: \(String(describing: response.request))")
            print("Response: \(String(describing: response.response))")
            print("Result: \(String(describing: response.result))")

            if let json = response.result.value {
                print("JSON: \(json)")  // serialized json response
            }
            if let data = response.data, let utf8Text = String(data: data, encoding: .utf8) {
                print("Data: \(utf8Text)")  // original server data as UTF8 String
            }

        }
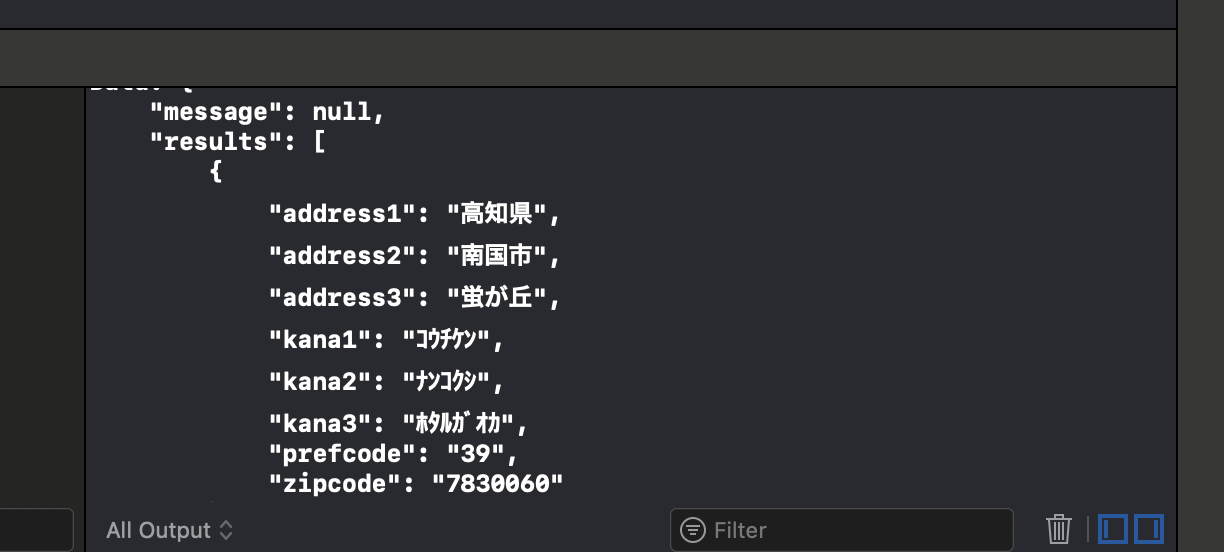
とりあえず郵便番号APIにアクセスしてみます。
この状態でビルドすると、Xcode画面下のコンソールに結果がかえります。

5、テキストビューのコネクト
先ほどのUIButtonよりも上にテキストビューをコネクトしておきます。
    @IBOutlet weak var getdata: UITextView!
    //今回繋げたのは↑これ

    @IBAction func push(_ sender: UIButton) {
        (略)さっきつなげたやつ。
getdataという関数名で繋げておきました。
6、ボタンを押したらiOS画面に表示させる処理
4で接続した箇所に記述を加えるだけです。
if let dataの中に記述をします。
        (略)

            if let data = response.data, let utf8Text = String(data: data, encoding: .utf8) {
                print("Data: \(utf8Text)")  // original server data as UTF8 String

                //ーーーーー追加するのはここから
                var mess:String = ""
                mess += "Data: \(utf8Text)"
                print(mess)
                self.getdata.text = mess
                //ーーーーーここまで

            }
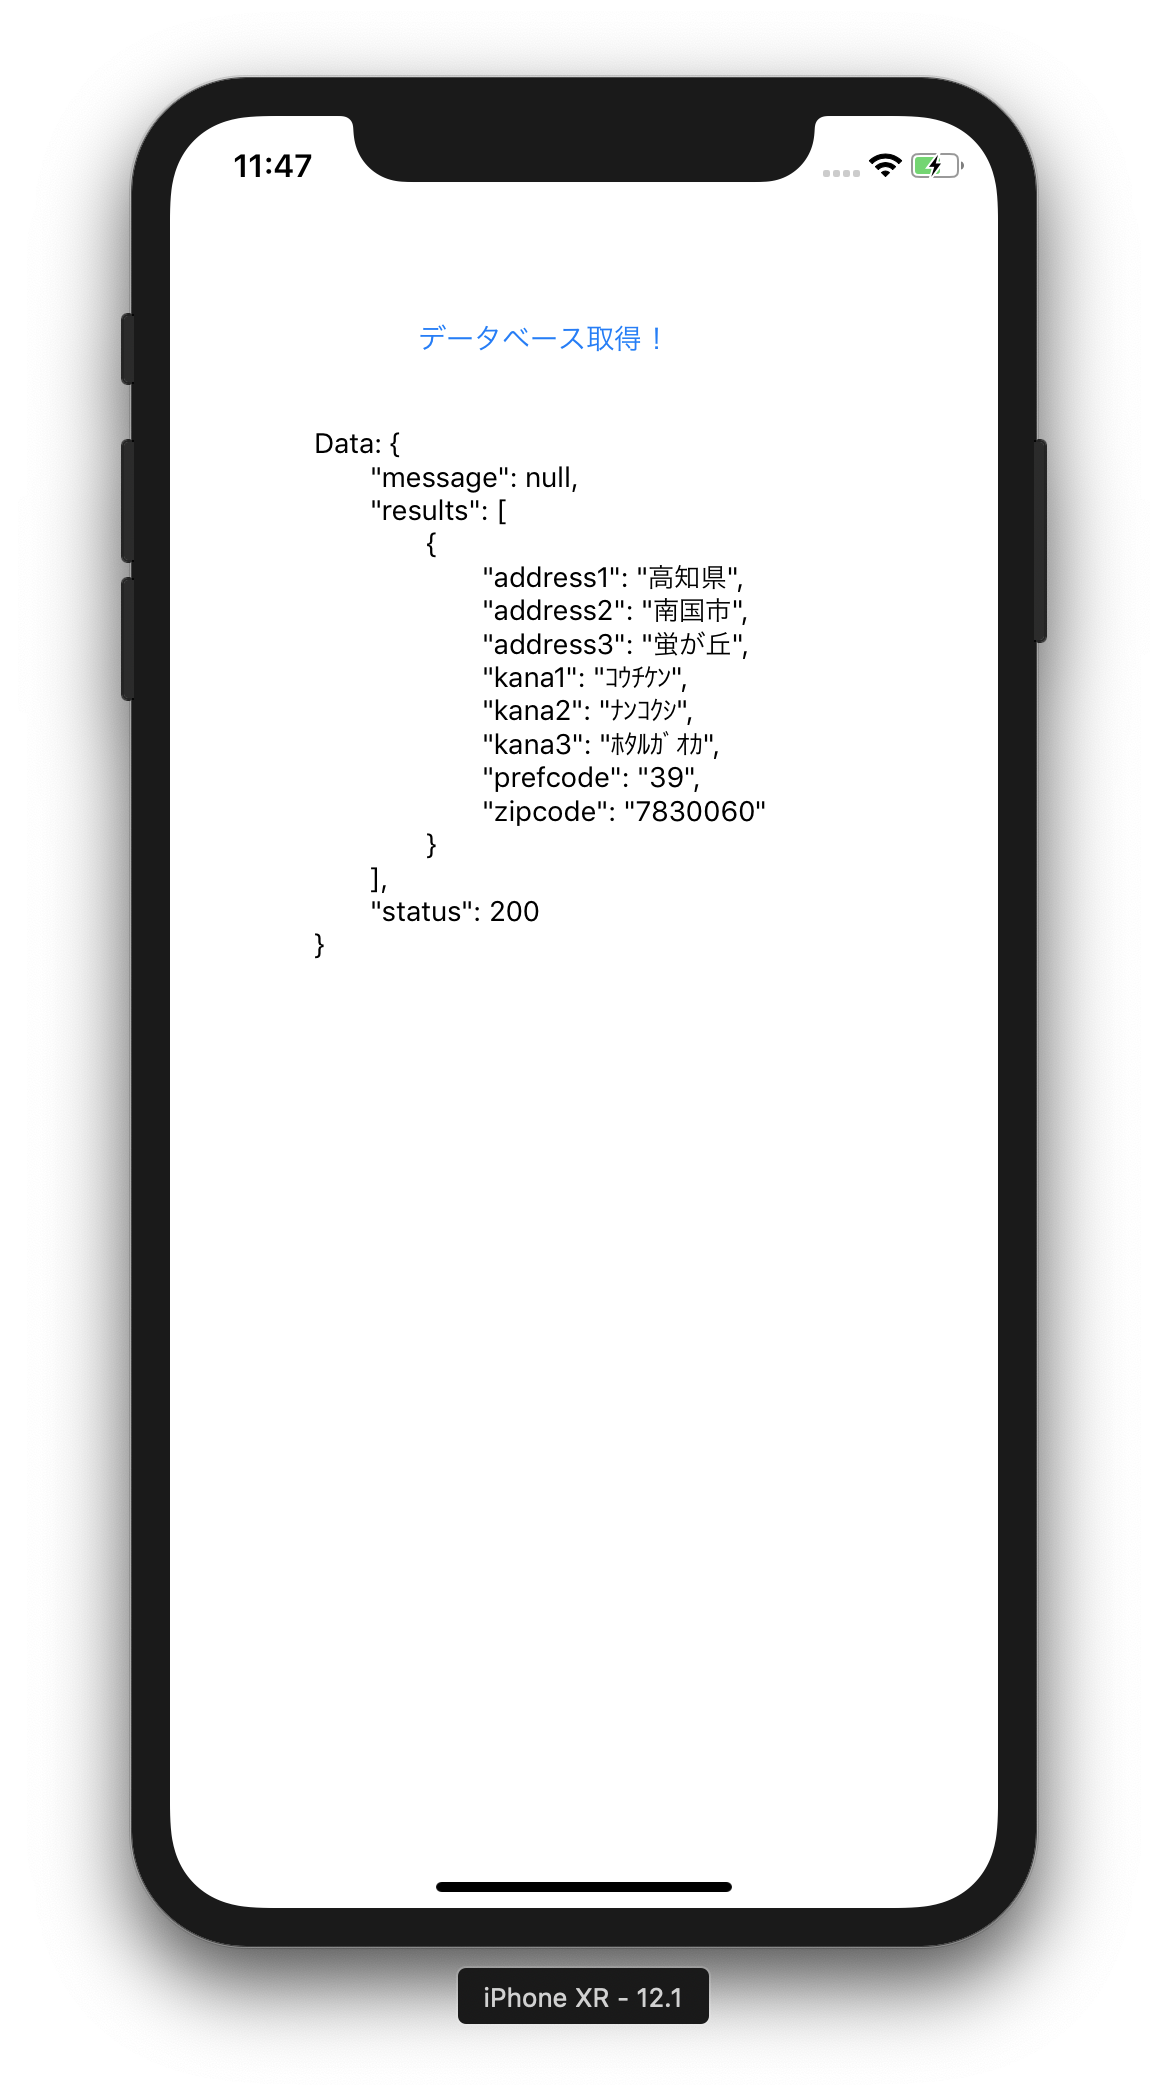
ビルドして確認してみましょう。
☆Error:The resource could not be loaded because the App Transport Security policy requires the use of a secure connection.
なんかエラーがでて、画面が表示されない場合。
iOS9からセキュリティが厳しくなった結果のようです。
ちょまどさんの記事が参考になる。
【iOS 9 対応】App Transport Security 対策
ホワイトリストを作ればいいようなので、作ります。
ちょまどさんの、
<key>zipcloud.ibsnet.co.jp</key><!-- ここにHTTP通信を許可するドメイン -->
郵便番号取得先のドメインに変えて保存。
■DjangoとSwiftの連携
ようやくDjangoのアプリを叩きにいきます。
まずはローカルで動いているDjangoを外部からアクセスできるようにしなければなりません。
ngrokというものを使います。
1、Djangoアプリ起動
とりあえず、Djangoアプリを8000番ポートで立ち上げておきます。
2、ngrok
別のターミナルを立ち上げて操作します。
インストール
brew install ngrok
起動
ngrok http 8000
djangoの場合デフォルトポート番号 8000
Forwarding                    http://861d27e8.ngrok.io -> localhost:8000
Forwarding                    https://861d27e8.ngrok.io -> localhost:8000
画面にこのようなものが出ていると思います。
左側のURLが、今外部からアクセスできるURLになります。
ドメインは、ngrokを起動するたびに乱数発生させて変わります。ngrok有料プランだと固定ドメインを取得できるようです。
実際にhttp://861d27e8.ngrok.ioにアクセスすると、djangoアプリをみることができます。
3、Xcodeからアクセス
XcodeのURL指定する場所に、上記ngrokのURL(apiで叩けるもの)を入れてみます。
@IBAction func push(_ sender: UIButton) {
    // この下!
        Alamofire.request("http://861d27e8.ngrok.io/api/users/1/?format=json").responseJSON {response in
(略)
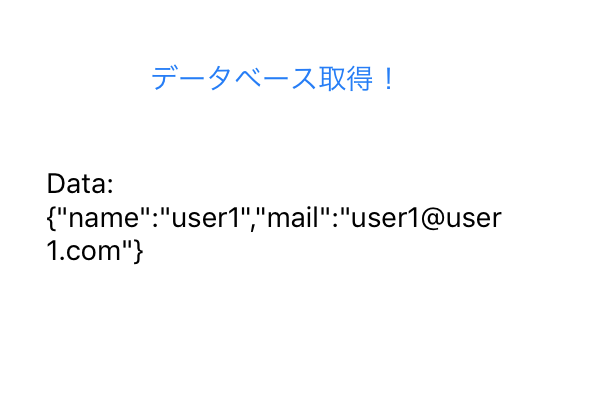
うまく取れました。

