概要
ブラウザ上でマーカーレスARができる8th Wallですが、実際にイベントなんかで使うとなるとやっぱりマーカー、欲しくなりますよね。
そんなわたしたちに8th WallはImage Targetsという機能を提供してくれています!
Image Targetsとは?
8th Wallでマーカーを検知&トラッキングしてくれる機能です。
マーカーは開発者が独自に指定することができ、複数マーカー指定することもできます。
公式サンプルのMarker BasedあたりはImage Targets使っているようです。
準備
8th WallのAPIはサイトからキーなどを発行しないといけません。
ブラウザで8thwall.comを開き、webマークをクリック。
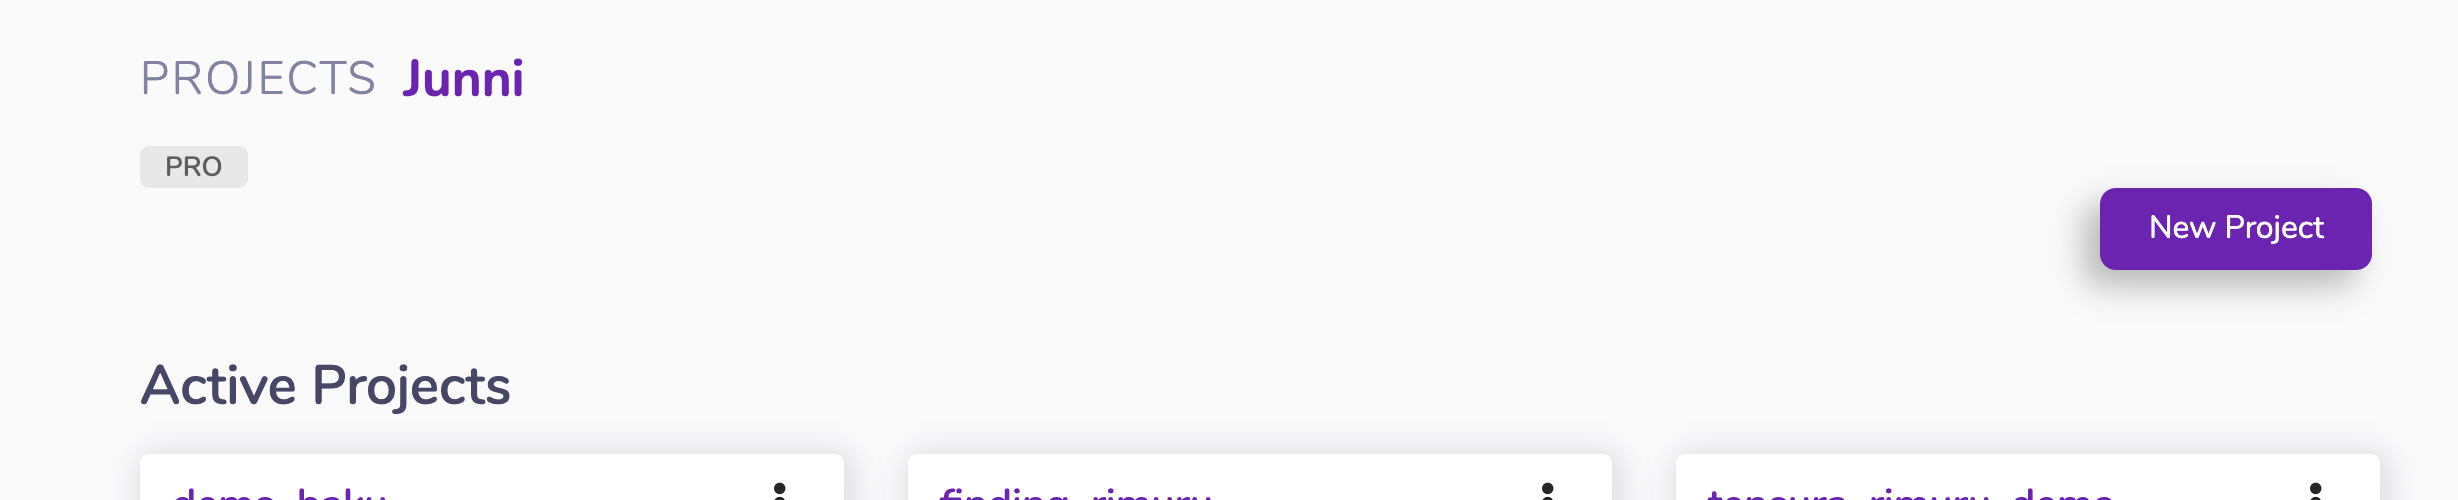
画面右上のNew Projectをクリック
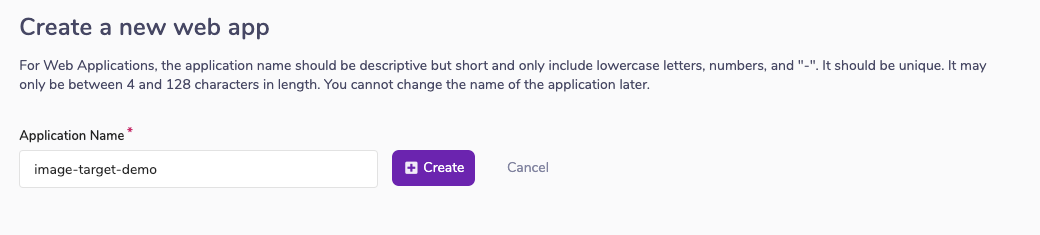
プロジェクト名を入力してcreateをクリック。
プロジェクトが作成されました。
左のサイドバーの歯車マークをクリック。
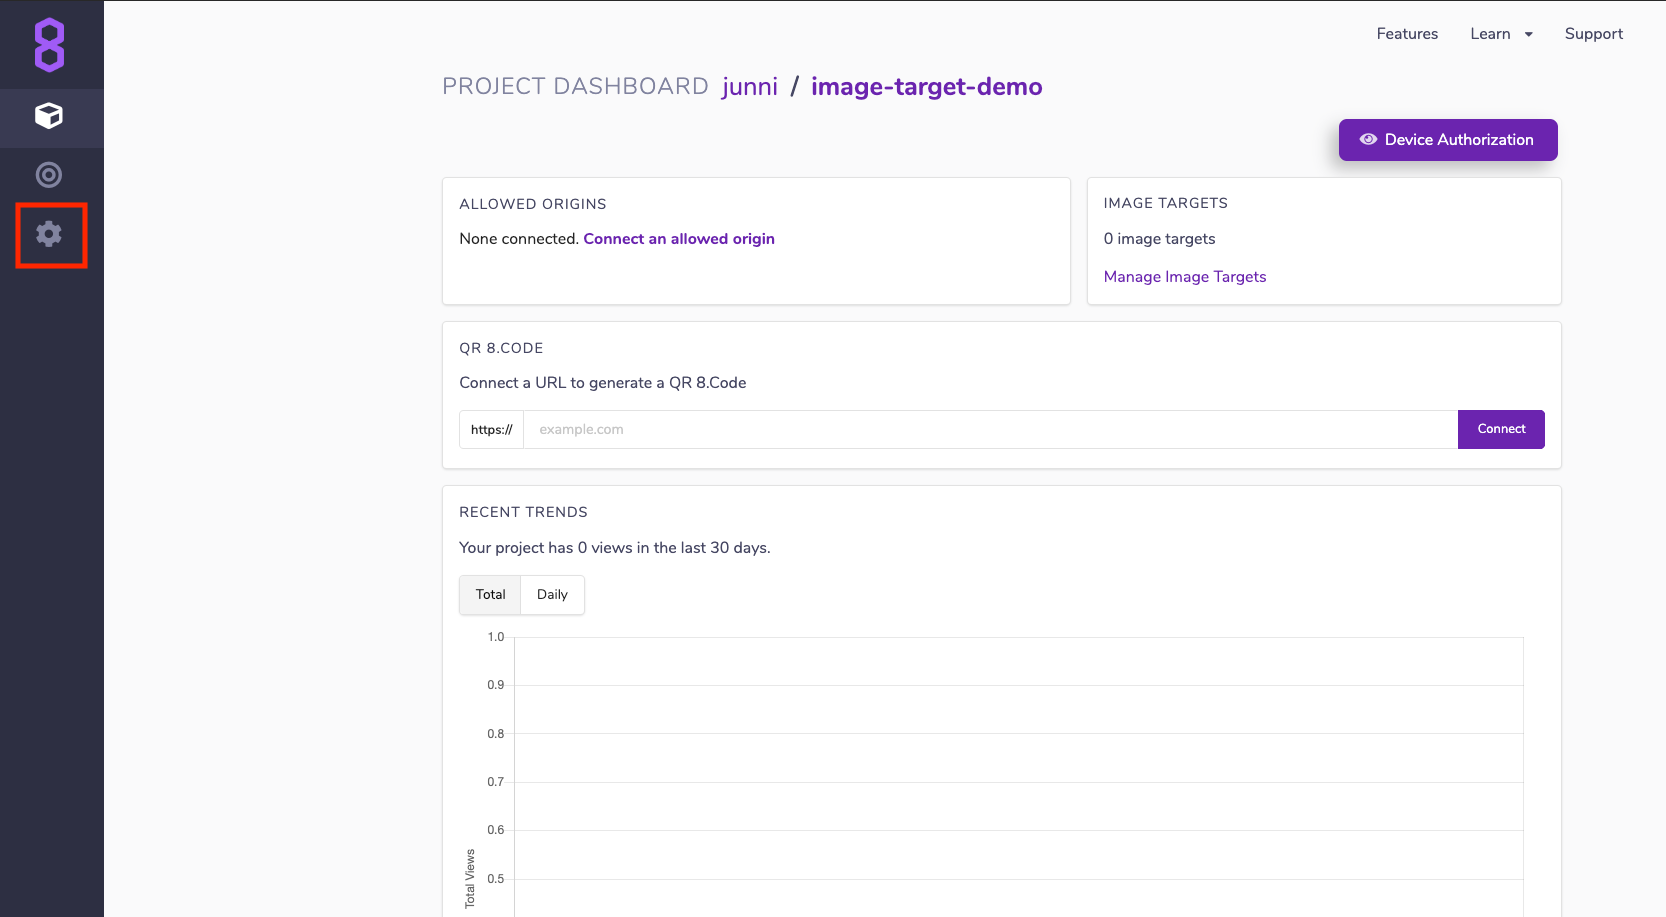
設定画面にAppKeyが表示されます。後で使います。

いざ実装
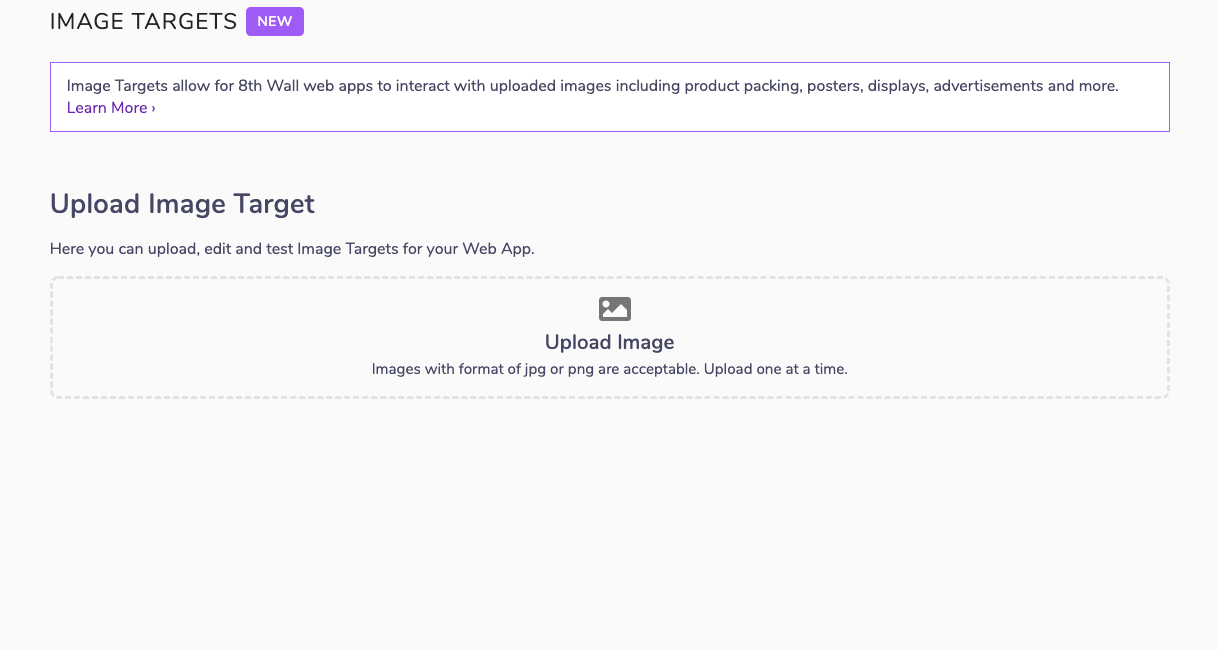
画像の登録
先にマーカーを登録しておきましょう。
ダッシュボードの右側のManage Image Targetをクリック。

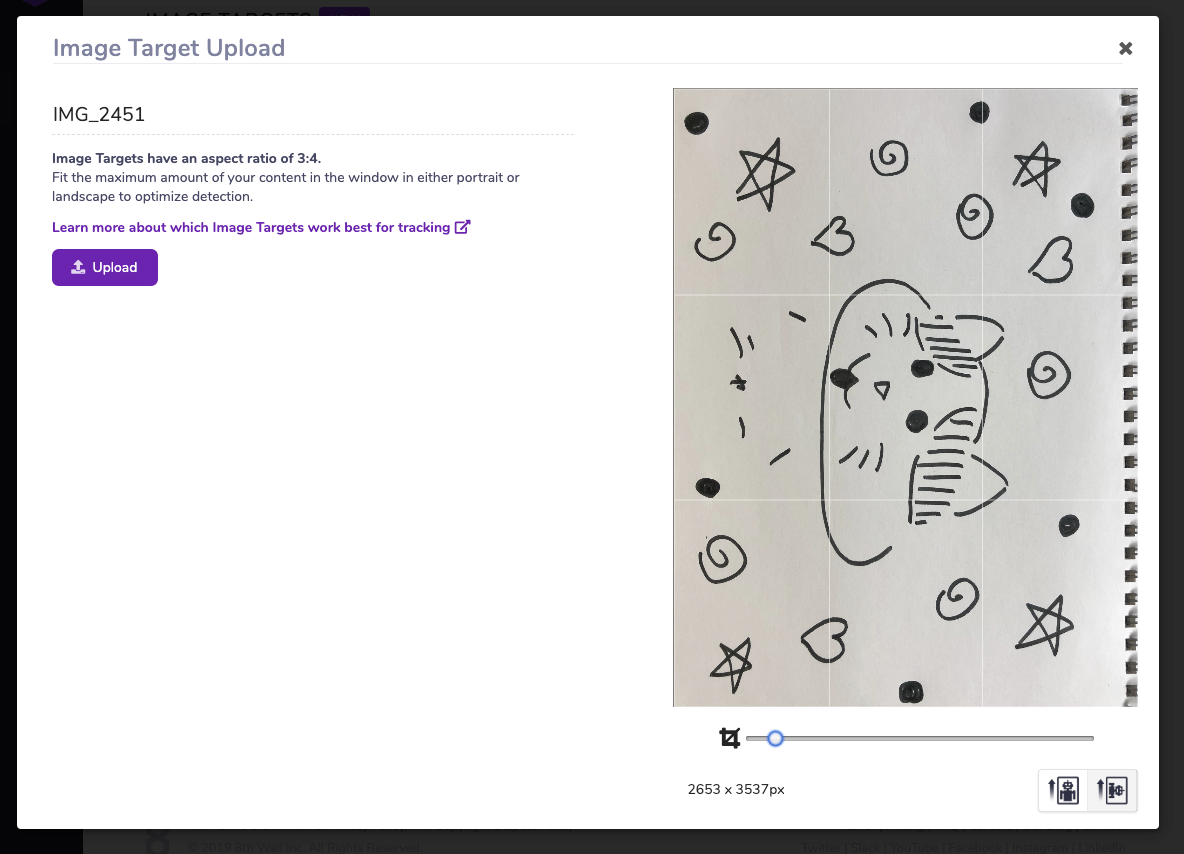
Upload Imageをクリックして任意の画像を選択します。
トリミングなどしてuploadをクリック。
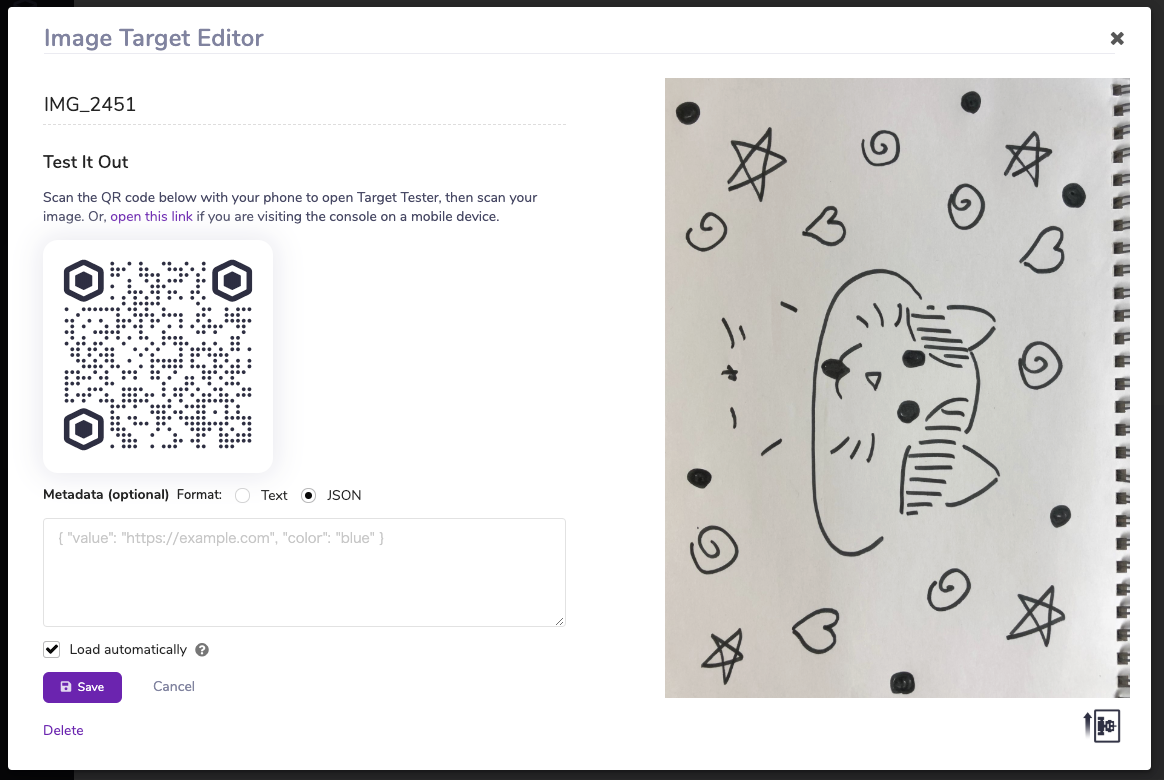
Load automaticallyにチェックを入れてsaveです。
metaデータも追加できるようですね。
8th Wall APIの追加
続いてHTMLです。
scriptで以下の2つの追加が必要です。
appKeyには先程確認したAppKeyを貼り付けましょう。
<script defer src="https://apps.8thwall.com/xrweb?appKey=XXXXXXXXXX"></script>
<script src="https://cdn.8thwall.com/web/xrextras/xrextras.js"></script>
全体です。
<html lang="en">
<head>
	<meta charset="UTF-8">
	<meta name="viewport" content="width=device-width, initial-scale=1.0">
	<meta http-equiv="X-UA-Compatible" content="ie=edge">
	<link rel="stylesheet" href="./css/style.css">
	<title>title</title>
</head>
<body>
	<canvas id="canvas"></canvas>

	<!-- 8th Wall API -->
	<script defer src="https://apps.8thwall.com/xrweb?appKey=XXXXXXXXXX"></script>

	<!-- 8th Wall utilities -->
	<script src="https://cdn.8thwall.com/web/xrextras/xrextras.js"></script>

	<script src="./js/script.js"></script>
</body>
</html>
PipeLineModuleの作成
8th Wallでは一つの処理をPipeLineModuleというオブジェクト単位で行います。
PipeLineModuleの最低限の形は以下のようになっています。
PipeLineModule= {
	name: 'name', //PipeLineModuleの名前
	onStart: () => {}, //初期化時のコールバック
}
ImageTargetを使用する場合はこのPipeLineModuleに画像を見つけたときのイベントリスナを登録しておきます!
PipeLineModule = {
	name: 'name',
	onStart: () => {},
	listeners: [
		{ event: 'reality.imagefound', process: () => {} }, //マーカーを見つけたとき
		{ event: 'reality.imageupdated', process: () => {} }, //マーカーが更新されたとき
		{ event: 'reality.imagelost', process: () => {} }, //マーカーを見失ったとき
	],
}
イベント発火時にリスナに渡される引数などは公式ドキュメントを参照してみてください。(AFrameのやつだけど多分Three.jsでも同じ...?)
まるごとソースコード
ソースコード
import * as THREE from 'three';

declare var XR;
declare var XRExtras;

export class CustomPipelineModule{

	public xrModule: any;

	private scene: THREE.Scene;
	private camera: THREE.Camera;

	private obj: THREE.Object3D;

	constructor(){

		this.xrModule = {
			name: 'custom module',
			onStart: this.onStart.bind( this ),
			onUpdate: this.update.bind( this ),
			listeners: [
				{ event: 'reality.imagefound', process: this.showTarget.bind( this ) },
				{ event: 'reality.imageupdated', process: this.udpateTarget.bind( this ) },
				{ event: 'reality.imagelost', process: this.hideTarget.bind( this ) },
			],
		}

	}

	private onStart(){

		//XRからThree.jsのシーンやカメラを取得
		let {scene, camera} = XR.Threejs.xrScene();

		this.scene = scene;
		this.camera = camera;

		this.initScene();

		//カメラの位置と回転を8th wallに渡す
		XR.XrController.updateCameraProjectionMatrix({
			origin: this.camera.position,
			facing: this.camera.quaternion,
		})

	}

	private initScene(){

		//ライトの作成
		let light = new THREE.AmbientLight();
		this.scene.add( light );

		let dLight = new THREE.DirectionalLight();
		dLight.position.set( 5, 5, 5 );
		this.scene.add( dLight );

		//Boxの作成
		let geo = new THREE.BoxGeometry( 0.3, 0.3, 0.3 );
		let mat = new THREE.MeshStandardMaterial({ color: new THREE.Color( 0xdddddd )});
		let box = new THREE.Mesh( geo, mat );
		box.position.z = 0.15;

		this.obj = new THREE.Object3D();
		this.obj.add( box );
		this.obj.visible = false;

		this.scene.add( this.obj );

	}

	private update(){

	}

	private showTarget( args ){

		console.log( 'show' );

		//マーカーが表示されたらBoxも表示
		this.obj.visible = true;

		this.applyTransforms( args.detail );

	}

	private udpateTarget( args ){

		console.log( 'update' );

		this.applyTransforms( args.detail );

	}

	private hideTarget(){

		console.log( 'hide' );

		//マーカーを見失ったらBoxを非表示
		this.obj.visible = false;

	}

	//マーカーの位置と同期
	private applyTransforms( detail ){

		this.obj.position.copy( detail.position );
		this.obj.quaternion.copy( detail.rotation );
		this.obj.scale.set( detail.scale, detail.scale, detail.scale );

	}

}
PipeLieModuleを動かす
作ったPipeLineModuleをXR.addCameraPipelineModuleに登録します。
なんだかいっぱいpipeLineModuleが登録されていますが、とりあえずサンプルのコピペです\(^o^)/
import { CustomPipelineModule } from './CustomPipelineModule';

XR.addCameraPipelineModules([
	XR.GlTextureRenderer.pipelineModule(),
	XR.Threejs.pipelineModule(),
	XR.XrController.pipelineModule(),
	XRExtras.AlmostThere.pipelineModule(),
	XRExtras.FullWindowCanvas.pipelineModule(),
	XRExtras.Loading.pipelineModule(),
	XRExtras.RuntimeError.pipelineModule(),
	this.customPipelineModule.xrModule, //ここだけ追加
])
最後にXR.runにcanvasを渡してRUNです!!
XR.run({
	canvas: document.getElementById('canvas')
})
全体はこんなです
import * as THREE from 'three';
window.THREE = THREE;

import { CustomPipelineModule } from './CustomPipelineModule';

declare var XR;
declare var XRExtras;

class APP{

	private customPipelineModule: CustomPipelineModule;

	constructor() {

		this.customPipelineModule = new CustomPipelineModule();


        if( XR ){

			this.init();

        }else{

			window.addEventListener('xrloaded', this.init.bind(this));

        }
    }

    private init() {

		XR.addCameraPipelineModules([
			XR.GlTextureRenderer.pipelineModule(),
			XR.Threejs.pipelineModule(),
			XR.XrController.pipelineModule(),
			XRExtras.AlmostThere.pipelineModule(),
			XRExtras.FullWindowCanvas.pipelineModule(),
			XRExtras.Loading.pipelineModule(),
			XRExtras.RuntimeError.pipelineModule(),
			this.customPipelineModule.xrModule,
		])

		XR.run({
			canvas: document.getElementById('canvas')
		})

    }

}

window.addEventListener('load',()=>{

	let app = new APP();

});
ちなみに、windowにTHREEを登録しておく必要があるっぽいですね。
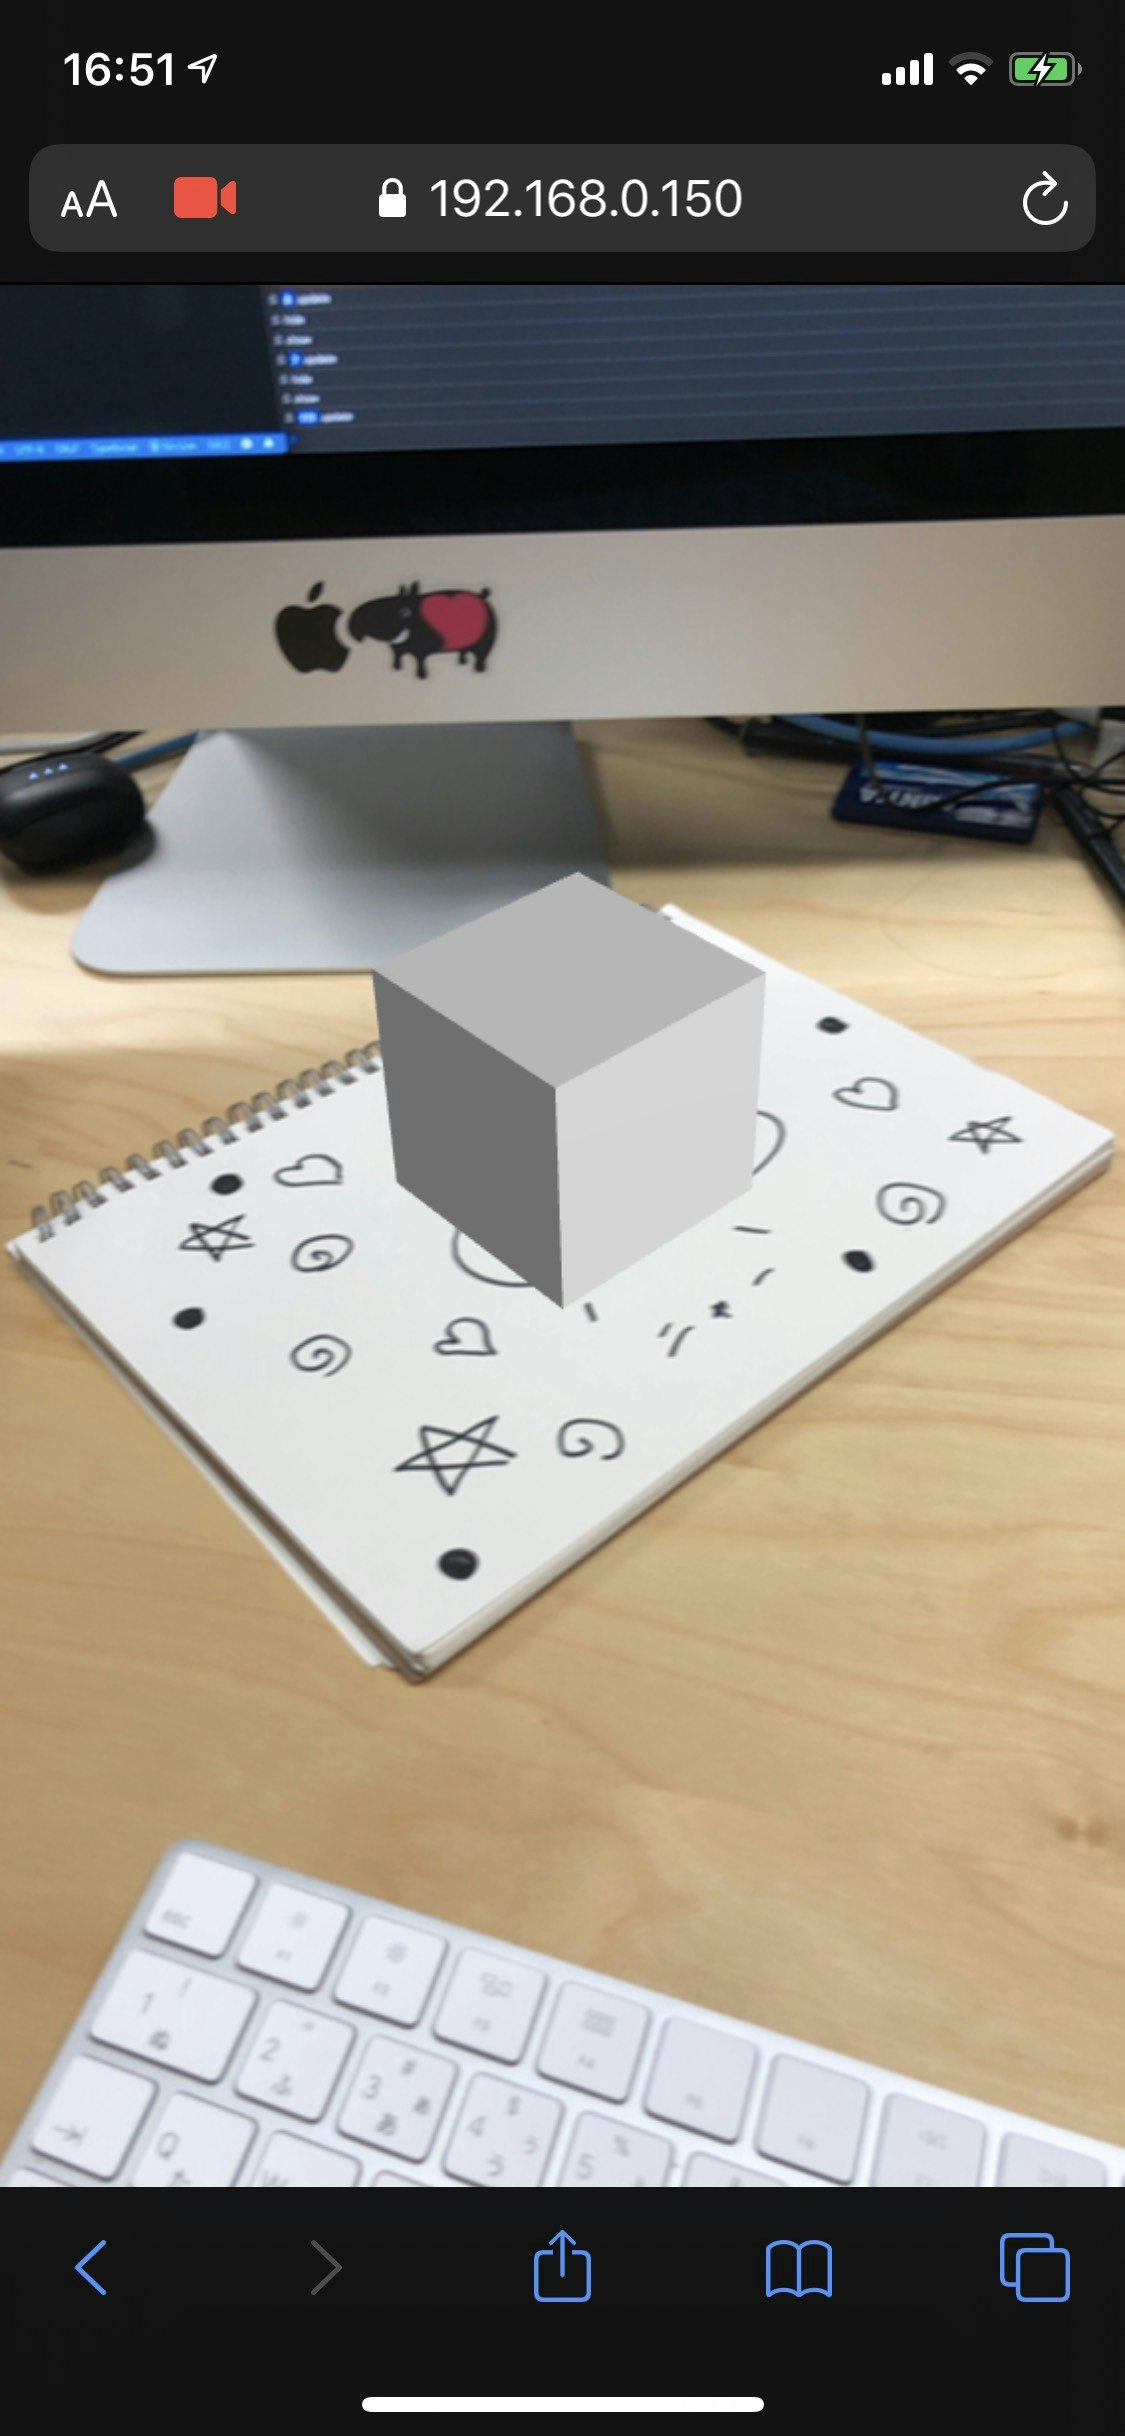
完成
やった〜