はじめに
ナビゲーションバーをカスタマイズする方法を毎回忘れて実装に時間がかかるため、まとめました。
環境
- OS:macOS Big Sur 11.1
- Xcode:12.4 (12D4e)
- Swift:5.3.2
- iOS:14.4
ナビゲーションバーのカスタマイズ一覧
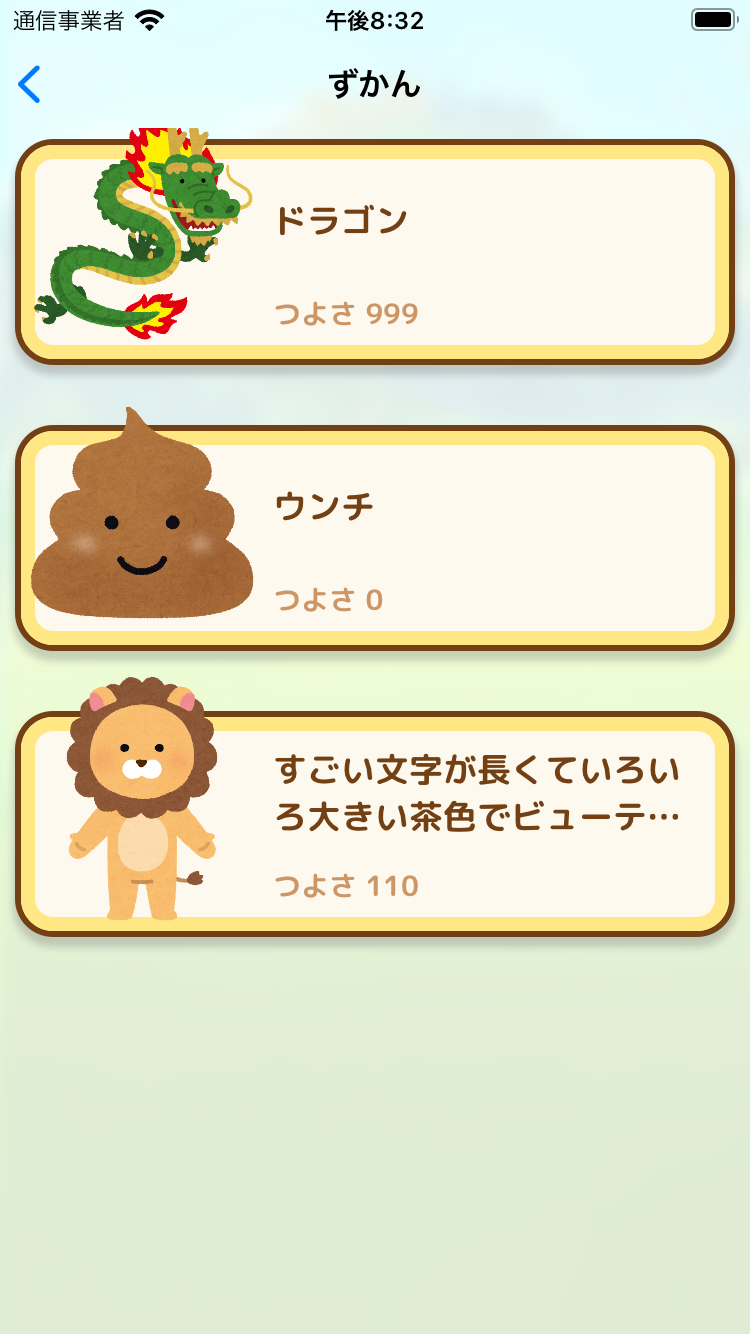
ナビゲーションバーのタイトルに画像をセットする
UINavigationItem.titleView に画像をセットすることで、ナビゲーションバーのタイトルを画像にできます。
final class MonsterIndexListViewController: UIViewController {

    override func viewDidLoad() {
        super.viewDidLoad()

        let imageView = UIImageView(image: UIImage(named: "navi_zukan"))
        imageView.contentMode = .scaleAspectFit
        self.navigationItem.titleView = imageView
    }

}
| テキスト | 画像 |
|---|---|
 |
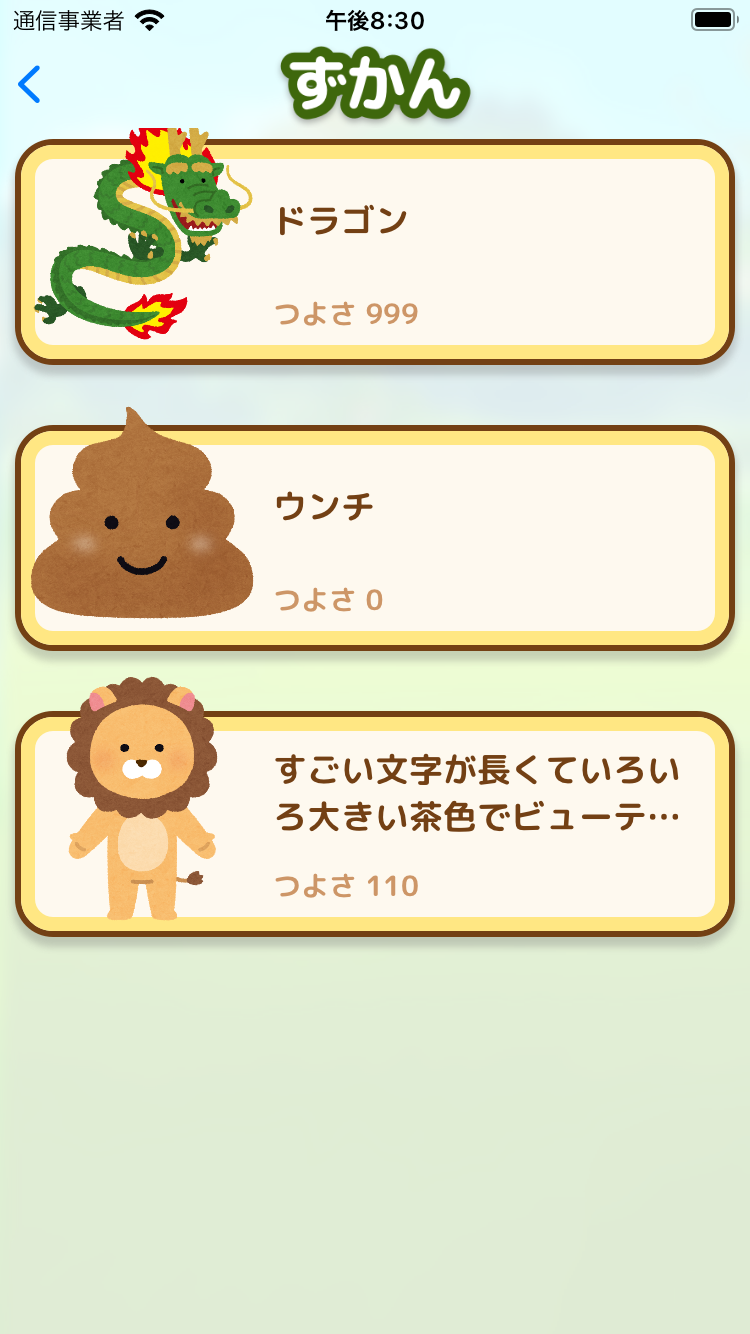 |
UIImageView.contentMode を .scaleAspectFit にすると、画像の縦横比を変えずに表示できます。
ナビゲーションバーの戻るボタンの画像を変更する
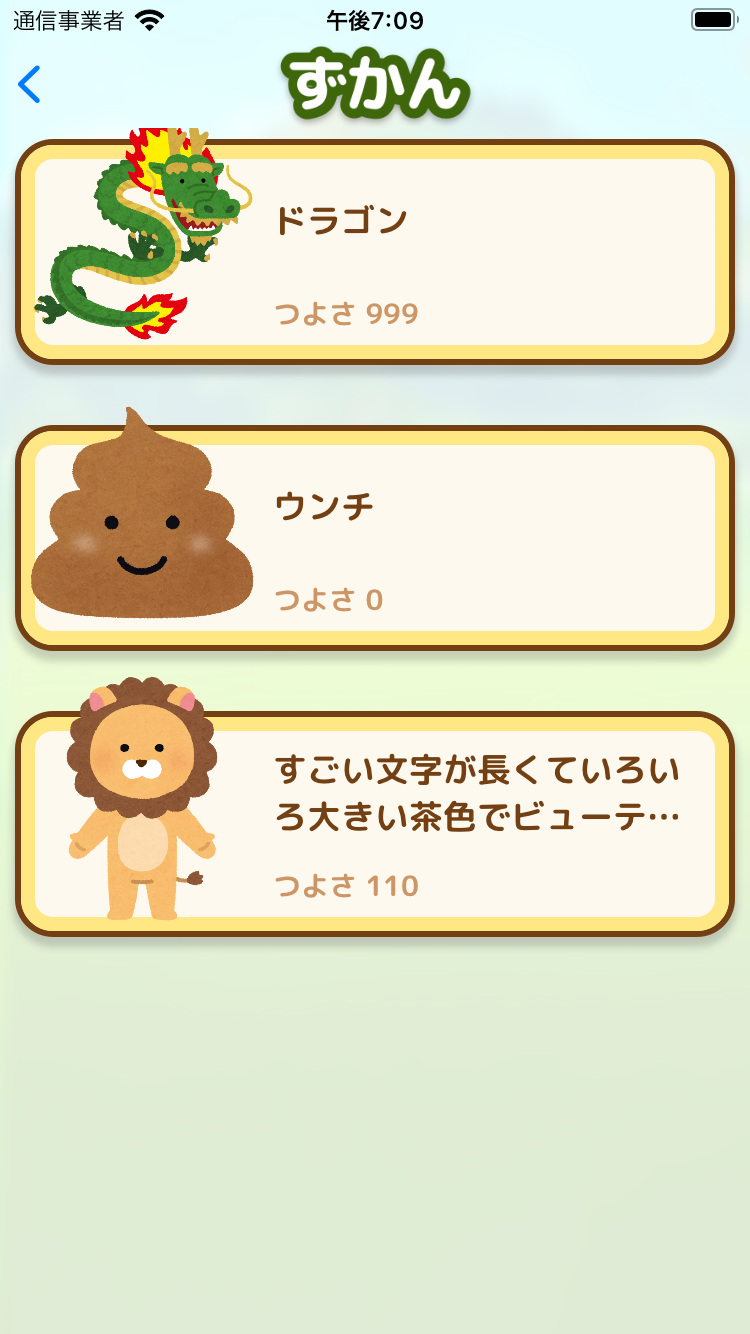
UINavigationBar の backIndicatorImage と backIndicatorTransitionMaskImage を変更することで、戻るボタンの画像を変更できます。
final class MonsterIndexListViewController: UIViewController {

    override func viewWillAppear(_ animated: Bool) {
        super.viewWillAppear(animated)

        let image = UIImage(named: "index_icon_back")
        self.navigationController?.navigationBar.backIndicatorImage = image
        self.navigationController?.navigationBar.backIndicatorTransitionMaskImage = image
    }

}
| 画像未変更 | 画像変更 |
|---|---|
 |
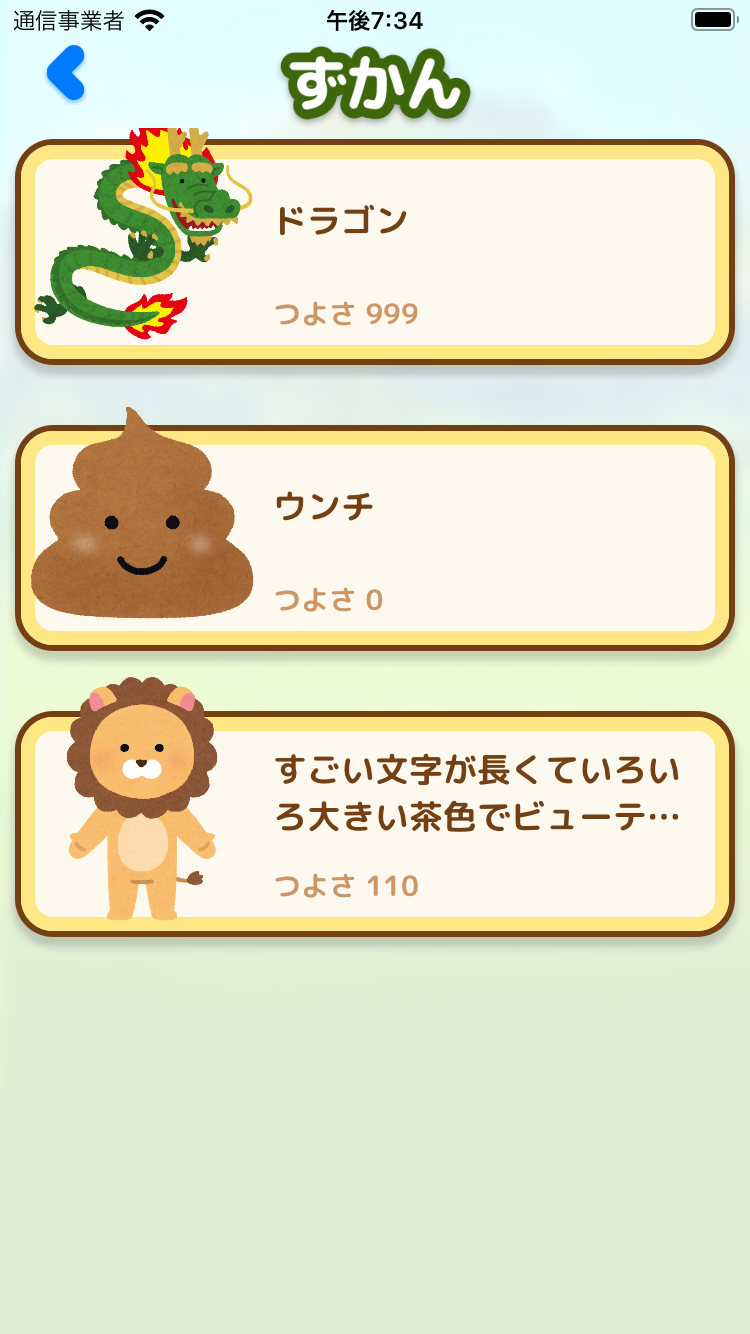 |
セットした画像は以下であり、 tintColor が反映されてしまいます。

tintColor を反映させない方法がわからなかったので、ご存じの方がいたら教えていただけると嬉しいです。
2021/03/23, 追記
コメント で教えていただきました。
対象画像のRender Asを Default から Original Image に変えると tintColor が反映されなくなります。

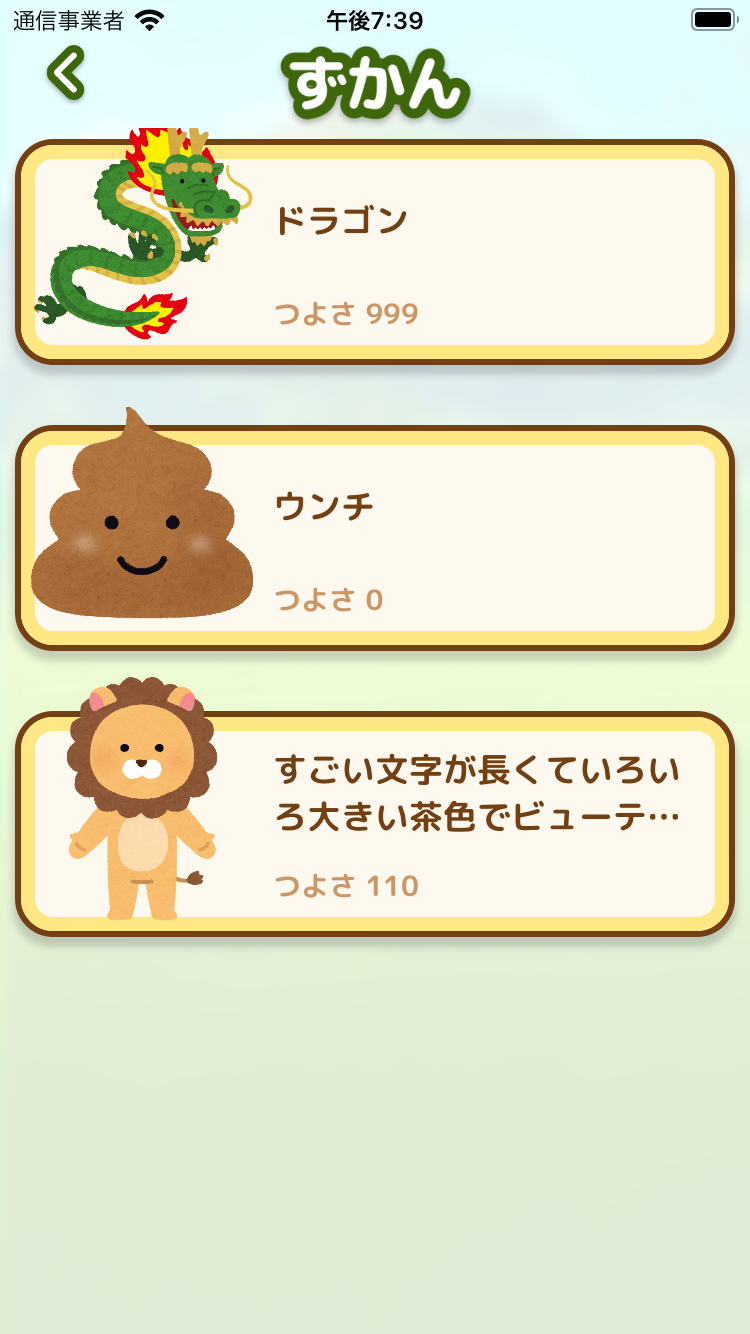
ただ画像の位置が上に寄るのは直りません。
画像のサイズを調整すればかんたんに対応できます。
参考: https://sarunw.com/posts/how-to-change-back-button-image/#position
UIImage の位置を変える方法もありますが、 tintColor が反映されるのと、 UIImageView の位置は変わらないので見切れることがあるため、ベターな方法ではなさそうです。
参考: https://stackoverflow.com/questions/29445644/vertically-center-backindicatorimage-in-swift
ナビゲーションバーの戻るボタンのテキストを非表示にする
iOS 14以上の場合、 遷移元のビューコントローラー の
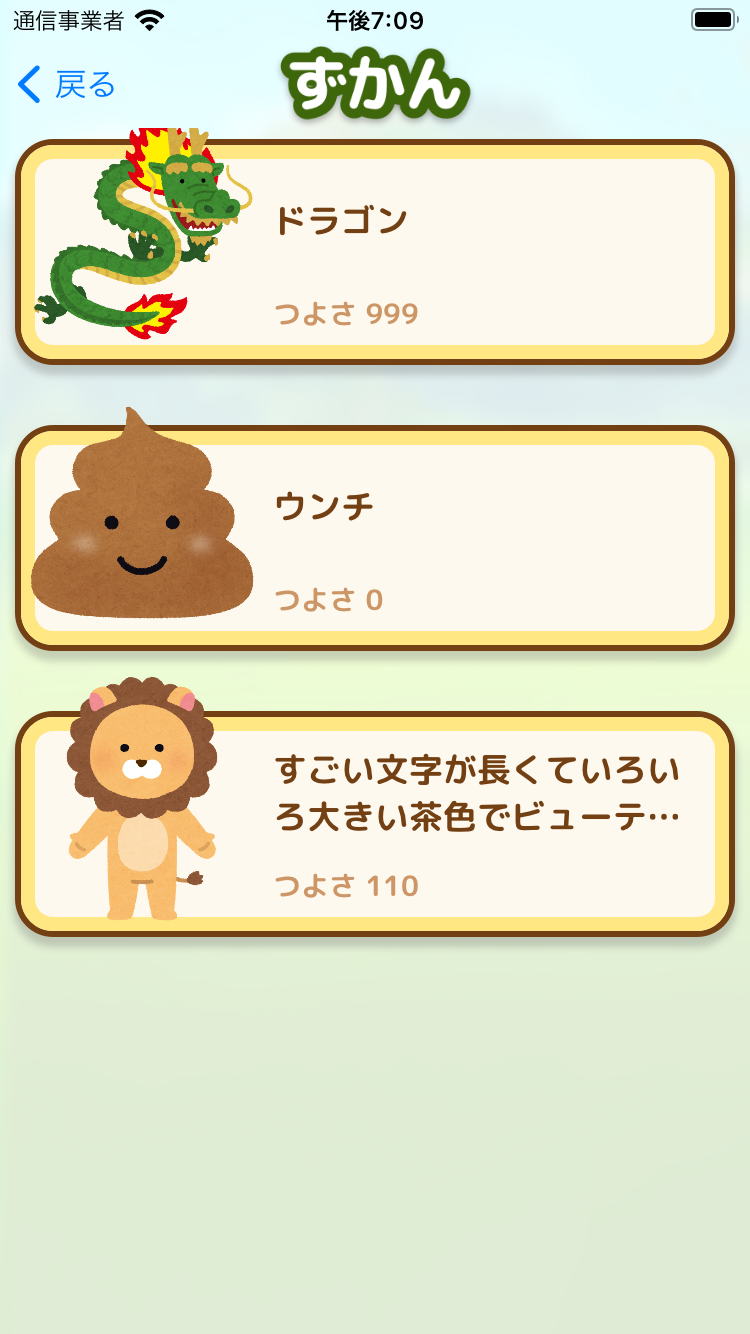
UINavigationItem.backButtonDisplayMode を .minimal にすることで、戻るボタンのテキストを非表示にできます。
final class MainViewController: UIViewController {

    override func viewDidLoad() {
        super.viewDidLoad()

        self.navigationItem.backButtonDisplayMode = .minimal
    }

}
| 表示 | 非表示 |
|---|---|
 |
 |
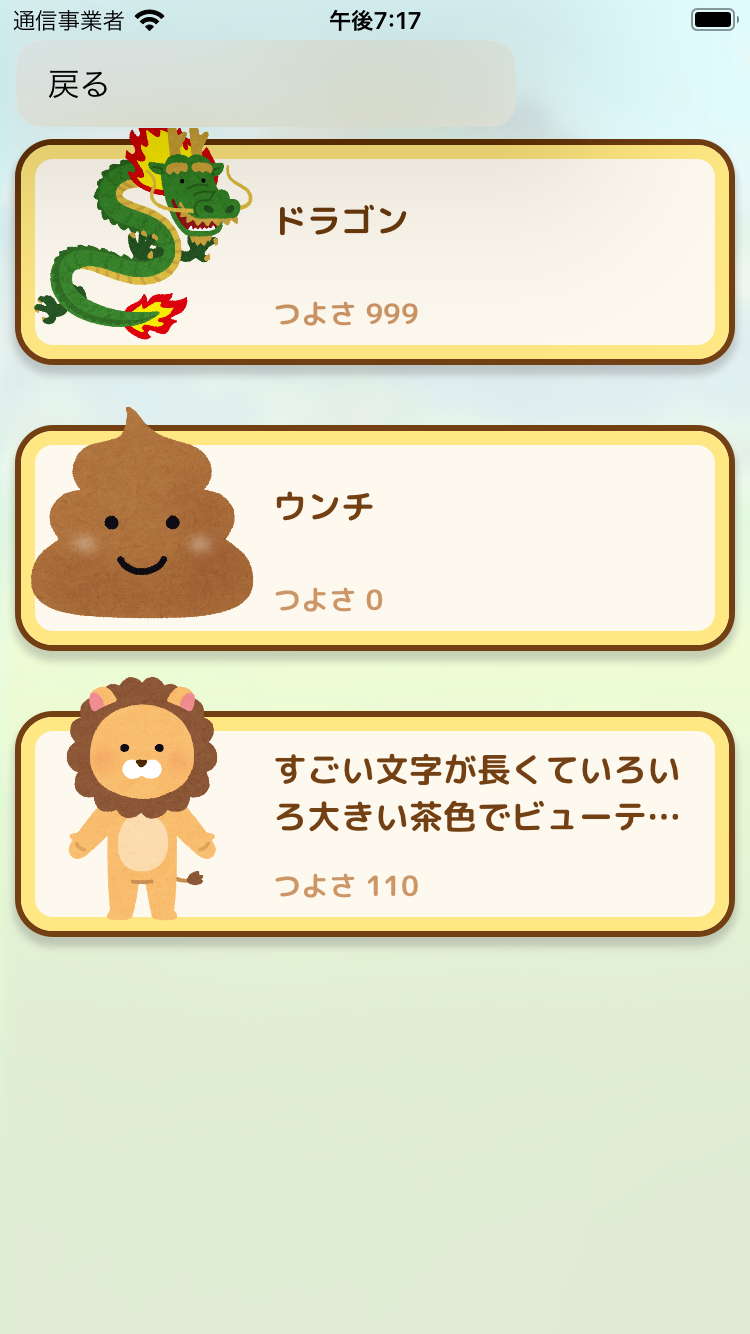
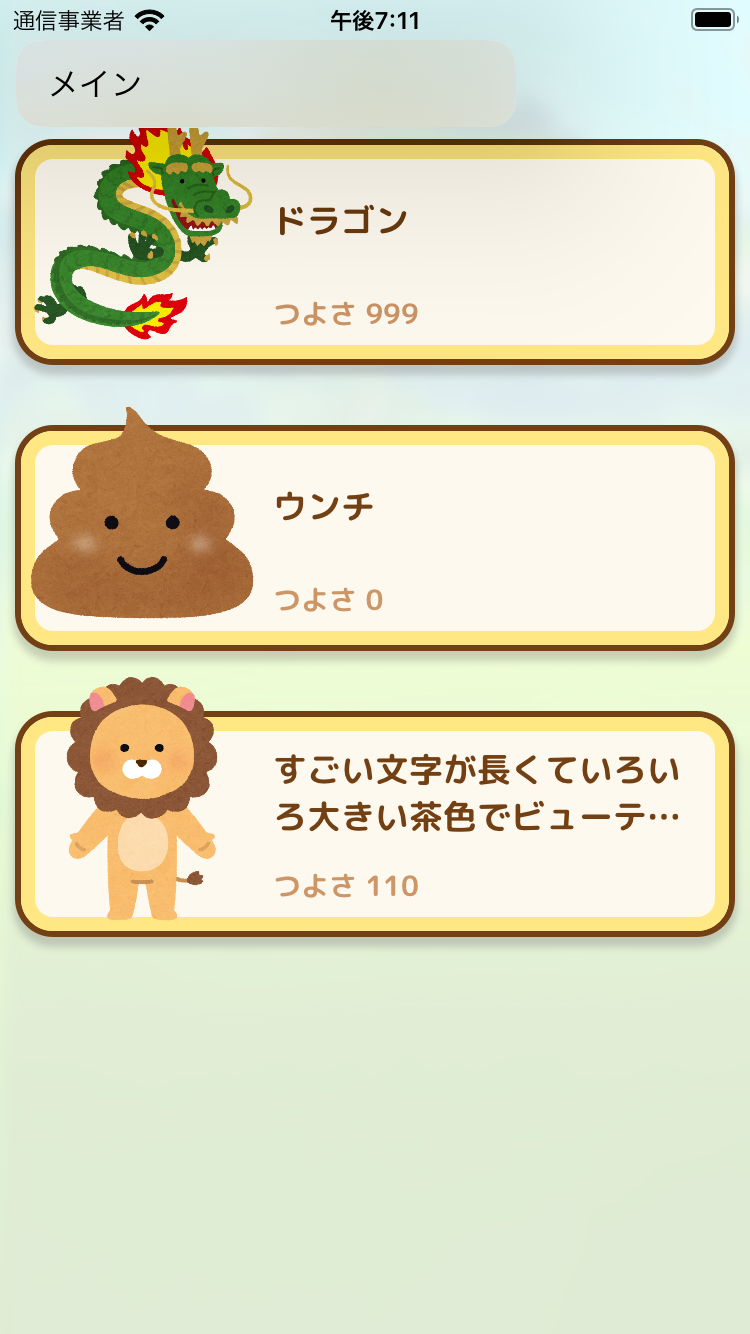
戻るボタンの長押し時にビューコントローラーの title が表示されるので、戻るボタンを非表示にする場合でもセットするのが望ましいです。
final class MainViewController: UIViewController {

    override func viewDidLoad() {
        super.viewDidLoad()

+       self.title = "メイン"
        self.navigationItem.backButtonDisplayMode = .minimal
    }

}
| タイトル未セット | タイトルセット |
|---|---|
 |
 |
戻るボタンのタイトルに半角スペースをセットする方法もよく見ますが、iOS 14以降では戻るボタン長押し時のメニューにタイトルが表示されなくなるので望ましくありません。
ナビゲーションバーの戻るボタンの色を変更する
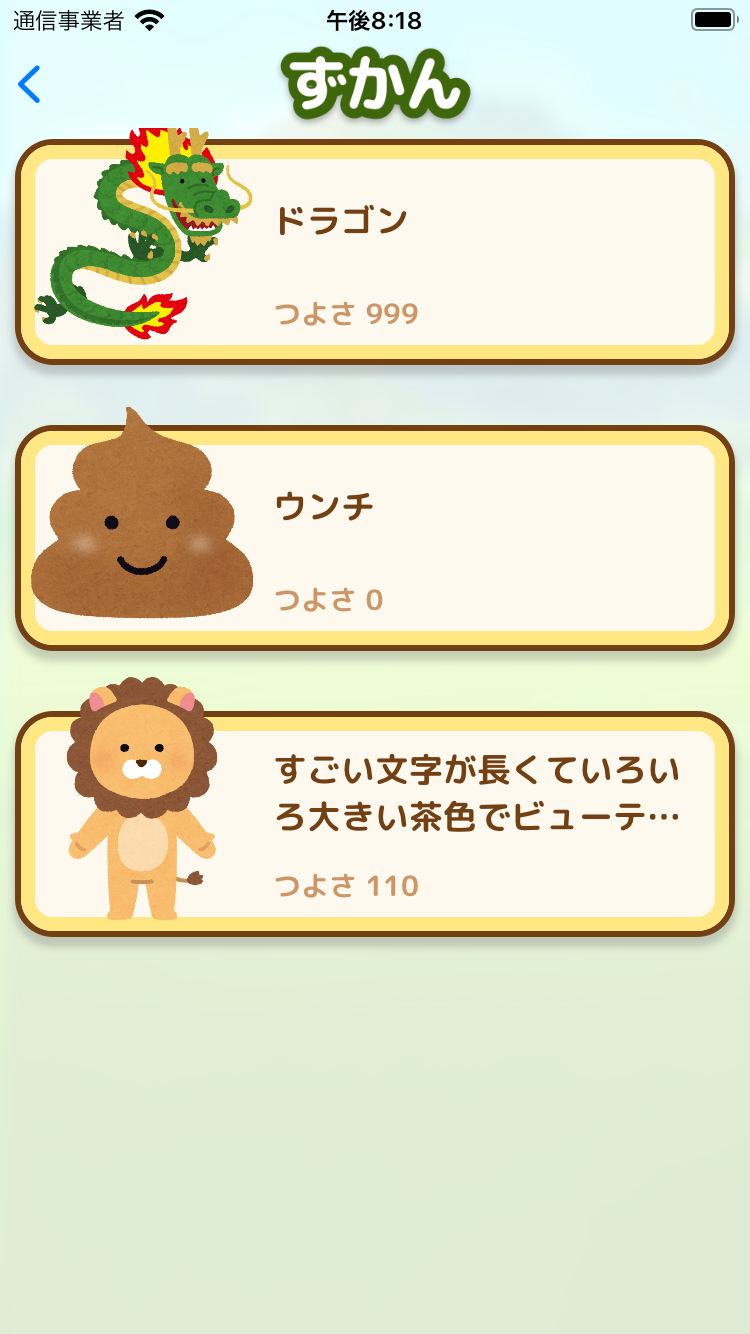
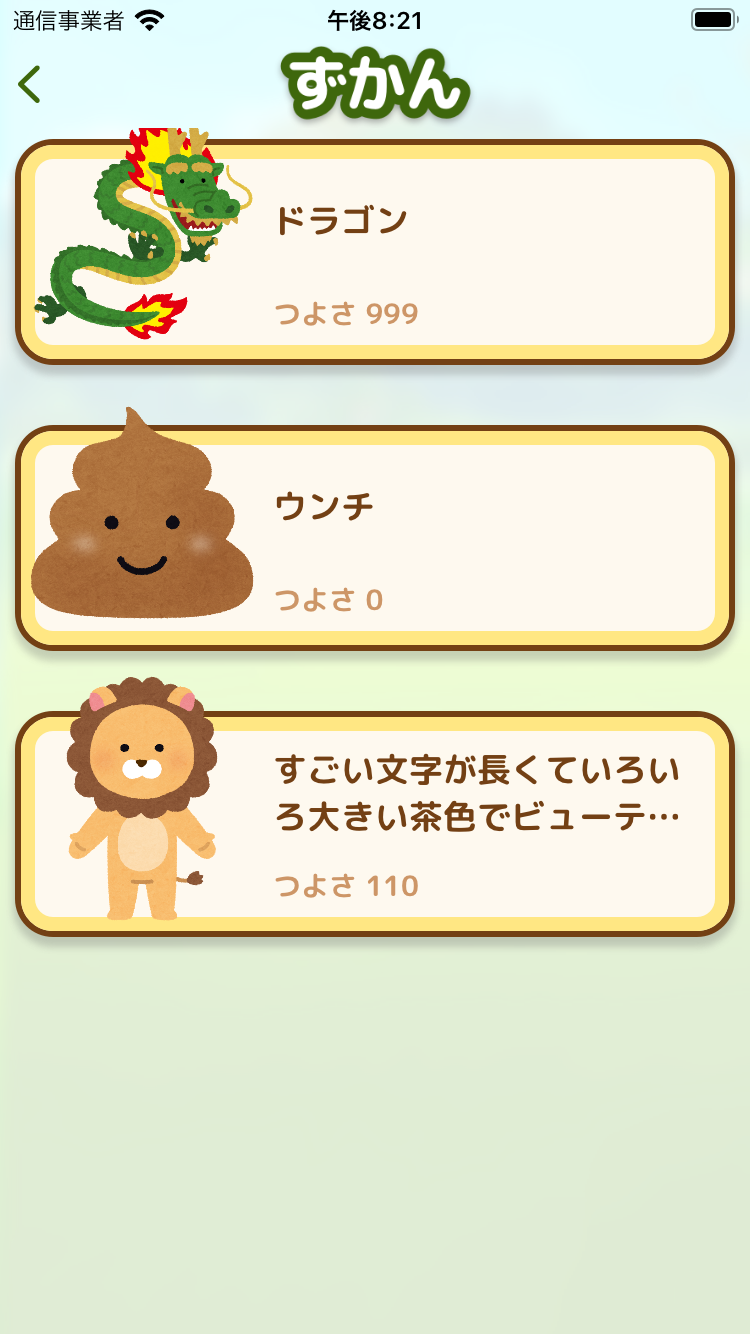
UINavigationBar の tintColor を変更することで、戻るボタンの色を変更できます。
final class MonsterIndexListViewController: UIViewController {

    override func viewWillAppear(_ animated: Bool) {
        super.viewWillAppear(animated)

        self.navigationController?.navigationBar.tintColor = UIColor(named: "tekimon_khaki")
    }

}
| 色未変更 | 色変更 |
|---|---|
 |
 |
一部のビューコントローラーのみナビゲーションバーの戻るボタンの色を変更する場合、戻し忘れに気をつけてください。
戻すには nil をセットします。
final class MainViewController: UIViewController {

    override func viewWillAppear(_ animated: Bool) {
        super.viewWillAppear(animated)

        self.navigationController?.navigationBar.tintColor = nil
    }

}
ナビゲーションバーの背景色を変更する
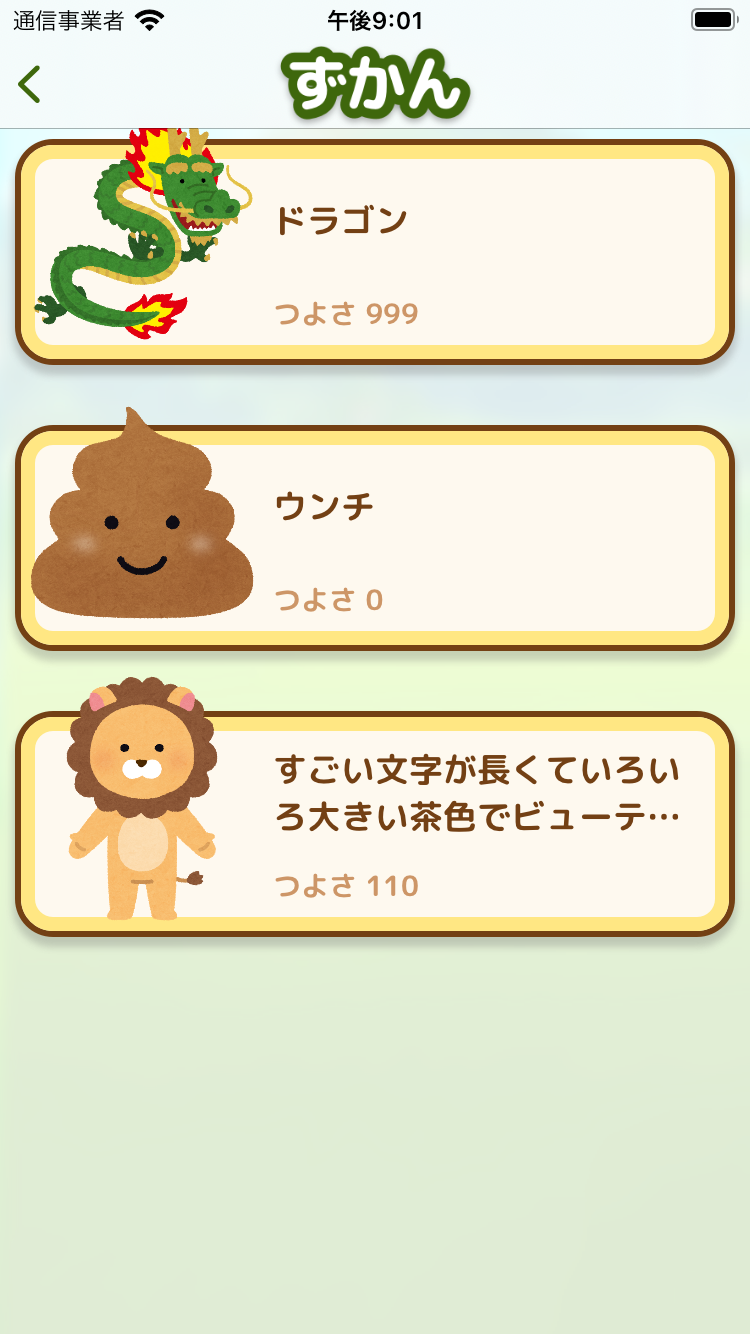
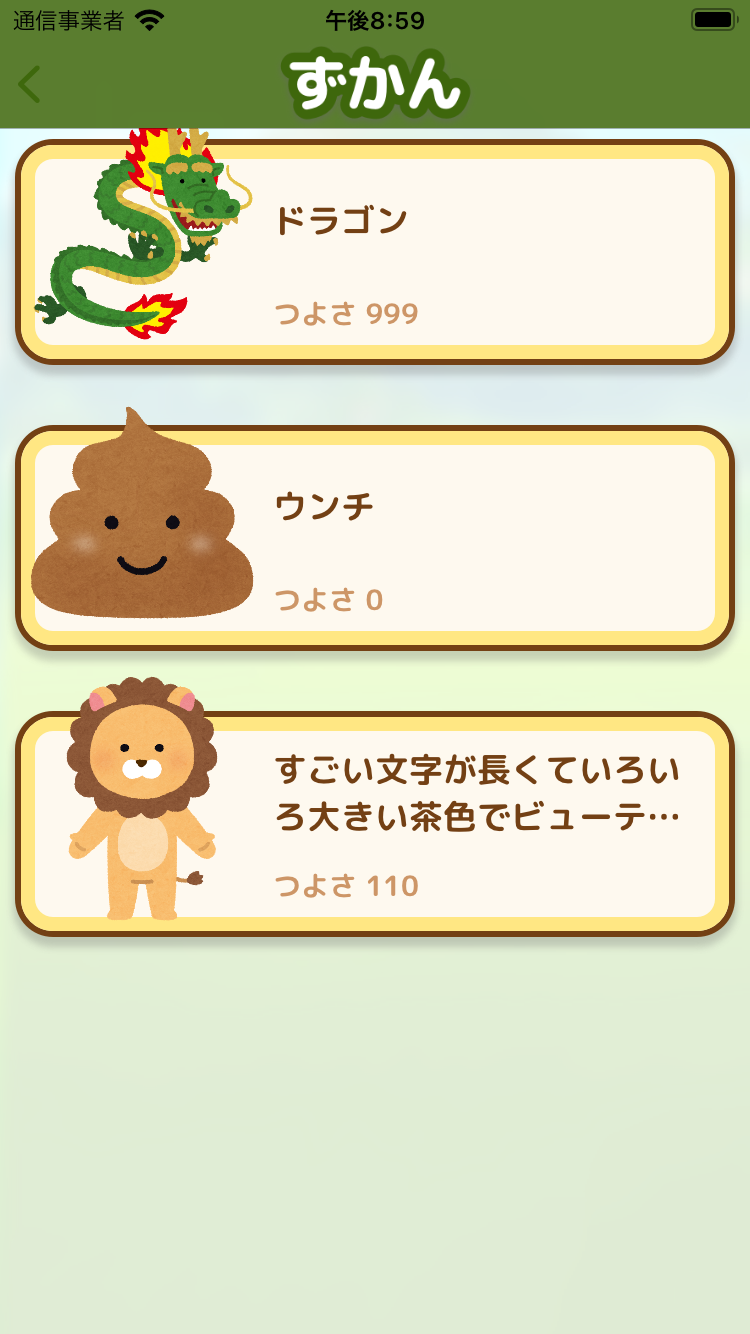
UINavigationBar の barTintColor を変更することで、ナビゲーションバーの背景色を変更できます。
final class MonsterIndexListViewController: UIViewController {

    override func viewWillAppear(_ animated: Bool) {
        super.viewWillAppear(animated)

        self.navigationController?.navigationBar.barTintColor = UIColor(named: "tekimon_khaki")
    }

}
| 背景色未変更 | 背景色変更 |
|---|---|
 |
 |
一部のビューコントローラーのみナビゲーションバーの背景色を変更する場合、戻し忘れに気をつけてください。
戻すには nil をセットします。
final class MainViewController: UIViewController {

    override func viewWillAppear(_ animated: Bool) {
        super.viewWillAppear(animated)

        self.navigationController?.navigationBar.barTintColor = nil
    }

}
ナビゲーションバーを透過する
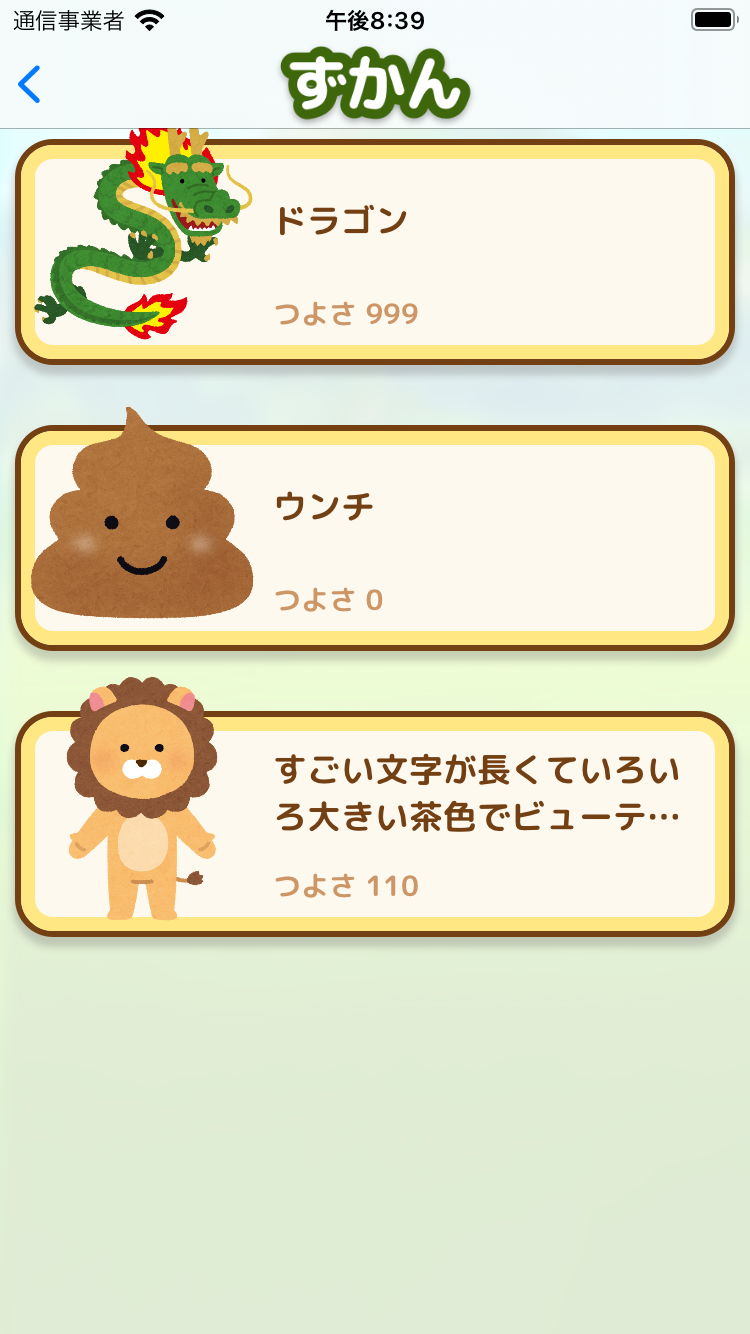
UINavigationBar の backgroundImage と shadowImage を初期化することで、ナビゲーションバーを透過できます。
final class MonsterIndexListViewController: UIViewController {

    override func viewWillAppear(_ animated: Bool) {
        super.viewWillAppear(animated)

        self.navigationController?.navigationBar.setBackgroundImage(UIImage(), for: .default)
        self.navigationController?.navigationBar.shadowImage = UIImage()
    }

}
| 非透過 | 透過 |
|---|---|
 |
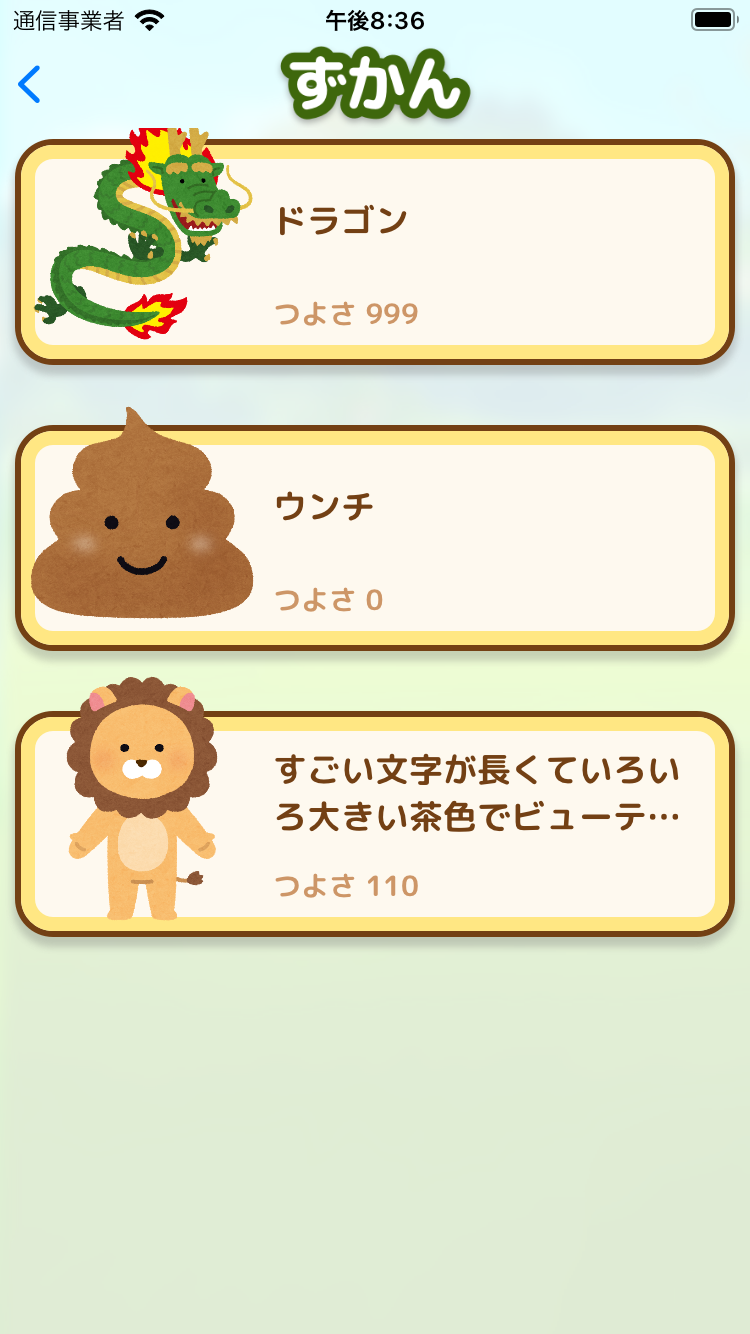 |
一部のビューコントローラーのみナビゲーションバーを透過する場合、戻し忘れに気をつけてください。
非透過にするには nil をセットします。
final class MainViewController: UIViewController {

    override func viewWillAppear(_ animated: Bool) {
        super.viewWillAppear(animated)

        self.navigationController?.navigationBar.setBackgroundImage(nil, for: .default)
        self.navigationController?.navigationBar.shadowImage = nil
    }

}
私が参考にしたサイトでは、 UINavigationBar に以下のような拡張メソッドを実装していました。
意図が明確になっていいと思います。
extension UINavigationBar {

    func enableTransparency() {
        setBackgroundImage(UIImage(), for: .default)
        self.shadowImage = UIImage()
    }

    func disableTransparency() {
        setBackgroundImage(nil, for: .default)
        self.shadowImage = nil
    }

}
ナビゲーションバーを非表示にする
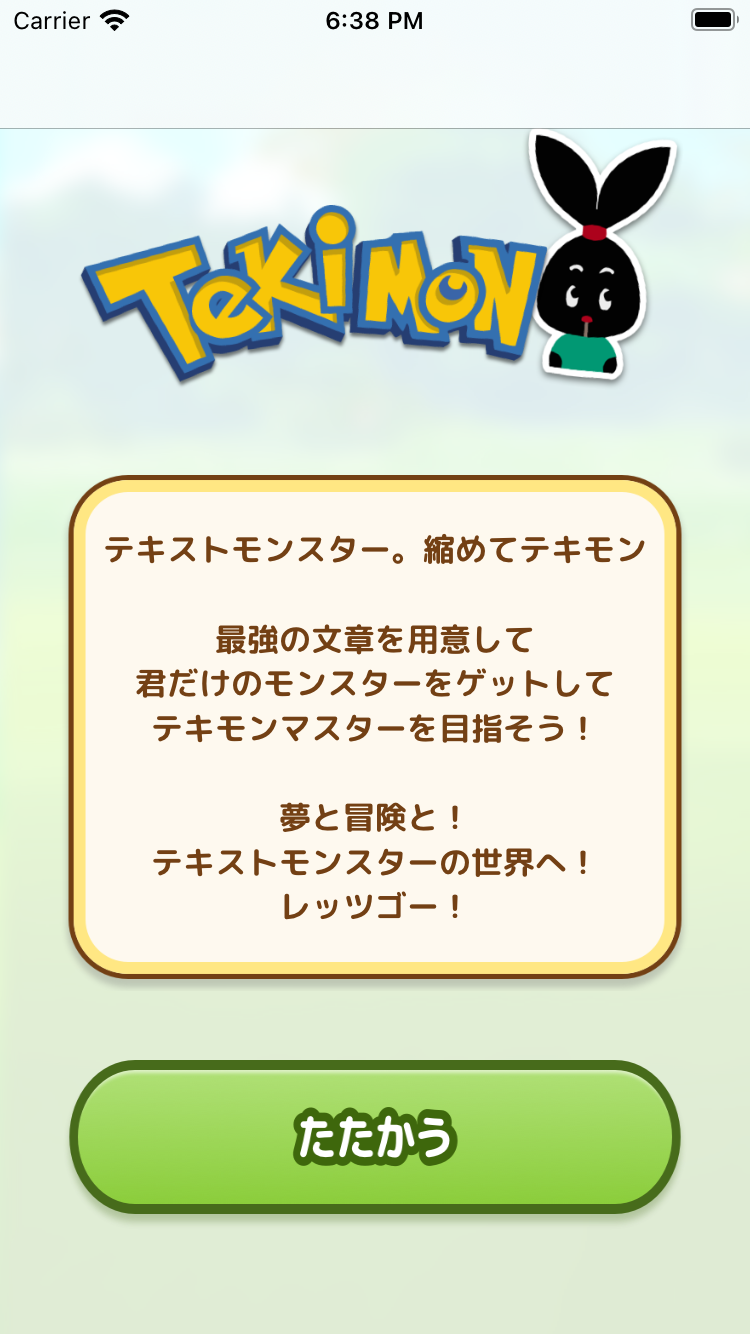
UINavigationController.setNavigationBarHidden(_:animated:) メソッドを呼び出すことで、ナビゲーションバーの表示/非表示を切り替えられます。
final class MainViewController: UIViewController {

    override func viewWillAppear(_ animated: Bool) {
        super.viewWillAppear(animated)

        self.navigationController?.setNavigationBarHidden(true, animated: false)
    }

}
| 表示 | 非表示 |
|---|---|
 |
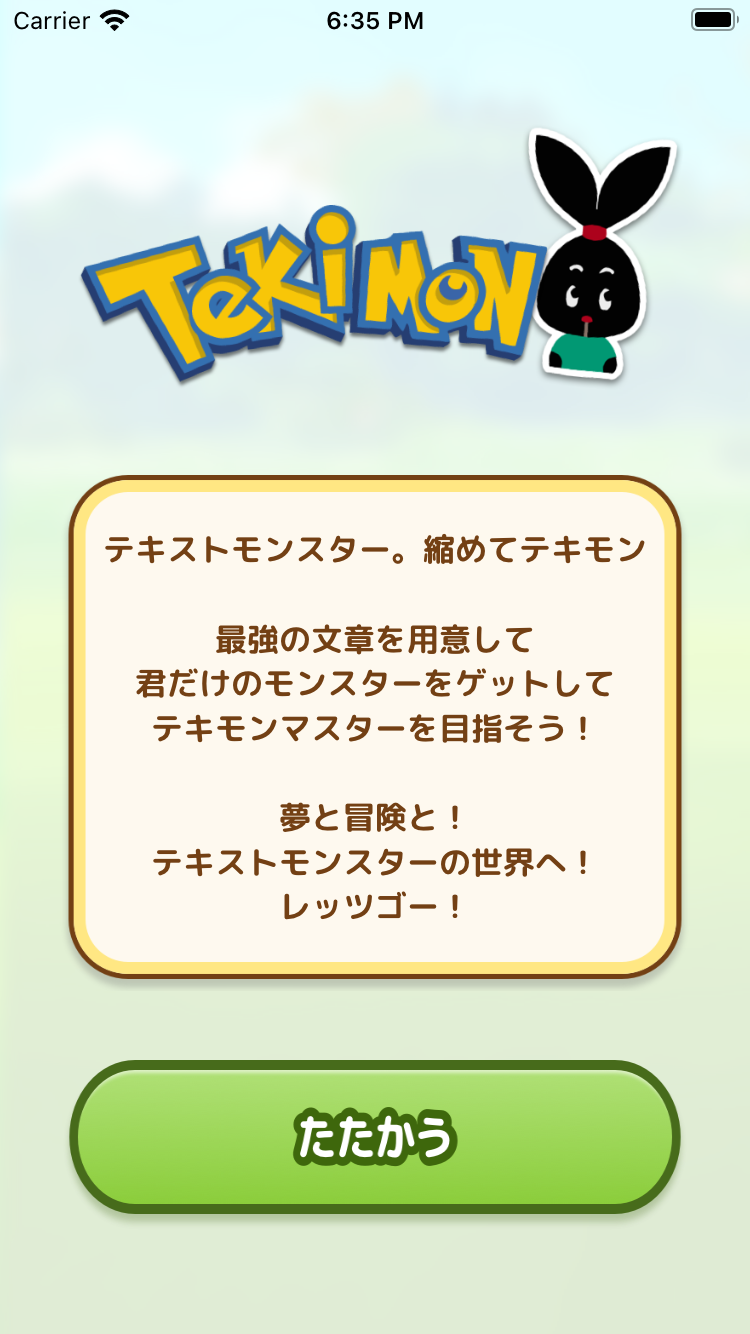 |
ナビゲーションバーの表示/非表示が混在しているアプリの場合、画面を遷移するたびにナビゲーションバーの表示も切り替える必要があるので、 viewWillAppear(_:) メソッド内で実行すべきです。
ナビゲーションバーを表示 or 隠し忘れないように気をつけてください。
おまけ: スクリーンショットのアプリ
スクリーンショットに使ったアプリは、先日行われたHack Day 2021で私たちのチームが開発しました!
詳細は他のメンバーが書いてくれたので、ぜひ見てください。
| メンバー | URL |
|---|---|
| @hcrane14 | https://note.com/hcrane/n/n98a8f1157390 |
| @totokit4 | https://note.com/totokit4/n/ne82547d53e05 |
おわりに
これでナビゲーションバーをカスタマイズする案件が来ても安心です ![]()
self.navigationController を変更すると他のビューコントローラーにも影響するので viewWillAppear(_:) で行って戻すのを忘れない、 self.navigationItem は変更しても他のビューコントローラーに影響しないので viewDidLoad() で行う、と覚えておくといいです(間違っていたらすみません)。