はじめに
あいかわらず型落ちの Windows でがんばっており、最近はやりの DeepLearning に手を出したところ時代は Python だぜイェーイということが分かったが、グラフ描画を画面で見るのですか、X Window System 必要なんですねそうですね。ということで VirtualBox に Arch Linux いれて Matplolib 導入するところまでやった。
構成
OS:Arch Linux on VirtualBox
巷で調べたところ Linux に Python3 を入れるのは何やらめんどくさいらしいので、デフォルトが Python3 の Arch Linux にした。
Python:Python3.6 (not conda)
最小構成を目指したいので conda はパス。Jupyter も今回は見送り。というか教科書が「ゼロから作るDeep Learning」なので numpy, matplotlib までをゴールとする。
ウィンドウマネージャ:i3
軽めのウィンドウマネージャがよかろうということでタイル型ウィンドウマネージャ i3 (i3-wm) + rxvt-unicode にする。
OS インストール
ISO は archlinux-2017.03.01-dual.iso を使用した。
インストール手順は 公式 も充実しているが、Qiita であれば tomioage さんのところを見るのがよろしかろうと思う。スクリーンショットも豊富で懇切丁寧であり、付け足すところは何もない。あえて言えばインストーラが立ち上がるまで1分とあるが、3分は待ちました。まぁ母艦の性能だとは思う。
GRUB2 待機時間変更
GRUB の待ち時間がいらないので削っておく。
% sudo vi /etc/default/grub
GRUB DEFAULT=0
GRUB TIMEOUT=0
% sudo grub-mkconfig -o /boot/grub/grub.cfg
% sudo reboot
Python, matplotlib
python, pip のインストール。指定しなくても3系の最新が入る。やったね。
% sudo pacman -S python python-pip freetype2
続いて venv 環境を設定する。公式リポジトリにも python-matplotlib があるが、非常に遅いため仮想環境方式にする。
% mkdir ~/.venv
% cd .venv
% python -m venv [仮想環境名]
% source ~/.venv/[仮想環境名]/bin/activate
% pip install matplotlib
X Window System
X 周りを導入する。
% sudo pacman -S xf86-video-vesa xf86-video-fbdev mesa
% sudo pacman -S xorg-server xorg-server-utils xorg-xinit rxvt-unicode
フォントを入れておく。
% sudo pacman -S otf-ipafont
% yaourt ttf-myrica
デフォルトだとフォントが汚いのでエイリアスがかかるように設定する。
% sudo vi /etc/fonts/conf.avail/71-no-embedded-bitmaps.conf
<?xml version="1.0"?>
<!DOCTYPE fontconfig SYSTEM "fonts.dtd">
<fontconfig>
  <match target="font">
    <edit mode="assign" name="embeddedbitmap">
      <bool>false</bool>
    </edit>
    <edit mode="assign" name="hintstyle">
       <const>hintnone</const>
    </edit>
  </match>
</fontconfig>
% sudo ln -s /etc/fonts/conf.avail/71-no-embedded-bitmaps.conf /etc/fonts/conf.d/71-no-embedded-bitmaps.conf
i3-wm
i3 を入れる。透過は絶対なのでコンポジットマネージャ入れる。compton と迷った挙句 xcompmgr に。
% sudo pacman -S i3-wm i3status
% sudo pacman -S feh xcompmgr
ここで起動確認する。
% vi ~/.xinitrc
exec i3
xcompmgr -c -C
% startx
初回起動時に i3 の設定聞かれる。デフォルトだと MOD キーに Windows キーが割り振られる。MOD キー + Enter でターミナルが立ち上がれば成功。i3 セッションを終わるときは Shift + MOD + e 。
透過設定
rxvt の透過効果設定をする。
透過効果設定
% vi .Xdefaults
Xft.dpi:                    96
Xft.antialias:              true
Xft.rgba:                   rgb
Xft.hinting:                true
Xft.hintstyle:              hintslight

URxvt.transparent:          true
URxvt.shading:              10
URxvt.inheritPixmap:        true

URxvt.allow_bold:           false
URxvt*font: xft:Myrica:pixelsize=11
URxvt*boldFont: xft:Myrica:pixelsize=11
ついでに壁紙設定する。設定には feh を使用する。
% vi ~/.config/i3/config
exec --nostartup-id feh --bg-scale --randomize ~/.wallpaper/*
あらかじめ ~/.wallpaper/ にお好みの壁紙を入れておくこと。
Matplotlib バックエンド設定
今回は AGG バックエンドに Tk を使用する。
% sudo pacman -S tk
% vi ~/.config/matplotlib/matplotlibrc
backend tkagg
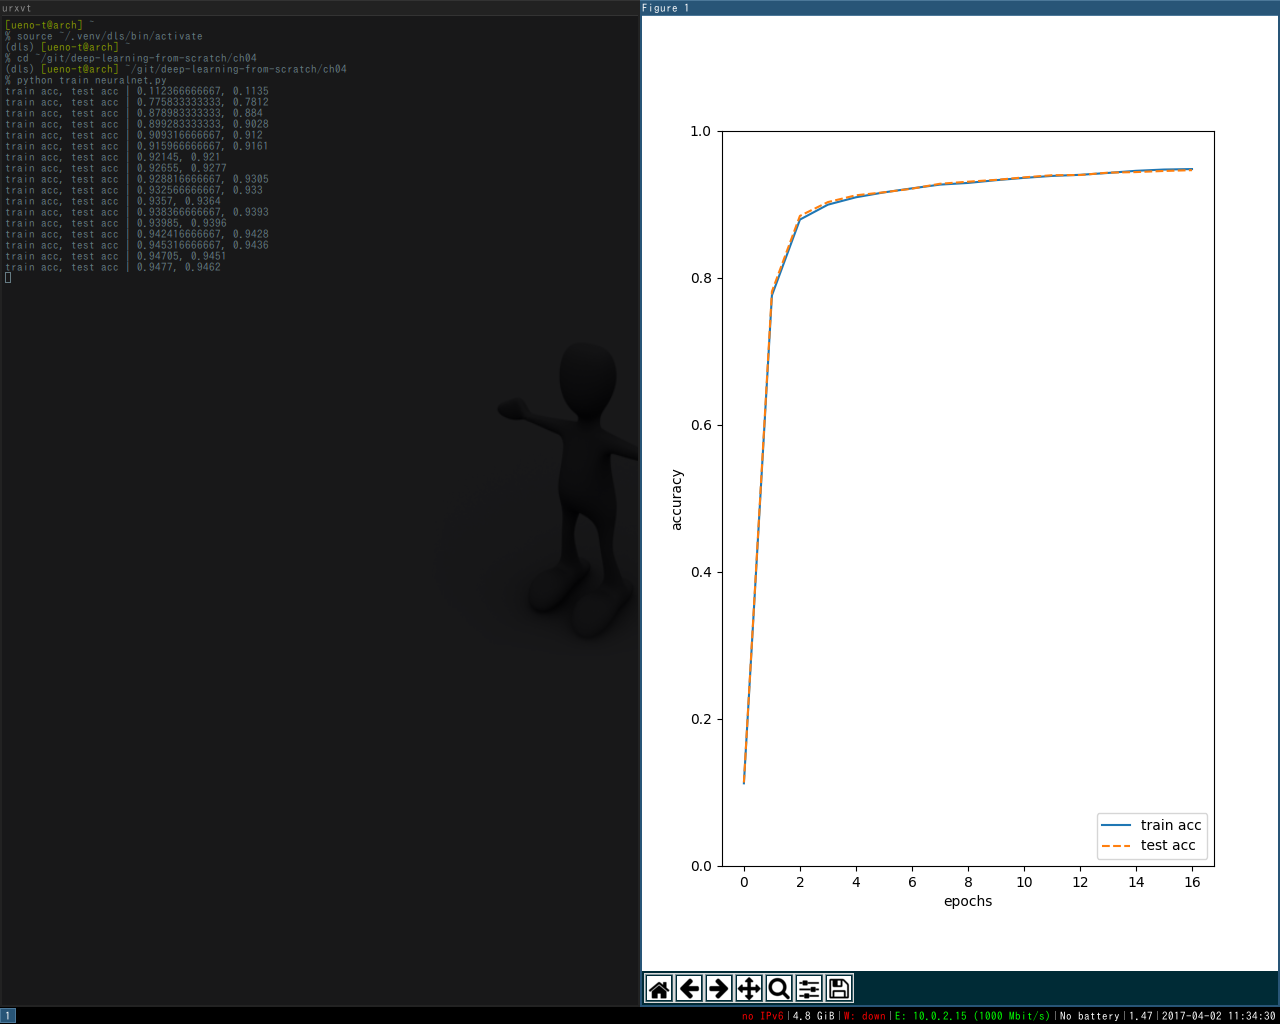
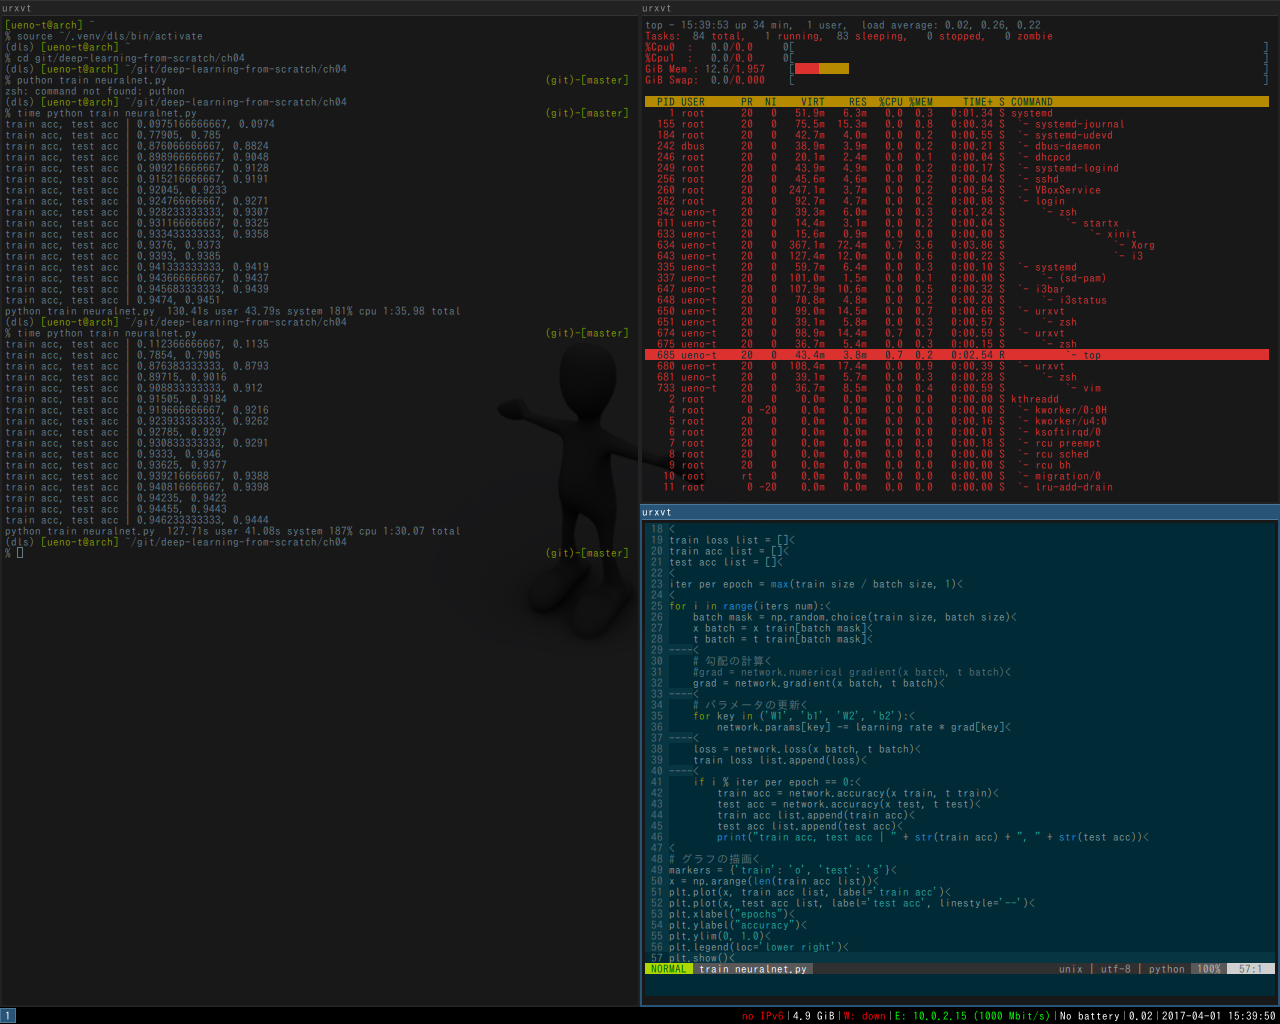
こうなる。
自動ログイン(おまけ)
nodm を使って自動ログインする。nodm はウルトラライトな自動ログイン用のディスプレイマネージャだ。すでに「ディスプレイ」マネージャではないのは秘密だ。
% sudo pacman -S nodm
% sudo vi /etc/nodm/conf
NODM_USER='{user}'
NODM_XSESSION='/home/{user}/.xinitrc'
{user} のところを自分の名前にする。前後の「'」は消してはいけない。
xスクリプトには実行属性をつける必要がある。
% chmod +x ~/.xinitrc
% sudo systemctl enable nodm
% sudo reboot
さいごに
おおうやったぜさいこー、なんだけど、さすがに遅い。Tensorflow だとまともに動かないのではないだろうか。
いずれどこぞのクラウドにでも立て直してみます。