はじめに
Laravelメインで仕事していましたが、最近はめっきりEC-Cube使いになってしまい、Laravel忘れそうな上野です。友人からZennの記事「Nuxt + Laravelでとりあえず動くものをサクッと作る」をやってみたところ、エラーで動かなかったと聞いたので自分でも試そうと思い記事を書いています。
環境
環境は参考にしているサイトのものから、現状の最新のものにアップデートしています。またDBは環境を汚したくないのでDocker(docker-compose)にてインストールする事としました。
- MacBook Pro (Intel Core 2019モデル)
- macOS Monterery 12.2.1
- VSCode
- フロントエンド
- Node.js : 16.14.0
- npm : 8.5.1
- yarn : 1.22.17 (使わないけど念のため)
- Nuxt.js : 2.15.8
- TypeScript : 4.5.5
- バックエンド
- PHP : 8.1.0
- Compsoer : 2.2.6
- Laravel : 9.0.1
- DB
- MySQL : 8.0.28-debian (from Docker Hub with docker-compose)
フォルダ構成
sample
├── docker
│   └── docker-compose.yml
├── laravel-sample
└── nuxt-sample
Nuxt(フロントエンド)の構築
1. create (npx create-nuxt-app)
まずは参考サイトと同じくnpx create-nuxt-appでプロジェクトを作成します。yarn好きな人はyarnでインストールしてください(参考)。
mkdir sample
cd sample
npx create-nuxt-app nuxt-sample
? Project name: nuxt-sample
? Programming language: TypeScript
? Package manager: Npm
? UI framework: None
? Nuxt.js modules: Axios - Promise based HTTP client
? Linting tools: ESLint, Prettier
? Testing framework: Jest
? Rendering mode: Single Page App
? Deployment target: Static (Static/Jamstack hosting)
? Development tools: jsconfig.json (Recommended for VS Code if you're not usi
ng typescript)
? Continuous integration: None
? Version control system: Git
以下のようなメッセージがでれば成功
🎉  Successfully created project nuxt-sample

  To get started:

	cd nuxt-sample
	npm run dev

  To build & start for production:

	cd nuxt-sample
	npm run build
	npm run start

  To test:

	cd nuxt-sample
	npm run test


  For TypeScript users.

  See : https://typescript.nuxtjs.org/cookbook/components/
Nuxtのテスト起動をしてみます。
cd nuxt-sample
npm run dev
成功すると以下のように表示される。
   ╭───────────────────────────────────────╮
   │                                       │
   │   Nuxt @ v2.15.8                      │
   │                                       │
   │   ▸ Environment: development          │
   │   ▸ Rendering:   client-side          │
   │   ▸ Target:      static               │
   │                                       │
   │   Listening: http://localhost:3000/   │
   │                                       │
   ╰───────────────────────────────────────╯

ℹ Preparing project for development
ℹ Initial build may take a while
ℹ Discovered Components: .nuxt/components/readme.md
✔ Builder initialized
✔ Nuxt files generated

✔ Client
  Compiled successfully in 3.77s

ℹ Waiting for file changes
ℹ Memory usage: 266 MB (RSS: 402 MB)
ℹ Listening on: http://localhost:3000/
No issues found.
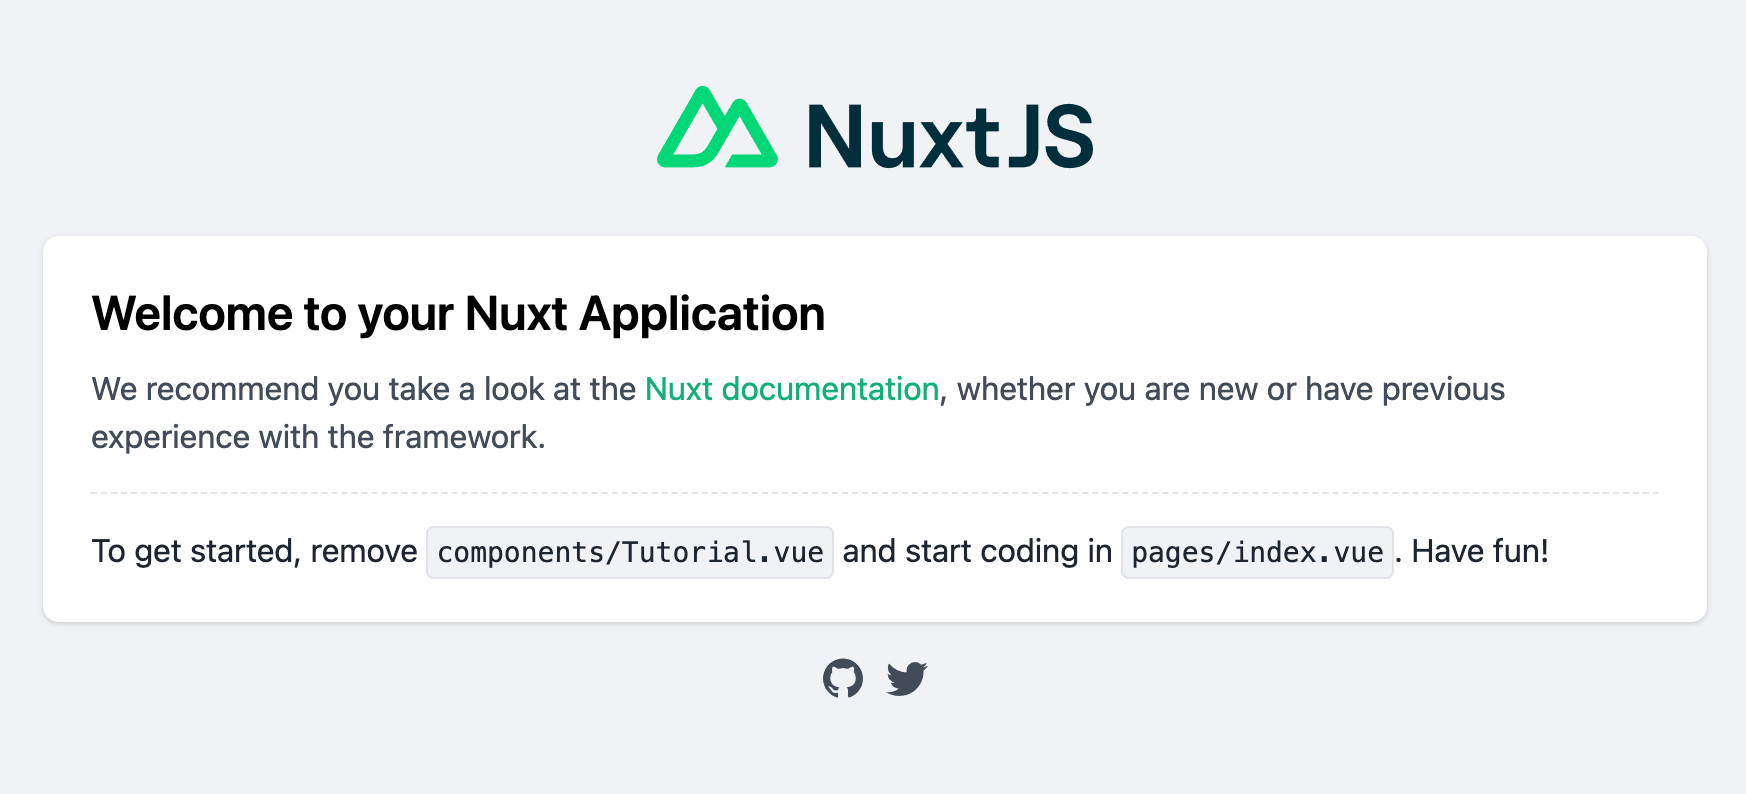
Listening on: http://localhost:3000/ と表示されているのでブラウザでhttp://localhost:3000/にアクセスするとNuxtJSが表示されます。
Ctrl-CでNuxtを終了しておきます。
2. 開発準備
普段私はPhpStormやWebStormを使っているのですが、元記事の筆者さんはVSCode使いのようなので、今回はVSCodeを使ってみます。
VSCodeの設定
お作法が良く分かっていないので、参考サイトをそのまま写経します。
mkdir ~/.vscode
vi ~/.vscode/settings.json
{
  "[vue]": {
    "editor.defaultFormatter": "octref.vetur"
  },
  "[typescript]": {
    "editor.defaultFormatter": "esbenp.prettier-vscode"
  },
  "[javascript]": {
    "editor.defaultFormatter": "esbenp.prettier-vscode"
  },
  "vetur.experimental.templateInterpolationService": true,
  "vetur.format.defaultFormatter.html": "prettier",
  "files.autoSave": "afterDelay",
  "eslint.alwaysShowStatus": true,
  "editor.tabSize": 2,
  "editor.formatOnPaste": true,
  "editor.formatOnType": true,
  "editor.formatOnSave": true,
  "files.insertFinalNewline": true,
  "files.eol": "\n"
}
ESLintの設定
Nuxtプロジェクトルートにある.eslintrc.jsを以下のように修正します。
module.exports = {
  root: true,
  env: {
    browser: true,
    node: true,
  },
  extends: [
    '@nuxtjs/eslint-config-typescript',
    'plugin:nuxt/recommended',
    'prettier',
  ],
  plugins: [],
  // add your custom rules here
  rules: {
    'no-useless-constructor': 'off',
    'vue/singleline-html-element-content-newline': 'off',
    'no-use-before-define': 'off',
    quotes: [
      'error',
      'single',
      {
        avoidEscape: true,
        allowTemplateLiterals: false,
      },
    ],
  },
}
3. proxy と nuxt.config.js の設定
今回はproxyを利用してCORS対策を行っているようです。なのでNuxt.js向けパッケージの@nuxtjs/proxyをインストールして、設定をします。
npm i @nuxtjs/proxy
インストールが終わったら nuxt.config.js を以下のように変更します。
警告
元サイトにも書かれていますが、proxy URLが直書きされています。プロダクション環境では環境変数を用意しましょう。
export default {
  // Disable server-side rendering: https://go.nuxtjs.dev/ssr-mode
  ssr: false,

  // Target: https://go.nuxtjs.dev/config-target
  target: 'static',

  // Global page headers: https://go.nuxtjs.dev/config-head
  head: {
    title: 'nuxt-sample',
    htmlAttrs: {
      lang: 'en',
    },
    meta: [
      { charset: 'utf-8' },
      { name: 'viewport', content: 'width=device-width, initial-scale=1' },
      { hid: 'description', name: 'description', content: '' },
      { name: 'format-detection', content: 'telephone=no' },
    ],
    link: [{ rel: 'icon', type: 'image/x-icon', href: '/favicon.ico' }],
  },

  // Global CSS: https://go.nuxtjs.dev/config-css
  css: [],

  // Plugins to run before rendering page: https://go.nuxtjs.dev/config-plugins
  plugins: [],

  // Auto import components: https://go.nuxtjs.dev/config-components
  components: true,

  // Modules for dev and build (recommended): https://go.nuxtjs.dev/config-modules
  buildModules: [
    // https://go.nuxtjs.dev/typescript
    '@nuxt/typescript-build',
  ],

  // Modules: https://go.nuxtjs.dev/config-modules
  modules: [
    // https://go.nuxtjs.dev/axios
    '@nuxtjs/axios',

    // https://www.npmjs.com/package/@nuxtjs/proxy
    '@nuxtjs/proxy', // <= 追加
  ],

  // Axios module configuration: https://go.nuxtjs.dev/config-axios
  axios: {
    proxy: true, // <= 修正
  },

  proxy: { // <= 追加
    '/api': 'http://localhost:8000', // <= 追加
  }, // <= 追加

  // Build Configuration: https://go.nuxtjs.dev/config-build
  build: {},
}
4. HTTPClient
axiosを使います。
外部通信メソッド作成
BookServiceを実装します。元サイトのコードのママでは動作しなかったので、一部修正してあります。
mkdir service
touch service/book.ts
import axios, { AxiosResponse } from 'axios'

export interface BookResponse {
  id: number
  title: string
  author: string
}

export interface BookRequest {
  title: string
  author: string
}

export class BookService {
  static async fetchBooks(): Promise<BookResponse[]> {
    const { data } = await axios.get<AxiosResponse<BookResponse[]>>(
      '/api/books'
    )
    return data.data
  }

  static async postBookData(bookRequest: BookRequest) {
    await axios.post('/api/books', bookRequest)
  }

  static async fetchBook(bookId: number) {
    const { data } = await axios.get<AxiosResponse<BookResponse>>(
      `/api/books/${bookId}`
    )
    return data.data
  }

  static async putBook(bookId: number, data: BookRequest) {
    axios.put(`/api/books/${bookId}`, data)
  }

  static async deleteBook(bookId: number) {
    await axios.delete(`/api/books/${bookId}`)
  }
}
5. vueファイルの作成
pages/index.vueを修正します。元サイトに載っていたママでは動作しなかったので、一部修正してあります。
<template>
  <div>
    <h2>List</h2>
    <ul v-for="(book, i) in books" :key="i">
      <li>{{ book.title }}</li>
      <nuxt-link :to="{ name: 'book-detail-id', params: { id: book.id } }"
        ><button>詳細</button>
      </nuxt-link>
      <button @click="onClickDelete(book.id)">削除</button>
    </ul>
    <h3>新規追加</h3>
    <input v-model="form.title" type="text" placeholder="title" /><br />
    <input v-model="form.author" type="text" placeholder="author" /><br />
    <button @click="onClickAdd">追加</button>
  </div>
</template>

<script lang="ts">
import Vue from 'vue'
import {BookService, BookResponse } from '@/service/book'

interface Form {
  title: string
  author: string
}

type Book = BookResponse

interface DataType {
  form: Form
  books: Book[]
}

export default Vue.extend({
  async asyncData() {
    const books = await BookService.fetchBooks()
    return {
      books,
    }
  },
  data(): DataType {
    return {
      form: { title: '', author: '' },
      books: [],
    }
  },
  methods: {
    async onClickAdd() {
      await BookService.postBookData({ ...this.form })
      this.books = await BookService.fetchBooks()
      this.form = { title: '', author: '' }
    },
    async onClickDelete(bookId: number) {
      await BookService.deleteBook(bookId)
      this.books = await BookService.fetchBooks()
    },
  },
})
</script>
詳細ページを作ります。このファイルも元サイトのママでは動かなかったので修正しています。
mkdir -p pages/book/detail
touch pages/book/detail/_id.vue
<template>
  <div>
    <h2>詳細</h2>
    <input v-model="book.title" type="text" />
    <input v-model="book.author" type="text" />
    <button @click="onClickEdit">修正</button>
    <nuxt-link :to="{ name: 'index' }"><p>Book List</p></nuxt-link>
  </div>
</template>

<script lang="ts">
import Vue from 'vue'
import { BookService, BookResponse } from '@/service/book'

type Book = BookResponse

interface DataType {
  book: Book
}

export default Vue.extend({
  async asyncData({ route }) {
    const bookId = Number(route.params.id)
    const book = await BookService.fetchBook(bookId)
    return {
      book,
    }
  },
  data(): DataType {
    return {
      book: {
        id: 0,
        title: '',
        author: '',
      },
    }
  },
  methods: {
     onClickEdit() {
      const bookId = Number(this.$route.params.id)
      BookService.putBook(bookId, this.book)
      this.$router.push({ name: 'index' })
    }
  }
})
</script>
Laravel(バックエンド)の構築
0. DBの設定
DockerでサクッとMySQL8環境を作ってしまいます。XAMP, MAMPを使われている方などはスキップしてください。
version: '3'

services:
  db:
    image: mysql:8.0.28-debian
    command: mysqld --default-authentication-plugin=mysql_native_password --character-set-server=utf8mb4 --collation-server=utf8mb4_unicode_ci
    environment:
      MYSQL_ROOT_PASSWORD: password
      MYSQL_DATABASE: laravel
      MYSQL_USER: laravel
      MYSQL_PASSWORD: password
    expose:
      - 3306
    ports:
      - 3306:3306
    volumes:
      - ./data:/var/lib/mysql
起動
docker-compose up
1. create (composerによる)
元記事ではLaravelインストーラーを使っていますが、ここではcomposerでインストールすることにします。
cd sample
composer create-project laravel/laravel laravel-sample
2. LocalにDBを作る
DockerにMySQLを構築しているので、既にDBは作成済みです。
ROOT PASSWORD : password
DATABASE NAME : laravel
USER NAME     : laravel
USER PASSWORD : password
念のため作成されたDATABASE(laravel)があるか確認してみます。
mysql -h127.0.0.1 -uroot -ppassword
mysql> SHOW DATABASES;
+--------------------+
| Database           |
+--------------------+
| information_schema |
| laravel            |
| mysql              |
| performance_schema |
| sys                |
+--------------------+
5 rows in set (0.01 sec)
3. 各種設定
.env
.envのDB_で始まる列がDatabase設定になります。見てみると以下のようになっているはずです。
DB_CONNECTION=mysql
DB_HOST=127.0.0.1
DB_PORT=3306
DB_DATABASE=laravel
DB_USERNAME=root
DB_PASSWORD=
ここのDB_PASSWORDを修正します。
DB_PASSWORD=password
config/app.php
timezoneとlocaleの修正です。
今回は72行目と85行目を修正しました(Laravelのバージョンによって変わります)
'timezone' => 'Asia/Tokyo',
'locale' => 'ja',
config/database.php
charsetとcollation(元サイトではcallation表記、TYPOか?)の変更をするよう指定がありますが、今回utf8mb4でデータベースを作成しているので変更はしません。
4. modelの作成
artisanコマンドでモデルを作成します。
php artisan make:model Book --migration
以下のようにBook.phpを修正します。
<?php

namespace App\Models;

use Illuminate\Database\Eloquent\Factories\HasFactory;
use Illuminate\Database\Eloquent\Model;

class Book extends Model
{
    use HasFactory;

    protected $fillable = [
        'title',
        'author',
    ];
}
マイグレートファイルを修正します。私の環境ではdatabase/migrations/2022_02_19_164808_create_books_table.phpというファイルで作成されています。元サイトには$table->bigIncrements('id')を使うように記述されていますが、ちょっと古いので$table->id()を使っています。
<?php

use Illuminate\Database\Migrations\Migration;
use Illuminate\Database\Schema\Blueprint;
use Illuminate\Support\Facades\Schema;

return new class extends Migration
{
    /**
     * Run the migrations.
     *
     * @return void
     */
    public function up()
    {
        Schema::create('books', function (Blueprint $table) {
            $table->id();
            $table->string('title');
            $table->string('author');
            $table->timestamps();
        });
    }

    /**
     * Reverse the migrations.
     *
     * @return void
     */
    public function down()
    {
        Schema::dropIfExists('books');
    }
};
5. migrate
migrationをしていきます。
php artisan migrate
確認します。
mysql -h127.0.0.1 -uroot -ppassword laravel
mysql> SHOW TABLES;
+------------------------+
| Tables_in_laravel      |
+------------------------+
| books                  |
| failed_jobs            |
| migrations             |
| password_resets        |
| personal_access_tokens |
| users                  |
+------------------------+
6 rows in set (0.00 sec)

mysql> DESC books;
+------------+-----------------+------+-----+---------+----------------+
| Field      | Type            | Null | Key | Default | Extra          |
+------------+-----------------+------+-----+---------+----------------+
| id         | bigint unsigned | NO   | PRI | NULL    | auto_increment |
| title      | varchar(255)    | NO   |     | NULL    |                |
| author     | varchar(255)    | NO   |     | NULL    |                |
| created_at | timestamp       | YES  |     | NULL    |                |
| updated_at | timestamp       | YES  |     | NULL    |                |
+------------+-----------------+------+-----+---------+----------------+
5 rows in set (0.00 sec)

## 6. controllerの作成

controllerを作成します。

```terminal
php artisan make:controller BookController --api
app/Http/Controllers/BookController.phpが作成されているので、以下のように修正します。
<?php

namespace App\Http\Controllers;

use App\Models\Book;
use Illuminate\Http\Request;

class BookController extends Controller
{
    /**
     * Display a listing of the resource.
     *
     * @return \Illuminate\Http\Response
     */
    public function index()
    {
        $books = Book::all();
        return response()->json([
            'message' => 'ok',
            'data'    => $books,
        ], 200, [], JSON_UNESCAPED_UNICODE);
    }

    /**
     * Store a newly created resource in storage.
     *
     * @param  \Illuminate\Http\Request  $request
     * @return \Illuminate\Http\Response
     */
    public function store(Request $request)
    {
        $book = Book::create($request->all());
        return response()->json([
            'message' => 'Book created successfully',
            'data' => $book
        ], 201, [], JSON_UNESCAPED_UNICODE);
    }

    /**
     * Display the specified resource.
     *
     * @param  int  $id
     * @return \Illuminate\Http\Response
     */
    public function show($id)
    {
        $book = Book::find($id);
        if ($book) {
            return response()->json([
                'message' => 'ok',
                'data' => $book
            ], 200, [], JSON_UNESCAPED_UNICODE);
        }
        return response()->json([
            'message' => 'Book not found',
        ], 404);
    }

    /**
     * Update the specified resource in storage.
     *
     * @param  \Illuminate\Http\Request  $request
     * @param  int  $id
     * @return \Illuminate\Http\Response
     */
    public function update(Request $request, $id)
    {
        $update = [
            'title' => $request->title,
            'author' => $request->author
        ];
        $book = Book::where('id', $id)->update($update);
        if ($book) {
            return response()->json([
                'message' => 'Book updated successfully',
            ], 200);
        }
        return response()->json([
            'message' => 'Book not found',
        ], 404);
    }

    /**
     * Remove the specified resource from storage.
     *
     * @param  int  $id
     * @return \Illuminate\Http\Response
     */
    public function destroy($id)
    {
        $book = Book::where('id', $id)->delete();
        if ($book) {
            return response()->json([
                'message' => 'Book deleted successfully',
            ], 200);
        }
        return response()->json([
            'message' => 'Book not found',
        ], 404);
    }
}
7. routesの設定
routes/api.phpを修正します。
<?php

use App\Http\Controllers\BookController;
use Illuminate\Support\Facades\Route;

Route::apiResource('/books', BookController::class);
動作確認
Laravel起動
php artisan serve
Starting Laravel development server: http://127.0.0.1:8000
[Sat Feb 19 17:08:02 2022] PHP 8.1.0 Development Server (http://127.0.0.1:8000) started
Laravelが8000番ポートで立ち上がりました。
Nuxt起動
先ほどと同じです。Laravelが起動した状態でNuxtを起動します。
npm run dev

> nuxt-sample@1.0.0 dev
> nuxt

ℹ [HPM] Proxy created: /api  -> http://localhost:8000                                        17:08:29

   ╭───────────────────────────────────────╮
   │                                       │
   │   Nuxt @ v2.15.8                      │
   │                                       │
   │   ▸ Environment: development          │
   │   ▸ Rendering:   client-side          │
   │   ▸ Target:      static               │
   │                                       │
   │   Listening: http://localhost:3000/   │
   │                                       │
   ╰───────────────────────────────────────╯

ℹ Preparing project for development                                                          17:08:31
ℹ Initial build may take a while                                                             17:08:31
ℹ Discovered Components: .nuxt/components/readme.md                                          17:08:31
✔ Builder initialized                                                                        17:08:31
✔ Nuxt files generated                                                                       17:08:31

✔ Client
  Compiled successfully in 3.28s

ℹ Waiting for file changes                                                                   17:08:35
ℹ Memory usage: 209 MB (RSS: 371 MB)                                                         17:08:35
ℹ Listening on: http://localhost:3000/                                                       17:08:35
No issues found.                                                                             17:08:36
立ち上がりました。
ブラウザで確認
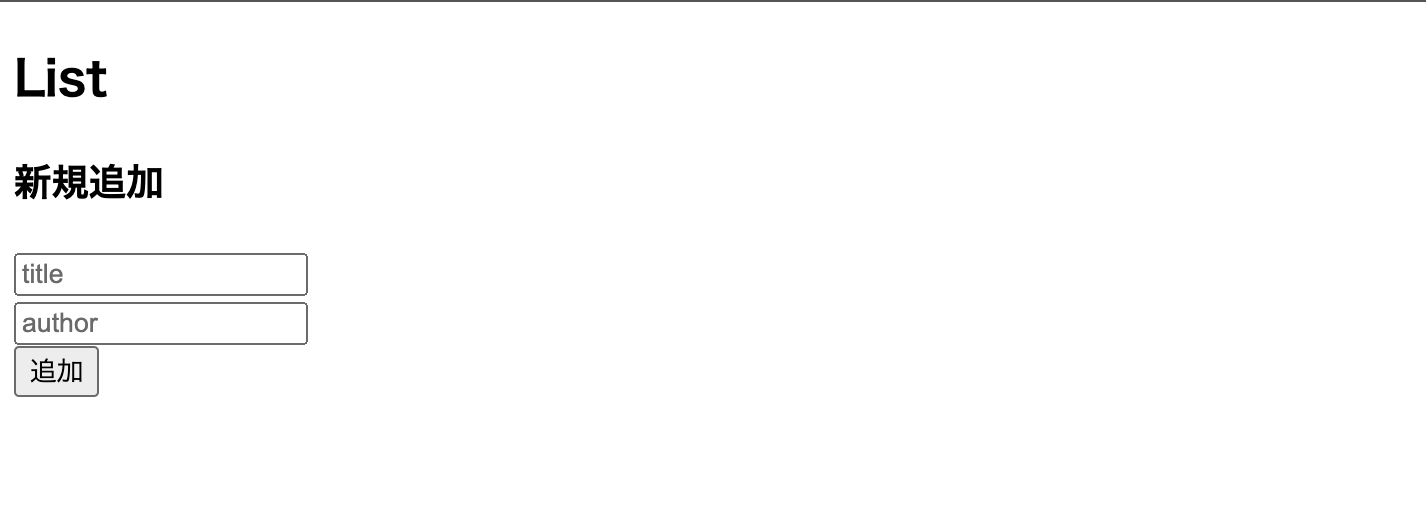
http://localhost:3000/ にアクセスします。
表示されたのでCRUD操作をします。
(元サイトの通りなので省略、、、)
DBの値を確認します。
mysql -h127.0.0.1 -uroot -ppassword laravel
mysql> SELECT * FROM books;
+----+-----------------------+-----------------------+---------------------+---------------------+
| id | title                 | author                | created_at          | updated_at          |
+----+-----------------------+-----------------------+---------------------+---------------------+
|  2 | 京都大原三千院        | テストユーザー        | 2022-02-19 17:13:07 | 2022-02-19 17:13:10 |
|  3 | iPhoneの使い方        | foo bar               | 2022-02-19 17:14:25 | 2022-02-19 17:14:25 |
+----+-----------------------+-----------------------+---------------------+---------------------+
2 rows in set (0.00 sec)
DBに情報が格納されていることが分かります。
最後に
ネットの情報のママに打ち込んでも上手くいかないと言うことは多々あるようです。今回は修正した内容については深く追いませんが、やはり初学者の方には面倒でも公式サイトの記述を読んで頂きたいところです。

