今回試すこと
前の記事で、既存 MySQL DBの API化を行った。
実際のAPI公開では、複数のデータ・ソースから情報を集めてAPI公開するシナリオが当然のようにある。
LoopBackだとどうする?と思っていたところ、LoopBackのマニュアル「Creating model relations」に、異なるデータ・ソースを定義したモデル間でもrelationを持てるとあったので、こういうシナリオにも使えるのか試してみた。
It's important to understand that all models inherit from the Model class and they can have relations between them regardless of the specific type of model or the backing data source. Models backed by different data sources can have relations between them.
API Connectのモデル
- employeeモデル:MySQLにデータ・ソースを用意
- departmentモデル:PostgreSQLにデータ・ソースを用意
2つのモデルの関係
- departmentには、複数人のemployeeが所属
- employeeは、1つのdepartmentに所属
環境
- Windows7 Professional SP1
- MySQL Ver 14.14 Distrib 5.7.11
- Node v4.2.2
- npm v3.8.2
- apiconnect v1.0.2
- (前回からの追加)PostgreSQL v9.5.2
テーブルの用意
MySQLについては、前の記事を参照。PostgreSQLも簡単に以下のように作成。
$ create database sample;
$ create table department(deptid int primary key, deptname varchar(20));
$ insert into department(deptid, deptname) values(1,'Sales');
$ insert into department(deptid, deptname) values(2,'General affairs');
$ insert into department(deptid, deptname) values(3,'Human Resources');
API Connectで既存PostgreSQL DBをAPI化
前回と同様の手順で、PostgreSQLのdepartmentをAPI化する。
PostgreSQL用データ・ソースの作成
- 名前 : postgresDS
- コネクター : PostgreSQL
- host : localhost
- ポート : 5432
- ユーザー : 該当ユーザー
- パスワード : 該当パスワード
- database : sample
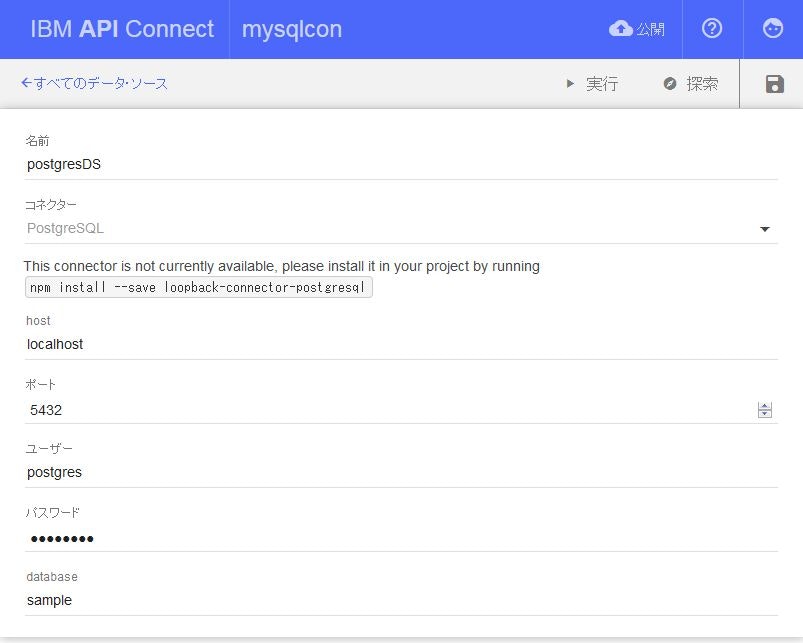
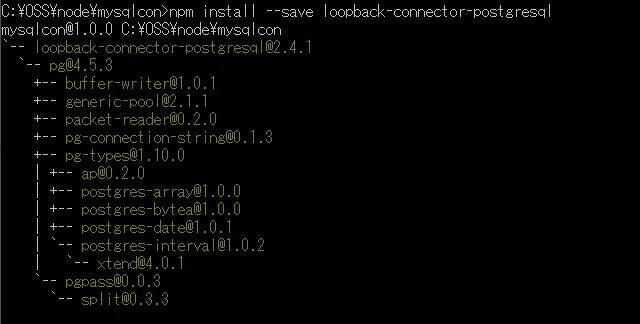
コマンド・プロンプトで、画面に表示があるように、postgreSQL用のConnectorモジュールを、インストールする。注:mysqlconディレクトリー内で実行
$ npm install --save loopback-connector-postgresql
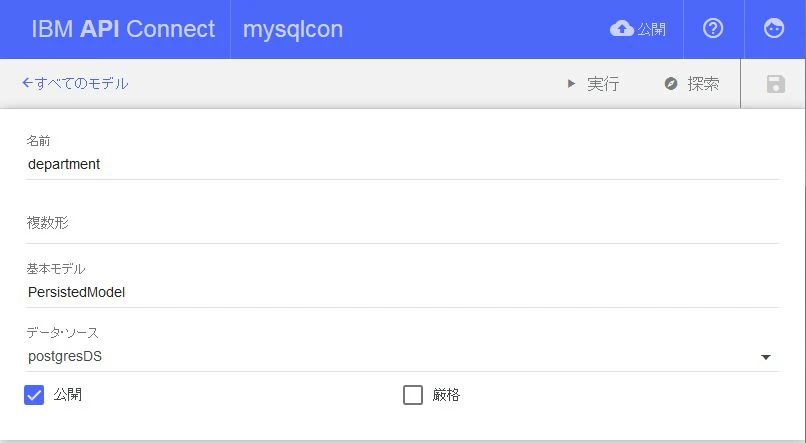
API Designerを使用してDepartmentモデルの作成
必要な情報を入力し、保存する。
- 名前 : department
- 複数形 : なし
- 基本モデル : PersistedModel
- データ・ソース : postgresqlDS(先ほど作ったデータ・ソース)
- 公開 : チェック
プロパティーを以下のように作成し、保存。
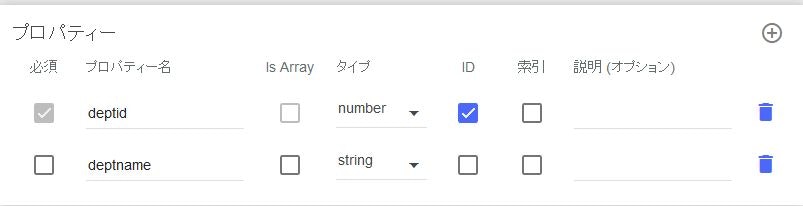
前回は、DBとマッピングを行う作業を行ったが、今回はテーブル名、カラム名を完全一致させて、PostgreSQLとのマッピングは省略。
employeeにモデル間のrelationを設定する
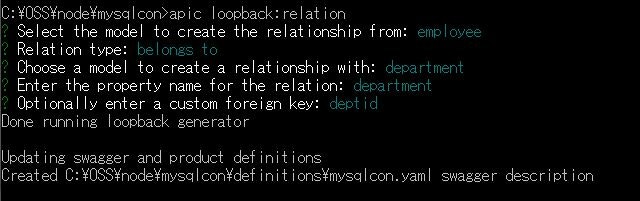
ここから、前回作成したemployeeモデルとdepartmentモデル間のrelationを作成する。まずは、employee側の設定。コマンド・プロンプトで以下を実行。
$ cd mysqlcon
$ apic loopback:relation
- 関連を作成するモデル:employee
- relationタイプ:belongs to
- 関連付けるモデル:department
- 関連名:デフォルト(department)
- foreign key:deptid
employee.jsonファイルに"relations"が追加されていることを確認。
---省略------

  "validations": [],
  "relations": {
    "department": {
      "type": "belongsTo",
      "model": "department",
      "foreignKey": "deptid"
    }
  },
  "acls": [],
  "methods": {}
}
departmentにモデル間のrelationを設定する
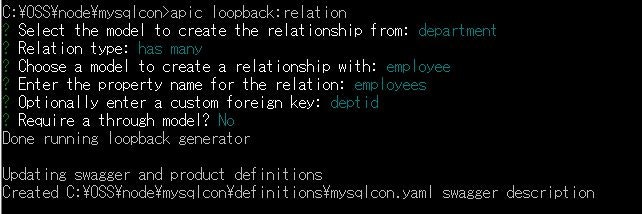
次に、department側の設定。コマンド・プロンプトで同様に以下を実行。
$ apic loopback:relation
- 関連を作成するモデル:department
- relationタイプ:has many
- 関連付けるモデル:employee
- 関連名:デフォルト(employees)
- foreign key:deptid
- through model:No
department.jsonファイルに"relations"が追加されていることを確認。
---省略------

  "validations": [],
  "relations": {
    "employees": {
      "type": "hasMany",
      "model": "employee",
      "foreignKey": "deptid"
    }
  },
  "acls": [],
  "methods": {}
}
これでrelationの設定は終了。
実行
次に、作成したモデルを実行する。
API Designerのメニューから「実行」を選択し「開始」をクリック。
サーバー開始を確認後、「探索」をクリック。作成したemployeeとdepartmentのAPIが提供されていることを確認。左メニューの「GET /employees」を選択。
前回同様、「操作の呼び出し」をクリックすると、relation設定したdepartmentの値は持ってこない。LoopBackのマニュアル「Querying data」で、"include"というフィルターが利用できることを確認。
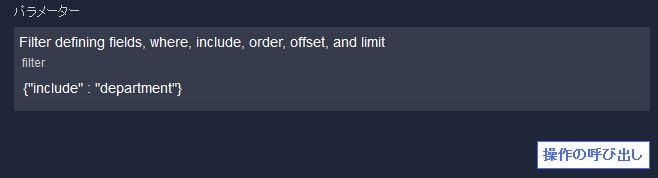
パラメーターに、"include"とrelationで指定した名前"department"を指定し、「操作の呼び出し」をクリック。
{"include" : "department"}
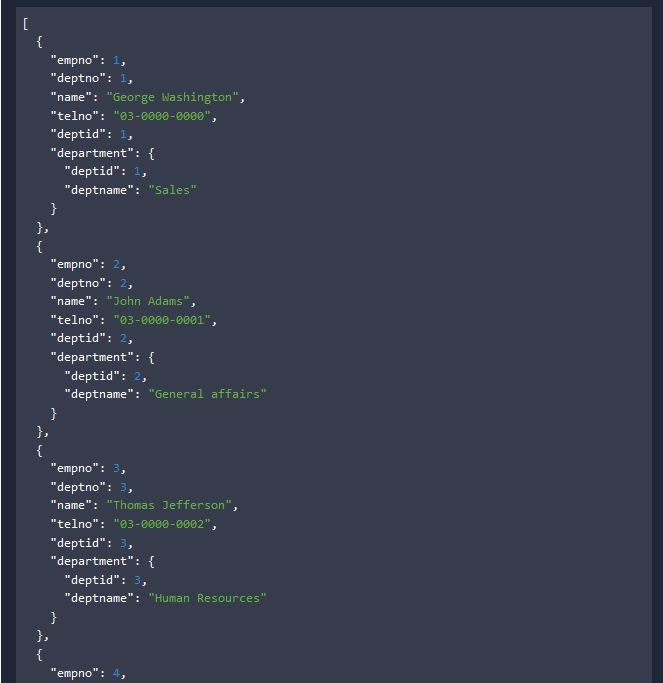
以下のように、relation含めた値が取得できていることが確認できた。
departmentに関しても同様に確認。「GET /departments」を選択。「操作の呼び出し」をクリックしただけでは、relation設定したemployeeの値は持ってこない。同様にパラメーターに以下を指定。
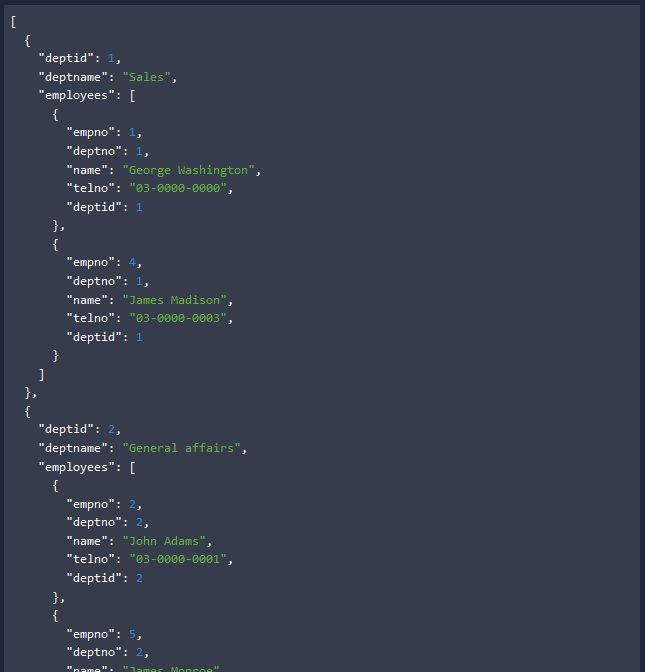
{"include" : "employees"}
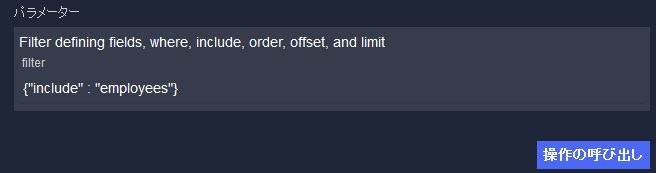
「操作の呼び出し」をクリックすると、同様にrelation含めた値が取得できることを確認。
更新系は?
relationに対して更新はできない。"include"フィルターは、参照のみにしか使えない。LoopBackマニュアル参照「Include Filter」
You can use an include filter with find(), findOne() and findById().
複数データ・ソースに対して更新処理を行う、あるいは同じデータ・ソースで複数テーブルに対して更新処理を行うのは難しい。
まとめ
複数のデータ・ソースからまとめて情報を提供するAPIは作成可能
異なるデータ・ソースを持つモデルを定義し、それらにrelationを定義することで、参照系としてAPIを公開することができた。relationを使っての、2つのデータ・ソースにまたがる更新、あるいは同一データ・ソースの複数テーブルにまたがる更新はできない模様。