チュートリアル
前回の続きでLaravel+GraphQL Lighthouseチュートリアルを進めます。
Agenda
- フィールドにページネーション(ページャー)を追加
- Eloquentモデルの作成と更新
- サーバーに送信される値のバリデーション
所要時間: 10分程度
1. フィールドにページネーション(ページャー)を追加
https://lighthouse-php.com/master/api-reference/directives.html#paginate
こちらを参考に進めます。
type Query {
    # posts: [Post!]! @all
    posts: [Post!]! @paginate
}
スキーマ定義は自動的に次のように変換されます。
(これは書かなくてokです。)
type Query {
  posts(first: Int!, page: Int): PostPaginator
}

"A paginated list of Post items."
type PostPaginator {
  "A list of Post items."
  data: [Post!]!

  "Pagination information about the list of items."
  paginatorInfo: PaginatorInfo!
}
{
  posts(first: 5) {
    data {
      id
      title
    }
    paginatorInfo {
      currentPage
      lastPage
    }
  }
}

簡単にページネーションを実装できました。
Laravelのコード何も書いてない...すごい(すごい)
2. Eloquentモデルの作成と更新
https://lighthouse-php.com/master/eloquent/getting-started.html#create
こちらを参考に進めます。
Create
データベースに User を作成する処理を実装します。
type Mutation {
  createUser(
    name: String!
    email: String!
    password: String!
  ): User! @create
}
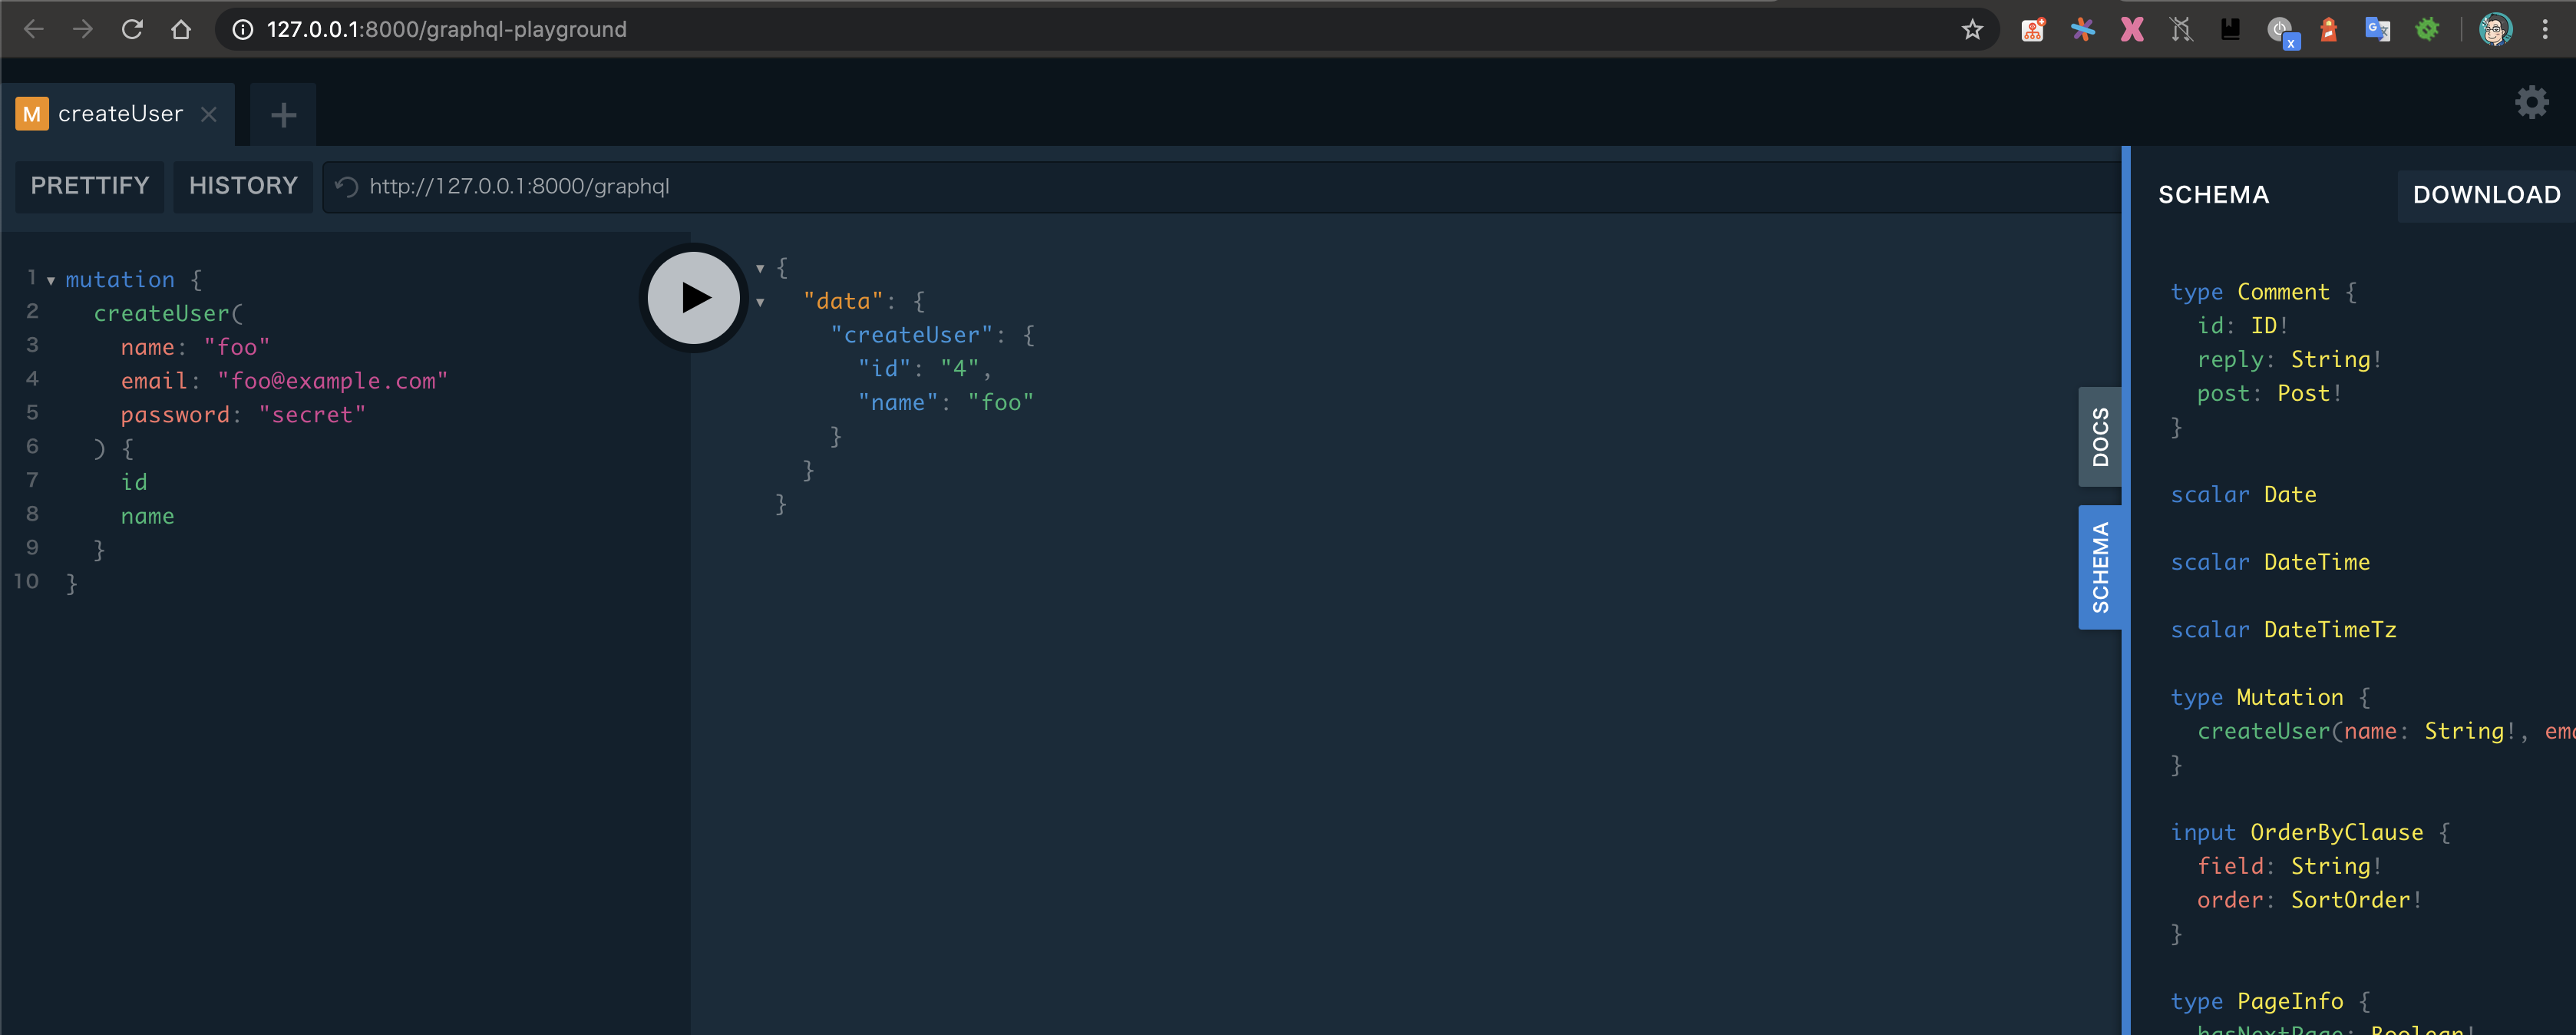
createミューテーションは、フィールドに渡された引数を使用して、新しいモデルインスタンスを作成します。
mutation {
  createUser(
    name: "foo"
    email: "foo@example.com"
    password: "secret"
  ) {
    id
    name
  }
}
Update
データベースに登録されている User を更新する処理を実装します。
type Mutation {
  updateUser(
    id: ID!
    name: String
  ): User @update
}
mutation {
  updateUser(id: "4", name: "bar") {
    id
    name
  }
}

3. サーバーに送信される値のバリデーション
https://lighthouse-php.com/master/security/validation.html#single-arguments
こちらを参考に進めます。
Laravel標準のバリデーションルールを利用する簡単な方法は、@rulesディレクティブを使用することです。
type Mutation {
  createUser(email: String @rules(apply: ["email"])): User
}
バリデーションエラーの場合、Lighthouseは実行を中止し、レスポンスの一部としてバリデーションメッセージを返します。
mutation {
  createUser(
    name: "hoge"
    email: "hogehoge@example.com"
    password: "secret"
  ) {
    id
    name
  }
}
{
  "errors": [
    {
      "message": "Validation failed for the field [createUser].",
      "extensions": {
        "validation": {
          "email": [
            "The email must be a valid email address."
          ]
        },
        "category": "validation"
      },
      "locations": [
        {
          "line": 2,
          "column": 3
        }
      ],
      "path": [
        "createUser"
      ],
      "trace": [
        {
          "file": "/Users/ucan/work/lighthouse-tutorial/vendor/nuwave/lighthouse/src/Execution/ErrorBuffer.php",
          "line": 64,
          "call": "Nuwave\\Lighthouse\\Execution\\ErrorBuffer::Nuwave\\Lighthouse\\Execution\\{closure}('Validation failed for the field [createUser].', instance of Nuwave\\Lighthouse\\Execution\\ErrorBuffer)"
        },
        // トレースログは省略
      ]
    }
  ]
}

さいごに
以上でLaravel+GraphQL Lighthouseチュートリアルは完了です。
もっと詳しい使い方は公式ドキュメントをご参照ください。
https://lighthouse-php.com/master/getting-started/installation.html