この記事はLaravel #2 Advent Calendar 2018 12日目の記事です。
枠が余っていたので投稿しました!
Homesteadを使って環境構築をする機会があったのでその時のメモを残します。
Laradock で環境構築した記事もあります。
事前準備
Vagrantインストール
$ brew cask install vagrant
Virtualboxインストール
$ brew cask install virtualbox
Vagrant プラグインインストール
$ vagrant plugin install vagrant-vbguest
-
vagrant-vbguest
- 仮想端末がVirtualboxの場合、仮想端末のVirtualbox-guest-addtionのインストール状況を確認して、必要があれば自動的にインストールしてくれるプラグインです。
Vagrantバージョン
$ vagrant --version
Vagrant 2.2.2

$ VBoxManage -v
6.0.0r127566

$ vagrant plugin list
vagrant-vbguest (0.17.1, global)
  - Version Constraint: > 0
ディレクトリ構成について
~/homestead => Homestead設定ディレクトリ
~/homestead/Homestead.yaml => Homestead設定ファイル
~/homestead/Vagrantfile => Vagrantfile設定ファイル
~/code => 共有ディレクトリ
~/code/sampleapp => Laravelプロジェクト
Homestead box のダウンロード
$ vagrant box add laravel/homestead --provider virtualbox
プロバイダに virtualbox を指定します。
あと、通信量も多いのでモバイルルーターやテザリング、ネットワーク弱い場所では注意してください。
Homestead box のバージョン
$ vagrant box list | grep homestead
laravel/homestead      (virtualbox, 6.4.0)
Homestead 設定ファイルのダウンロード
$ git clone https://github.com/laravel/homestead.git ~/homestead
Homestead 設定ファイルのバージョン
$ cat ~/homestead/bin/homestead | grep Homestead
$app = new Symfony\Component\Console\Application('Laravel Homestead', '7.20.0');
今回のバージョンは 7.20.0 です。
Homestead設定ディレクトリ構成の確認
tree コマンドでディレクトリ構成を確認します。
$ tree ~/homestead -L 1
/Users/ucan/homestead
├── CHANGELOG.md
├── LICENSE.txt
├── Vagrantfile
├── bin
├── composer.json
├── composer.lock
├── init.bat
├── init.sh
├── phpunit.xml.dist
├── readme.md
├── resources
├── scripts
├── src
└── tests

5 directories, 9 files
Homestead 設定の初期化
$ cd ~/homestead
$ bash init.sh
Homestead initialized!
Homestead設定ディレクトリ構成の確認
再度 tree コマンドでディレクトリ構成を確認します。
$ tree ~/homestead -L 1
/Users/ucan/homestead
├── CHANGELOG.md
├── Homestead.yaml
├── LICENSE.txt
├── Vagrantfile
├── after.sh
├── aliases
├── bin
├── composer.json
├── composer.lock
├── init.bat
├── init.sh
├── phpunit.xml.dist
├── readme.md
├── resources
├── scripts
├── src
└── tests

5 directories, 12 files
新たに Homestead.yaml、after.sh、aliases が追加されました。
Homestead.yaml のデフォルト設定
~/homestead/Homestead.yaml
---
ip: "192.168.10.10"
memory: 2048
cpus: 1
provider: virtualbox

authorize: ~/.ssh/id_rsa.pub

keys:
    - ~/.ssh/id_rsa

folders:
    - map: ~/code
      to: /home/vagrant/code

sites:
    - map: homestead.test
      to: /home/vagrant/code/public

databases:
    - homestead

# ports:
#     - send: 50000
#       to: 5000
#     - send: 7777
#       to: 777
#       protocol: udp

# blackfire:
#     - id: foo
#       token: bar
#       client-id: foo
#       client-token: bar

# zray:
#  If you've already freely registered Z-Ray, you can place the token here.
#     - email: foo@bar.com
#       token: foo
#  Don't forget to ensure that you have 'zray: "true"' for your site.
Homestead.yaml 設定
秘密鍵、公開鍵の設定
vagrant ssh する際に使用される秘密鍵、公開鍵の設定を行います。
authorize: ~/.ssh/homestead.pub

keys:
    - ~/.ssh/homestead
authorize に公開鍵、keys に秘密鍵を設定します。
$ ssh-keygen -t ed25519 -N "" -f ~/.ssh/homestead
鍵を生成します。
-
~/.ssh/homestead(秘密鍵) -
~/.ssh/homestead.pub(公開鍵)
プロバイダ設定
provider: virtualbox
デフォルトが virtualbox なので変更する必要はないです。
異なるプロバイダを使用する際は変更しましょう。
共有ディレクトリ設定
folders:
    - map: ~/code
      to: /home/vagrant/code
ホスト側(Mac)のOSとゲスト側の仮想環境間で共有するディレクトリを指定します。
map がホスト側、to がゲスト側のディレクトリを指定します。
共有ディレクトリの作成
$ mkdir ~/code
作業ディレクトリ ~/code を作成する
サイトの設定
sites:
    - map: homestead.test
      to: /home/vagrant/code/sampleapp/public
to に Laravelの公開ディレクトリのpublicを指定しています。
sampleapp の名前のプロジェクトを配置するため、上記の設定にします。
ホスト設定
$ sudo vim /etc/hosts
127.0.0.1       localhost
255.255.255.255 broadcasthost
::1             localhost
# 追記
192.168.10.10   homestead.test
仮想環境の起動
$ cd ~/homestead
$ vagrant up

Bringing machine 'homestead-7' up with 'virtualbox' provider...
==> homestead-7: Importing base box 'laravel/homestead'...

...

==> homestead-7: Running provisioner: shell...
    homestead-7: Running: /var/folders/mg/2yg9jy1s2ysgcfgf_z37l7lr0000gn/T/vagrant-shell20190101-96125-1mtkm9b.sh
==> homestead-7: Running provisioner: shell...
    homestead-7: Running: script: Update motd
==> homestead-7: Running provisioner: shell...
    homestead-7: Running: /var/folders/mg/2yg9jy1s2ysgcfgf_z37l7lr0000gn/T/vagrant-shell20190101-96125-p8h1rf.sh
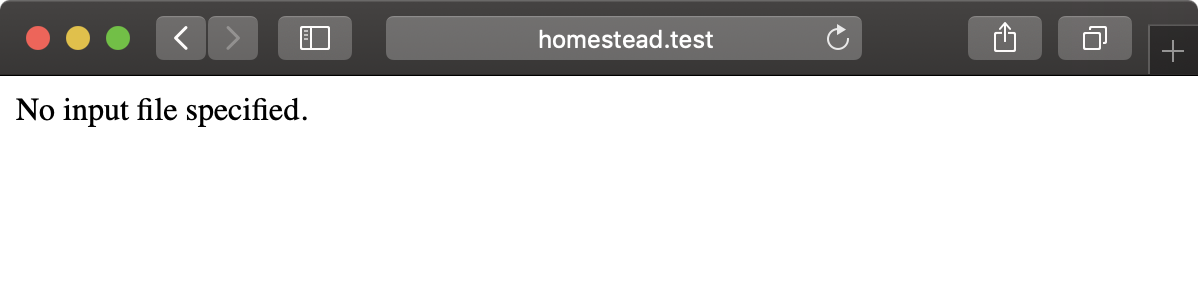
この時点ではLaravel本体のファイルをダウンロードしていないため、 No input file specified. と表示するファイルがないというメッセージが表示されます。
仮想環境へログイン
$ vagrant ssh
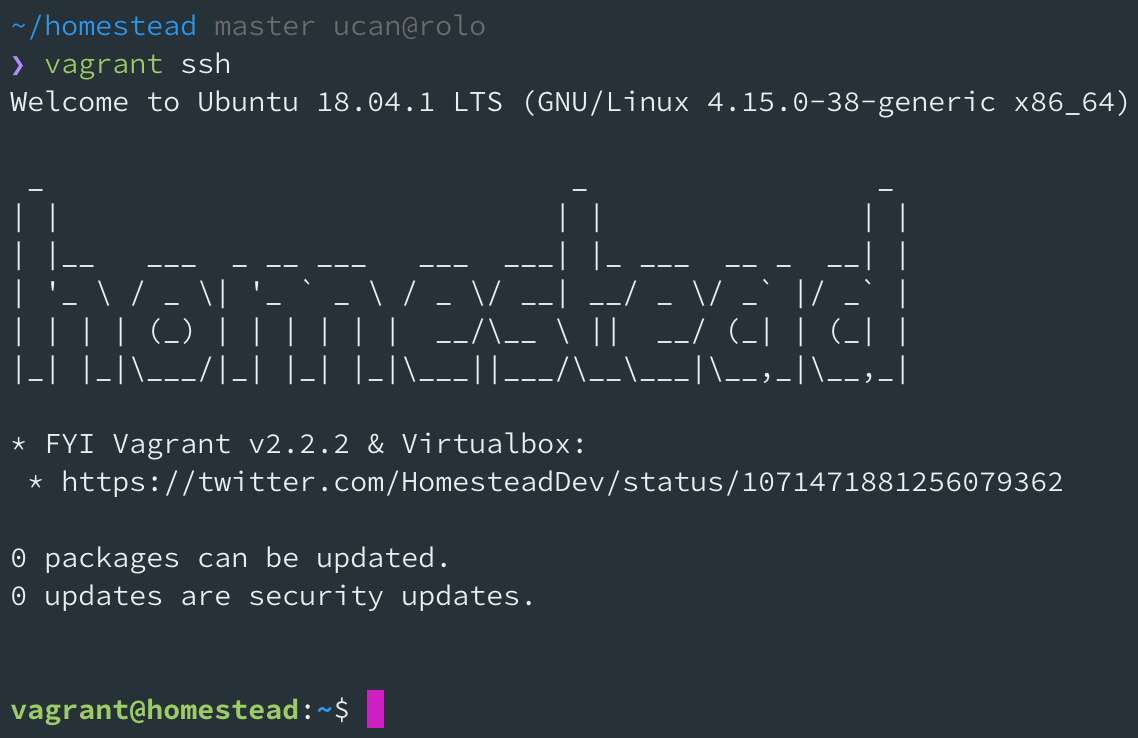
こんな感じで仮想環境へログインできればokです。
$ exit
仮想環境からログアウトするときは exit します。
control + D でもokです。
Laravel のインストール
Composerからインストール
$ vagrant ssh
$ cd ~/code
$ composer create-project laravel/laravel sampleapp --prefer-dist "5.5.*"
composer からインストールする際、バージョンを指定できます。
laravelインストーラからインストール
$ vagrant ssh
$ cd ~/code
$ laravel new sampleapp
laravelインストーラからインストールした場合は、その時点での最新版がインストールされます。
バージョンの指定は行えません。
Laravel インストールの確認
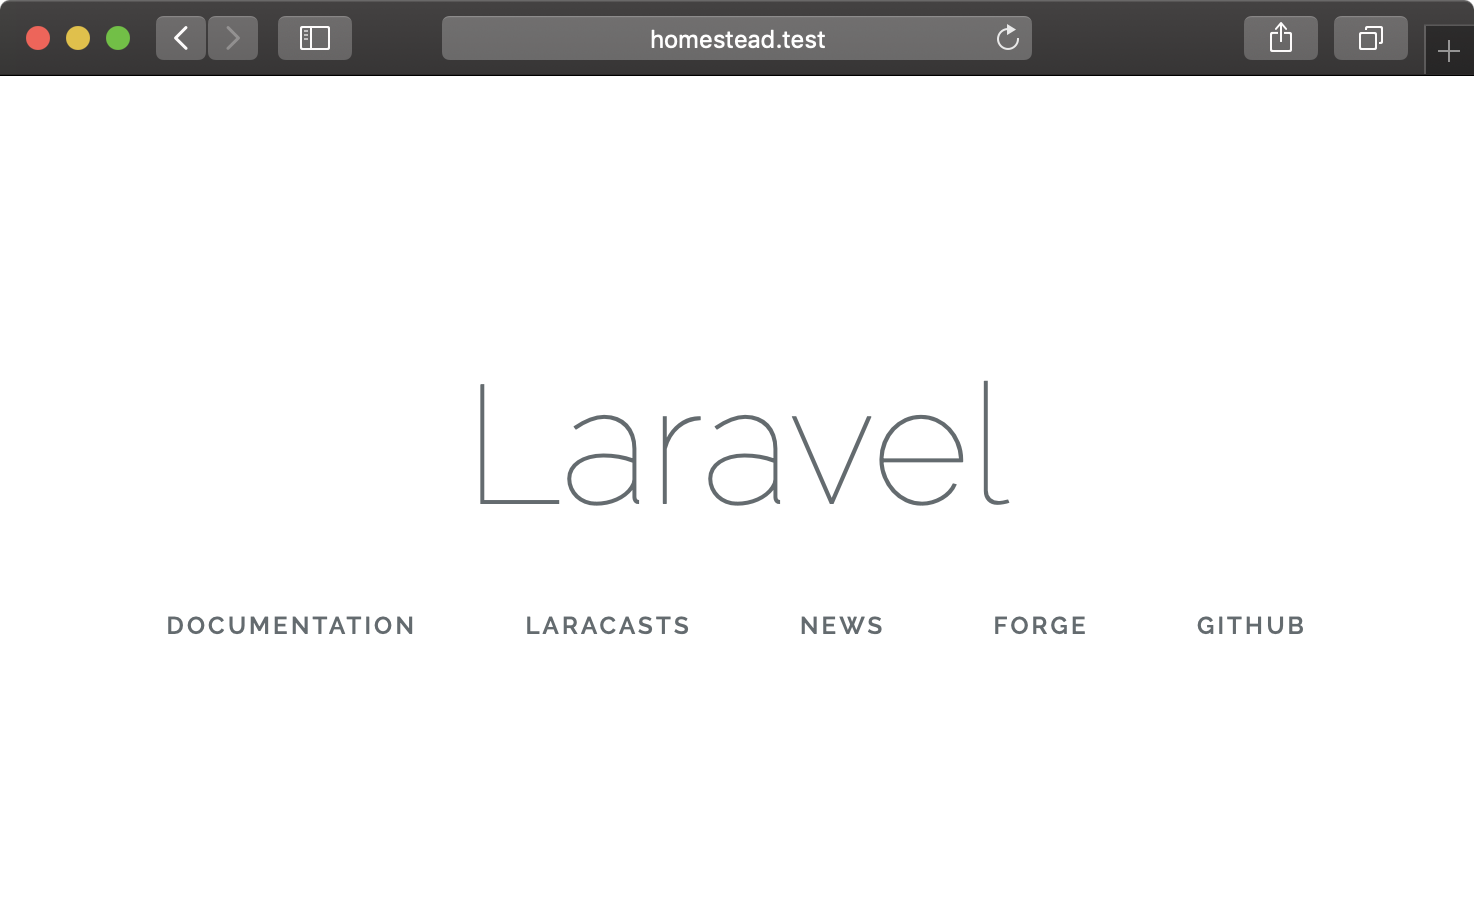
再度アクセスして、Laravelのウェルカムページが表示されていることが確認できればokです。
仮想環境の停止
$ vagrant halt
Homestead.yaml を変更した時
Homestead.yaml を変更した場合はプロビジョニングし直さないと設定が反映されません。
$ vagrant up --provision
プロビジョニングオプションを指定して仮想環境を起動します。
※仮想環境を停止させておきましょう
Laravel
$ vagrant ssh
$ cd ~/code/sampleapp
仮想環境にログインし、sampleapp を作業ディレクトリとします。
環境
$ uname -a
Linux homestead 4.15.0-38-generic #41-Ubuntu SMP Wed Oct 10 10:59:38 UTC 2018 x86_64 x86_64 x86_64 GNU/Linux

$ php -v
PHP 7.2.11-4+ubuntu18.04.1+deb.sury.org+1 (cli) (built: Nov  4 2018 05:11:49) ( NTS )
Copyright (c) 1997-2018 The PHP Group
Zend Engine v3.2.0, Copyright (c) 1998-2018 Zend Technologies
    with Zend OPcache v7.2.11-4+ubuntu18.04.1+deb.sury.org+1, Copyright (c) 1999-2018, by Zend Technologies
    with blackfire v1.23.1~linux-x64-non_zts72, https://blackfire.io, by Blackfire

$ nginx -v
nginx version: nginx/1.15.5

$ mysql -V
mysql  Ver 14.14 Distrib 5.7.24, for Linux (x86_64) using  EditLine wrapper
Homesteadのboxの 6.4.0 には MySQL5.7 が入っているようです。
懸念点ですが、今後のバージョンアップによっては MySQL8.0 に上がる可能性があるので、その時は認証方式を変更が必要になってきそうです。
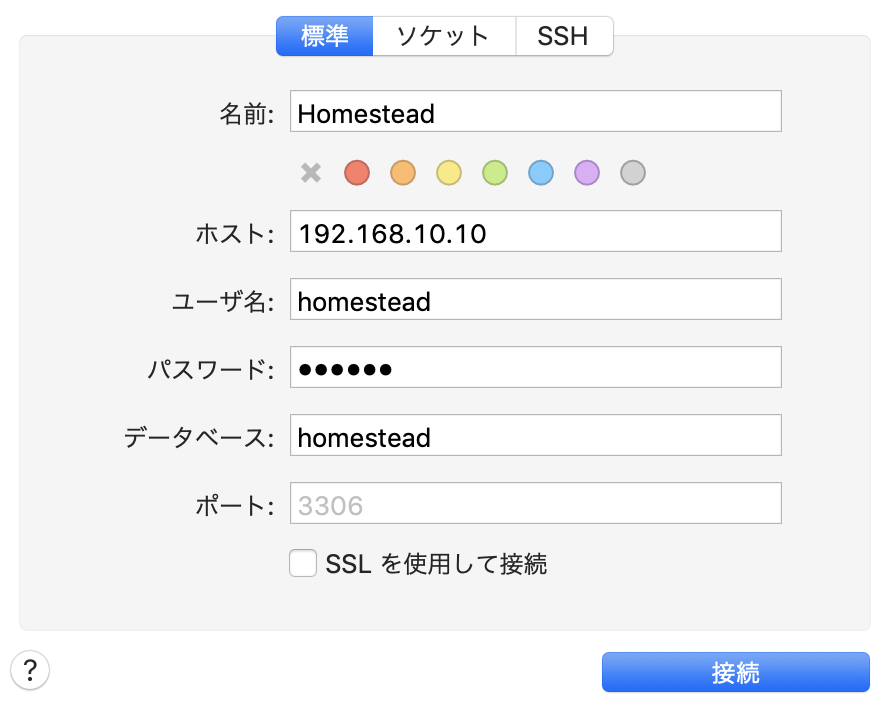
MySQL接続情報
- データベース:
homestead - ユーザー名:
homestead - パスワード:
secret - rootユーザーのパスワード: なし
$ cat .env | grep DB
DB_CONNECTION=mysql
DB_HOST=127.0.0.1
DB_PORT=3306
DB_DATABASE=homestead
DB_USERNAME=homestead
DB_PASSWORD=secret
Homesteadでは初期ユーザーとして homestead ユーザーと homestead データベースが作成されてます。
.env のデータベース項目は初期値のままでokです。
MySQL接続
# rootユーザーでログイン
$ mysql -uroot

# homesteadユーザーでログイン
$ mysql -uhomestead -psecret homestead
Sequel Pro接続
マイグレーション実行
$ php artisan migrate
Migrating: 2014_10_12_000000_create_users_table
Migrated:  2014_10_12_000000_create_users_table
Migrating: 2014_10_12_100000_create_password_resets_table
Migrated:  2014_10_12_100000_create_password_resets_table