はじめに
tensorflow.data.Datasetを使っていて、preprocess内でnumpyのFFTやopenCVを使ったらエラーが出て困った人向けです。いや自分自身が困ったので、そのTipです。
時間がない人向け
tf.py_functionを使用すると出来る。
細かい説明
tf.data.Datasetの簡単な動き
こちらはtensorflowの公式のドキュメントで書いてある通りに、datasetのloaderを作ります。pytorchでいえばdataloaderですね。
def preprocess_image(image):
    image = tf.image.decode_jpeg(image, channels=3)
    image = tf.image.resize(image, [192, 192])
    return image


def load_and_preprocess_image(path):
    image = tf.io.read_file(path)
    return preprocess_image(image)

path_ds = tf.data.Dataset.from_tensor_slices(path_list)
image_ds = path_ds.map(load_and_preprocess_image, num_parallel_calls=tf.data.experimental.AUTOTUNE)

label_ds = tf.data.Dataset.from_tensor_slices(label)
image_label_ds = tf.data.Dataset.zip((image_ds, label_ds))
やっていることは簡単で、pathを渡すと、preprocessを終えたデータが読み込まれるというよくあるdataloaderを作っています。事前に画像のPathのリストと、紐づくラベルのリストを作っておけば簡単です。
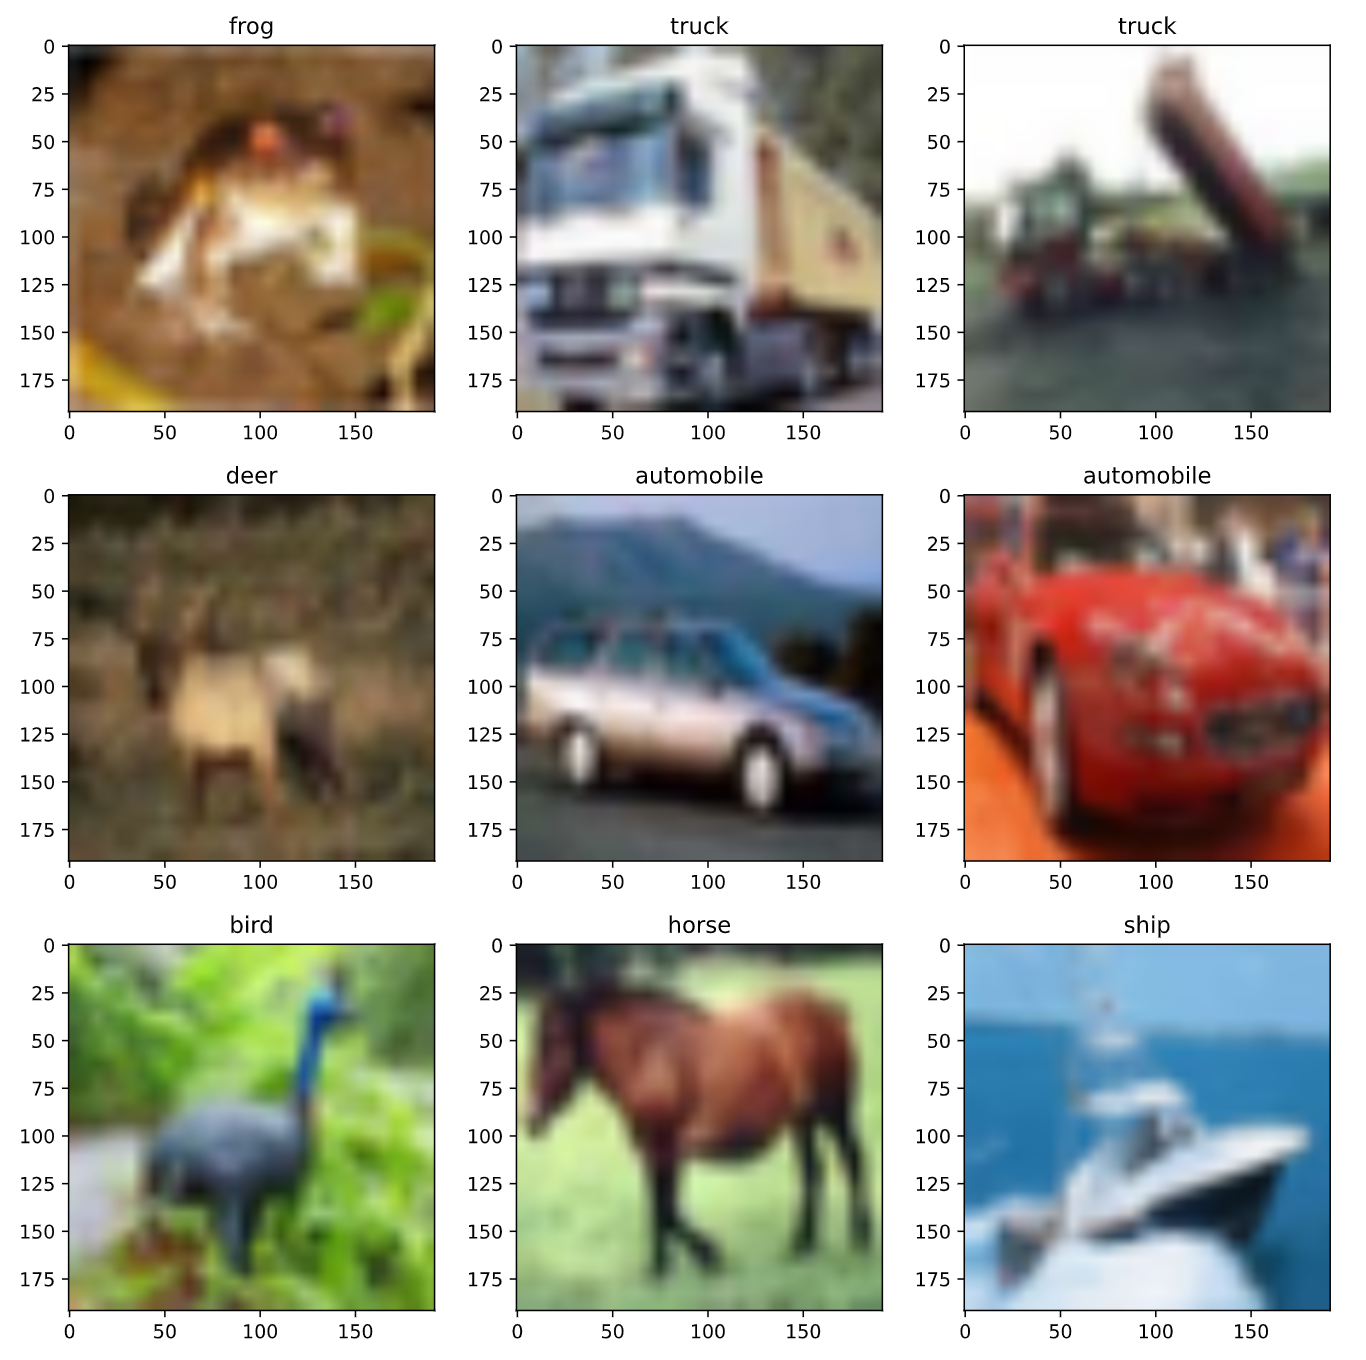
これを実行してみると、下記のようなサンプルとなります。ちなみに画像はCifar10です。
fig = plt.figure(figsize=(10, 10))
for i, (im, l) in enumerate(image_label_ds.take(9)):
    fig.add_subplot(3, 3, i + 1)
    plt.imshow(im.numpy().astype(np.uint8))
    plt.title(annot[l.numpy()])  # annotはラベル名のdictionary
plt.tight_layout()
凝ったPreProcessをしたい
このpreprocess内で少し凝った処理を走らせましょう。今回は例として、openCVを使って、色空間を変換(RGB->YCrCb)しています。別にNumpyのFFT関数でもいいし、まぁtensorflow純正以外の関数を使うなら何でも良いです。これで実行してみます。
def preprocess_image(image):
    image = tf.image.decode_jpeg(image, channels=3)
    image = tf.image.resize(image, [192, 192])
    image = cv2.cvtColor(image.numpy(), cv2.COLOR_RGB2YCrCb)
    image = tf.convert_to_tensor(image)
    return image
なんかものすごいエラーが出ます。エラー内容が見たい人は左の三角をクリック。
---------------------------------------------------------------------------
AttributeError                            Traceback (most recent call last)
~/workspace/project/cifar10/load_cifar10.py in
      58 AUTOTUNE = tf.data.experimental.AUTOTUNE
      59 path_ds = tf.data.Dataset.from_tensor_slices(path_list)
----> 60 image_ds = path_ds.map(load_and_preprocess_image, num_parallel_calls=AUTOTUNE)
      61
      62 label_ds = tf.data.Dataset.from_tensor_slices(label)

~/.pyenv/versions/py37_emopy/lib/python3.7/site-packages/tensorflow/python/data/ops/dataset_ops.py in map(self, map_func, num_parallel_calls, deterministic)
   1700           num_parallel_calls,
   1701           deterministic,
-> 1702           preserve_cardinality=True)
   1703
   1704   def flat_map(self, map_func):

~/.pyenv/versions/py37_emopy/lib/python3.7/site-packages/tensorflow/python/data/ops/dataset_ops.py in __init__(self, input_dataset, map_func, num_parallel_calls, deterministic, use_inter_op_parallelism, preserve_cardinality, use_legacy_function)
   4082         self._transformation_name(),
   4083         dataset=input_dataset,
-> 4084         use_legacy_function=use_legacy_function)
   4085     if deterministic is None:
   4086       self._deterministic = "default"

~/.pyenv/versions/py37_emopy/lib/python3.7/site-packages/tensorflow/python/data/ops/dataset_ops.py in __init__(self, func, transformation_name, dataset, input_classes, input_shapes, input_types, input_structure, add_to_graph, use_legacy_function, defun_kwargs)
   3369       with tracking.resource_tracker_scope(resource_tracker):
   3370         # TODO(b/141462134): Switch to using garbage collection.
-> 3371         self._function = wrapper_fn.get_concrete_function()
   3372         if add_to_graph:
   3373           self._function.add_to_graph(ops.get_default_graph())

~/.pyenv/versions/py37_emopy/lib/python3.7/site-packages/tensorflow/python/eager/function.py in get_concrete_function(self, *args, **kwargs)
   2937     """
   2938     graph_function = self._get_concrete_function_garbage_collected(
-> 2939         *args, **kwargs)
   2940     graph_function._garbage_collector.release()  # pylint: disable=protected-access
   2941     return graph_function

~/.pyenv/versions/py37_emopy/lib/python3.7/site-packages/tensorflow/python/eager/function.py in _get_concrete_function_garbage_collected(self, *args, **kwargs)
   2904       args, kwargs = None, None
   2905     with self._lock:
-> 2906       graph_function, args, kwargs = self._maybe_define_function(args, kwargs)
   2907       seen_names = set()
   2908       captured = object_identity.ObjectIdentitySet(

~/.pyenv/versions/py37_emopy/lib/python3.7/site-packages/tensorflow/python/eager/function.py in _maybe_define_function(self, args, kwargs)
   3211
   3212       self._function_cache.missed.add(call_context_key)
-> 3213       graph_function = self._create_graph_function(args, kwargs)
   3214       self._function_cache.primary[cache_key] = graph_function
   3215       return graph_function, args, kwargs

~/.pyenv/versions/py37_emopy/lib/python3.7/site-packages/tensorflow/python/eager/function.py in _create_graph_function(self, args, kwargs, override_flat_arg_shapes)
   3073             arg_names=arg_names,
   3074             override_flat_arg_shapes=override_flat_arg_shapes,
-> 3075             capture_by_value=self._capture_by_value),
   3076         self._function_attributes,
   3077         function_spec=self.function_spec,

~/.pyenv/versions/py37_emopy/lib/python3.7/site-packages/tensorflow/python/framework/func_graph.py in func_graph_from_py_func(name, python_func, args, kwargs, signature, func_graph, autograph, autograph_options, add_control_dependencies, arg_names, op_return_value, collections, capture_by_value, override_flat_arg_shapes)
    984         _, original_func = tf_decorator.unwrap(python_func)
    985
--> 986       func_outputs = python_func(*func_args, **func_kwargs)
    987
    988       # invariant: `func_outputs` contains only Tensors, CompositeTensors,

~/.pyenv/versions/py37_emopy/lib/python3.7/site-packages/tensorflow/python/data/ops/dataset_ops.py in wrapper_fn(*args)
   3362           attributes=defun_kwargs)
   3363       def wrapper_fn(*args):  # pylint: disable=missing-docstring
-> 3364         ret = _wrapper_helper(*args)
   3365         ret = structure.to_tensor_list(self._output_structure, ret)
   3366         return [ops.convert_to_tensor(t) for t in ret]

~/.pyenv/versions/py37_emopy/lib/python3.7/site-packages/tensorflow/python/data/ops/dataset_ops.py in _wrapper_helper(*args)
   3297         nested_args = (nested_args,)
   3298
-> 3299       ret = autograph.tf_convert(func, ag_ctx)(*nested_args)
   3300       # If `func` returns a list of tensors, `nest.flatten()` and
   3301       # `ops.convert_to_tensor()` would conspire to attempt to stack

~/.pyenv/versions/py37_emopy/lib/python3.7/site-packages/tensorflow/python/autograph/impl/api.py in wrapper(*args, **kwargs)
    256       except Exception as e:  # pylint:disable=broad-except
    257         if hasattr(e, 'ag_error_metadata'):
--> 258           raise e.ag_error_metadata.to_exception(e)
    259         else:
    260           raise

AttributeError: in user code:

    <ipython-input-87-550493cbb714>:12 load_and_preprocess_image  *
        return preprocess_image(image)
    <ipython-input-93-6034e2f0f0fd>:4 preprocess_image  *
        image = cv2.cvtColor(image.numpy(), cv2.COLOR_RGB2YCrCb)

    AttributeError: 'Tensor' object has no attribute 'numpy'
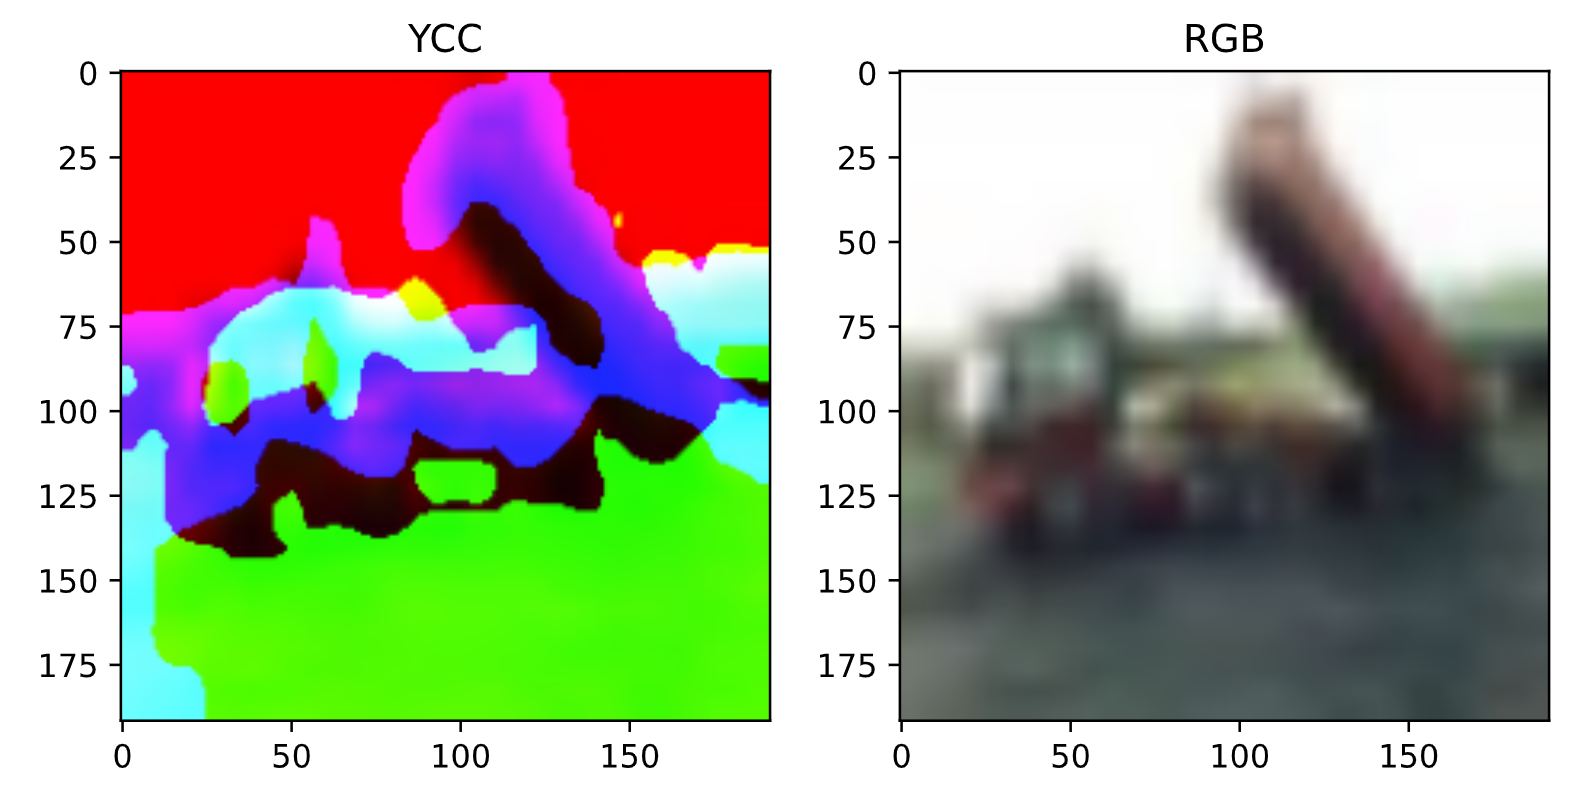
ちなみにこの色変換の関数そのものには異常はありません。TensorflowのDatasetのようなパイプラインを介さずに利用すると、ちゃんと画像が表示できます。
image = tf.io.read_file(image_path)
image = preprocess_image(image)

fig = plt.figure(figsize=(8, 4))

fig.add_subplot(1, 2, 1)
plt.imshow(image.numpy().astype(np.uint8))
plt.title("YCC")

fig.add_subplot(1, 2, 2)
# 表示用にもう一度YCC→RGBに戻している
image = cv2.cvtColor(image.numpy(), cv2.COLOR_YCrCb2RGB)
plt.imshow(image.astype(np.uint8))
plt.title("RGB")
tf.py-function降臨
こういう事態を避ける方法があって、tf.py_functionを使用します。下記の例のように、tensorflow純正の関数ではない変換を別の関数にしてやり、それをラッピングする形で使用します。簡単ですね。
def trans_color(image):
    image = cv2.cvtColor(image.numpy(), cv2.COLOR_RGB2YCrCb)
    return tf.convert_to_tensor(image)

def preprocess_image(image):
    image = tf.image.decode_jpeg(image, channels=3)
    image = tf.image.resize(image, [192, 192])
    image = tf.py_function(trans_color, [image], tf.float32)
    return image
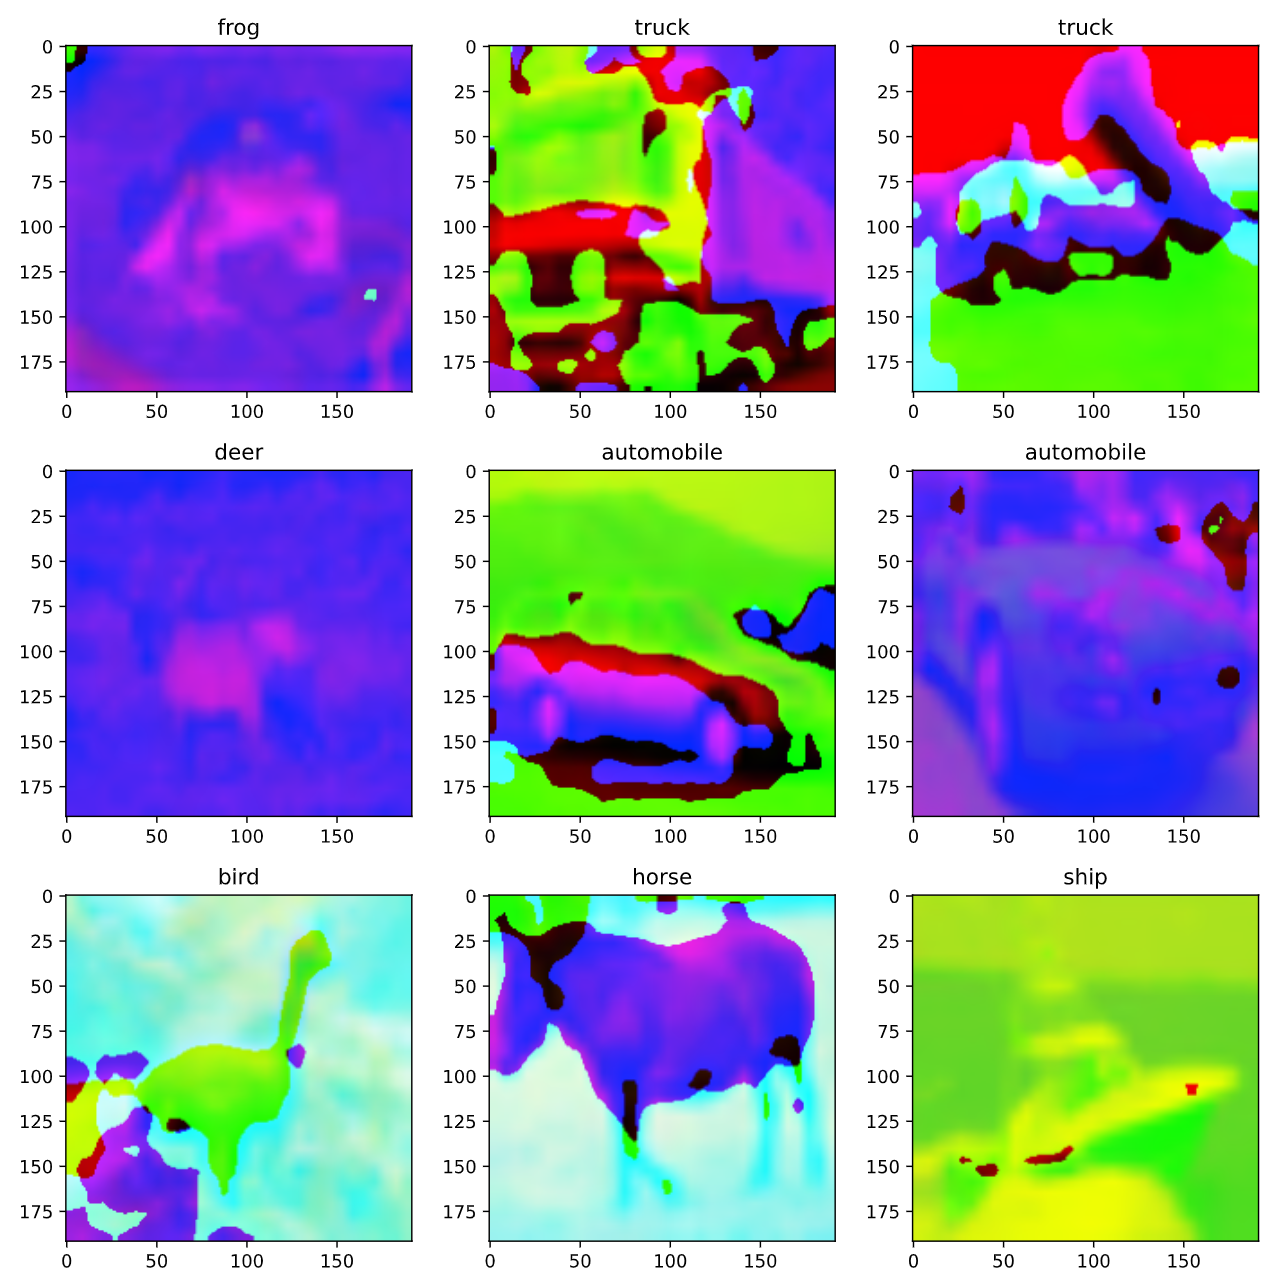
これで実際に動かしてみると、下記画像が得られました。
右上の画像と前項での画像が同じになっているのでうまく動いていそうです。
まとめ
tensorflowの前処理で、自身がよく知っているnumpyのFFTを使いたいとか、画像処理の定番のopenCVを使いたいとか、そういうことのTipsでした。py_functionはもっと奥深い機能だと思いますが、こんなふうにも使えるんですね。