LinterやFormatterもバージョン管理したい!
Xcodeで開発するときに便利なツールたちですが、HomeBrewで入れることも多いですよね?
開発者の端末ごとのバージョン違いで微妙に挙動が違って、PRのたびに無駄な差分が発生してしまします。
そこで、重い腰を上げて、Mintでバージョン管理をすることにしました。
この記事では、導入手順とハマりポイントを紹介したいと思います。
Mintのインストール
これに関しては、HomeBrewでもいいかも……(え
brew install mint
ちゃんとやるなら、gitから直接!
$ git clone https://github.com/yonaskolb/Mint.git
$ cd Mint
$ swift run mint install yonaskolb/mint
新規プロジェクトの作成
今回は Storyboard/UIKit App Delegate を選択しました。

.gitignoreを追加してコミット
こちらの.gitignoreをコピーさせていただいて、いったんコミットします。
➜  ToolsSample git init
➜  ToolsSample git:(master) ✗ git add .gitignore
➜  ToolsSample git:(master) ✗ git add .
➜  ToolsSample git:(master) ✗ git commit -m '[chore] Initial commit with .gitignore'
SwiftLint/SwiftFormatの導入
Mintfileを作成して、mint bootstrap
最新版をインストールするため、いったんバージョン指定なしで作成します。
導入は後ですが、SwiftGenもここで一緒にインストールしてしまいます。
realm/SwiftLint
nicklockwood/SwiftFormat
SwiftGen/SwiftGen
mint bootstrapでリポジトリをクローンして、ビルドします。
➜  ToolsSample git:(master) ✗ mint bootstrap
🌱 Finding latest version of SwiftLint
🌱 Cloning SwiftLint 0.40.3
🌱 Resolving package
🌱 Building package
🌱 Installed SwiftLint 0.40.3
🌱 Finding latest version of SwiftFormat
🌱 Cloning SwiftFormat 0.47.0
🌱 Resolving package
🌱 Building package
🌱 Installed SwiftFormat 0.47.0
🌱 Finding latest version of SwiftGen
🌱 Cloning SwiftGen 6.4.0
🌱 Resolving package
🌱 Building package
🌱 Copying resources for SwiftGen: templates, Resources/Stencil-Info.plist, Resources/StencilSwiftKit-Info.plist, Resources/SwiftGen-Info.plist, Resources/SwiftGenKit-Info.plist ...
🌱 Installed SwiftGen 6.4.0
🌱 Installed 3/3 packages
インストールされた最新バージョンを確認して、Mintfileをアップデート。プロジェクトで使用するツールのバージョンを固定できます。
realm/SwiftLint@0.40.3
nicklockwood/SwiftFormat@0.47.0
SwiftGen/SwiftGen@6.4.0
Run Scriptの追加
Linter/Formatterを手動で毎度走らせるのはつらいので、ビルドのタイミングで実行するようにします。
TARGETSを選択して、Build Phasesのタブの左上のプラスボタンからNew Run Script Phaseを選択して、Run Scriptを追加します。

Run Scriptにコマンドを追加
SwiftLintとSwiftFormatは一部のフォーマット機能がかぶるので、SwiftLintのautocorrectをかけたあとに、SwiftFormatでフォーマットします。
mint run swiftlint autocorrect
mint run swiftlint lint
mint run swiftformat --swiftversion 5.3 .
SwiftLintやSwiftFormatのREADMEでは、whichコマンドでツールの存在をチェックしてから実行する方法が記載してありますが、存在チェックを省いておくとツールが利用できない場合はXcodeがビルドエラーで教えてくれます。
動作確認
ここまでできたら、ビルド(Command+b)してみて、SwiftLintが警告を出してくれることを確認しましょう。
ViewControllerのソースコードのインデントを適当に変更してみると、SwiftFormatがインデントを整えてくれることも確認できます。

SwiftGenの導入
ここではLocalizable.stringsからファイル生成をやってみます。
ローカライズの設定
ProjectのInfoタブから、Localizationsのプラスボタンをクリックして、日本語を選択します。

Localizable.stringsの作成
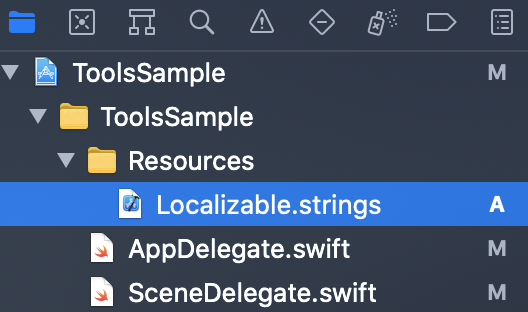
新しくResoucesグループを作って

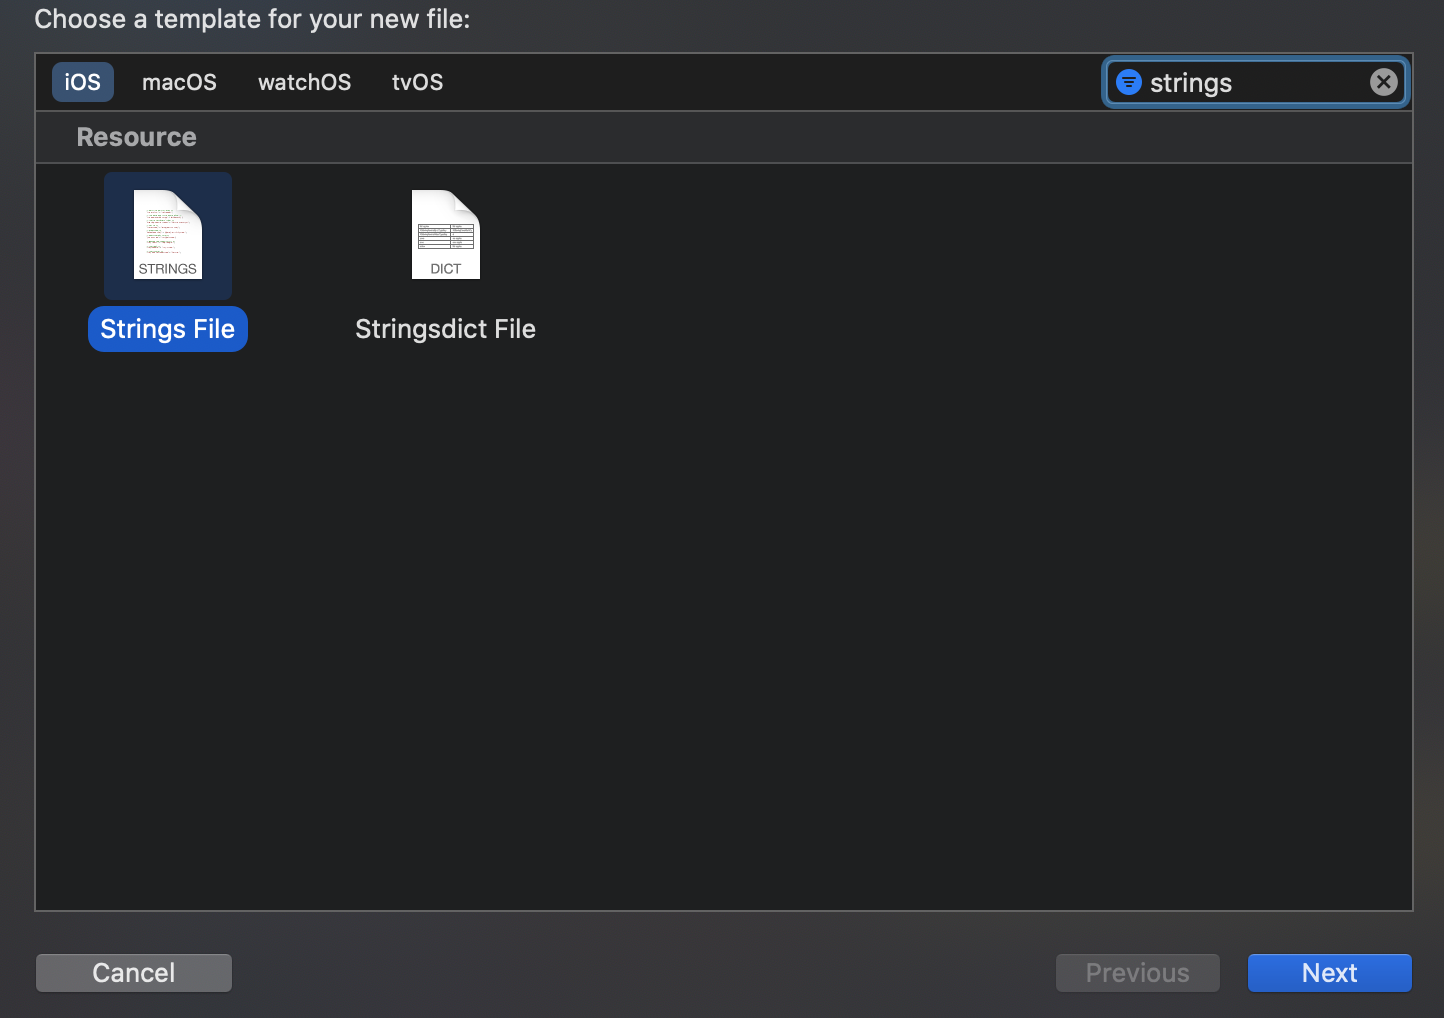
New file...からStrings Fileを選択して、Localizable.stringsを作成します。


ファイルのインスペクタからLocalize...を押して、Japaneseを選択してLocalize!

インスペクタに戻って、上で選択しなかった方の言語(ここではEnglish)にもチェックを入れる。

それぞれの言語に対応する、lprojディレクトリとLocalizable.stringsが生成されます。
➜  ToolsSample git:(master) ✗ ls ToolsSample/Resources/*.lproj
ToolsSample/Resources/en.lproj:
Localizable.strings

ToolsSample/Resources/ja.lproj:
Localizable.strings
ここでは、ひとつだけ文字列を登録してみましょう。
// Resources/ja.lproj/Localizable.strings

"greetings.hello" = "こんにちは"

// Resources/en.lproj/Localizable.strings

"greetings.hello" = "Hello"
SwiftGenのconfigファイルの生成
フレームワークごとに文字列のファイルを生成する場合を考えて、configファイルはフレームワーク内に作成することにします。
➜  ToolsSample git:(master) ✗ mint run swiftgen config init --config ToolsSample/Resources/swiftgen.yml
Example configuration file created: ToolsSample/Resources/swiftgen.yml
SwiftGenの生成用のディレクトリの作成
SwiftGenが生成するファイルを配置するディレクトリを作成します。

swiftgen.ymlを編集
今回のディレクトリ構成に合わせて編集します。configファイルのパスを起点に記述するようです。
➜  ToolsSample git:(master) ✗ tree ToolsSample/Resources
ToolsSample/Resources
├── en.lproj
│   └── Localizable.strings
├── ja.lproj
│   └── Localizable.strings
└── swiftgen.yml
input_dir: ./
output_dir: ../Generated/

strings:
  inputs:
    - en.lproj
  filter:
    - .+\.strings$
  outputs:
    - templateName: structured-swift5
      output: Strings+Generated.swift
config initで生成したswiftgen.ymlに記載されているコメントにある通り、stringsのinputsにはローカライズのディレクトリをひとつだけを記載します。
config lintで記述をチェック
➜  ToolsSample git:(master) ✗ mint run swiftgen config lint --config ToolsSample/Resources/swiftgen.yml
Linting ToolsSample/Resources/swiftgen.yml
> Common parent directory used for all input paths:  ./
> Common parent directory used for all output paths: ../Generated/
swiftgen: error: output_dir: Output directory ../Generated/ does not exist.
> 1 entry for command strings:
 $ swiftgen strings --templateName structured-swift5 --output ../Generated/Strings+Generated.swift en.lproj
output pathsでエラーが出ていますが、どうやらoutput pathsだけはコマンドを実行したパスからの相対パスでチェックされるようです(バグ?)。実際に生成する際は問題なく動くので、今回は無視します。
SwiftGenによるファイルの生成
➜  ToolsSample git:(master) ✗ mint run swiftgen config run --config ToolsSample/Resources/swiftgen.yml
File written: ../Generated/Strings+Generated.swift
internal enum L10n {
  internal enum Greetings {
    /// Hello
    internal static let hello = L10n.tr("Localizable", "greetings.hello")
  }
}

extension L10n {
  private static func tr(_ table: String, _ key: String, _ args: CVarArg...) -> String {
    let format = BundleToken.bundle.localizedString(forKey: key, value: nil, table: table)
    return String(format: format, locale: Locale.current, arguments: args)
  }
}

private final class BundleToken {
  static let bundle: Bundle = {
    #if SWIFT_PACKAGE
    return Bundle.module
    #else
    return Bundle(for: BundleToken.self)
    #endif
  }()
}
Run Scriptに生成コマンドを追加
Localizable.stringsを編集するたびにコマンドラインから実行するのは面倒なので、ビルドのタイミングで実行するようにします。
mint run swiftgen config run --config ToolsSample/Resources/swiftgen.yml # 追加!
mint run swiftlint autocorrect
mint run swiftlint lint
mint run swiftformat --swiftversion 5.3 .
.swiftformatを追加
ここでハマりポイントがあります。
このままの設定では、SwiftFormatがSwiftGenが生成したBundleTokenクラスをenumに変更してしまいます。
そこで、.swiftformatファイルを作成して、Generatedディレクトリをフォーマット対象から除外しておきます。
# file options
--exclude ToolsSample/Generated
ちなみに、隠しファイルをXcodeプロジェクトに追加したい場合は、追加画面でCommand+Shift+.を入力すると、隠しファイルが表示されるようになります。

動作確認
おわりに
おつかれさまでした。
参考になれば幸いです!
参考
- Mint: https://github.com/yonaskolb/Mint
- SwiftLint: https://github.com/realm/SwiftLint
- SwiftFormat: https://github.com/nicklockwood/SwiftFormat
- SwiftGen: https://github.com/SwiftGen/SwiftGen


