- Xcode7.0.1, iOS9.0.2で確認
書式
NSURLを生成してSafari起動
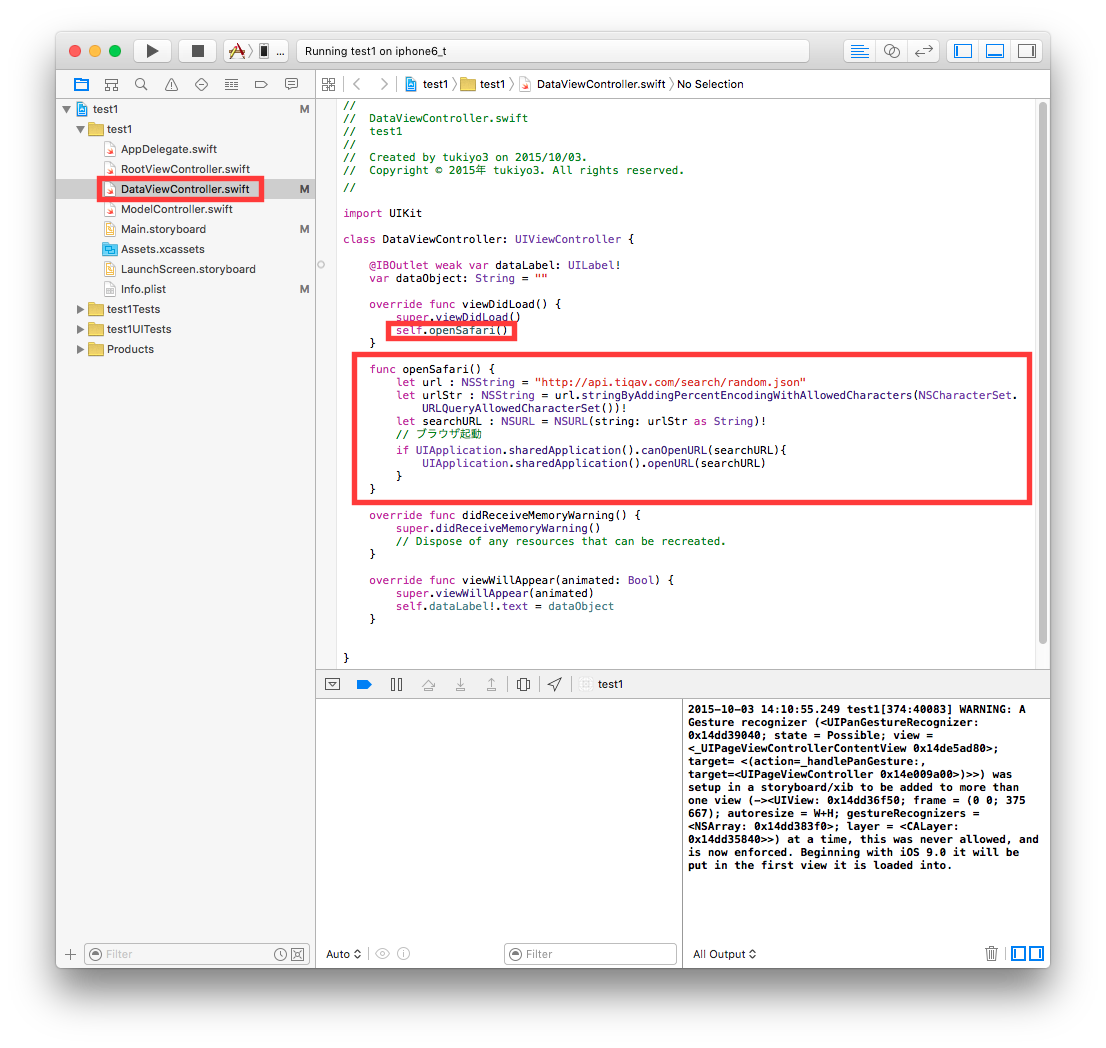
DataViewController.swift
import UIKit
class DataViewController: UIViewController {
    override func viewDidLoad() {
        super.viewDidLoad()
        self.openSafari()
    }
    func openSafari() {
        let url : NSString = "http://api.tiqav.com/search/random.json"
        let urlStr : NSString = url.stringByAddingPercentEncodingWithAllowedCharacters(NSCharacterSet.URLQueryAllowedCharacterSet())!
        let searchURL : NSURL = NSURL(string: urlStr as String)!
        // ブラウザ起動
        if UIApplication.sharedApplication().canOpenURL(searchURL){
            UIApplication.sharedApplication().openURL(searchURL)
        }
    }
}
非SSL/TLSサイトのデータが取得できない
App Transport Security has blocked a cleartext HTTP (http://) resource load since it is insecure. Temporary exceptions can be configured via your app's Info.plist file.
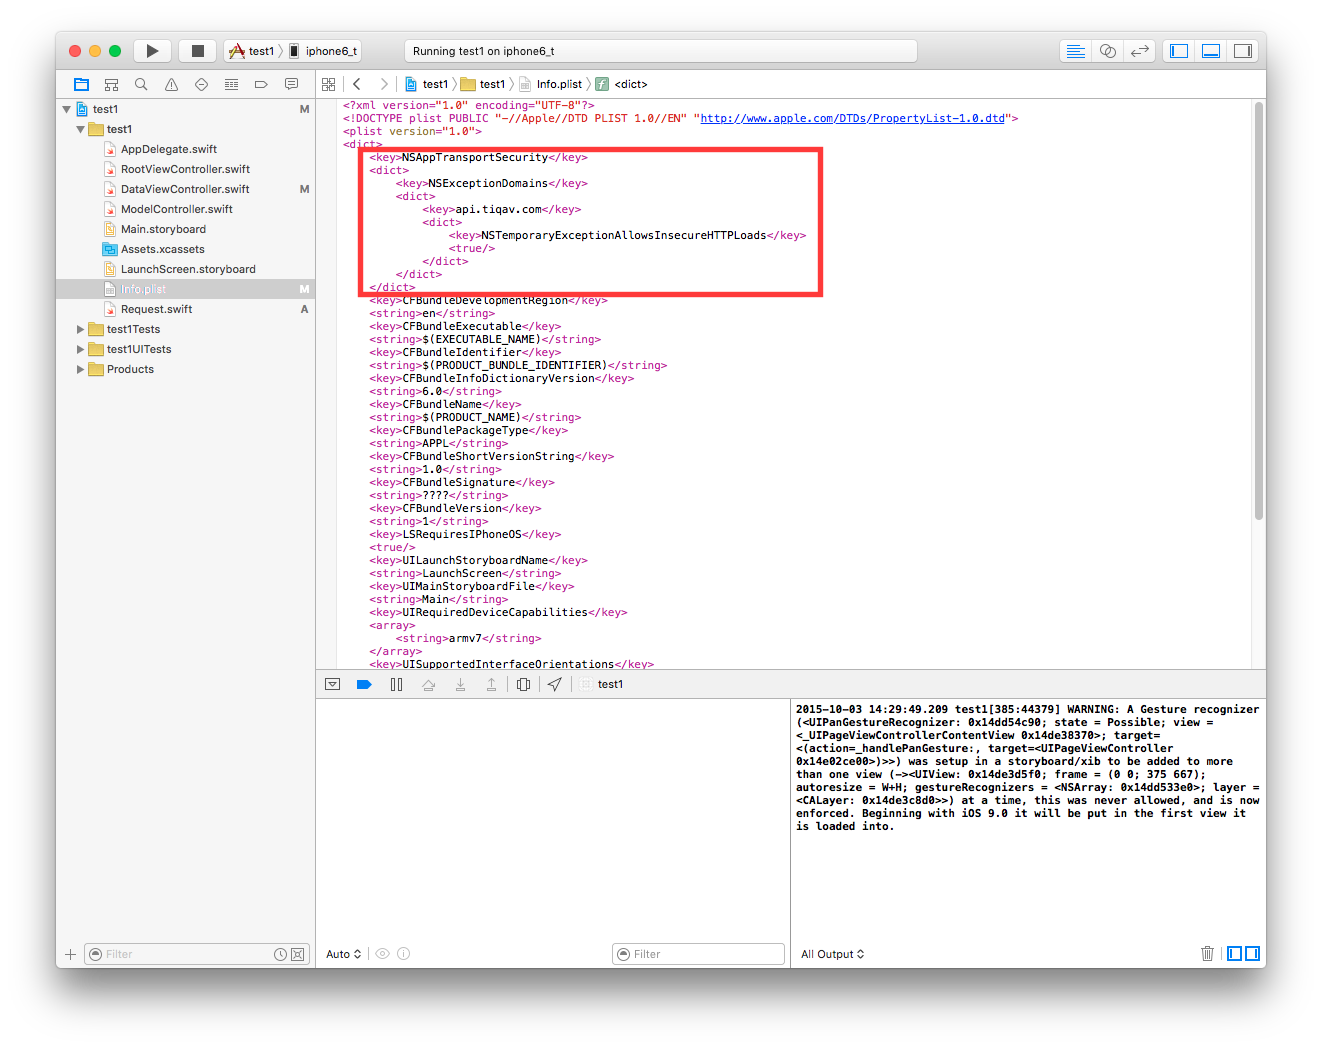
- api.tiqav.comへのhttpを許可するには以下のように記述
Info.plist
<key>NSAppTransportSecurity</key>
<dict>
    <key>NSExceptionDomains</key>
    <dict>
        <key>api.tiqav.com</key>
        <dict>
            <key>NSTemporaryExceptionAllowsInsecureHTTPLoads</key>
            <true/>
        </dict>
    </dict>
</dict>
GET HTTP Request (非同期)
DataViewController.swift
class DataViewController: UIViewController {
    override func viewDidLoad() {
        super.viewDidLoad()
        self.testGet()
    }
    func testGet() {
        let request: Request = Request()
        let url: NSURL = NSURL(string: "http://api.tiqav.com/search/random.json")!
        request.get(url)
    }
}
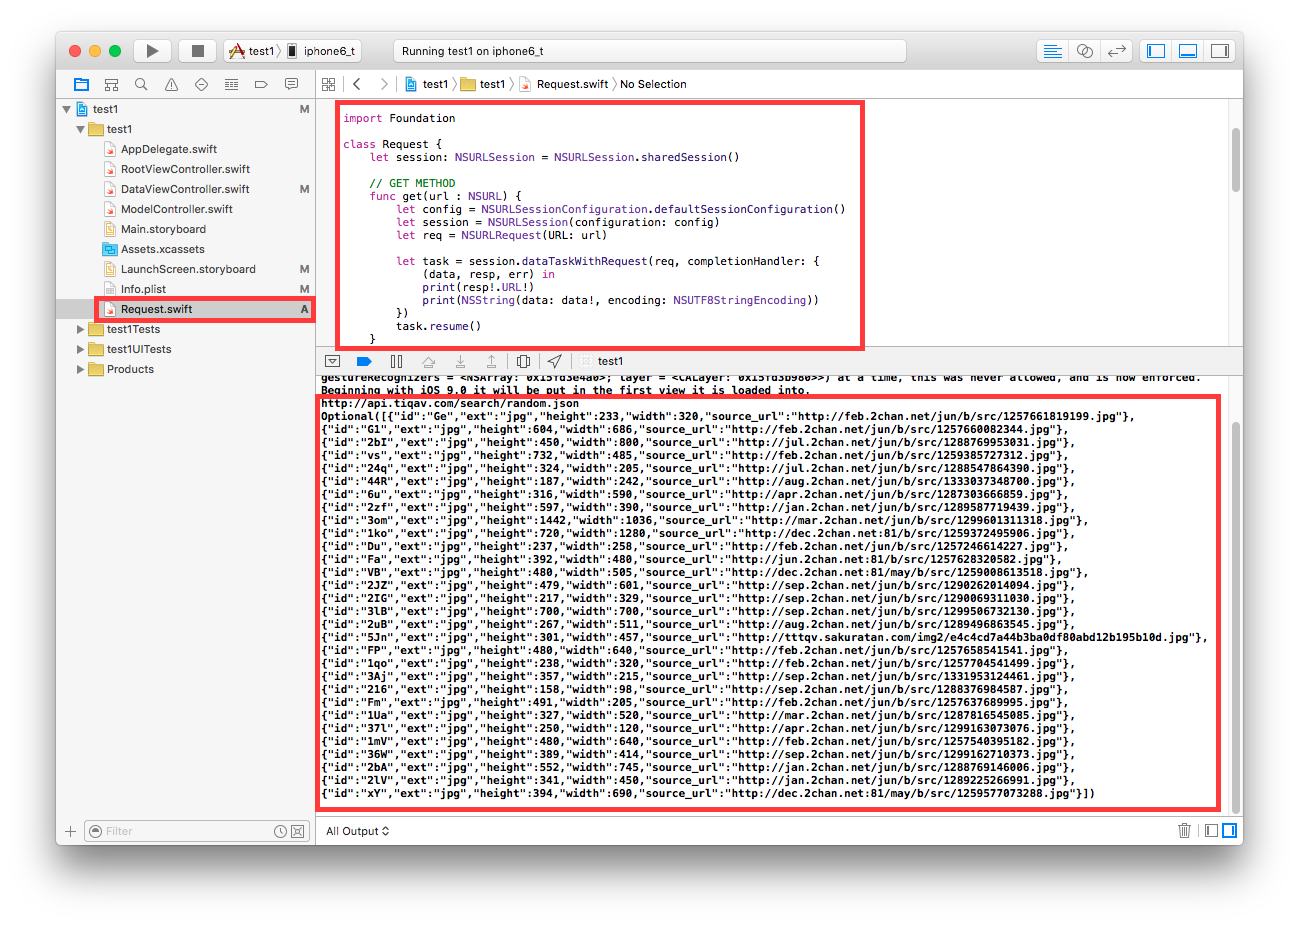
Request.swift
import Foundation

class Request {
    let session: NSURLSession = NSURLSession.sharedSession()

    // GET METHOD
    func get(url : NSURL) {
        let config = NSURLSessionConfiguration.defaultSessionConfiguration()
        let session = NSURLSession(configuration: config)
        let req = NSURLRequest(URL: url)

        let task = session.dataTaskWithRequest(req, completionHandler: {
            (data, resp, err) in
            print(resp!.URL!)
            print(NSString(data: data!, encoding: NSUTF8StringEncoding))
        })
        task.resume()
    }
}
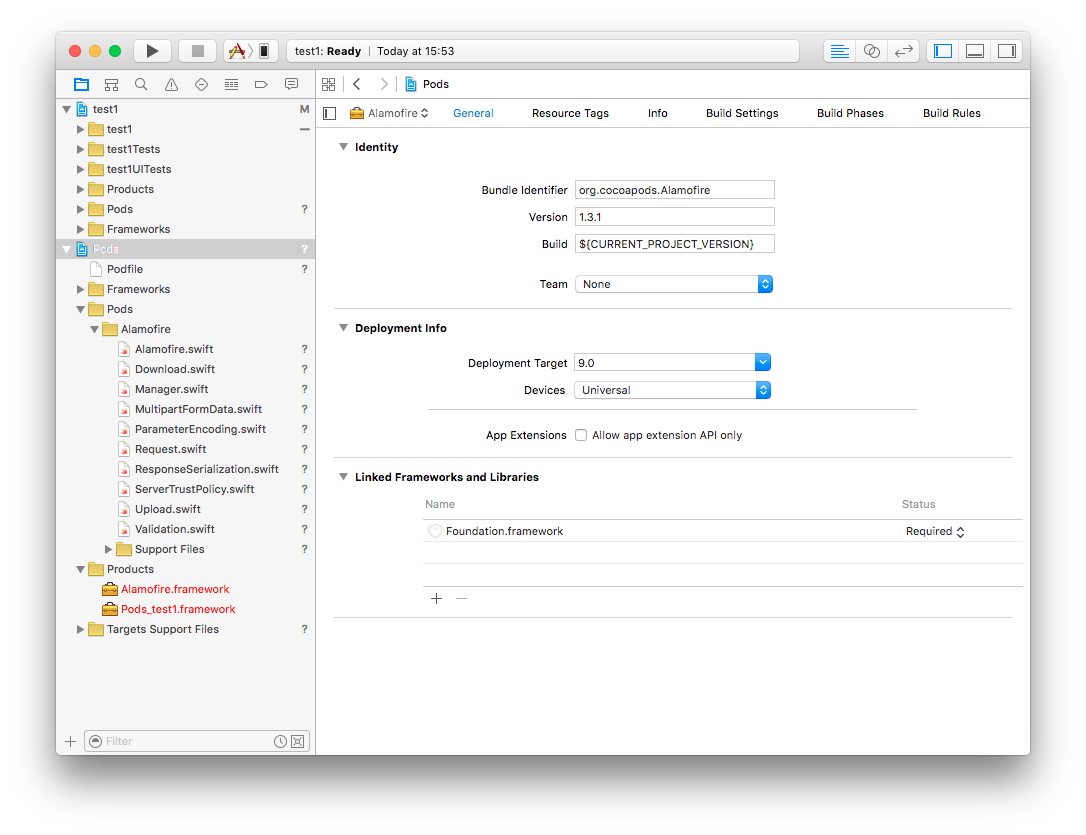
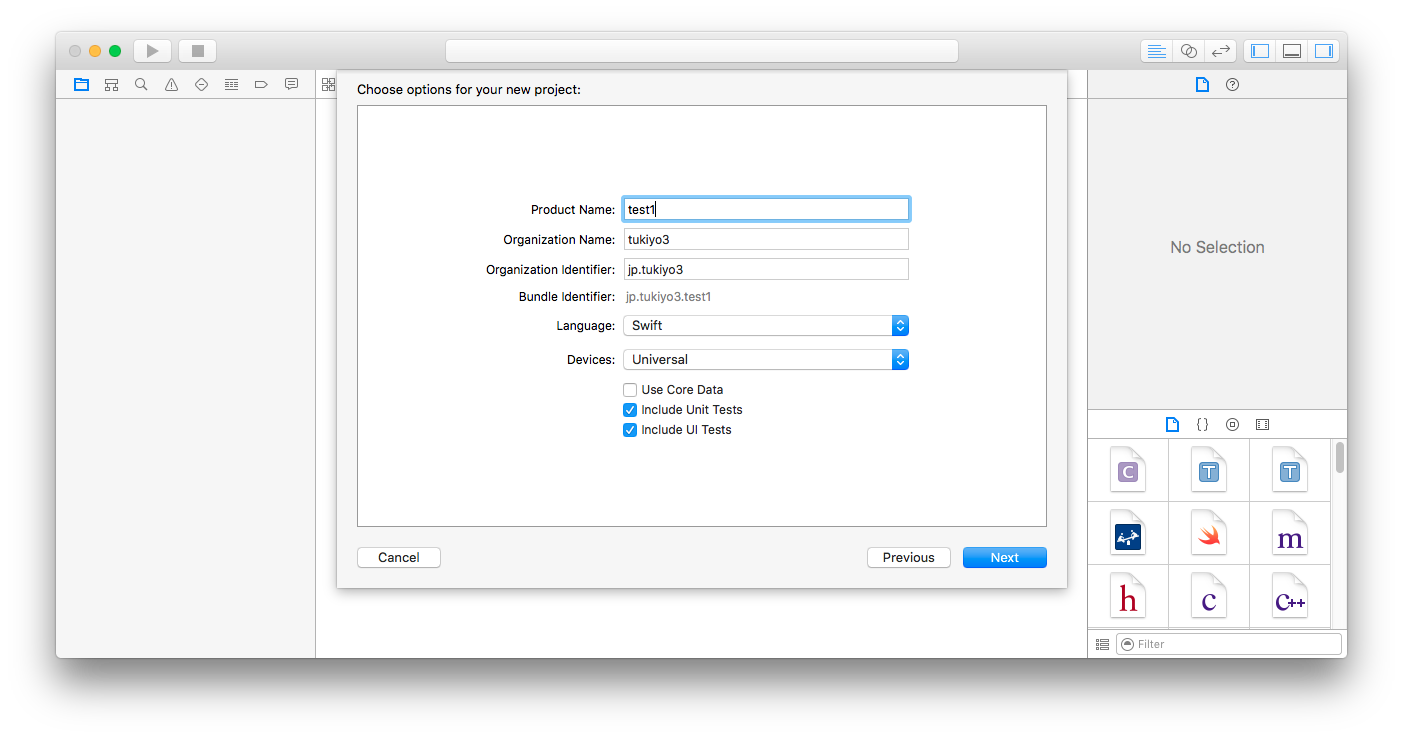
cocoapodsでAlamofireをインストール
iOSプロジェクトに移動
sudo gem install bundler
cd ~/Documents/test1
bundle init
Gemfile
  source "https://rubygems.org"
+ gem "cocoapods"
bundle install --path=vendor/bundle
bundle exec pod setup
bundle exec pod init
Podfile
 # Uncomment this line to define a global platform for your project
 # platform :ios, '6.0'
+use_frameworks!

 target 'test1' do
+    pod 'Alamofire', '~> 2.0.2'
 end

 target 'test1Tests' do

 end

 target 'test1UITests' do

 end
-
pod 'Alamofire', '~> 2.0.2'については、その時々のバージョンに合わせること。
Xcodeを終了してから実施
bundle exec pod install
open test1.xcworkspace
こんな感じの画面が表示される。ビルドしてエラーが出ないことを確認。
【iOS】SwiftでRailsと連携する方法 (追記中)
- 【iOS】SwiftでRailsと連携する方法 - Qiitaを実践してみる。
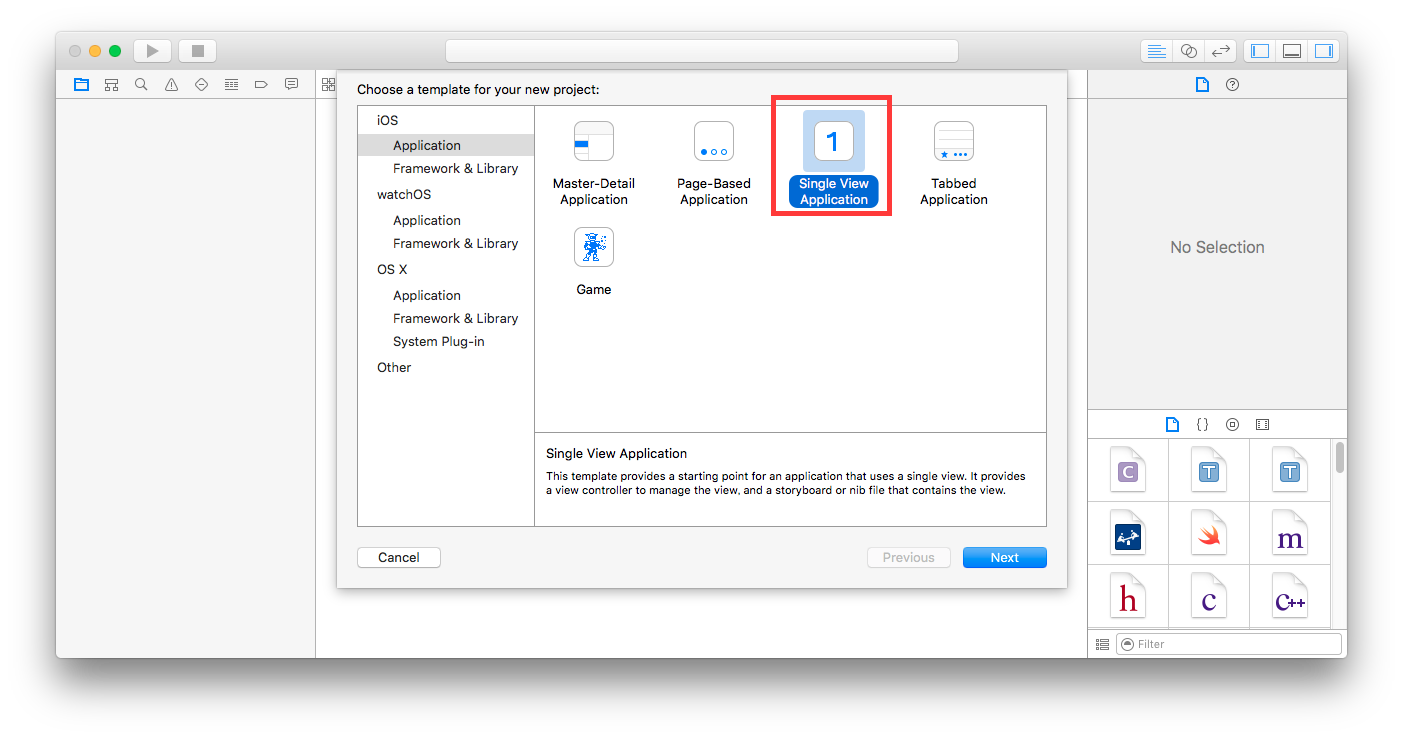
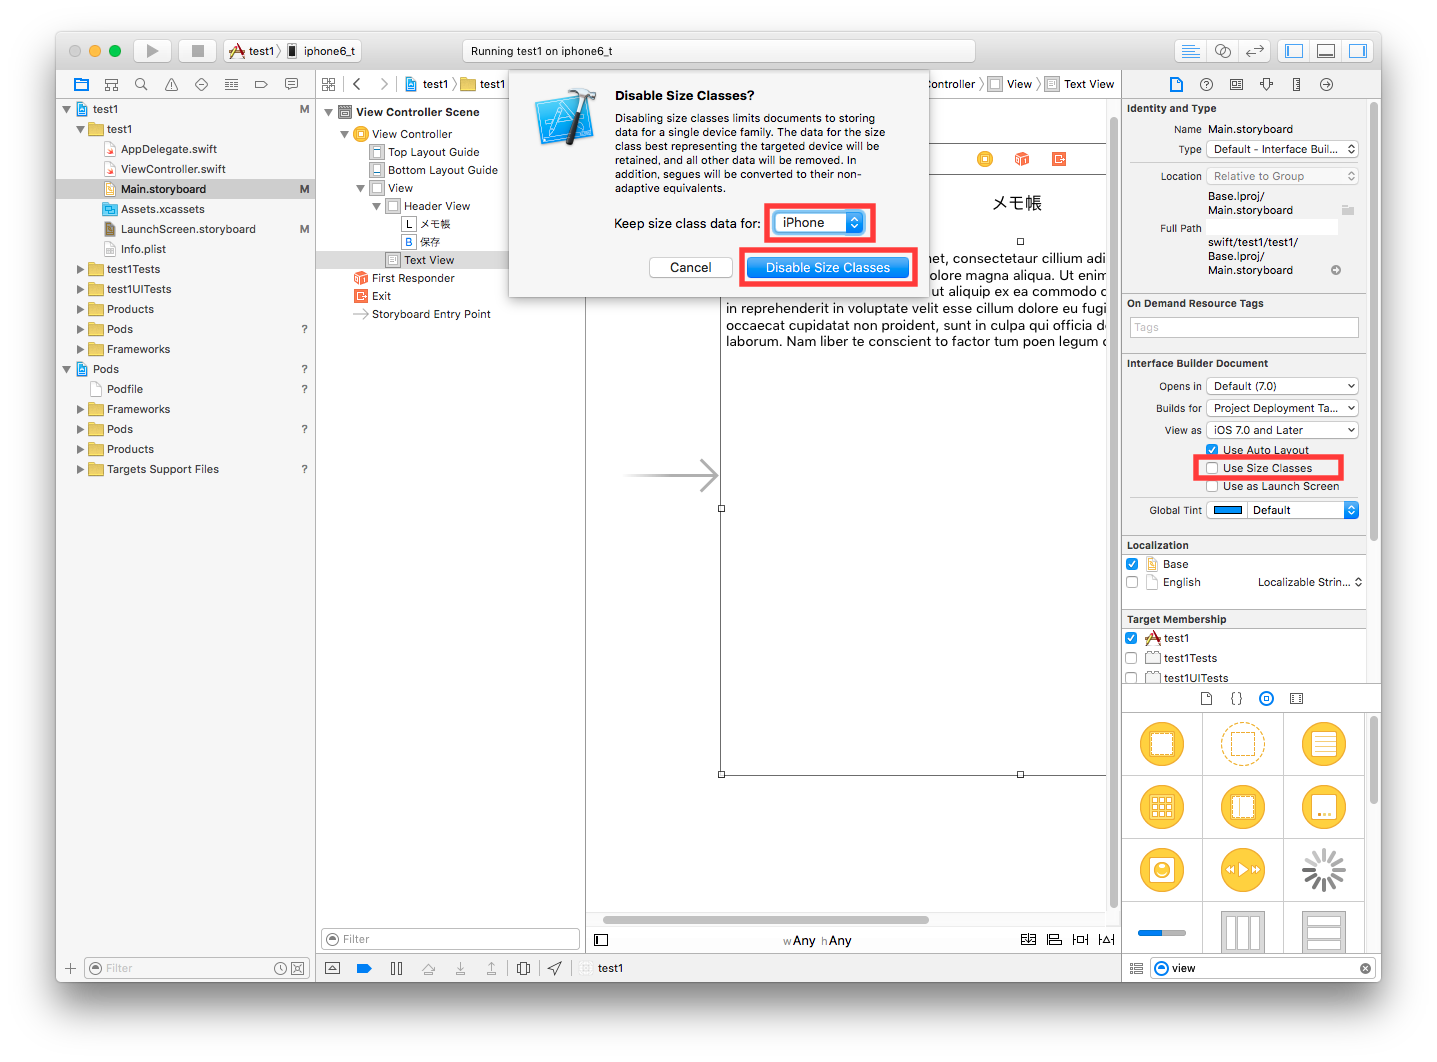
storyboardにオブジェクトを設置
- Storyboardのデバイス画面サイズが大きいので、
Use Size Classesのチェックを外しiPhoneサイズに変更。
- View,Button,Label,TextViewをMain.storyboardのViewに設置
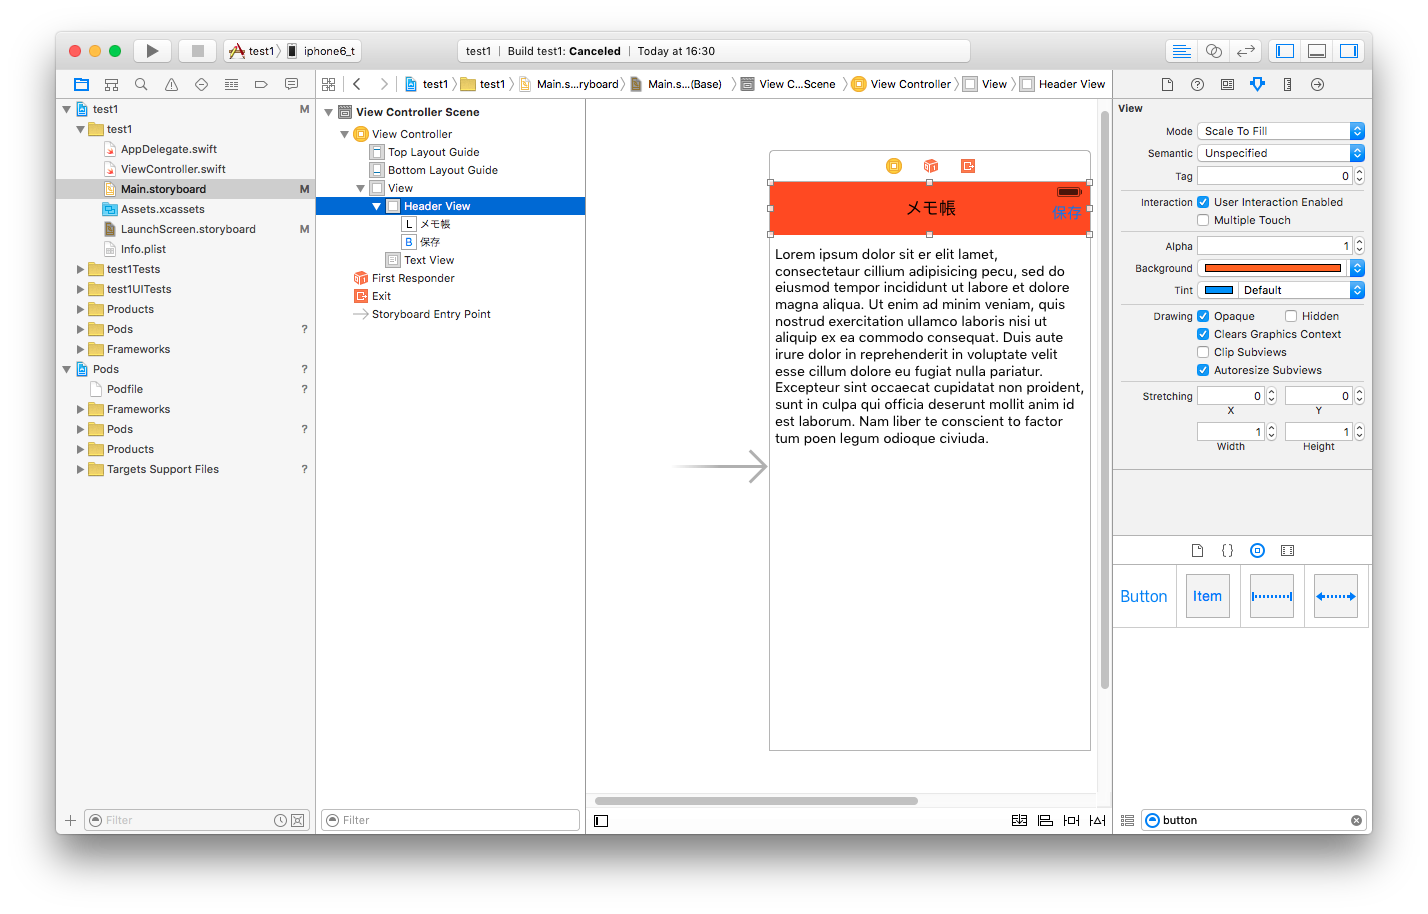
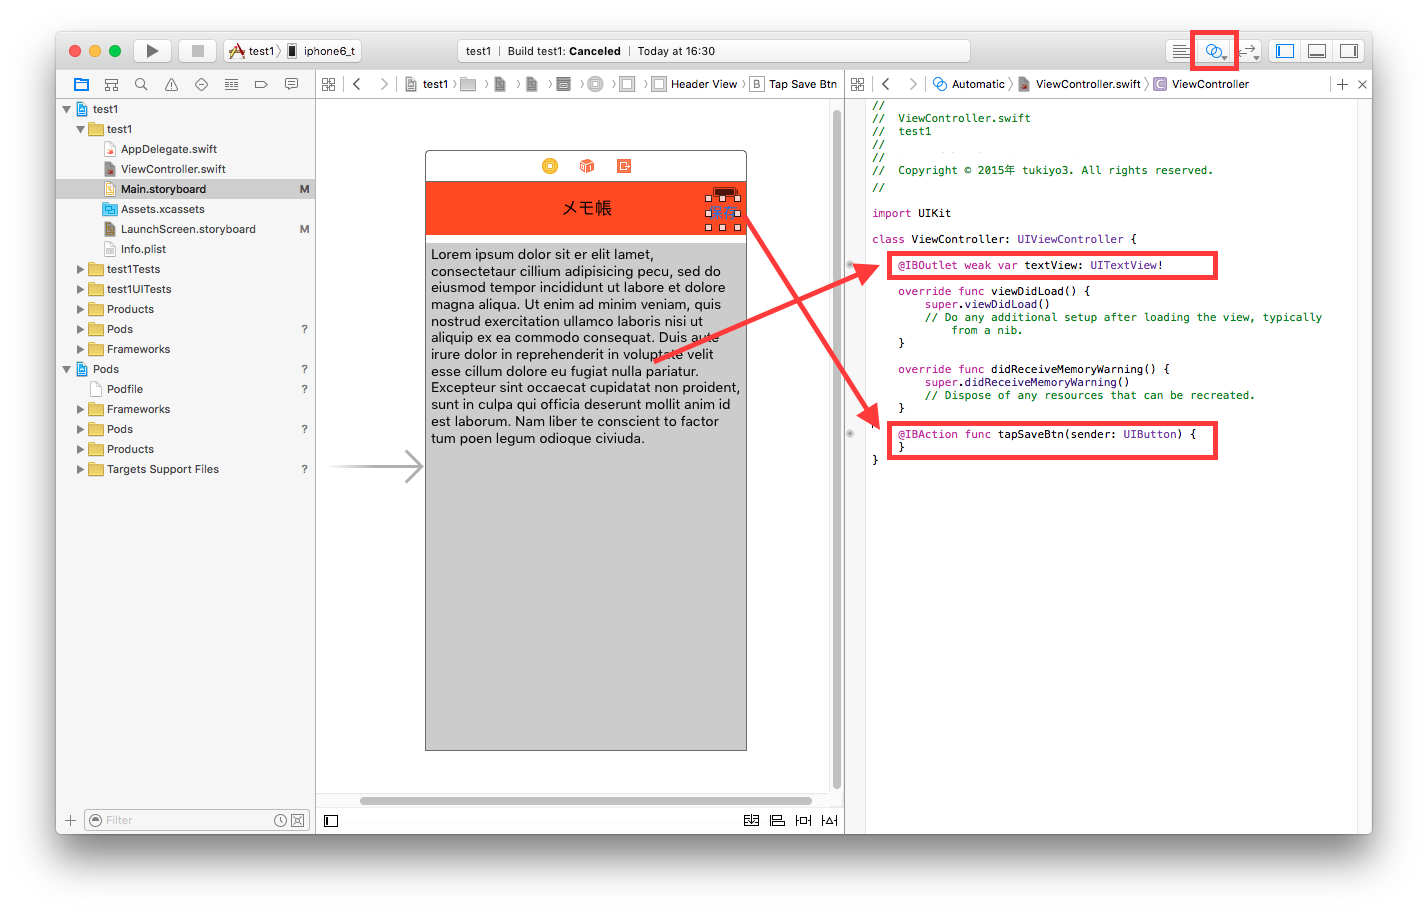
ソースとひも付け
- Text ViewをtextViewという名前でOutlet接続
- ButtonをtapSaveBtnという名前でAction接続
続きは今度