参考
ステップ 1: seed.iso 起動イメージを準備する
ネットワーク設定
meta-data
local-hostname: amazonlinux2.onprem

network-interfaces: |
  auto eth0
  iface eth0 inet static
  address 192.168.100.62
  netmask 255.255.255.0
  gateway 192.168.100.1
  dns-nameservers 8.8.8.8 8.8.4.4
  dns-search hoge.local bar.info
ユーザー設定
- user-data は初回起動時しか使われない様子。
- user-dataは
/var/lib/cloud/instance/user-data.txtに保存される。平文で書いたパスワードは平分で残るので注意。
user-data
# cloud-config

users:
  - default

chpasswd:
  list: |
    ec2-user:plain_password_1

## パスワード認証の場合以下
# ssh_pwauth: True

ssh_authorized_keys:
  - ssh-rsa AAAAB...cnnc0 ec2-user@localhost

runcmd:
  - [ cp, /usr/share/zoneinfo/Asia/Tokyo, /etc/localtime]
seed.isoの作成
genisoimage -output seed.iso \
  -volid cidata -joliet -rock \
  user-data meta-data
ステップ 2: Amazon Linux 2 VM イメージのダウンロード
用意されているqcow2イメージの論理サイズは25GB。
ステップ 3: 新しい VM を起動して接続する
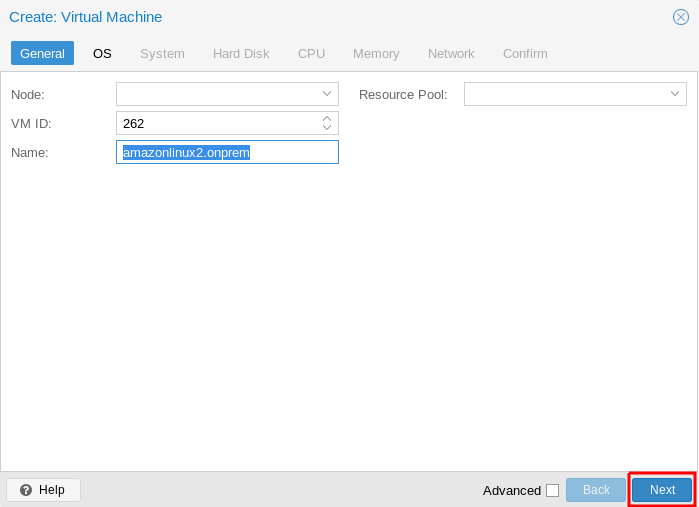
proxmox6にてCreate VM
VM名を指定
seed.iso を指定
Next
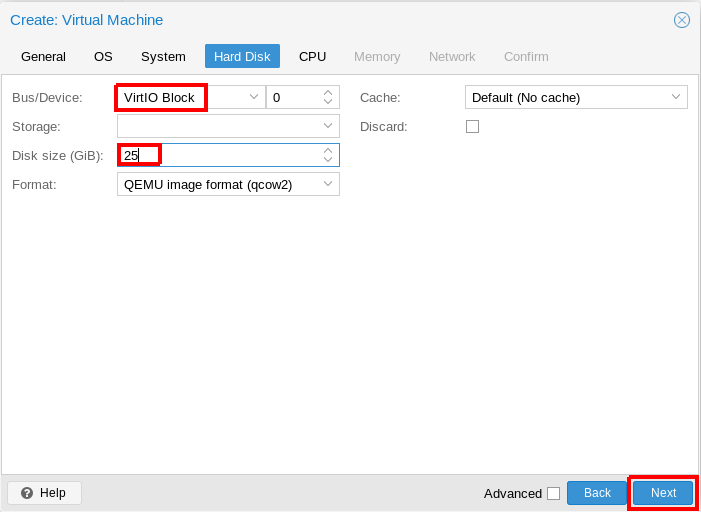
- VirtIO Block (これは好み)
- 25GB を指定 (実際には指定しなくても動作するが念のため指定)
残りは全てNext
proxmox6で作成されたVMイメージをAmazonのものに差し替え
sudo -s
cp -a "amzn2-kvm-2.0.20190612-x86_64.xfs.gpt.qcow2" \
  "/var/lib/vz/image/262/vm-262-disk-0.qcow2"
起動
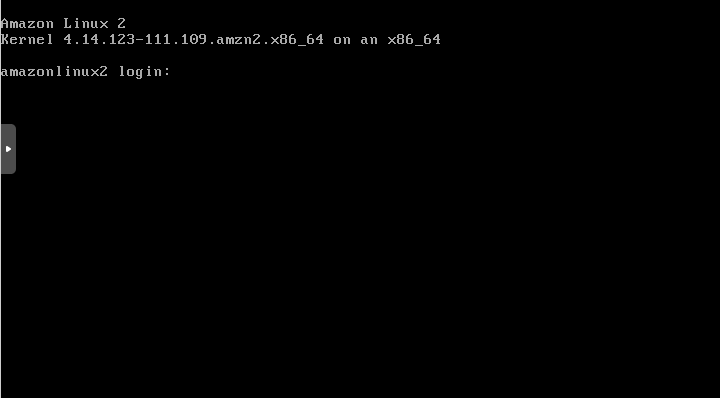
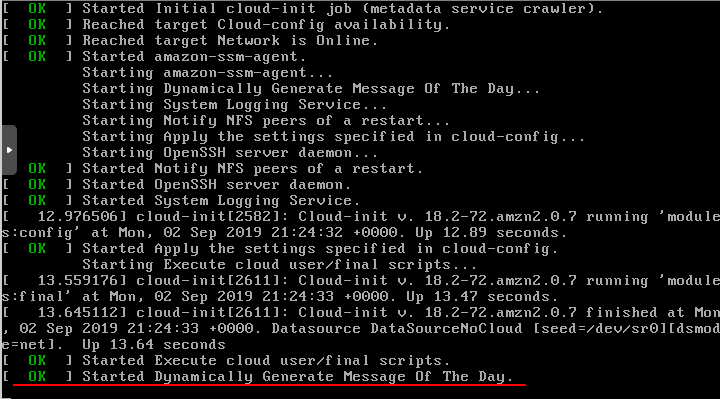
Startを押下し起動を見守る。
その他情報
暗号化したパスワードの生成方法
(参考までに)暗号化したパスワードの生成方法
# python -c 'import crypt,getpass; print crypt.crypt(getpass.getpass())'
初回起動時の自動セキュリティアップデートを無効にする
repo_update: none
repo_upgrade: none
- ログ
- /var/log/cloud-init.log
- /var/log/cloud-init-output.log
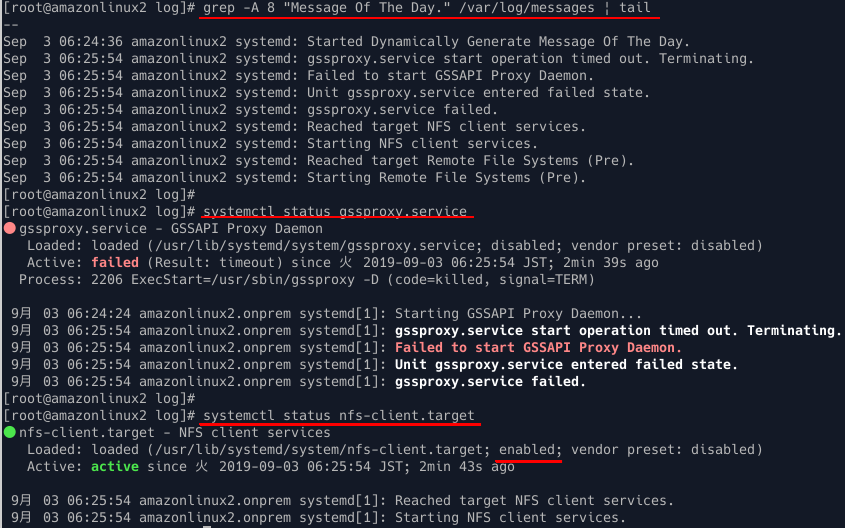
(メモ) DNS無効時、gssproxy.serviceの起動で1分待たされる
-
起動時の以下で1分待たされる
- nfs-client.target の起動で以下エラーを発見
方法1. gssproxy.serviceをスキップする方法
- /usr/lib/systemd/system/nfs-client.target
/usr/lib/systemd/system/nfs-client.target
  [Unit]
  Description=NFS client services
  Before=remote-fs-pre.target
  Wants=remote-fs-pre.target

  # Note: we don't "Wants=rpc-statd.service" as "mount.nfs" will arrange to
  # start that on demand if needed.
  Wants=rpc-statd-notify.service

  # GSS services dependencies and ordering
- Wants=auth-rpcgss-module.service
- After=rpc-gssd.service gssproxy.service
+ #Wants=auth-rpcgss-module.service
+ #After=rpc-gssd.service gssproxy.service

  [Install]
  WantedBy=multi-user.target
  WantedBy=remote-fs.target
方法2. nfs-client.target サービス自体をsystemctlからは起動させない方法
nfsを使わない場合
systemctl disable nfs-client.target
- OS再起動し、早くなったことを確認。
- nfsを使いたい場合は別の起動方法をすると良いと思います。
rootのcronに仕込む例
@reboot (/bin/systemctl start nfs-client.target)


