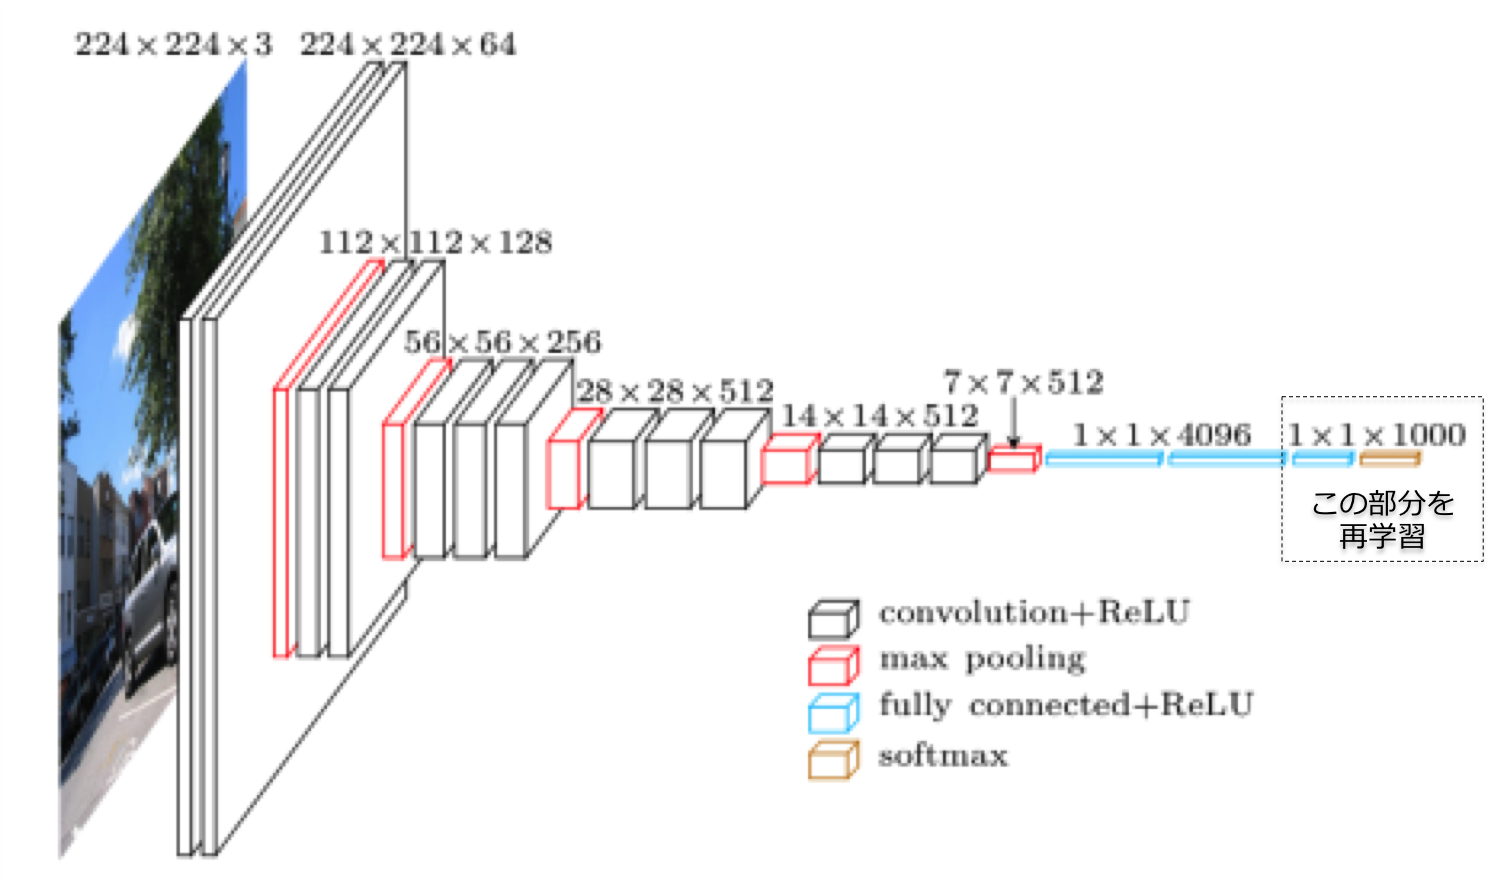
前回のブログのデータを用いて、学習済みモデルを活かしてConvolutional Neural Network (CNN)畳み込みニューラルネットの実験をしてみます!
1.はじめに「転移学習(Fine tuning)」とは
既に学習済みのモデルの層間の結合重みを最適化して、新たなモデルを生成する方法となります。
大量の画像の学習したネットワークはある程度同じようなフィルタになります。
そのため他の画像データを使って学習されたモデルを使うことによって、新たに作るモデルは少ないデータ/学習量でモデルを作ることができます。
1-1.学習済みモデルについて
今回の学習済みモデルはVGG16を使い、6つの花の画像データ(各500枚)を学習して花を分類してみます。
※ VGGモデルとは、2014にImageNetで優勝したオックスフォードのVGGチームが使ったモデルになります。
2.実装
今回のプログラムはこちらのGitに入れておきます。
2-1.開発環境(マシンスペック)
| CPU | Intel® Core™ i7-7700 Processor |
|---|---|
| MEMORY | 16GB |
| GPU | GeForce GTX 980 Ti |
| OS | Ubuntu 16.04 |
2-2.環境準備(Docker上にJupyter構築)
Dockerファイルのbuild。
GPU環境でない場合はubuntuイメージなどを使ってください。
※ buildには少し時間がかかります。
$ git clone https://github.com/tsunaki00/fine_tuning.git
$ cd fine_tuning
$ cd docker
$ docker build . -t keras

# Dockerを起動(GPU環境ではnvidia-docker)
$ docker run -d --name keras-container \
             -v $PWD/notebooks:/notebooks  \
             -p 8888:8888  \
             keras
2-3.学習データの準備
前回集めた花画像を使って実験する。
Git
2-4.Jupyter上で学習プログラムの作成
開発の実行にJupyterにアクセスして以下のプログラムを実行。
http://[サーバ]:8888
学習には少し時間がかかります。
import pandas as pd
import random, math

import numpy as np

from keras.preprocessing.image import load_img, img_to_array
from keras.applications.vgg16 import VGG16
from keras.models import Sequential, Model
from keras.layers import Input, Dense, Dropout, Activation, Flatten
from keras.optimizers import SGD
from keras.utils import np_utils
from keras.preprocessing.image import ImageDataGenerator


# 分類クラス
classes = ['chrysanthemum', 'cosmos', 'ginkgo', 'lotus' , 'margaret', 'rose']
nb_classes = len(classes)
batch_size = 32
nb_epoch = 10
current_dir = "/notebooks"

# image pixel
img_rows, img_cols = 224, 224

def build_model() :

    input_tensor = Input(shape=(img_rows, img_cols, 3))
    vgg16 = VGG16(include_top=False, weights='imagenet', input_tensor=input_tensor)
    #vgg16.summary()

    _model = Sequential()

    _model.add(Flatten(input_shape=vgg16.output_shape[1:]))
    _model.add(Dense(256, activation='relu'))
    _model.add(Dropout(0.5))
    _model.add(Dense(nb_classes, activation='softmax'))

    model = Model(inputs=vgg16.input, outputs=_model(vgg16.output))
    # modelの14層目までのモデル重み
    for layer in model.layers[:15]:
        layer.trainable = False

    model.compile(loss='categorical_crossentropy',
                  optimizer=SGD(lr=1e-4, momentum=0.9), metrics=['accuracy'])
    return model

if __name__ == "__main__":
    train_datagen = ImageDataGenerator(
        rescale=1.0 / 255,
        shear_range=0.2,
        zoom_range=0.2,
        horizontal_flip=True)

    train_generator = train_datagen.flow_from_directory(
        directory=current_dir + '/images',
        target_size=(img_rows, img_cols),
        color_mode='rgb',
        classes=classes,
        class_mode='categorical',
        batch_size=batch_size,
        shuffle=True)

    test_datagen = ImageDataGenerator(rescale=1.0 / 255)

    test_generator = test_datagen.flow_from_directory(
        directory=current_dir + '/test_images',
        target_size=(img_rows, img_cols),
        color_mode='rgb',
        classes=classes,
        class_mode='categorical',
        batch_size=batch_size,
        shuffle=True)
    model = build_model()
    model.fit_generator(
        train_generator,
        steps_per_epoch=3000,
        epochs=nb_epoch,
        validation_data=test_generator,
        validation_steps=600
    )

    hdf5_file = current_dir + "/model/flower-model.hdf5"
    model.save_weights(hdf5_file)
2-5.モデルの実験
学習済みのモデルの実験をします。
import pandas as pd
import random, math
import numpy as np

from keras.preprocessing.image import load_img, img_to_array
from keras.applications.vgg16 import VGG16, preprocess_input
from keras.models import Sequential, Model
from keras.layers import Input, Dense, Dropout, Activation, Flatten
from keras.optimizers import SGD

classes = ['chrysanthemum', 'cosmos', 'ginkgo', 'lotus' , 'margaret', 'rose']
nb_classes = len(classes)
current_dir = "/notebooks"
img_rows, img_cols = 224, 224

def build_model() :
    input_tensor = Input(shape=(img_rows, img_cols, 3))
    vgg16 = VGG16(include_top=False, weights='imagenet', input_tensor=input_tensor)

    _model = Sequential()

    _model.add(Flatten(input_shape=vgg16.output_shape[1:]))
    _model.add(Dense(256, activation='relu'))
    _model.add(Dropout(0.5))
    _model.add(Dense(nb_classes, activation='softmax'))

    model = Model(inputs=vgg16.input, outputs=_model(vgg16.output))
    # modelの14層目までのモデル重み
    for layer in model.layers[:15]:
        layer.trainable = False

    model.compile(loss='categorical_crossentropy',
                  optimizer=SGD(lr=1e-4, momentum=0.9), metrics=['accuracy'])
    return model

if __name__ == "__main__":
    model = build_model()
    model.load_weights(current_dir + "/model/flower-model.hdf5")

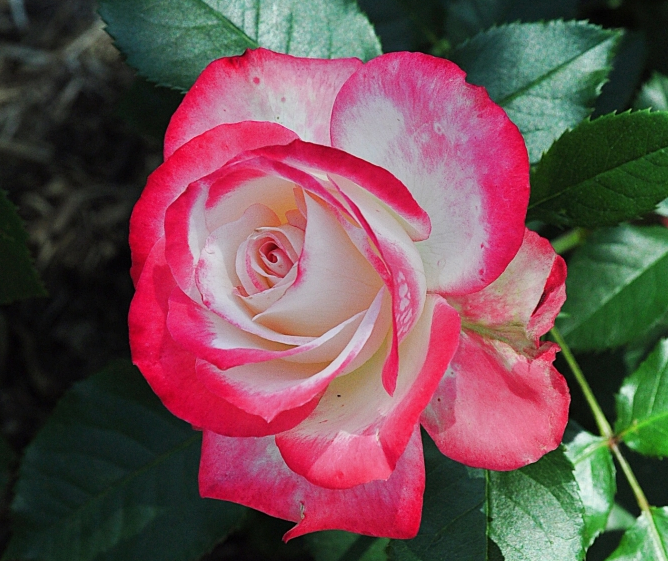
    filename = current_dir + "/check_images/rose.jpg"

    img = load_img(filename, target_size=(img_rows, img_cols))
    x = img_to_array(img)
    x = np.expand_dims(x, axis=0)

    filename = current_dir + "/check_images/rose.jpg"
    predict = model.predict(preprocess_input(x))

    for pre in predict:
        y = pre.argmax()
        print("花の名前 : ", classes[y])
3.さいごに
学習済みのモデルを最適化することによりいろいろ広がりそうですね!!
普段は競馬予想 sivaやファッション関するAIを開発しております。
またいろいろなディープラーニングの実験をtweetしてます。
twitter
フォローお願いします。


