作るもの2つ
- Ajaxで画像をアップロードして、サーバーに格納後に表示する
- 表示する画像を選択して画像表示ボタンを押すと、Ajaxでダウンロードして画像が表示される
デモ画面
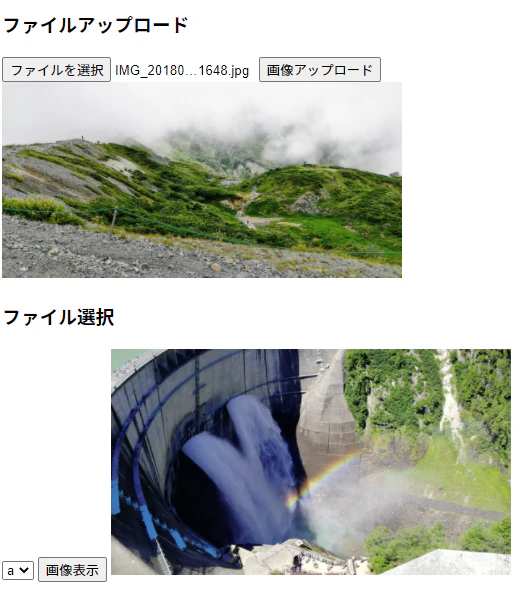
1. ファイルアップロード
- 画面側
imageajax.html(一部)
<body>
	<h3>ファイルアップロード</h3>

	<form id="imageFormId">
		<input type="file" name="inputFileName" />
		<button type="button" onclick="uploadImage('imageFormId', 'myUploadedImageId')">画像アップロード</button>
	</form>
	<img id="myUploadedImageId" style="width: 400px">

	<script>
		function uploadImage(imgForm, imgCtrl) {
			const formData = new FormData(document.getElementById(imgForm));
			const request = new XMLHttpRequest();
			request.onreadystatechange = function() {
				if (this.readyState == 4 && this.status == 200) {
					const img = document.getElementById(imgCtrl);
					const url = window.URL || window.webkitURL;
					// レスポンスを画像表示する
					img.src = url.createObjectURL(this.response);
				}
			}
			request.open("POST", "/uploadimage");
			request.responseType = 'blob';
			request.send(formData);
		}
	</script>
</body>
- コントローラ側
ImageAjaxController(一部)
	/**
	 * ファイルアップロード
	 */
	@PostMapping("/uploadimage")
	public ResponseEntity<byte[]> uploadImage(@RequestParam("inputFileName") final MultipartFile uploadFile) {

		if (uploadFile.isEmpty()) {
			return ResponseEntity.of(Optional.empty());
		}
		// アップロードされたファイルを格納するためのPathを取得
		final Path path = Paths.get("c:/uploaddir", uploadFile.getOriginalFilename());

		final byte[] bytes;
		try {
			// アップロードされたファイルのバイナリを取得
			bytes = uploadFile.getBytes();
			// ファイルの格納
			Files.write(path, bytes);
		} catch (IOException e) {
			return ResponseEntity.of(Optional.empty());
		}
		return ResponseEntity.ok(bytes);
	}
- アップロードするファイルは上限1MBなので、それ以上のサイズをアップロードするには、以下のように設定する
application.yml
spring:
  servlet:
    multipart:
      max-file-size: 30MB
      max-request-size: 30MB
2. ファイル選択
- 画面側
imageajax.html(一部)
<body>
	<h3>ファイル選択</h3>

	<select id="selectImageId">
		<option value="a">a</option>
		<option value="b">b</option>
	</select>
	<button type="button" onclick="displayImage('selectImageId', 'mySelectedImageId')">画像表示</button>
	<img id="mySelectedImageId" style="width: 400px">

	<script>
		function displayImage(selectCtrl, imgCtrl) {
			const select = document.getElementById(selectCtrl);
			const request = new XMLHttpRequest();
			request.onreadystatechange = function() {
				if (this.readyState == 4 && this.status == 200) {
					const img = document.getElementById(imgCtrl);
					const url = window.URL || window.webkitURL;
					// レスポンスを画像表示する
					img.src = url.createObjectURL(this.response);
				}
			}
			// 選択肢を送って、ファイルを取得する
			request.open("GET", "/selectimage/" + select.value);
			request.responseType = 'blob';
			request.send();
		}
	</script>
</body>
- コントローラ側
ImageAjaxController(一部)
	/**
	 * ファイル選択
	 */
	@GetMapping("/selectimage/{selectNum}")
	public ResponseEntity<byte[]> getImage(@PathVariable final String selectNum) {

		// 選択肢からファイル名取得
		final String fileName;
		switch (selectNum) {
		case "a":
			fileName = "a.jpg";
			break;
		case "b":
			fileName = "b.jpg";
			break;
		default:
			return ResponseEntity.of(Optional.empty());
		}

		// ファイルのPath
		final Path path = Paths.get("c:/selectdir", fileName);

		final byte[] bytes;
		try {
			// ファイルを読み込む
			bytes = Files.readAllBytes(path);
		} catch (IOException e) {
			return ResponseEntity.of(Optional.empty());
		}
		return ResponseEntity.ok(bytes);
	}