qutebrowser の使い方が分かってきたので記事にしました。
特徴
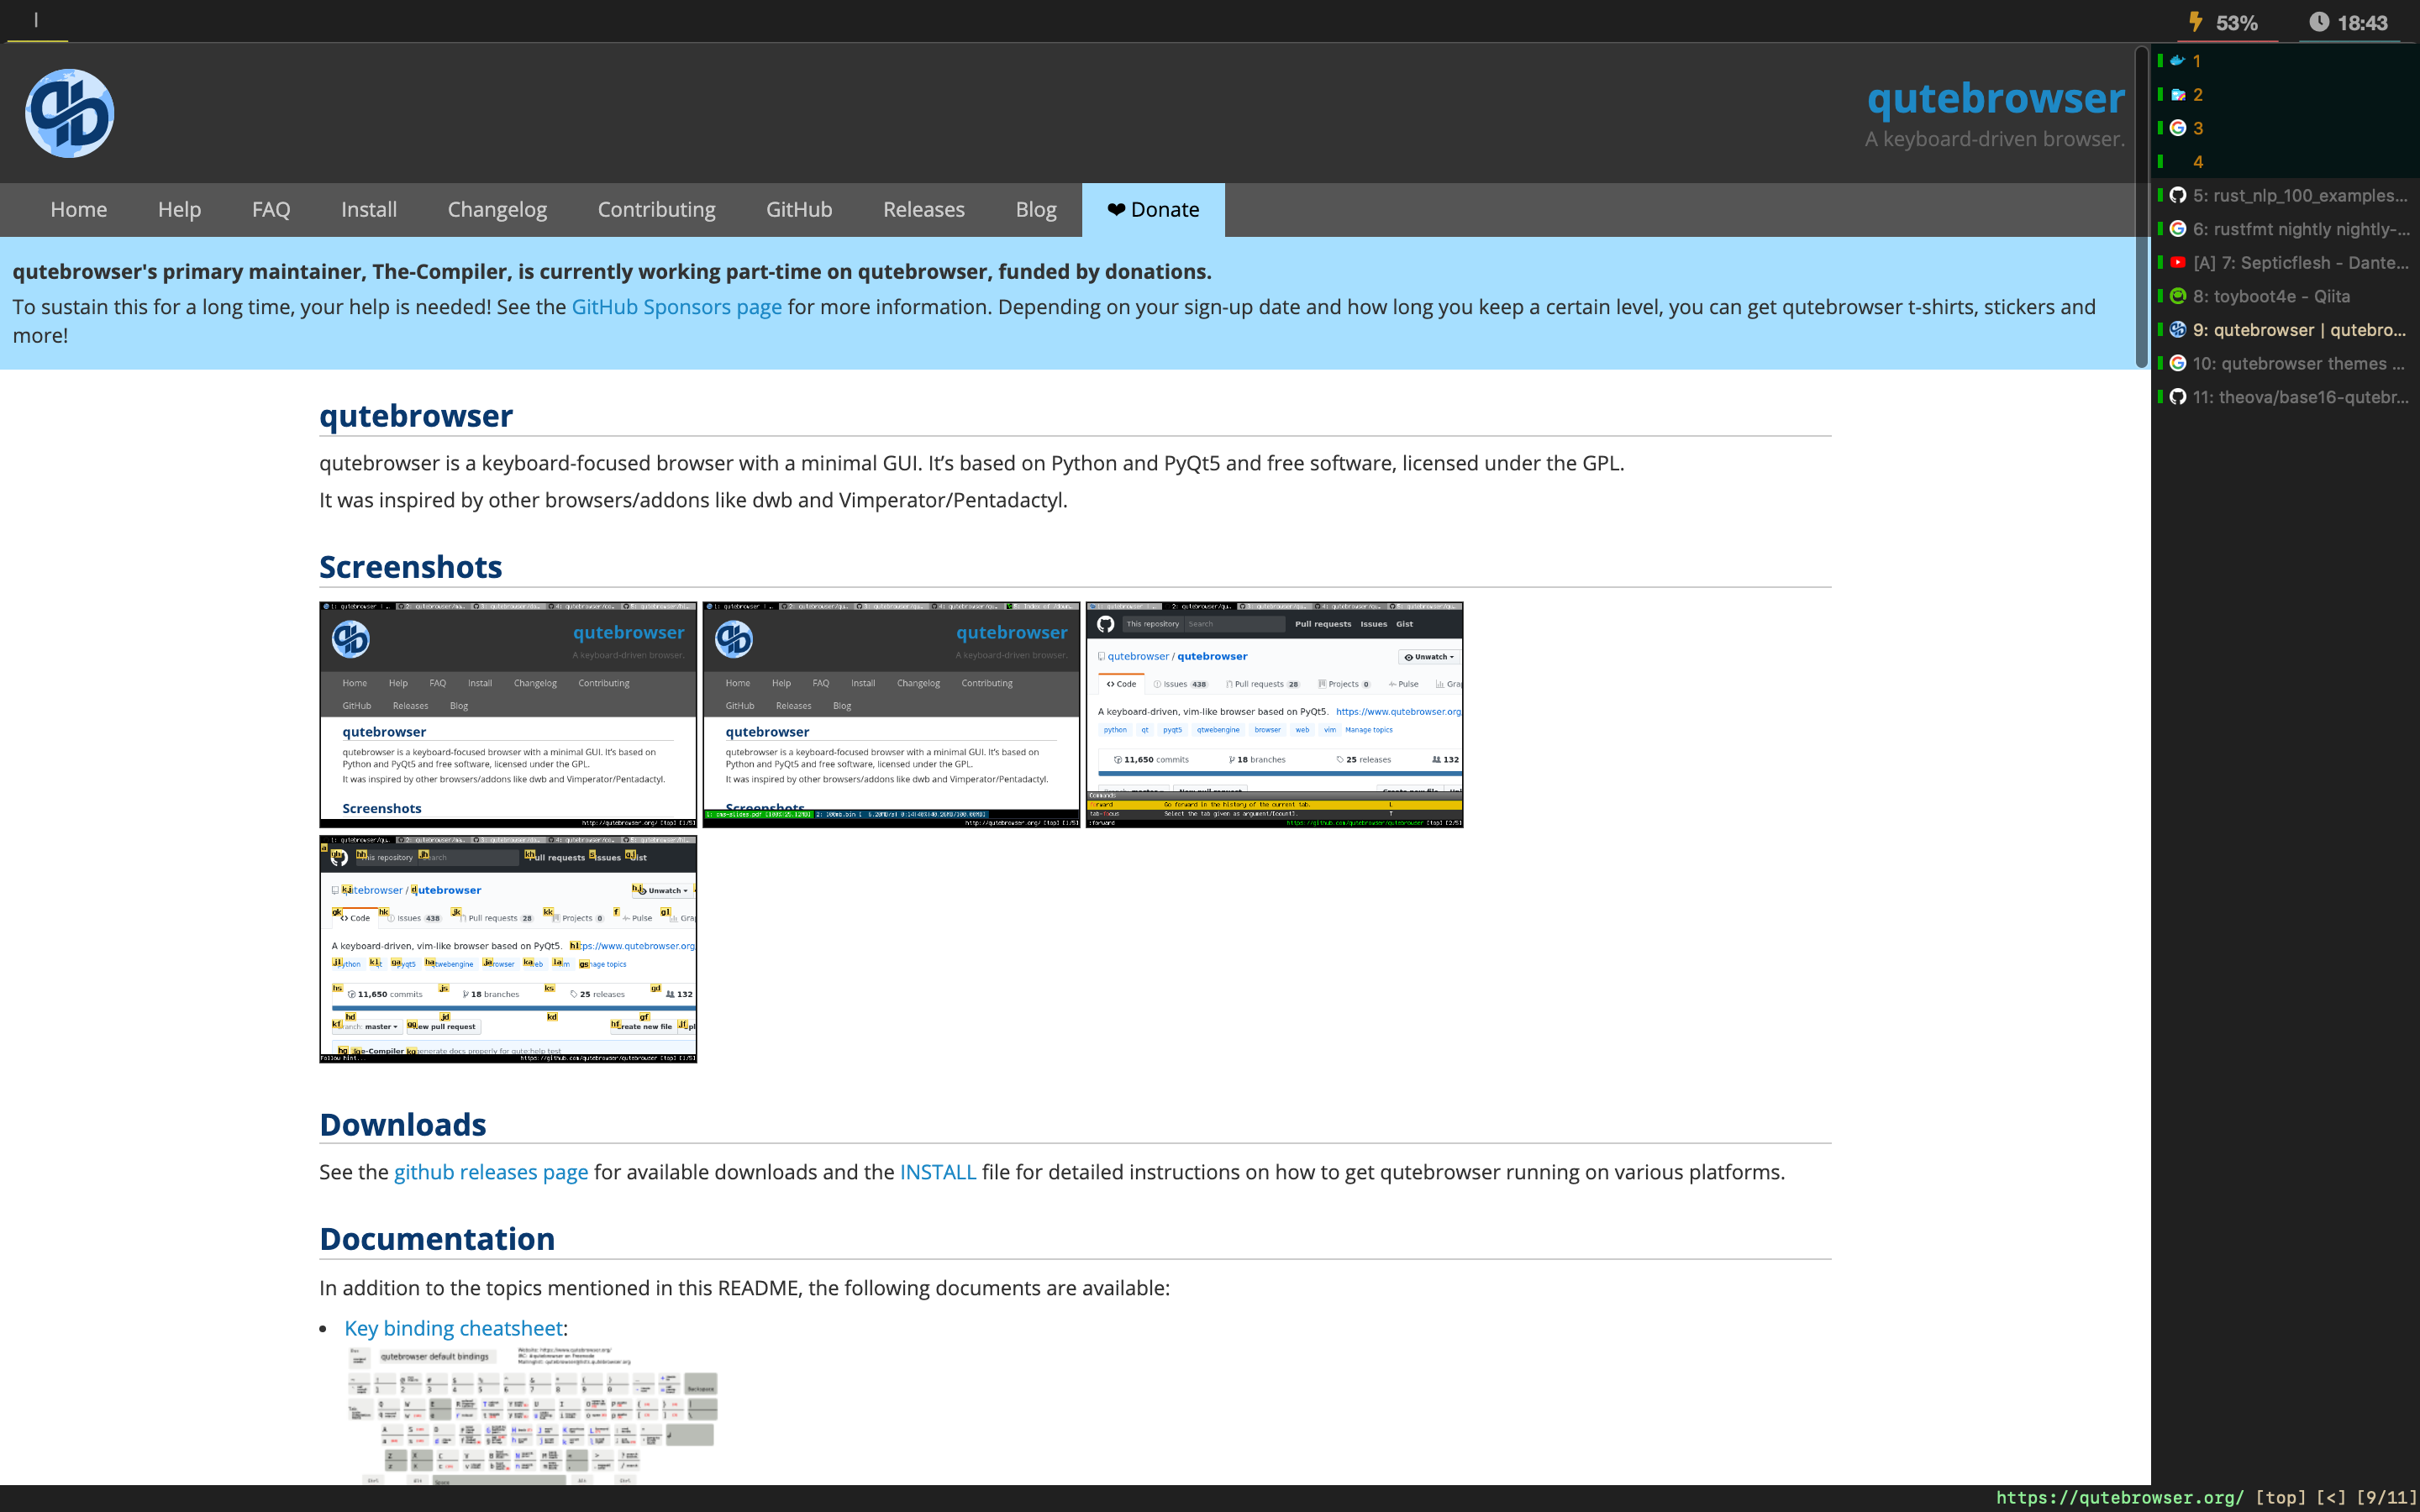
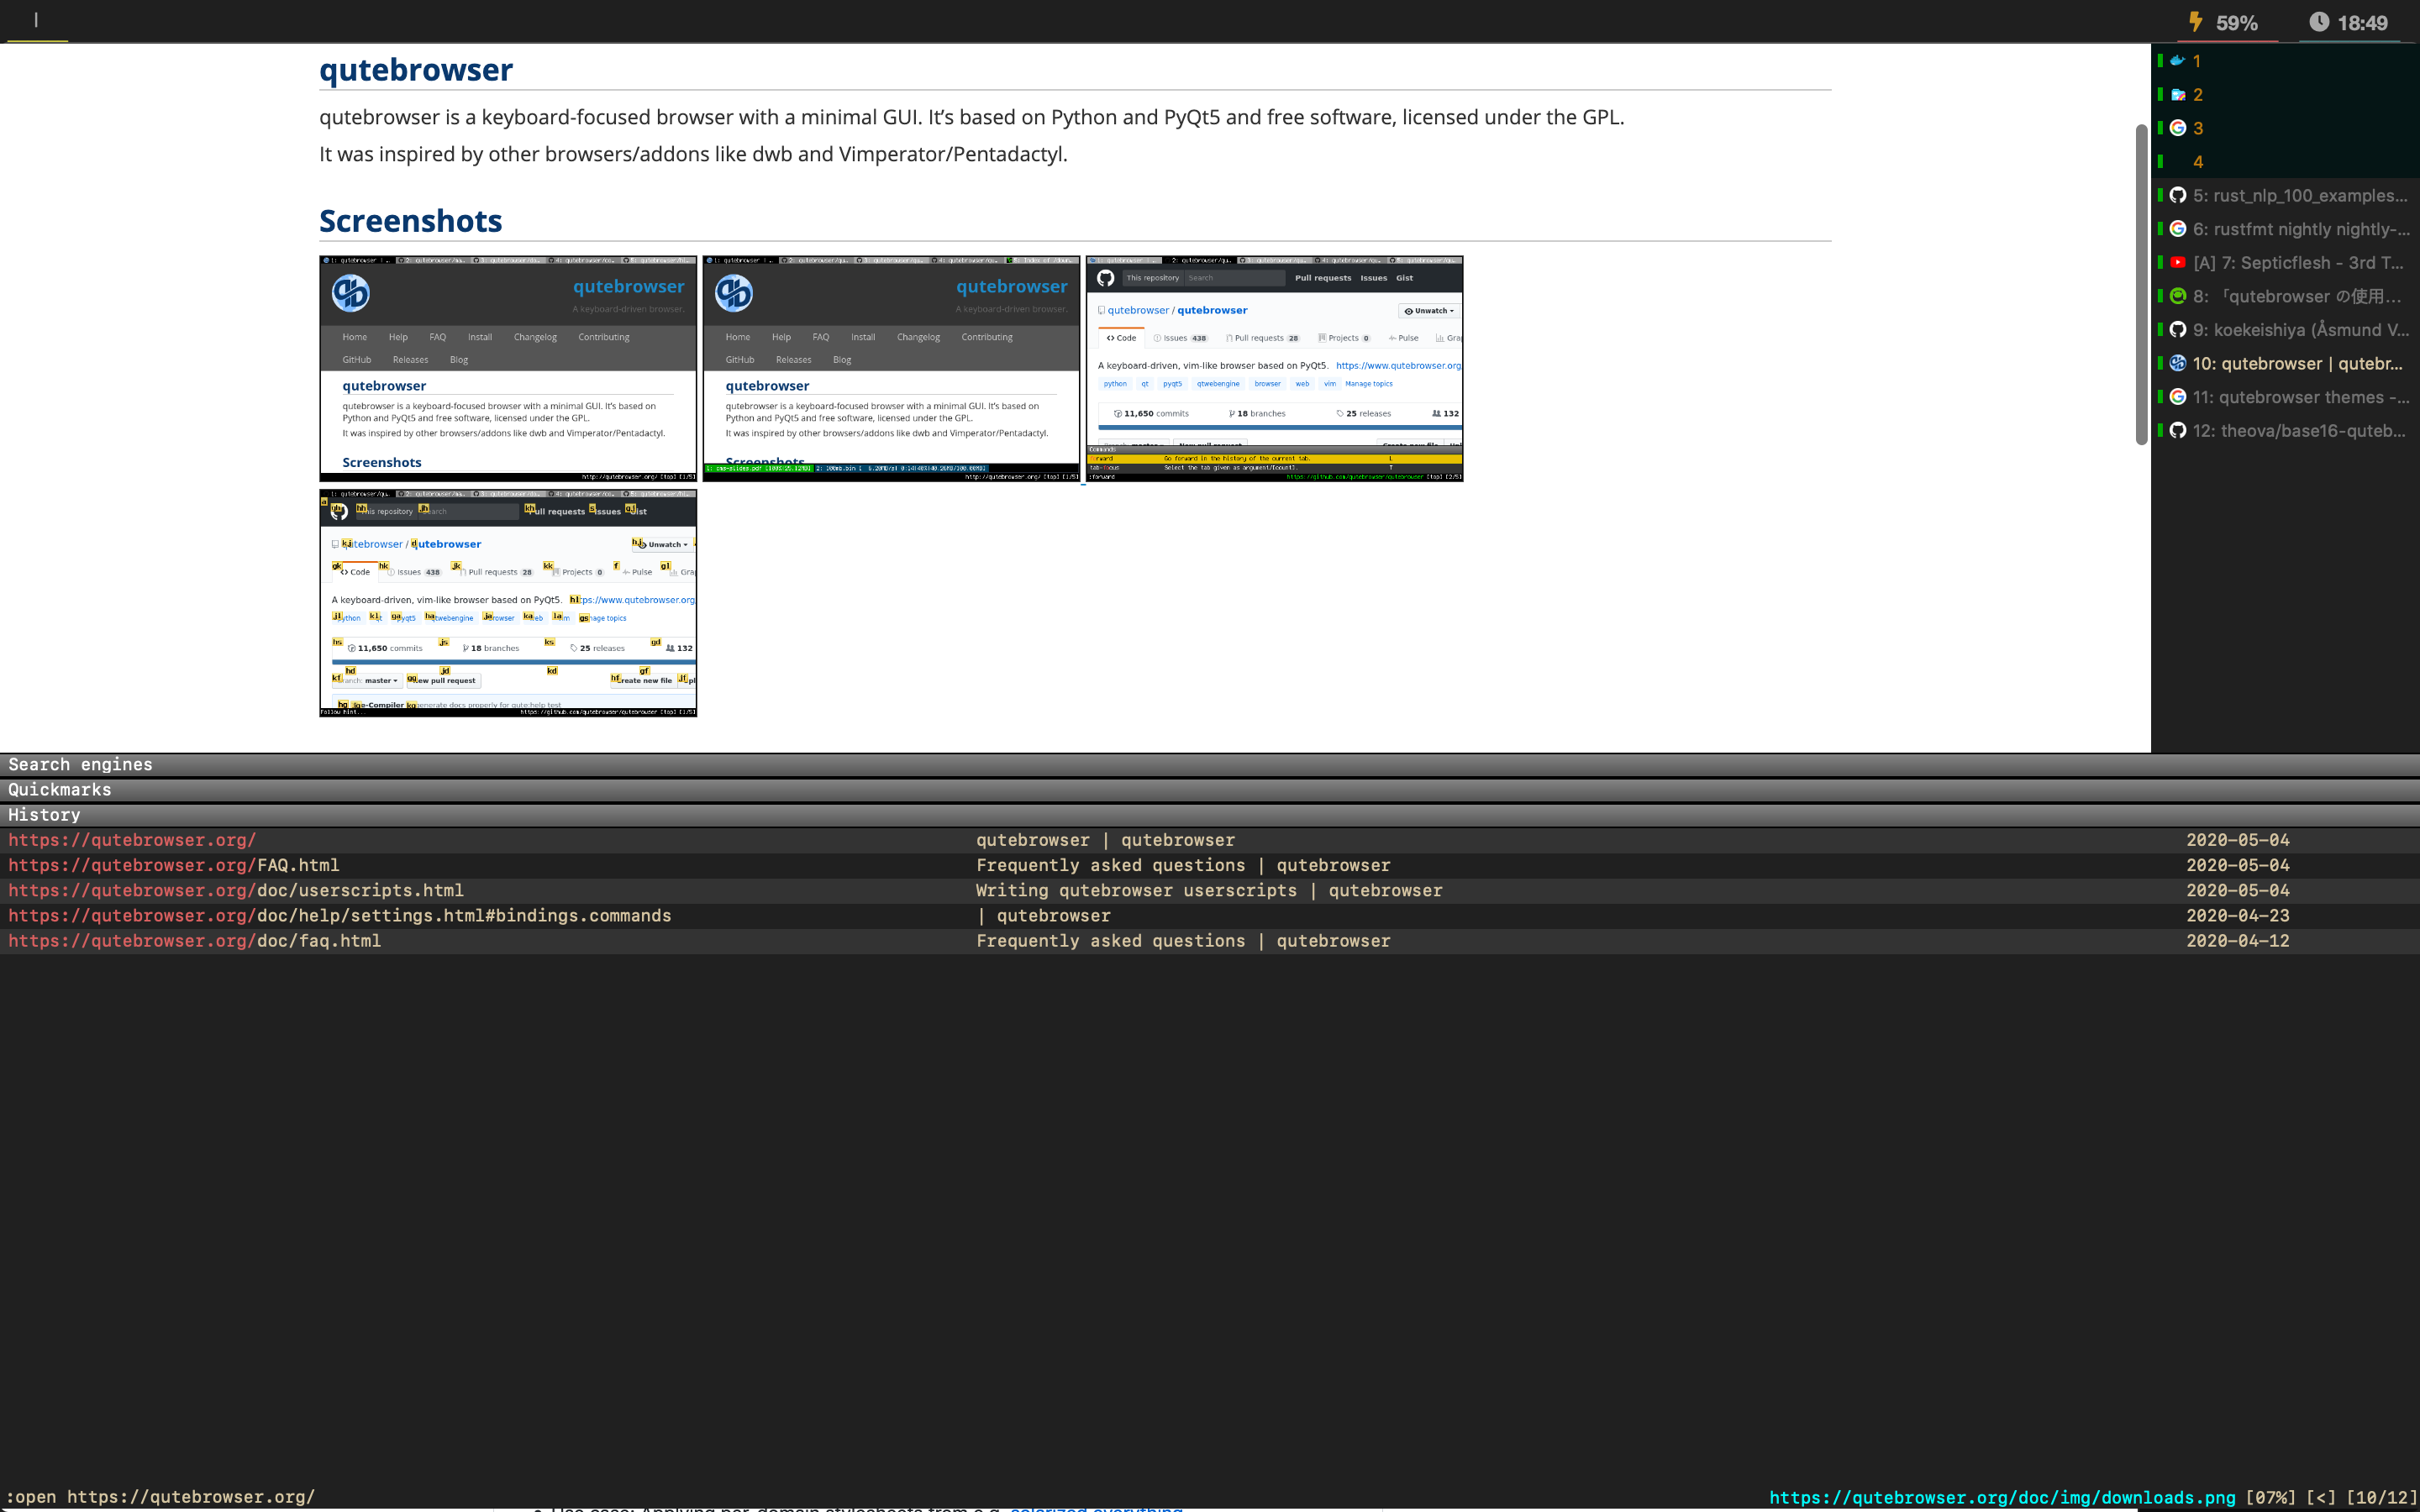
Command line interface
アドレスバーもコマンドラインに相当します:
特にブックマークの閲覧が楽で、これに関しては 他のブラウザが及ぶところではない と感じています。 1,000 個 くらい登録しても余裕です。
qutebrowser の bookmark は機能が弱く、 quickmark が実質的なブックマークです。
quickmark はrepo/rustcのように、スラッシュをタグ替わりに使うと便利だと思います。
注意点
- 動きは 遅い
基本的に Chrome/Firefox の方が軽いです。特に Chrome の速さに比べると見劣りします。 -
youtube 以外の動画再生 がやりにくい (ニコニコ動画、 SNS など)
mpv を介して閲覧可能 (後述) ですが、一手間かかります。 -
パスワードの自動入力
できるはずなのですが、 userscript を上手く動作させられませんでした。 Cookie? が消えたら手動で再入力しています。
初見の qutebroser
- Vim 同様に insert mode があります
- 検索性が悪く、カスタマイズに手間取ります (
:helpは便利ですが……) - 特に userscript 周りが不親切だと思います
設定
公式の Configuring qutebrowser を読んで、設定ファイル config.py のパスを確認します。
おすすめの配色設定は、この dotfiles 1 の config.py です。特にタブバーの設定が良いと思います。
以下では、上記 config.py をコピー済みであるとして、設定を追加します。
pdf を閲覧可能にする
config.py に以下を追加します。
c.content.pdfjs = True # enable to see pdf
:config-sourceを実行することで、設定を反映できます。
お好みで
前回閉じたときのタブが自動で復元されるようにします:
# Save & restore session automatically
config.set('auto_save.session', True)
c.auto_save.session = True
諸々:
c.url.default_page = 'https://google.com/'
c.url.start_pages = 'https://qutebrowser.org/'

c.scrolling.bar = "always"
タブ周りの振る舞い:
# --------------------------------------------------------------------------------
# Behaviors

# Open new tab next to the current tab
c.tabs.new_position.unrelated = "next"

# ?
c.input.partial_timeout = 0
たとえば :open d word と打てば、 cambridge dictionary で word を検索してくれるようにします:
c.url.searchengines = {
    "DEFAULT": 'https://google.com/search?q={}',
    "b": 'https://bandcamp.com/search?q={}',
    "cr": 'https://crates.io/search?q={}',
    "d": 'https://dictionary.cambridge.org/dictionary/english/{}',
    'g': 'https://github.com/search?q={}',
    "s": 'https://stackoverflow.com/search?q={}',
    "y": 'https://www.youtube.com/results?search_query={}',
}
見た目を調整します:
c.tabs.position = "right"
c.tabs.width = 160
c.tabs.padding = {'bottom': 4, 'left': 4, 'right': 4, 'top': 4}
ズーム値:
config.set('zoom.default', '75%')
ダークモード
サイトによっては景観を損いますが、お好みで:
# Force dark mode. Required to restart qutebrowser
config.set('colors.webpage.darkmode.enabled', True)
# Don't flush on dark mode
config.set('colors.webpage.bg', 'black')
タイトルバーを隠す (macOS のみ?)
設定すると、ウィンドウを動かせなくなるので、決まった位置に配置するのはなかなか大変ですが:
c.window.hide_decoration = True
詳しくは、 Mac をやりすぎて Hack になったわね#qutebrowser をご覧ください。
キーマッピング
好みの設定を貼ります。
sq で save as quickmark:
# quickmark.. is the bookmark for qutebrowser
config.bind('sq', 'quickmark-save')
Insert モードで Emacs 風に操作:
# ----------------------------------------
# Emacs-like key mappings in insert mode

config.bind('<Ctrl+f>', 'fake-key <right>', mode='insert')
config.bind('<Ctrl+b>', 'fake-key <left>', mode='insert')

config.bind('<Ctrl+n>', 'fake-key <down>', mode='insert')
config.bind('<Ctrl+p>', 'fake-key <up>', mode='insert')

config.bind('<Ctrl+a>', 'fake-key <home>', mode='insert')
config.bind('<Ctrl+e>', 'fake-key <end>', mode='insert')

config.bind('<Ctrl+d>', 'fake-key <delete>', mode='insert')
config.bind('<Ctrl+k>', 'fake-key <backspace>', mode='insert')
コマンドラインで <C-n>, <C-p> を上下キーとして使う:
# ----------------------------------------
# Use `C-n` and `C-p` in the command line ###
config.bind("<Ctrl+n>", "completion-item-focus --history next", mode="command")
config.bind("<Ctrl+p>", "completion-item-focus --history prev", mode="command")
/ だけではなく、 Cmd+f でも検索可能に:
# ----------------------------------------
# Ordinary-browser-like

config.bind('<Meta+f>', ':set-cmd-text /')
# config.bind('<Ctrl+f>', ':set-cmd-text /')
Mac では
MetaキーがCommandキーになっています。 Windows ではCtrlの方が便利かもしれません。
これは完全に僕の好みです:
-
[,]でタブ移動 -
{,}でタブを入れ替え -
Command+[,Command+]で履歴移動
config.bind('[', ':tab-prev')
config.bind(']', ':tab-next')
config.bind('{', ':tab-move -')
config.bind('}', ':tab-move +')

config.bind('<Meta+[>', ':back')
config.bind('<Meta+]>', ':forward')
config.bind('<Ctrl+[>', ':back')
config.bind('<Ctrl+]>', ':forward')
タブをピン留め:
# ----------------------------------------
# Pin
config.bind('<Meta+p>', ':tab-pin')
Vim/Vimium 風のキー操作:
# ----------------------------------------
# Vim/Vimium-like
config.unbind('d')
config.unbind('u')
config.bind('d', ':scroll-page 0 0.5')
config.bind('u', ':scroll-page 0 -0.5')
config.bind('x', ':tab-close')
config.bind('X', ':undo')

config.bind('yf', ':hint links yank')

config.bind('<Ctrl+e>', ':scroll down')
config.bind('<Ctrl+y>', ':scroll up')
サイト毎に CSS をカスタマイズする
Greasemonkey の出番です。これは JavaScript を走らせるための機構 だと理解しています。
<data>/greasemonkey に配置した .js ファイルを実行してくれるようです。 built-in なのか、特にインストールは要りませんでした。
<data>については、:versionの出力を見ると、Pathsという項があります。その下にあるdataが<data>に対応します。 Mac では~/Library/Application Support/qutebrowserでした。
FAQ を見ると、サポートが不完全だそうですが、よく分かりません。ひとまず、 CSS 2 をハードコーディングして読み込ませています:
// ==UserScript==
// @name        narou-verticalizer
// @namespace   https://ncode.syosetu.com
// @include     https://ncode.syosetu.com/*
// @version     1
// /==UserScript==

var css = document.createElement("style");
css.textContent = `
body {
    color: #d8d8d8;
    background-color: #000000;
}
...
`;
document.head.appendChild(css);
もしかしたら、 CSS はファイル分けできるのかもしれませんが……
そして :reload-greasemonkey を実行すると:

ヤッター!
まとめ
動画再生に弱い qutebrowser ですが、その他のユーティリティは 最高品質 だと思います。日々のご利用にいかがでしょうか。