CollectionViewを活用すると、複数のビューをまとめて管理することができます。特に、同じような見た目のビューをいくつも表示させたり、オセロ盤のようなマス目の表現にCollectionViewは向いています。
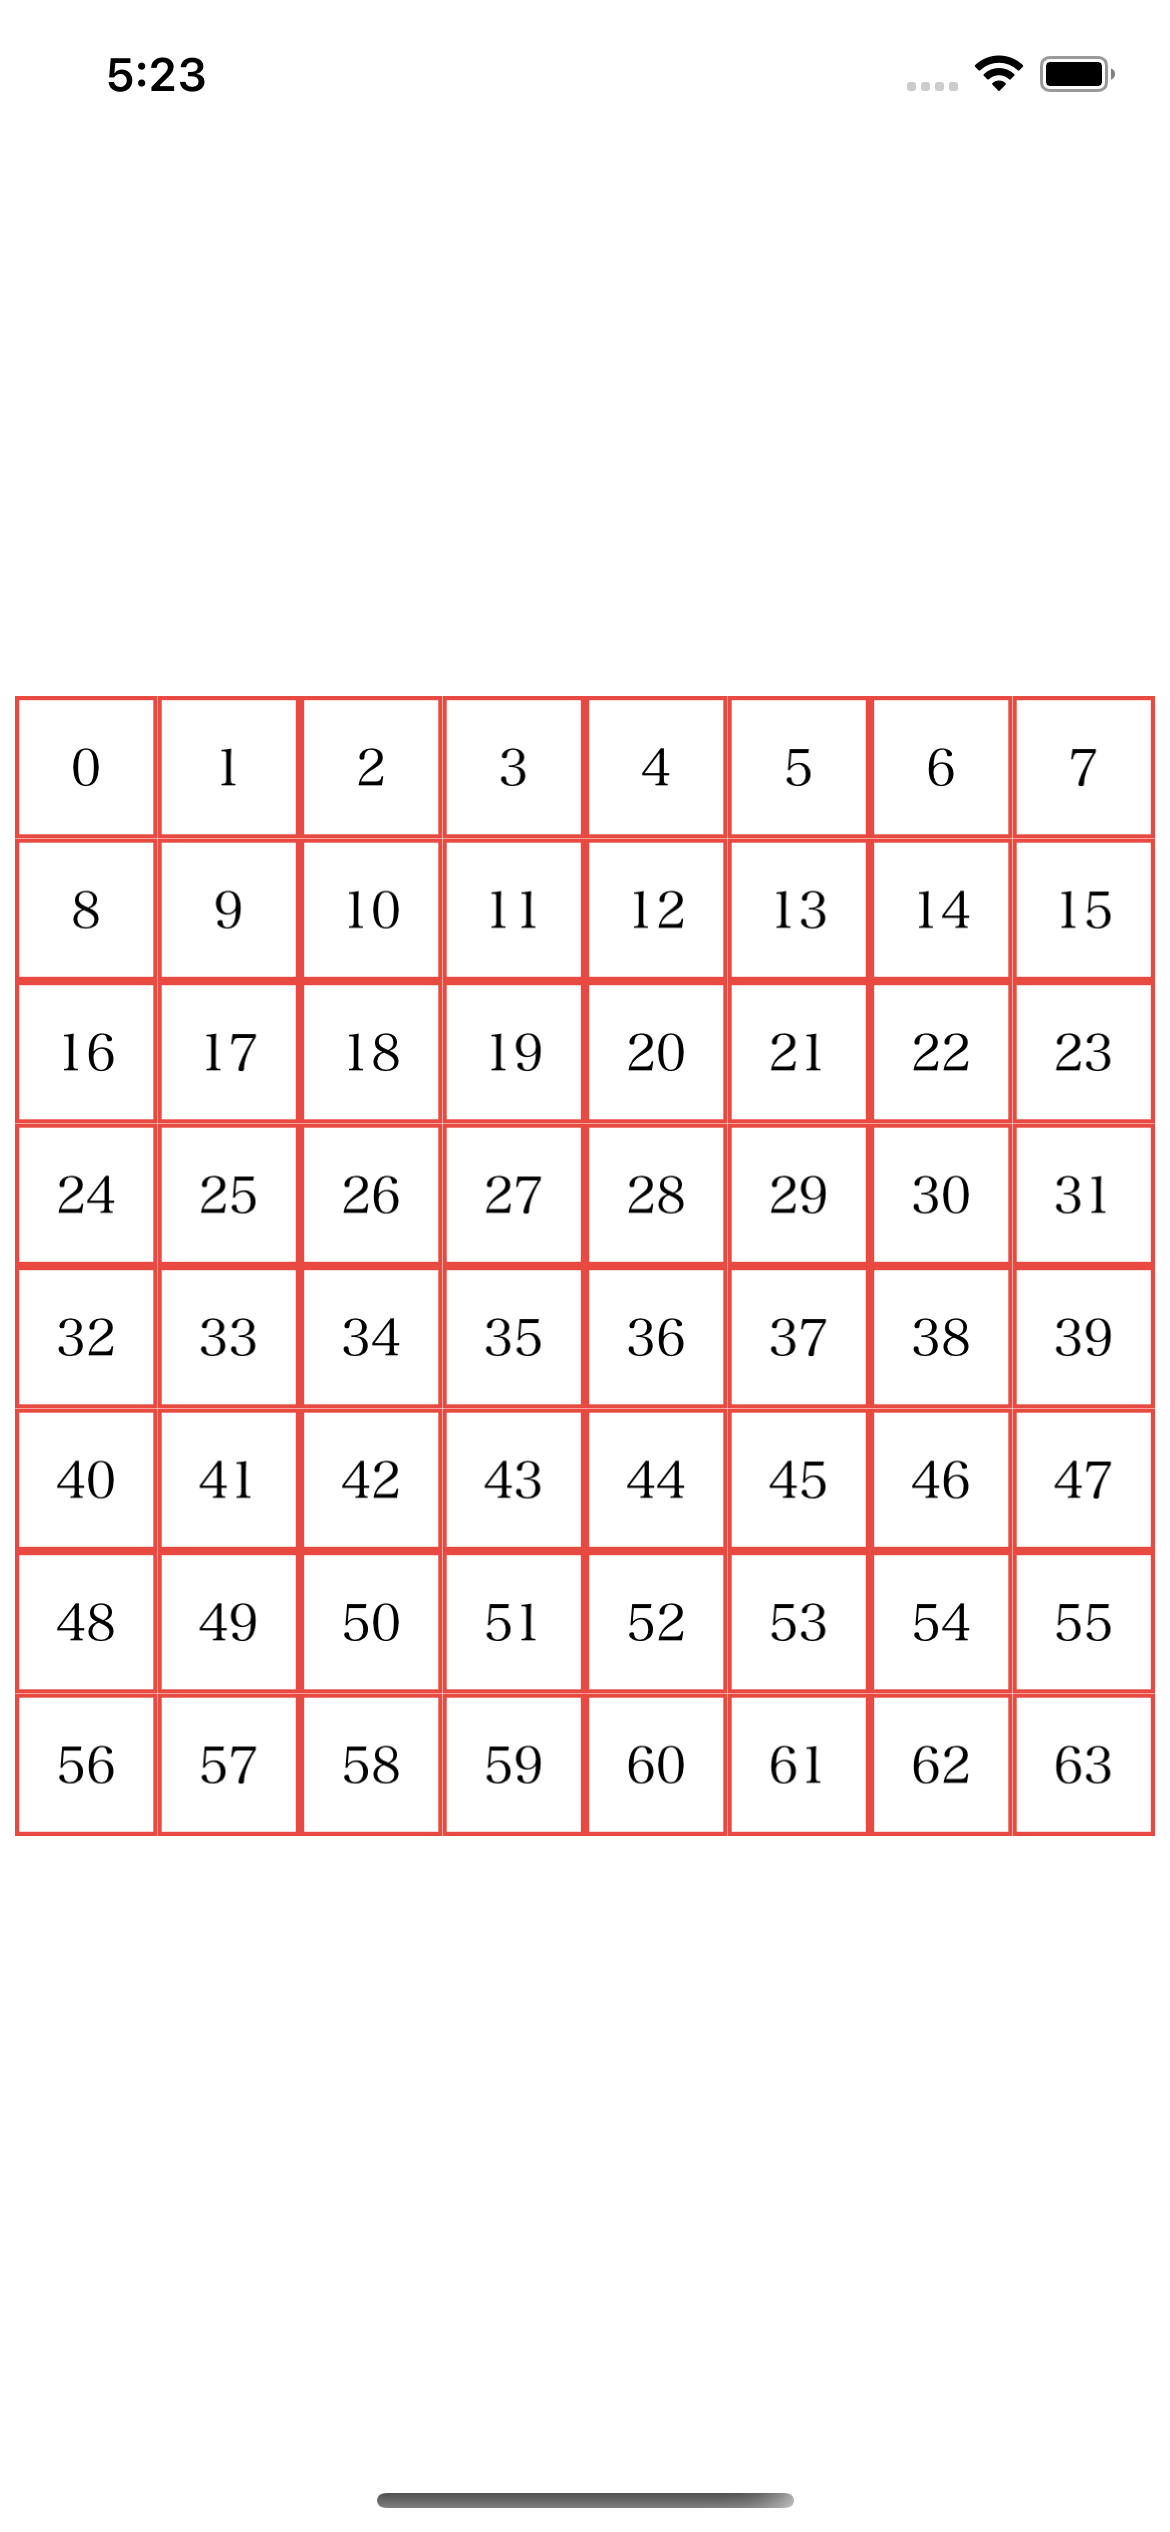
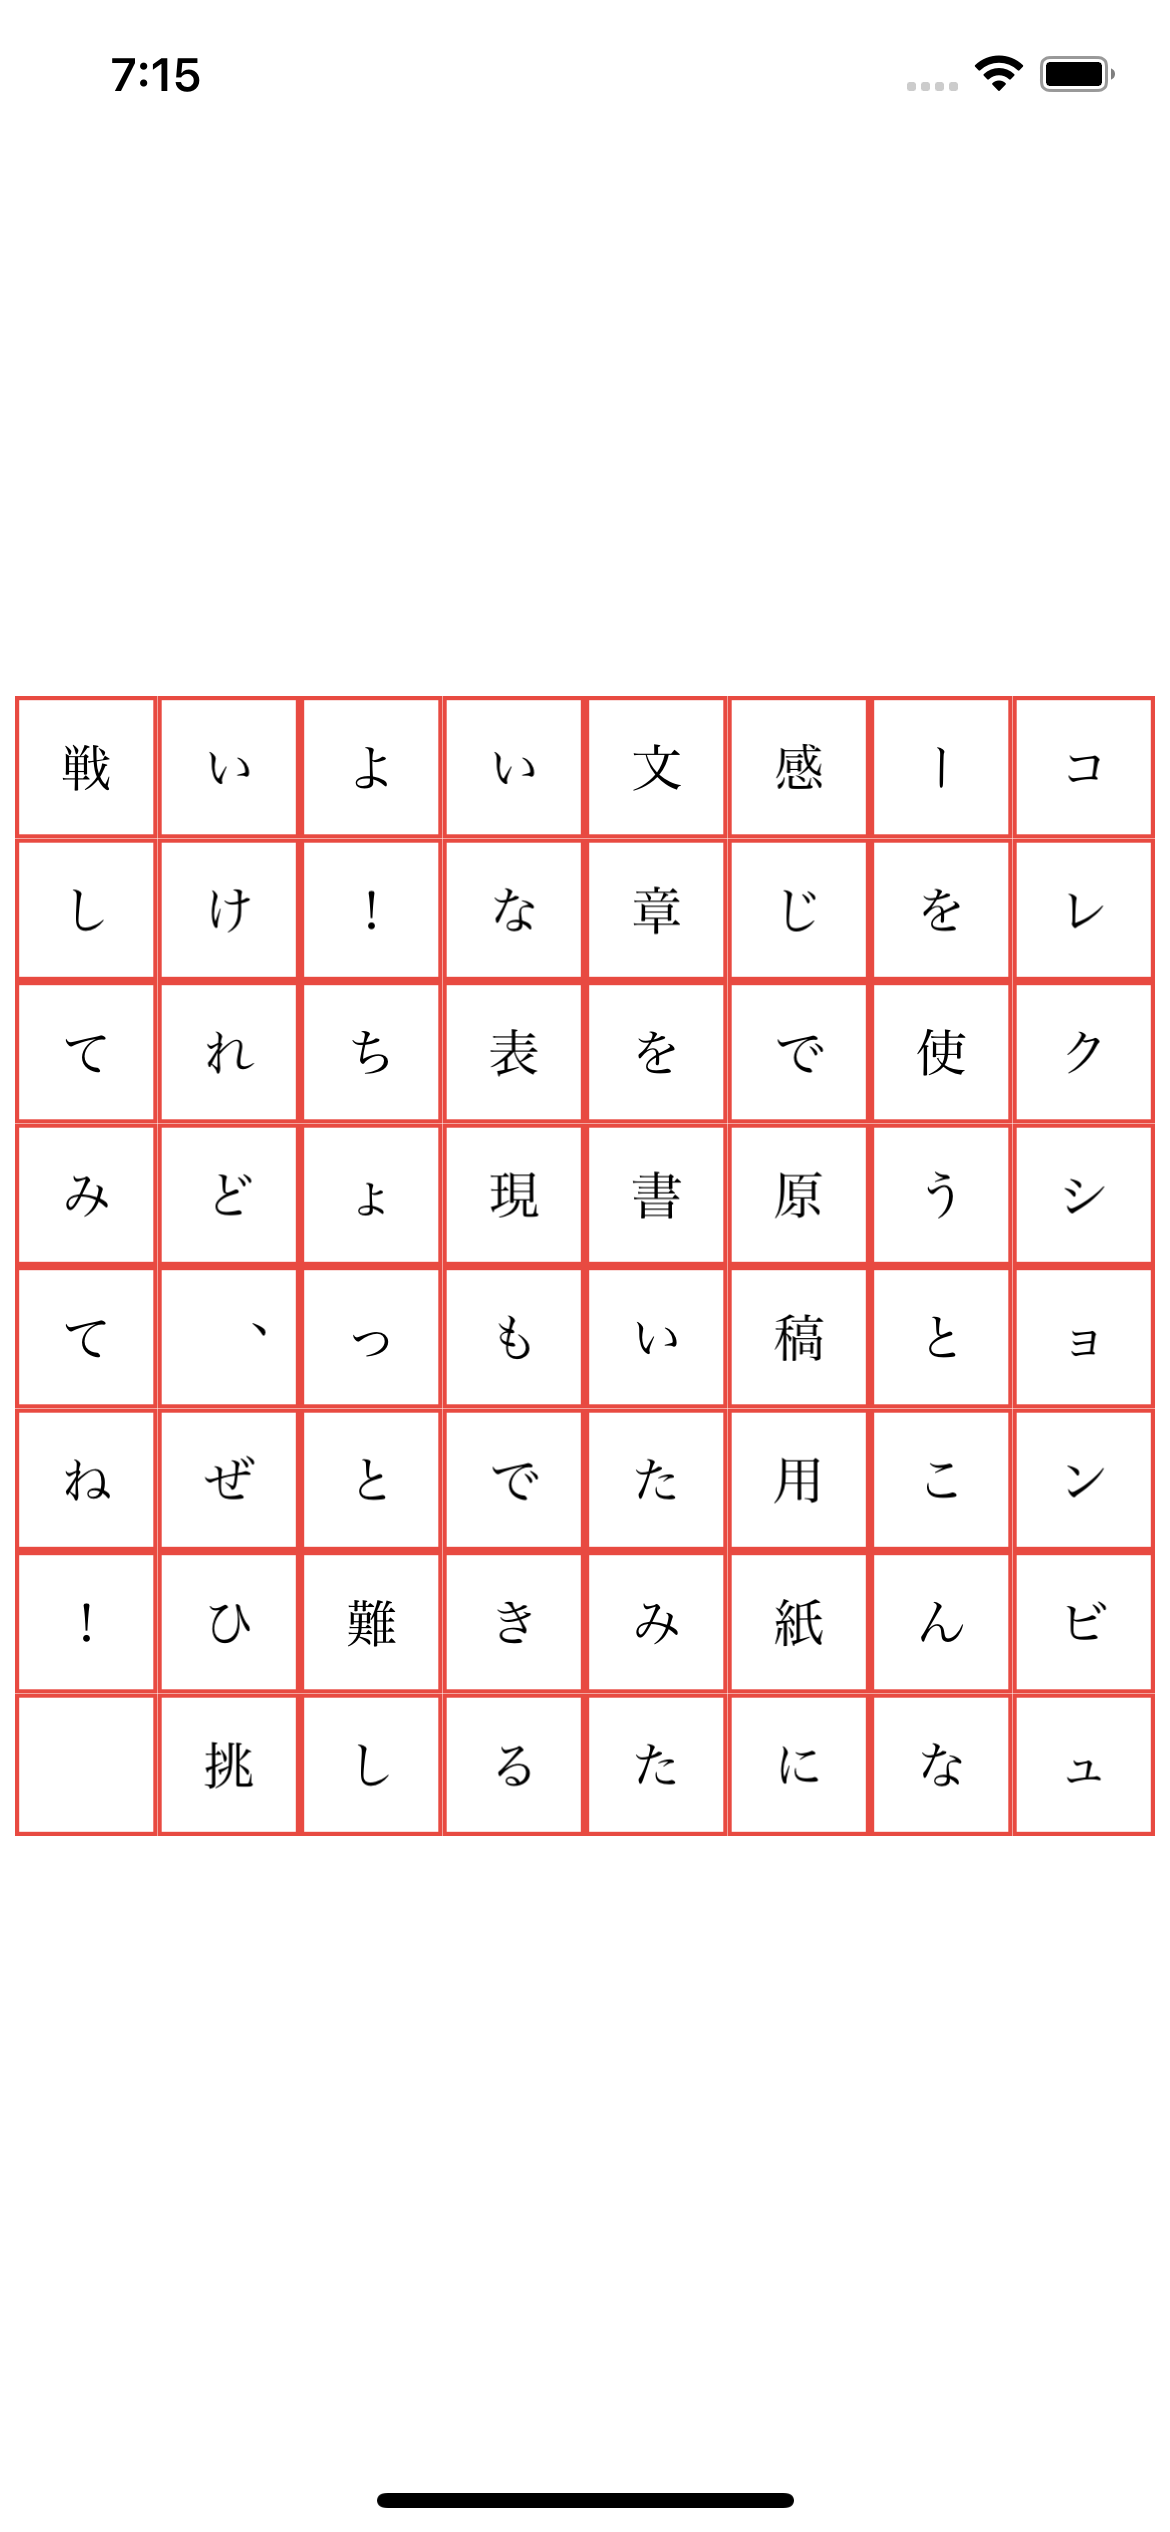
今回は以下のようなCollectionViewを作成してみます。
(環境:Xcode12.4 Swift5.3)
手順
CollectionView作成の手順は次のようになります。
- StoryBoard(ViewController)にUICollectionViewを配置
- CollectionViewCellの中にUIlabelを配置 & 関連付け
- ViewController.swiftファイルに変数を用意 & 関連付け
- ViewControllerにプロトコルを追加 (UICollectionViewDataSource, UICollectionViewDelegate)
- DataSourceとDelegateをViewController(Self)に指定
- メソッドを追加
- UICollectionViewLayoutクラスを継承したCollectionViewLayoutクラスを作成 & Layoutに指定
- UICollectionViewCellクラスを継承したCollectionViewCellクラスを作成 & Custom Classに指定
- 各セルに表示させる内容(text)をメソッドに記述
1. StoryBoard(ViewController)にUICollectionViewを配置
StoryBoardのUIViewControllerにUICollectionViewを配置しましょう。今回配置するUIViewControllerには ViewControllerクラスが設定されているとして説明していきます。ちなみに、CollectionViewの位置はAutoLayoutで設定するとうまく表示されないため、後ほどコードから設定していきます。

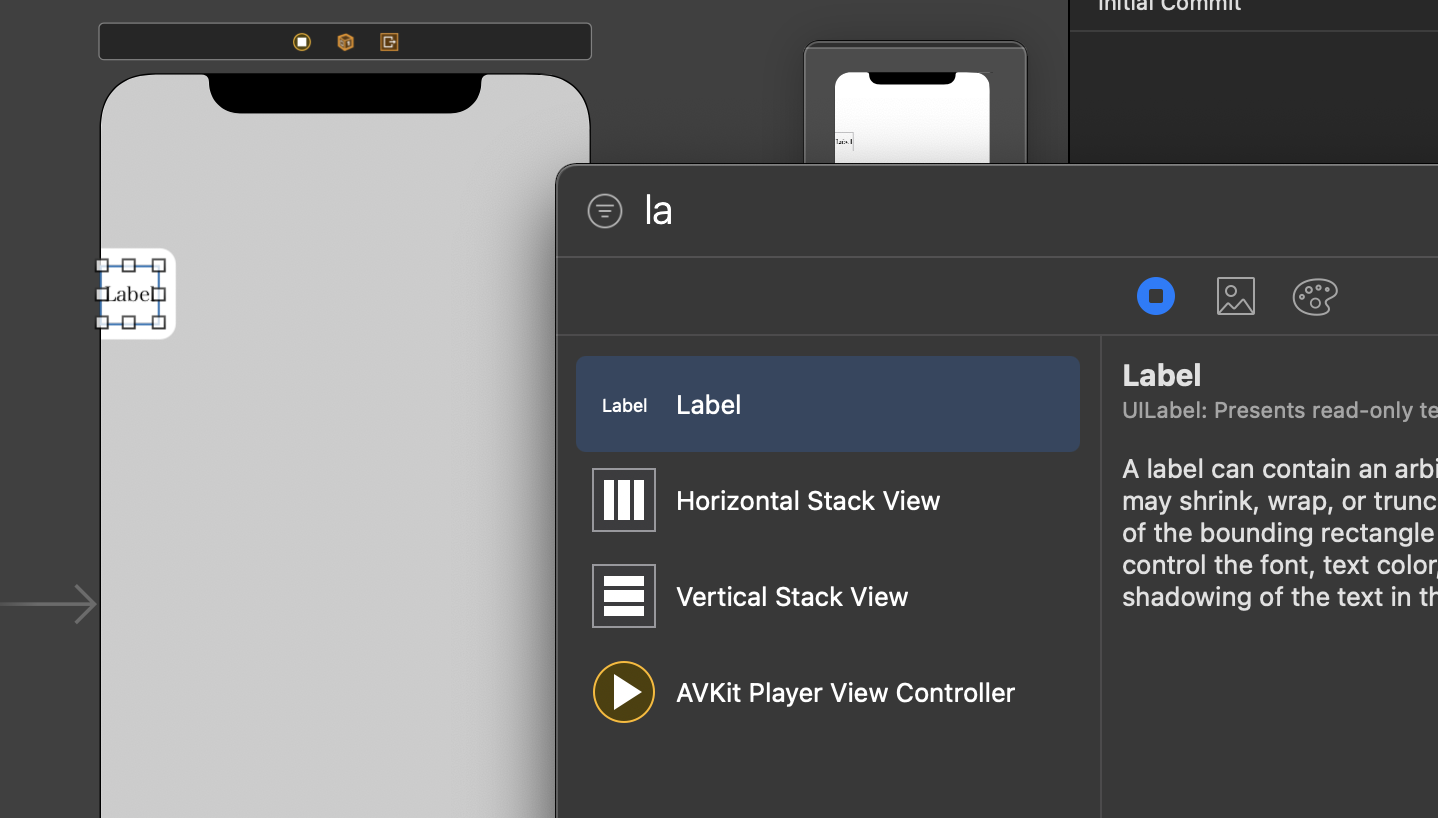
2. CollectionViewCellの中にUIlabelを配置 & 関連付け
CollectionViewを配置すると、その中に自動でCollectionViewCellも1つだけ配置されます。そのCellの中にLabelを配置していきます。ここではAutoLayoutが利用できるので、Cellの枠との幅を0に設定しておきます。
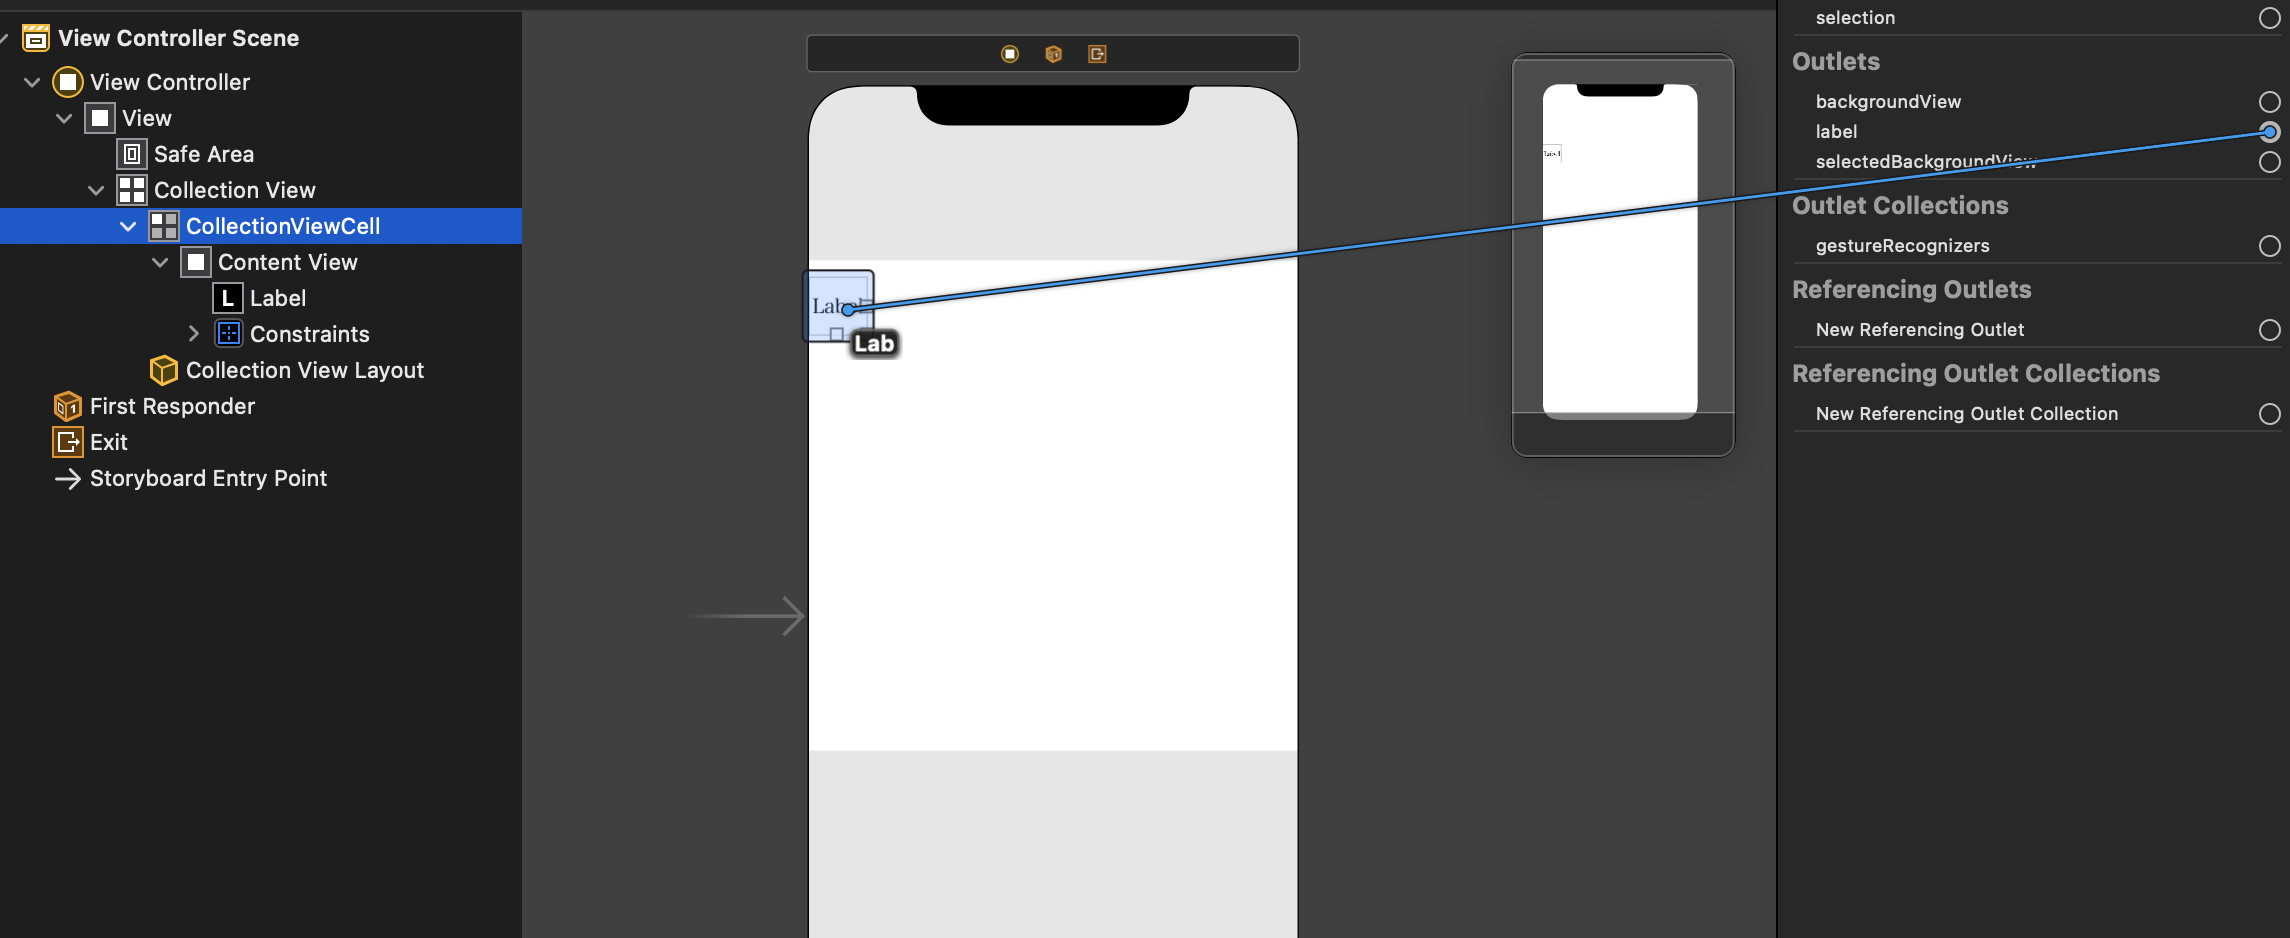
続いてCollectionViewCellのコネクションインスペクタを開いて、Outletsのlabelと先ほど配置したLabelとを関連付けします。これでCollectionViewCellのインスタンスから.labelとアクセスできるようになります。
3. ViewController.swiftファイルに変数を用意 & 関連付け
UIViewControllerのインスタンスを作成します。加えてStoryBoard上のUIViewControllerと関連付けしておきましょう。
@IBOutlet var collectionView: UICollectionView!
4. ViewControllerにプロトコルを追加
ViewControllerに以下のプロトコルを追加します。
- UICollectionViewDataSource
- UICollectionViewDelegate
class ViewController: UIViewController, UICollectionViewDataSource, UICollectionViewDelegate {
    /*処理*/
}
5. DataSourceとDelegateをViewController(Self)に指定
ViewControllerのviewDidLoadメソッドの中で以下の記述を追加します。ついでにCollectionViewの配置場所の指定もしておきましょう。ここでは左右に少し余白を設け、画面中央に配置するようにしています。
    override func viewDidLoad() {
        super.viewDidLoad()
        self.collectionView.bounds.size.width = self.view.bounds.size.width-10
        self.collectionView.bounds.size.height = self.view.bounds.size.width-10
        self.collectionView.center = self.view.center

        collectionView.dataSource = self
        collectionView.delegate = self
    }
6. メソッドを追加
CollectionViewの処理に関わる以下のメソッドを追加します。
    func numberOfSections(in collectionView: UICollectionView) -> Int {
        //これは同じ設定のCollectionViewの数(Section数)を指定するメソッド。
        //今回は1を返しておきましょう
        return 1
      }

    //UICollectionViewDataSourceを読み込んだ時点で赤い警告が表示されるのでfixボタンをクリックすると自動で挿入される
    func collectionView(_ collectionView: UICollectionView, numberOfItemsInSection section: Int) -> Int {
        //これはcollectionViewの各セクションについてアイテム数(Cellの数)を指定するメソッド
        //今回は64を返しておきましょう
        return 64
  }

     //UICollectionViewDataSourceを読み込んだ時点で赤い警告が表示されるのでfixボタンをクリックすると自動で挿入される
    func collectionView(_ collectionView: UICollectionView, cellForItemAt indexPath: IndexPath) -> UICollectionViewCell {
        //これはcollectionView内の個々のcellについての処理をおこなうメソッド
        //あとで処理を記述します
      }

      func collectionView(_ collectionView: UICollectionView, didSelectItemAt indexPath: IndexPath) {
        //これはcell選択(クリック)時に呼ばれるメソッド
      }
7. UICollectionViewLayoutクラスを継承したCollectionViewLayoutクラスを作成 & Layoutに指定
続いて、個々のCellのサイズや配置場所を設定するクラスを作成していきます。
次のコードでは、64個のCellを左上から右下へと順に配置しています。
import UIKit

class CollectionViewLayout: UICollectionViewLayout{
    //行数
    let columns = 8
    //レイアウト
    private var layoutData = [UICollectionViewLayoutAttributes]()

    //レイアウトの準備
    override func prepare() {
        super.prepare()
        self.layoutData.removeAll()
        let allWidth  = collectionView!.bounds.width
        let columnWidth = allWidth / CGFloat(self.columns)
        let columnHeight = columnWidth
        var x:CGFloat = 0
        var y:CGFloat = 0

        for count in 0 ... collectionView!.numberOfItems(inSection: 0){
            let indexPath = NSIndexPath(item: count, section: 0)
            //レイアウトの配列に位置とサイズを登録する。
            let frame = CGRect(x: x, y: y, width: columnWidth, height: columnHeight)
            let attributes = UICollectionViewLayoutAttributes(forCellWith: indexPath as IndexPath)
            attributes.frame = frame
            layoutData.append(attributes)

            //これはindexPath[1]が左上が0,右下が63となるように配置している
            if ((count + 1) % columns != 0){
                x += columnWidth
            }else{
                x = 0
                y += columnHeight
            }
        }
    }

    //レイアウトを返す
    override func layoutAttributesForElements(in rect: CGRect) -> [UICollectionViewLayoutAttributes]? {
        return layoutData
    }
}
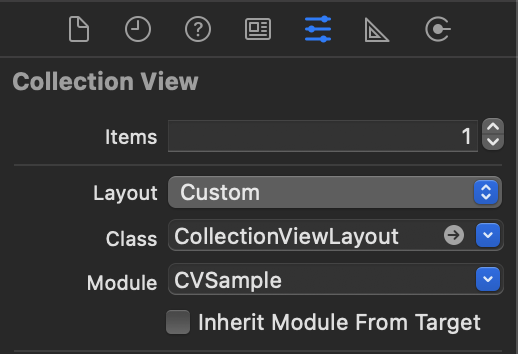
CollectionViewLayoutクラスが作成できたら、StoryboardにてCollectionViewのLayoutに指定します。
8. UICollectionViewCellクラスを継承したCollectionViewCellクラスを作成 & Custom Classに指定
全てのCellにわたるレイアウトを設定するクラスを作成します。
次のコードではセルの枠線の太さと色を設定しています
import UIKit

class CollectionViewCell: UICollectionViewCell {


    @IBOutlet var label: UILabel!

    required init?(coder aDecoder: NSCoder) {
        super.init(coder: aDecoder)

        //cellの枠の太さ
        self.layer.borderWidth = 1.4
        //cellの枠の色
        self.layer.borderColor = #colorLiteral(red: 0.9086276889, green: 0.2920762599, blue: 0.2549881935, alpha: 1)
}
色をコードで代入する場合には、以下のように予測変換を用いてColor Literalと入力することで直感的に色を指定できます。


またStoryboardにてCollectionViewCellのCustom Classに今作成したクラスを指定します。
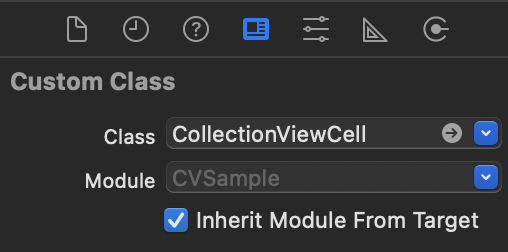
9. 各セルに表示させる内容(text)をメソッドに記述
コードから各セルにアクセスできるよう、StoryboardにてCollectionViewCellのCollectionReusableViewのIdentifierにCollectionViewCellと設定しておきます。(先ほど作成したクラス名と同じなのはたまたまです)
続いてViewControllerのcollectionView(_ collectionView: UICollectionView, cellForItemAt indexPath: IndexPath) -> UICollectionViewCellメソッドに処理を追記していきます。ここでは、各セルの番号(numberOfItems)を表示するようにしています。引数として受け取るindexPathは2次元配列で、indexPath[0]にSection、indexPath[1]にSection内のCell番号(collectionView!.numberOfItems(inSection: 0))が格納されています。
    func collectionView(_ collectionView: UICollectionView, cellForItemAt indexPath: IndexPath) -> UICollectionViewCell {

        let cell = collectionView.dequeueReusableCell(withReuseIdentifier: "CollectionViewCell", for: indexPath) as! CollectionViewCell

        cell.label.text = String(indexPath[1])

        return cell
    }
実行結果
実行結果は冒頭に示したように次のようになります。
応用
CollectionViewLayoutと、ViewController内の各セルの処理をするメソッドの記述を変更すると、例えば次のような表現もできるようになります。
参考
この記事は以下の情報を参考にして執筆しました。
- [CollectionViewの基礎]
(https://qiita.com/azuma317/items/bf1a687f912159297cb1) - [螺旋のCollectionViewを作ってみる]
(https://qiita.com/Sho-heikun/items/4b9c85a04957c5b66e7d)