AWSの資格を取る際にS3にはクライアントサイドの暗号化、サーバーサイドの暗号化があるということを知りました。ただ、実際にやったことがなかったので、とりあえずサーバー側の暗号化については実際にやってみたのでメモ。
S3の暗号化の種類について
まず、大きく分けてクライアントサイドの暗号化、サーバーサイドの暗号化があります。名前の通り、暗号化・復号化をクライアント側(ユーザー側)でやるか、サーバー側(AWS)に任せるかということになります。
また、それぞれで暗号化するときの鍵の管理を誰がするかという話があります。
クライアント側で暗号化、復号化する場合では以下の2種類があります。
| 鍵の管理 | 特徴 |
|:-----------|:------------|:------------|
| クライアント | クライアント側で鍵の管理をしなければならない。暗号化、復号化をするためのコードを書く必要がある|
| AWS KMS | AWS KMSに鍵の管理を任せられる。CloudTrailで監査も出来る。暗号化、復号化をするためのコードを書く必要がある |
サーバー側での暗号化、復号化する場合、以下の3種類があります。
| 鍵の管理 | 特徴 |
|:-----------|:------------|:------------|
| クライアント | クライアント側で鍵を管理する必要がある。暗号化、復号化はサーバー側(AWS)で実施|
| AWS KMS | AWS KMSに鍵の管理を任せられる。CloudTrailで監査も出来る |
| AWS S3 | S3で鍵の生成、暗号化、復号化を実施する。 |
他にもCloud HSMを使って鍵を管理する方法なども色々あるかもしれませんが、割愛します。
以下より、サーバー側の暗号化を試してみます。(別途時間のあるときにクライアント側のもやってみたい。。)
暗号化せず、アップロード
まず、暗号化せず、アップロードしてみます。
事前にAWS SDKを使うための、アクセスキーなどの設定及びgem install aws-sdkをしておくことを忘れないように。
The Phantom Menace
Attack of the Clones
Revenge of the Sith
A New Hope
The Empire Strikes Back
Return of the Jedi
The Force Awakens
require 'aws-sdk'

s3 = Aws::S3::Client.new(region: 'ap-northeast-1')

File.open('starwars.txt') do |file|
  s3.put_object(bucket: 'toshihirock-s3-cipher-test', key:'nothing', body:file)
end
上記のように2つファイルを作成し、実行すればアップロードOKです。
$ruby nothing.rb
試しに情報を見てみます。
# 標準出力
$aws s3 cp s3://toshihirock-s3-cipher-test/nothing -
The Phantom Menace
Attack of the Clones
Revenge of the Sith
A New Hope
The Empire Strikes Back
Return of the Jedi
The Force Awakens


# オブジェクトの情報を取得
$aws s3api head-object --bucket toshihirock-s3-cipher-test --key nothing
{
    "AcceptRanges": "bytes",
    "ContentType": "",
    "LastModified": "Fri, 15 Jan 2016 22:58:49 GMT",
    "ContentLength": 132,
    "ETag": "\"25af743c95ee31a78cdd1f107be6add5\"",
    "Metadata": {}
}
普通に取得できて、プロパティとしても特に何も設定されていませんね。
サーバー側で暗号化(S3で鍵を管理)
AWS SDK for Ruby を使用したサーバー側の暗号化の指定
一番簡単なものからやってみましょう。
これは簡単でS3にオブジェクトをアップロードする際に「S3で暗号化して」というのを示すserver_side_encryption: 'AES256'を追加すればOKです。
require 'aws-sdk'

s3 = Aws::S3::Client.new(region: 'ap-northeast-1')

File.open('starwars.txt') do |file|
  s3.put_object(bucket: 'toshihirock-s3-cipher-test', key:'server-s3', body:file, server_side_encryption: 'AES256')
enda
同じように実行後、確認してみます。
# 標準出力
$aws s3 cp s3://toshihirock-s3-cipher-test/server-s3 -
The Phantom Menace
Attack of the Clones
Revenge of the Sith
A New Hope
The Empire Strikes Back
Return of the Jedi
The Force Awakens

# 確認
$aws s3api head-object --bucket toshihirock-s3-cipher-test --key server-s3
{
    "AcceptRanges": "bytes",
    "ContentType": "",
    "LastModified": "Fri, 15 Jan 2016 23:26:35 GMT",
    "ContentLength": 132,
    "ETag": "\"25af743c95ee31a78cdd1f107be6add5\"",
    "ServerSideEncryption": "AES256",
    "Metadata": {}
}
標準出力は同じですが、オブジェクト情報の ServerSideEncryptionがAES256 となっており、サーバーのディスク書き込み時には暗号化していますということが分かります。
サーバー側で暗号化(KMSで鍵を管理)
次に鍵の管理をKMSで実施するものをやってみます。
以下を参考にさせていただきました。
まず、最初にKMSを使ってマスターキー情報を作成します。
マネージメントコンソールでIAMの画面を表示し、下部の「Encryption Keys」を選択することでKMSの画面に遷移できます。
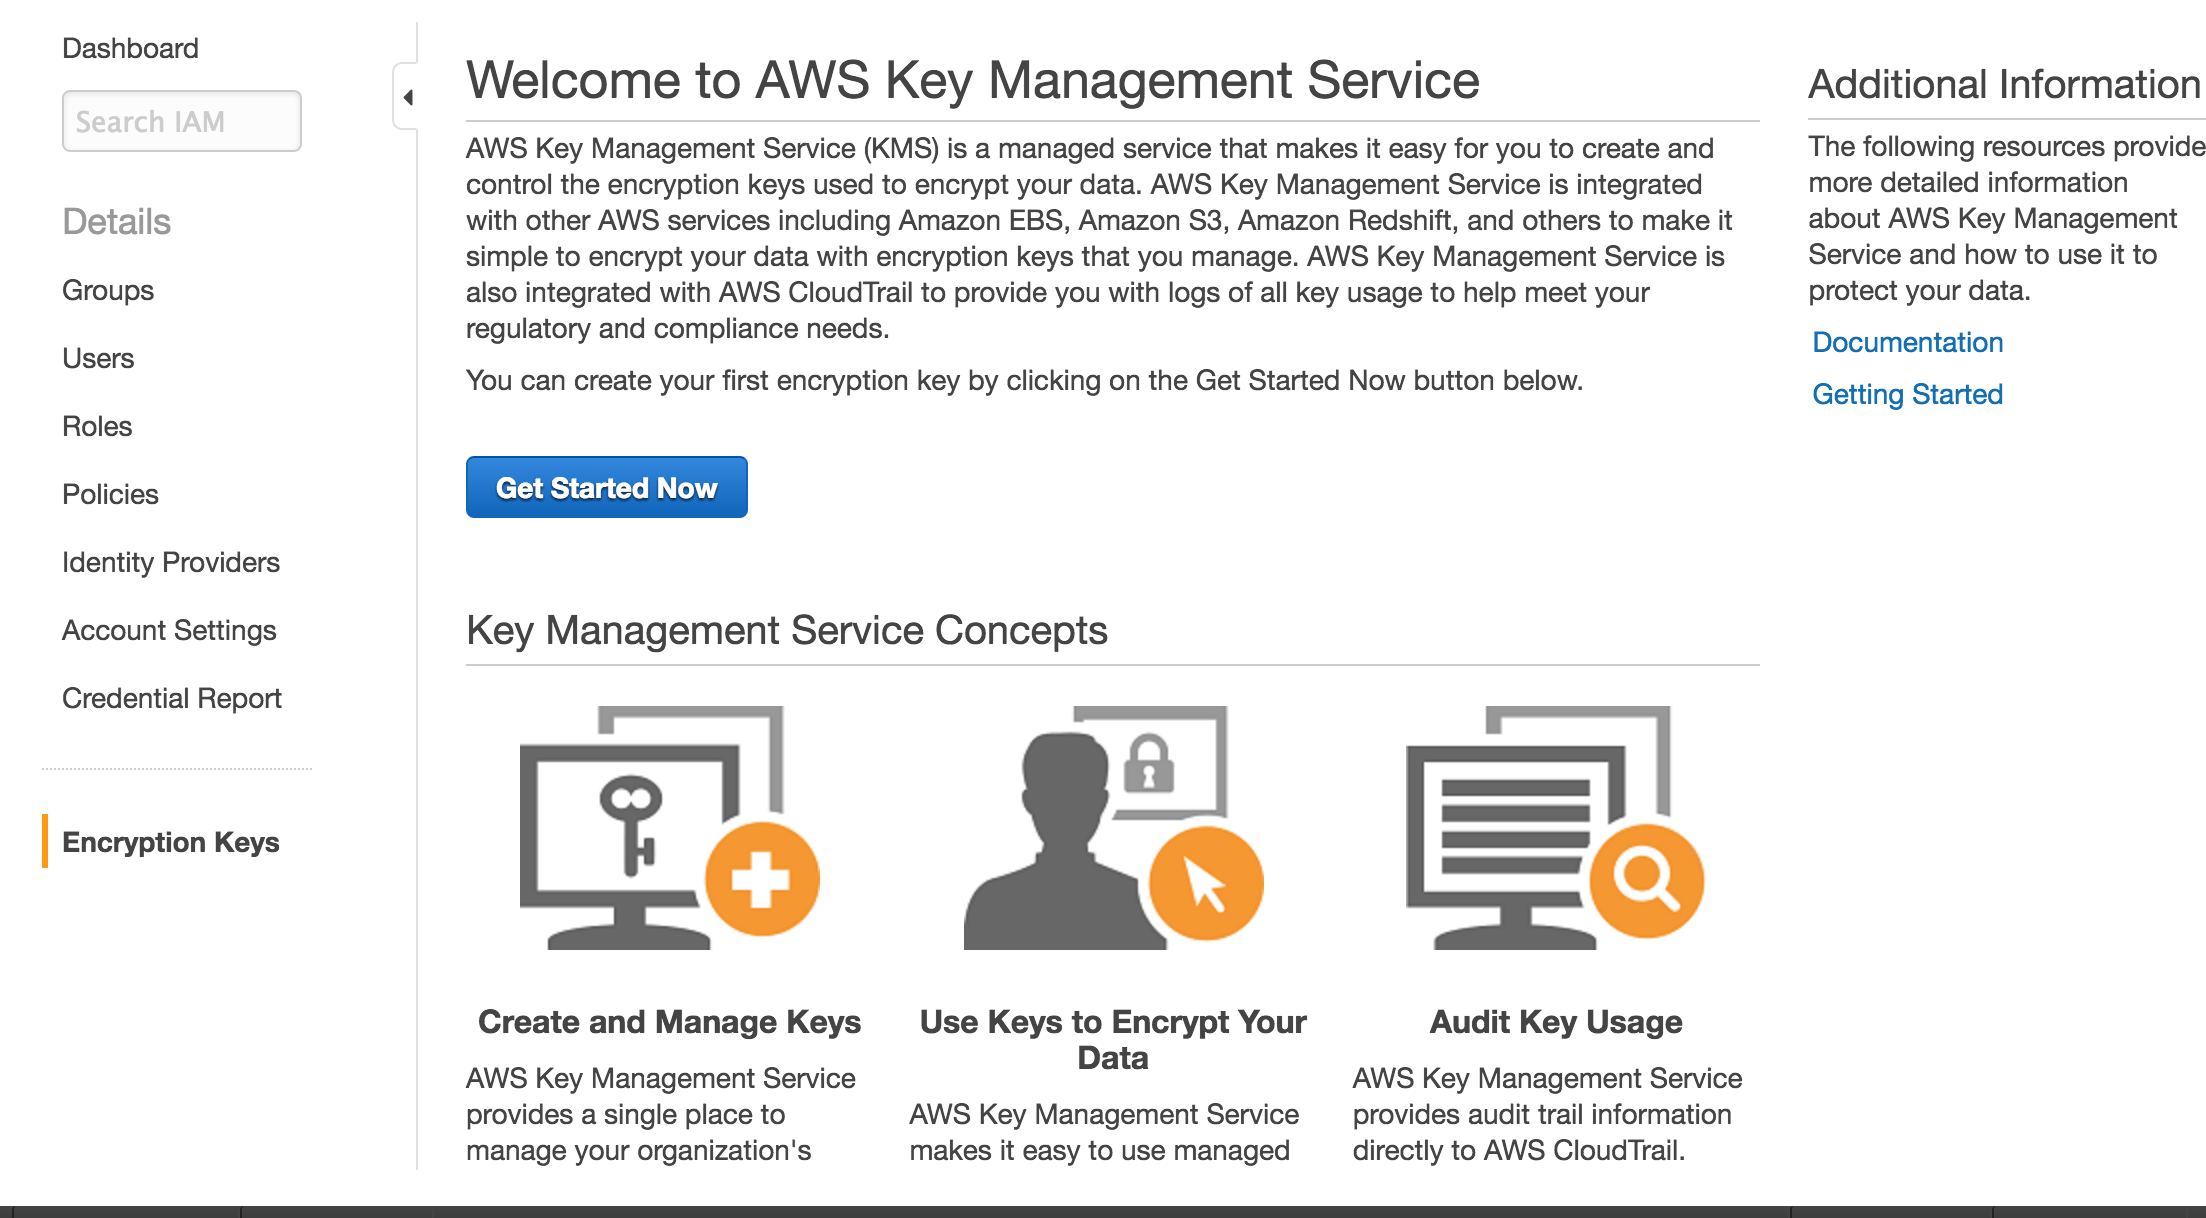
遷移後、Create Keyボタンから作成を行っています。
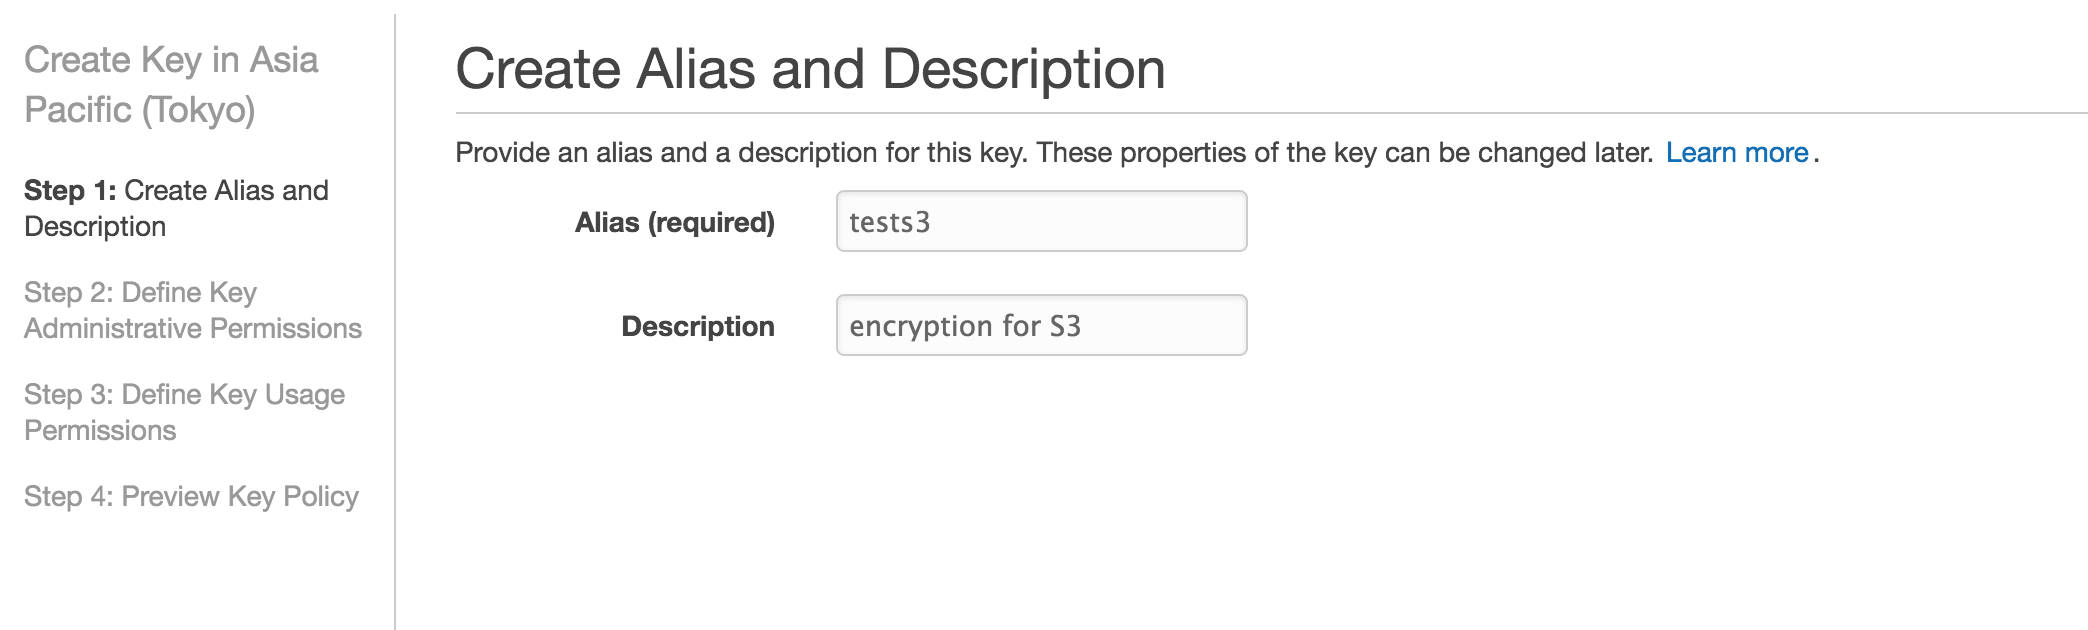
適当に設定します。
- Alias->tests3
- Description->encryption for S3
次にDefine Key Administrative Permissionsということで自分が普段使っているユーザーを選択しました。
次のDefine Key Usage Permissionsでも自分が普段使っているユーザーを選択しました。
最後にPreview Key Policyということでポリシー情報が表示されるので問題ないければFinishで作成完了させます。
作成後、CLIで作成したKeyIdを確認しておきます。
# 確認。一部省略
$aws kms list-keys
{
    "Keys": [
        {
            "KeyArn": "arn:aws:kms:ap-northeast-1:xxxxx:key/xxxxx",
            "KeyId": "xxxxx"
        }
では準備ができたのでやってみましょう!
と言ってもサーバー側で暗号化は行ってくれるのでserver_side_encryption: 'aws:kms', ssekms_key_id:'keyid'を追加すれば良いだけなのでコードは簡単です。
require 'aws-sdk'

s3 = Aws::S3::Client.new(region: 'ap-northeast-1')

File.open('starwars.txt') do |file|
  s3.put_object(bucket: 'toshihirock-s3-cipher-test', key:'server-kms', body:file, server_side_encryption: 'aws:kms', ssekms_key_id:'58cd057f-f825-4ef0-9b95-4615743ffcd2')
end
これでOKです。実行後、取得を確認してみます。
# KMSを使っているのでAWS Signature Version4の設定をしないと取得できない旨が表示
$aws s3 cp s3://toshihirock-s3-cipher-test/server-kms -
download failed: s3://toshihirock-s3-cipher-test/server-kms to ./- A client error (InvalidArgument) occurred when calling the GetObject operation: Requests specifying Server Side Encryption with AWS KMS managed keys require AWS Signature Version 4. You can enable AWS Signature Version 4 by running the command:
aws configure set s3.signature_version s3v4


# 設定をする
$aws configure set s3.signature_version s3v4

# 再確認.
$aws s3 cp s3://toshihirock-s3-cipher-test/server-kms -
The Phantom Menace
Attack of the Clones
Revenge of the Sith
A New Hope
The Empire Strikes Back
Return of the Jedi
The Force Awakens


# 確認。サーバーサイドでKMSの暗号化がされていることがわかる
$aws s3api head-object --bucket toshihirock-s3-cipher-test --key server-kms
{
    "AcceptRanges": "bytes",
    "ContentType": "",
    "LastModified": "Sun, 17 Jan 2016 00:05:44 GMT",
    "ContentLength": 132,
    "ETag": "\"91277568960fe95efecc88f751a6c8e6\"",
    "ServerSideEncryption": "aws:kms",
    "SSEKMSKeyId": "arn:aws:kms:ap-northeast-1:xxxxx:key/xxxxxx",
    "Metadata": {}
}
公式ドキュメントにも書いてありますが、KMSを使った場合にはリクエスト時に「AWS 署名バージョン 4」が必須になっており、適切なユーザーでなければS3にアクセスできなくなりました。(上記より、s3.signature_version s3v4を設定しないとアクセスが失敗していた)
サーバー側で暗号化(クライアントで鍵を管理)
最後に暗号化自体はS3に実施させますが、鍵の管理をクライアントにするようにします。こちらはAWSではServer-Side Encryption with Customer-Provided Encryption Keysということで SSE-C と呼ばれているようです。
以下を参考にさせていただきました。
- お客様が用意した暗号化キーによるサーバー側の暗号化(SSE-C)を使用したデータの保護
- S3のユーザ提供キーによるサーバサイド暗号化 (SSE-C) を試してみた
- Upload file to S3 with SSE-C
以下ではAES256キー情報として必要な256bits(32bytes)の文字列を「12345678901234567890123456789012」として実行しています。
リクエスト時には以下の3つを指定しています。
- sse_customer_algorithm->SSEではAES256を利用(今はこれしか選べないよう)
- sse_customer_key->AES256で使うキー情報
- sse_customer_key_md5->キー情報のMD5
注意点としてsse_customer_key,sse_customer_key_md5はBase64エンコーディングする必要はありません。REST APIを直接叩く場合にはBase64エンコーディングする必要があるようですが、少なくともRubyのSDKを使う場合には必要ありませんでした。(はまった。。。)
ではやってみます
require 'aws-sdk'
require 'digest/md5'
require 'pp'

s3 = Aws::S3::Client.new(region: 'ap-northeast-1')
key = '12345678901234567890123456789012'

params = {
  bucket: 'toshihirock-s3-cipher-test',
  body: "hello",
  key: 'test',
  sse_customer_algorithm: 'AES256',
  sse_customer_key: key,
  sse_customer_key_md5: Digest::MD5.digest(key)
}

resp = s3.put_object(params)
pp resp
アップロード後、確認してみます。
# 取得。キーを指定しないとエラー
$aws s3api get-object --bucket toshihirock-s3-cipher-test --key test -

A client error (InvalidRequest) occurred when calling the GetObject operation: The object was stored using a form of Server Side Encryption. The correct parameters must be provided to retrieve the object.

# keyを指定すれば取得出来る
$aws s3api get-object --bucket toshihirock-s3-cipher-test --key test --sse-customer-algorithm AES256 --sse-customer-key 12345678901234567890123456789012 hoge

# 取得した内容を表示
$cat hoge
hello

# 状態の確認。SSECustomerKeyMD5が設定されている
$aws s3api head-object --bucket toshihirock-s3-cipher-test --key test --sse-customer-algorithm AES256 --sse-customer-key 12345678901234567890123456789012
{
    "AcceptRanges": "bytes",
    "ContentType": "",
    "LastModified": "Mon, 18 Jan 2016 06:41:31 GMT",
    "ContentLength": 5,
    "SSECustomerAlgorithm": "AES256",
    "ETag": "\"7023dfb95be52377680702314f0308c0\"",
    "SSECustomerKeyMD5": "dnF5x6K/8ZZRzpfSlMMM+w==",
    "Metadata": {}
}
なお、以下のようにOpenSSL::Cipher.new('aes-256-cbc').random_keyとすればコードでランダムのキーの生成も可能です
require 'aws-sdk'
require 'digest/md5'
require 'openssl'
require 'pp'

s3 = Aws::S3::Client.new(region: 'ap-northeast-1')
key = OpenSSL::Cipher.new('aes-256-cbc').random_key

params = {
  bucket: 'toshihirock-s3-cipher-test',
  body: "hello",
  key: 'test',
  sse_customer_algorithm: 'AES256',
  sse_customer_key: key,
  sse_customer_key_md5: Digest::MD5.digest(key)
}

resp = s3.put_object(params)
pp resp