この投稿は今年もやるよ!AWS Lambda縛り Advent Calendar 2015の12/21日分の投稿になります。
最近みた記事で以下のようにHugoで作ったMarkdownをS3に配置することでLambdaを実行し、ビルド後、S3に再配置して自動でWebサイトのホスティングをするというのを見て、おもしろそうだったので実際にやってみました。
How to host Hugo static website generator on AWS Lambda
なお、本記事では上記CloudFrontとRoute53の設定部分については記載しておりません。
Hugoのビルド?からS3への配置までをCircleCIでやるという記事を見たことがあった気がするのですが、CircleCIの部分をLambdaでやろうという記事がこちらになるかと思います。
ローカル環境でHugoの開発環境を構築し、サイトを作成する
ローカルでHugoを使う環境の構築を行います。Hugoを使う場合、Hugo用のCLIコマンドをインストールする必要があります。対応するOSなどのバイナリをインストールすれば良いようですが、MacOSXのbrewでも利用できるようだったので、brewを使ってインストールしました。
# brewによるHugoのインストール
$brew install hugo

# 確認
$hugo version
Hugo Static Site Generator v0.14 BuildDate: 2015-06-17T05:41:12+09:00
Hugo Quickstart Guideを参考に自分のサイトを作ってみます。
作成する記事はなんでもいいと思います。
# サイトの作成
$hugo new site toshihirock

# aboutページの作成、編集.作成されたページのdraft = trueは削除する
$hugo new about.md
$vi content/about.md

# 最初の記事.作成されたページのdraft = trueは削除する
$hugo new post/first.md
$vi content/post/first.md

# Hugoのテーマのインストール(hydeというテーマをインストール)
$mkdir themes
$cd themes
$git clone https://github.com/spf13/hyde.git

# Hugoのローカルでの起動
$hugo server --theme=hyde --watch
hugo serverコマンドの実行により http://localhost:1313 にアクセスすることで作成した記事を確認することができます。また、--watchオプションを設定した状態で起動すれば、Markdownを編集した場合、LiveReload機能によってファイル保存時にブラウザの内容も変更が反映されるので便利です。
ファイル配置用およびWebホスティング用バケットの作成
S3でHugoの全体のファイル(Markdownやテーマなど)を管理するバケットとHugoから生成されたhtmlなどを管理するWebサイトホスティング用のバケットを作成します。
最初にWebサイトホスティング用のバケットを作成します。
バケット名は任意の名称を設定してください。
- Bucket Name->toshihirock.hugoweb
- Region->Tokyo
次に作成したバケットにWebサイトをホスティングする際の設定を行います。
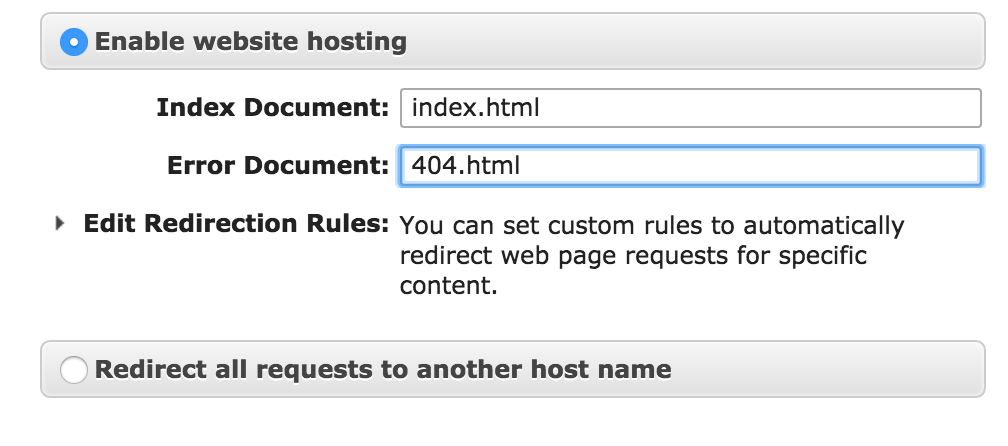
- Static Website Hosting->Enable website hosting
- Index Document->index.html
- Error Document->404.html
次にバケットポリシーの設定をします。
作成したバケットはWebサイトなのでどのユーザーでもアクセスできるようにバケットポリシーを設定します。
- Permissions->Add Bucket Policy
以下のバケットポリシーを利用します。
なお、 toshihirock.hugoweb という部分については自分の作成したバケット名に置き換えてください。
{
    "Version": "2012-10-17",
    "Statement": [
        {
            "Sid": "PublicReadGetObject",
            "Effect": "Allow",
            "Principal": "*",
            "Action": [
                "s3:GetObject"
            ],
            "Resource": [
                "arn:aws:s3:::toshihirock.hugoweb/*"
            ]
        }
    ]
}
次にHugo全体のファイルを配置するinput用のバケットを作成します。
- Bucket Name->input.toshihirock.hugoweb
- Region->Tokyo
こちちら作成だけでOKです。
Lambdaで実行用のRoleの作成
LambdaからのS3のファイルを操作できるRoleの作成を行います。
具体的にはHugoのファイルを配置するバケットからの読み取り権限、Webサイトホスティング用サイトの読み取り、書き込み権限の設定をします。
IAMのページを開き、設定をしていきます。
- 画面左部分のRolesを選択
- Create New Roleを選択
- Role Nameを「hugoLambdaExecRole」とする
- Role Typeは「AWS Lambda」を選択
- Attach Policyは「AWSLambdaBasicExecutionRole」を選択
- Create Roleを選択して作成
- 作成したロール「hugoLambdaExecRole」を選択
- PermissionsタブのInline Policiesを選択し、click hereというリンクを選択
- Custom Policyを選択
以下のようなポリシーを作成します。バケット名の部分は適宜自分の作成したバケット名に置き換えてください。
- Policy Name->AccessToHugoS3Buckets
{
    "Version": "2012-10-17",
    "Statement": [
        {
            "Effect": "Allow",
            "Action": [
                "s3:ListAllMyBuckets"
            ],
            "Resource": [
                "arn:aws:s3:::*"
            ]
        },
        {
            "Effect": "Allow",
            "Action": [
                "s3:ListBucket"
            ],
            "Resource": [
                "arn:aws:s3:::input.toshihirock.hugoweb"
            ]
        },
        {
            "Effect": "Allow",
            "Action": [
                "s3:GetObject"
            ],
            "Resource": [
                "arn:aws:s3:::input.toshihirock.hugoweb/*"
            ]
        },
        {
            "Effect": "Allow",
            "Action": [
                "s3:ListBucket"
            ],
            "Resource": [
                "arn:aws:s3:::toshihirock.hugoweb"
            ]
        },
        {
            "Effect": "Allow",
            "Action": [
                "s3:DeleteObject",
                "s3:GetObject",
                "s3:PutObject",
                "s3:GetObjectAcl",
                "s3:PutObjectAcl"
            ],
            "Resource": [
                "arn:aws:s3:::toshihirock.hugoweb/*"
            ]
        }
    ]
}
Lambda Functionを作成する
Hugoのファイルを配置するバケットからファイルを取得し、websiteホスティングの設定をしてあるバケットにファイルをアップロードするLambda functionを登録します。
こちらについては参照記事のものを利用させていただきました。
Download Lambda function for Hugo
このzipには以下が含まれているようです。
- Hugo0.15のLinux用のバイナリ
- hugo-lambdaのRunHugo.jsファイル
- Node.jsのspawnとutilパッケージ
Node.jsのspawnを使ってHugoのバイナリを実行して配置用のhtmlを生成し、webサイトホスティング用のS3にファイル群をアップロードしています。
では上記ZIPファイルをLambdaにアップロードします。
- Service一覧からLambdaを選択
- Get Started nowもしくはFunctionの新規作成を選択
- blueprintからは何も選択せず、skip
以下のように設定
- Name->HugoTest
- Runtime->Node.js
- Code entry type->Upload a .ZIP file(選択するファイルは先ほどダウンロードしたzipファイル)
- Handler->RunHugo.handler
- Role->先ほど作成した「hugoLambdaExecRole」を選択
- Memory(MB)->128MB
- Timeout->30sec
作成が無事完了すればOKです
functionのテストを行ってみる
Lambdaのマネージメントコンソールからテスト用のイベントを発行してみます。
Actions->Configure test eventを選択し、以下のようなtemplateを設定します。バケット名は適宜変更ください。
{
  "Records": [
    {
      "s3": {
        "object": {
          "eTag": "50ed8c18234b65e3baf1417eac1bb03f",
          "size": 307,
          "key": "content/jobs/fossbox.md"
        },
        "bucket": {
          "arn": "arn:aws:s3:::input.toshihirock.hugoweb",
          "name": "input.toshihirock.hugoweb"
        },
        "s3SchemaVersion": "1.0"
      },
      "eventVersion": "2.0",
      "eventSource": "aws:s3",
      "awsRegion": "ap-northeast-1",
      "eventTime": "2015-02-08T22:50:04.028Z",
      "eventName": "ObjectCreated:Put"
    }
  ]
}
作成後、Log outputを確認し、処理が成功しているか確認します。
2015-12-20T02:30:58.564Z	ab556f4b-a6c1-11e5-82e7-f9a7fd05ac4c	hugo exited with code: 0
2015-12-20T02:31:00.724Z	ab556f4b-a6c1-11e5-82e7-f9a7fd05ac4c	done uploading
2015-12-20T02:31:00.724Z	ab556f4b-a6c1-11e5-82e7-f9a7fd05ac4c	All methods in waterfall succeeded.
END RequestId: ab556f4b-a6c1-11e5-82e7-f9a7fd05ac4c
REPORT RequestId: ab556f4b-a6c1-11e5-82e7-f9a7fd05ac4c	Duration: 16822.70 ms	Billed Duration: 16900 ms 	Memory Size: 128 MB	Max Memory Used: 48 MB
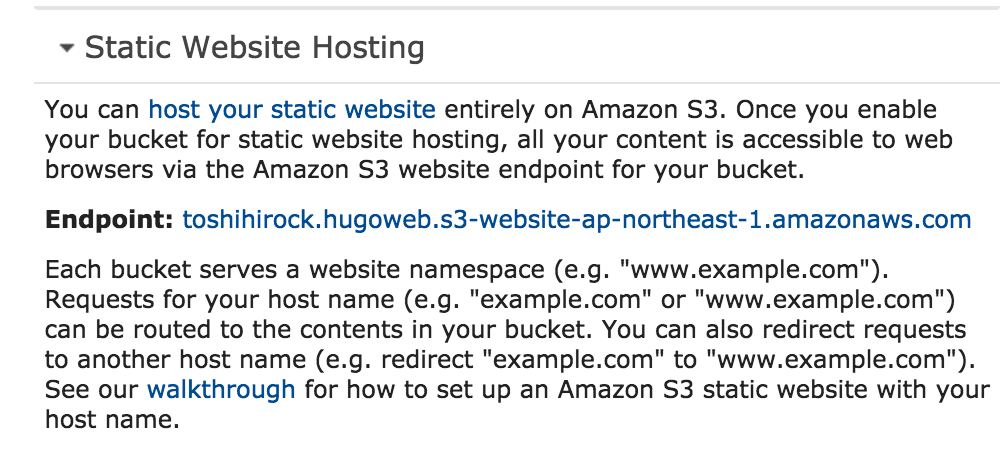
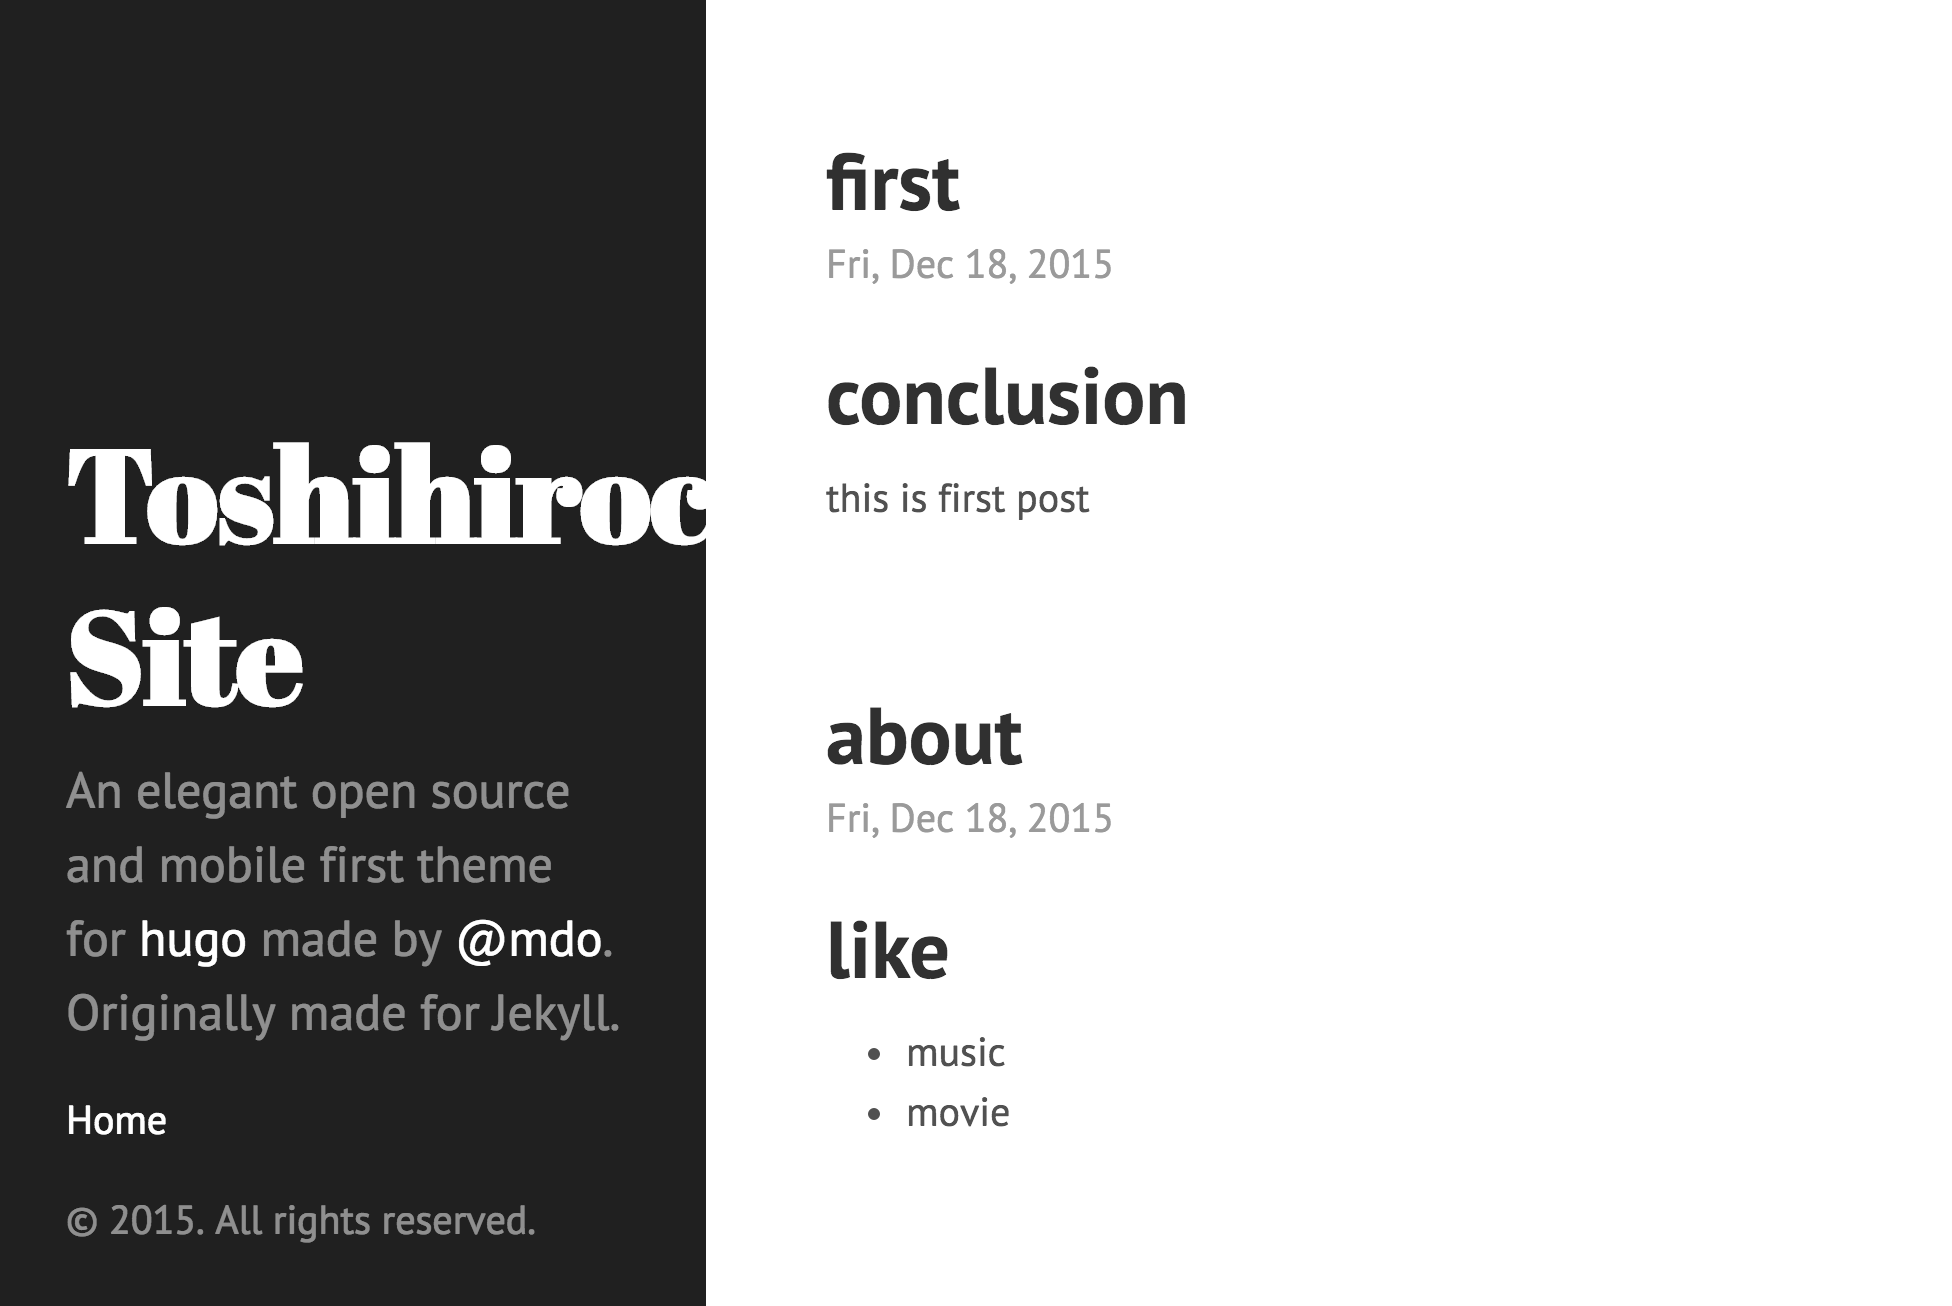
上記実施後、バケット「toshihirock.hugoweb」のStatic Website HostingのEndpointのURLをブラウザアクセスしてみます。
以下のようにブウラザで画面が表示できればOKです!
HugoのMarkdownを更新して自動的にWebサイトの情報を更新する
最後にHugoのコンテンツ(Markdown)更新時にS3でホスティングしているサイトの内容が自動更新されるように設定を行います。
Lambdaを開いて、Event sourcesタブ->Add event sourceを選択します。
- Event source type->S3
- Bucket->input.toshihirock.hugoweb
- Event type->Object Created(All)
これでHugoのファイル配置用S3のMarkdownを更新すれば自動でWebサイトが更新できます。
試しに実際にやってみます。
まず、ローカル環境でHugoの新規にページを作成します。
$hugo new post/test.md
/Users/toshihirock/hugo/toshihirock/content/post/test.md created
$vi content/post/test.md
+++
Description = ""
date = "2015-12-20T21:47:31-08:00"
menu = "main"
title = "Hugo on Lambda test page"

+++

Congratulations, you've set up Hugo on AWS Lambda!
ローカルで画面を確認します。
# localで確認
$hugo server --theme=hyde --watch
問題なければHugoファイル用S3バケットに作成したファイルをアップロードします。(aws s3 syncでも良いかと思います)
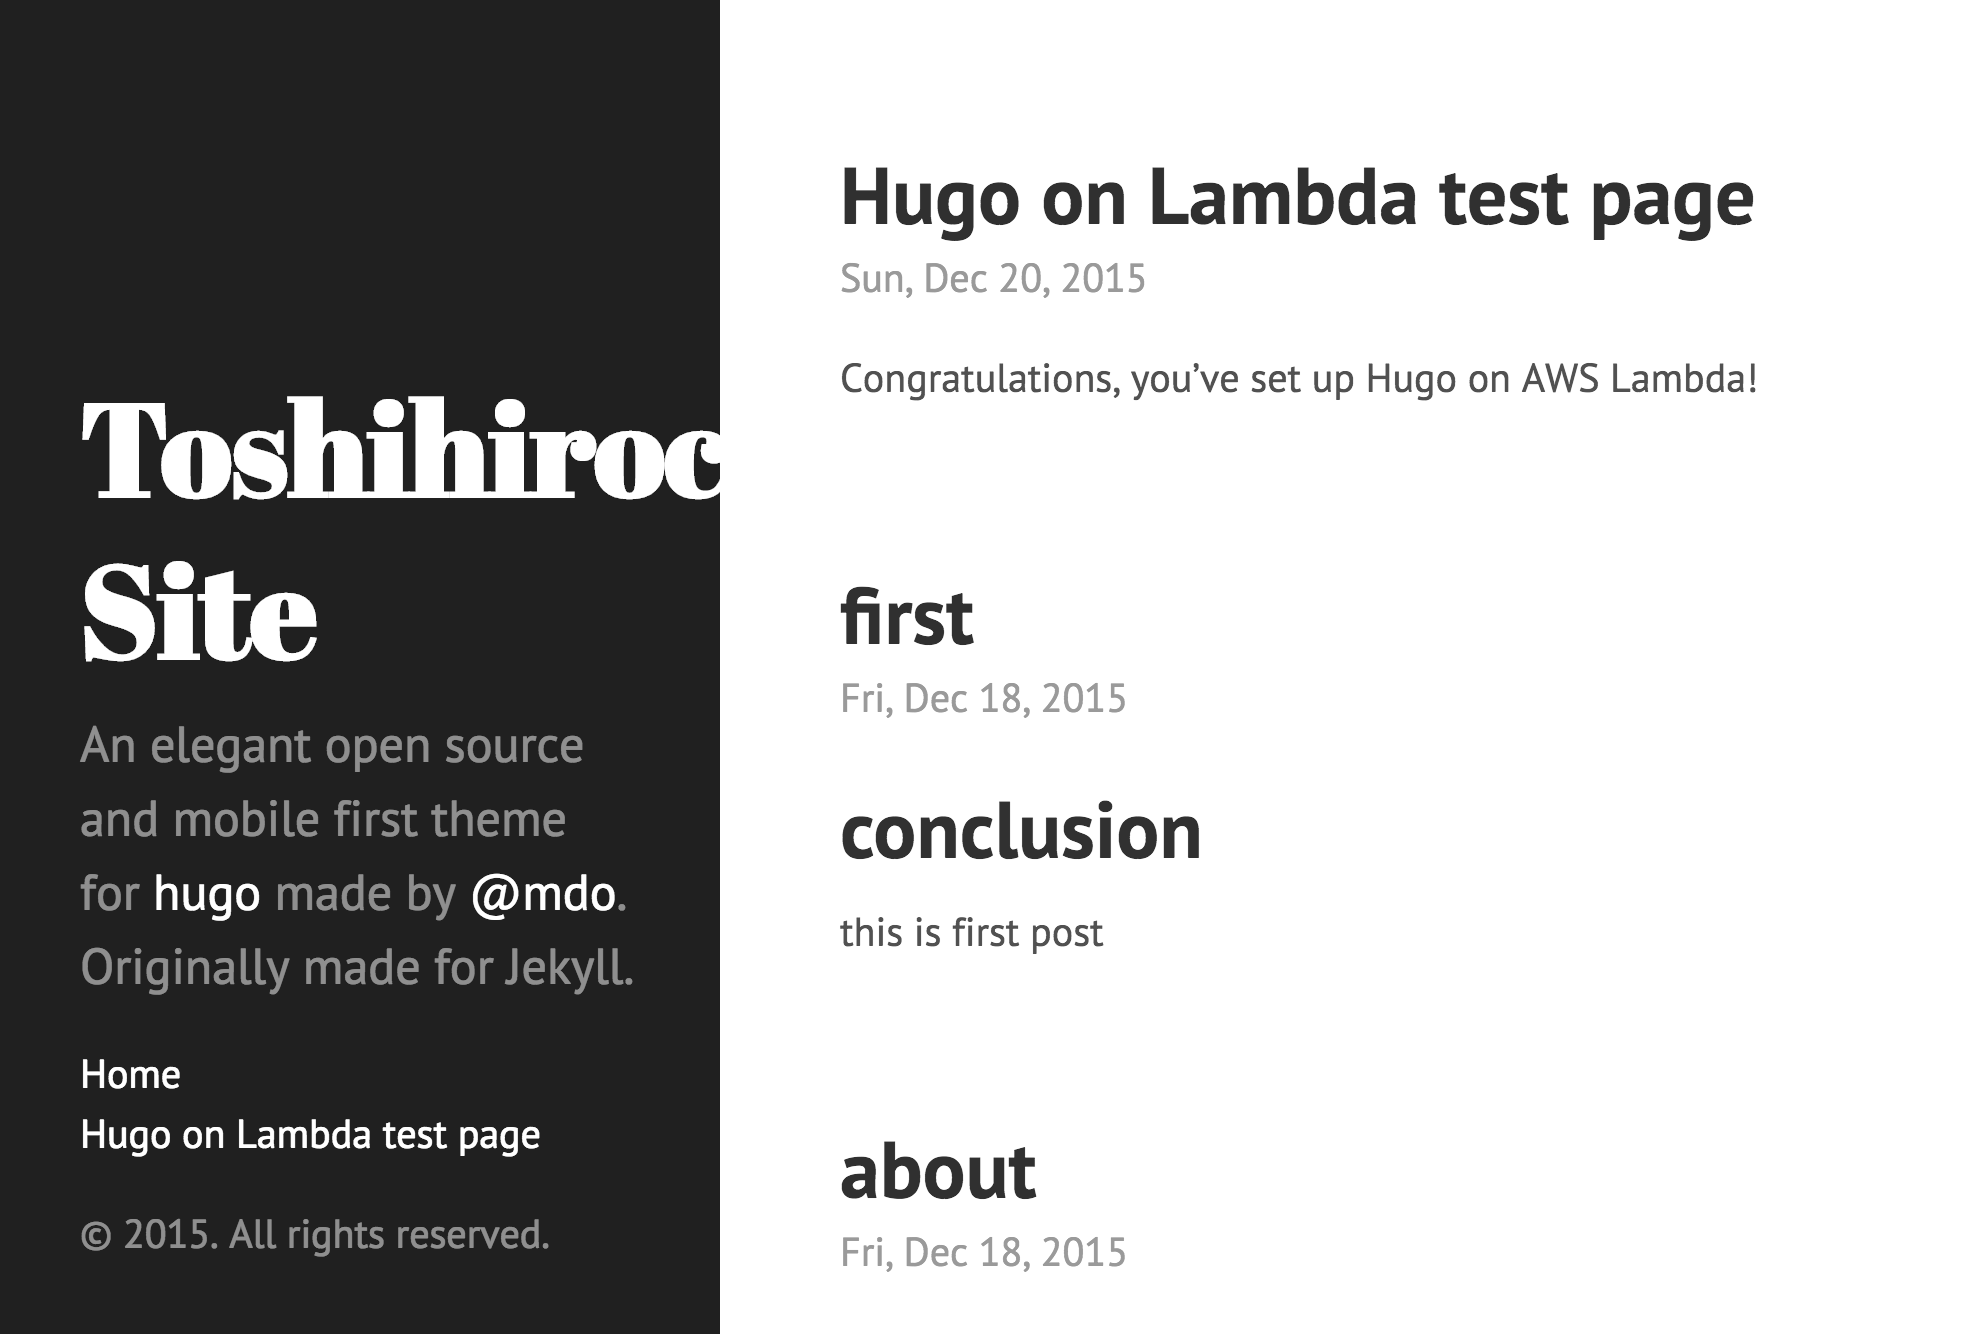
その後、先ほどと同じようにStatic Website Hostingを行ったURLを見ると自動で先ほど作成した記事がアップロードされたのが確認できます。


