こんにちは!
アイスタイル Advent Calender 2022 8日目の記事をを担当します。hayakawatです。
アイスタイルではアプリ開発グループでiOSアプリの開発をしています。
今回は最近個人で開発したアプリで利用した円形のプログレスバーについて書こうと思います。
今回作るもの
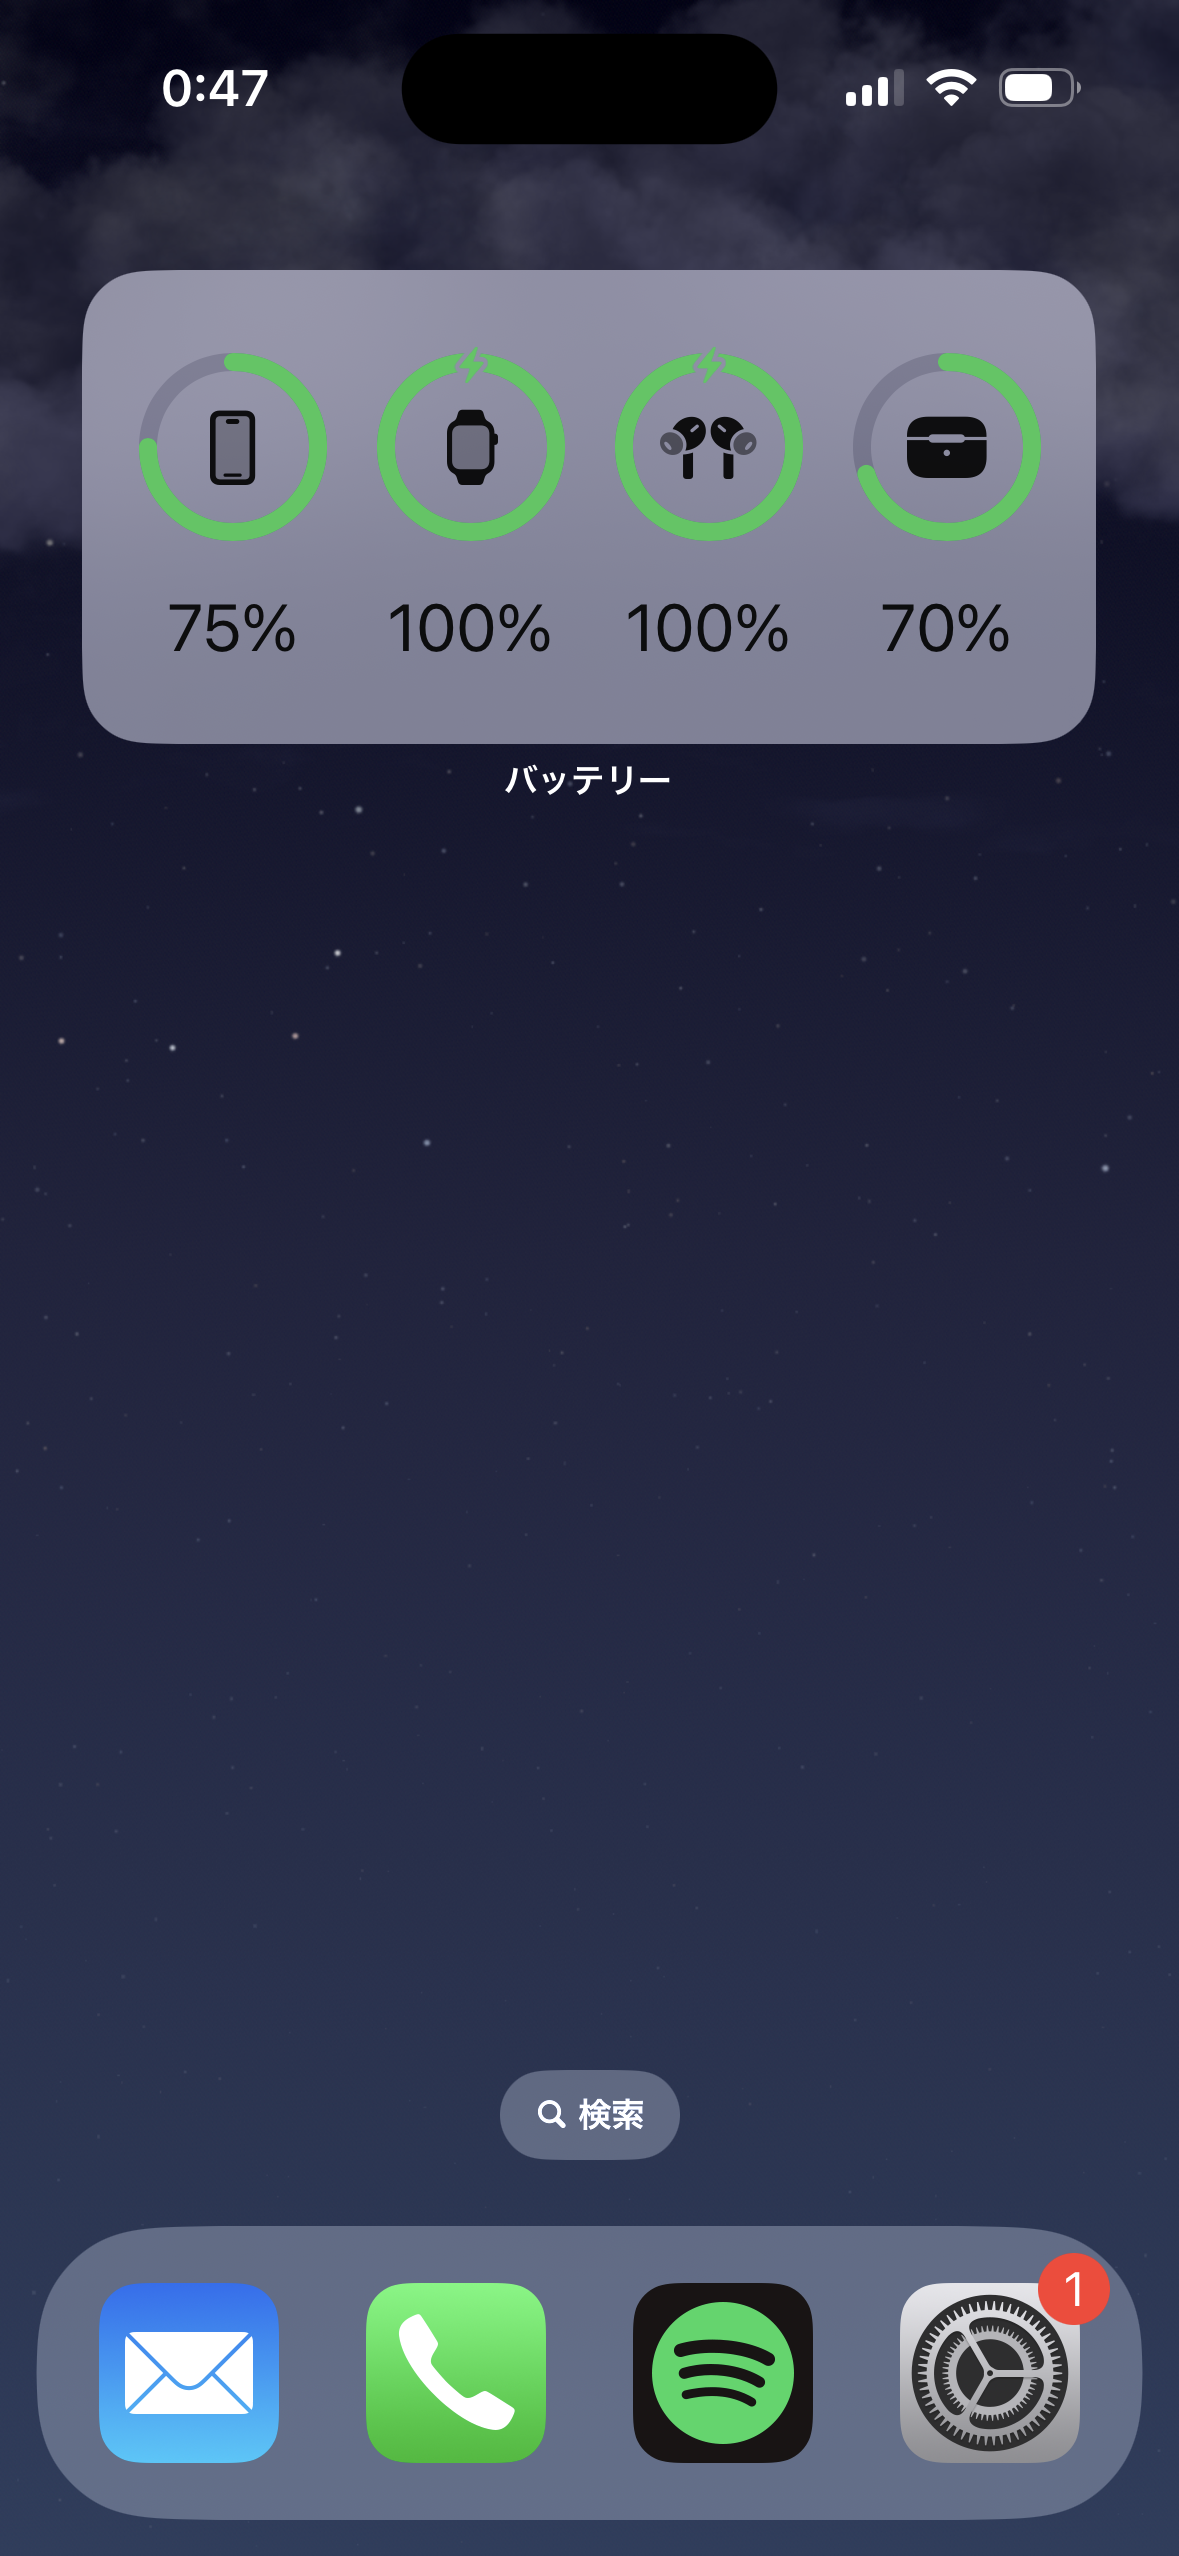
円形のプログレスバーとはiPhoneのバッテリーウィジェット等で使われている緑の円のやつです。iPhoneユーザの方は見覚えあるかと思います。

作り方
緑の円と背景のグレーの円をピッタリ重ねることで円が満たされていくように見せています。
ZStackで同じ大きさのCircle()をピッタリ重ねて表示します。
struct CircleProgressView: View {
    var body: some View {
        ZStack {
            // 下の円
            Circle()
                .stroke(
                    Color.gray,
                    style: StrokeStyle(
                        lineWidth: 15, // 線の太さ
                        lineCap: .round) // 線の端の形状
                )
                .opacity(0.5) // 透明度
                .frame(width: 150, height: 150) // 大きさ
            // 上の円
            Circle()
                .trim(from: 0.0, to: 0.5) // 線のトリム
                .stroke(
                    Color.green,
                    style: StrokeStyle(
                        lineWidth: 15,
                        lineCap: .round)
                )
                .frame(width: 150, height: 150)
        }
    }
}
.strokeを付けることで塗りつぶしの円から線の円にしています。
上の円に追加した.trim(from: 0.0, to: 0.5)は円をどの位置でトリムするかを決めています。
今回の場合だとちょうど半分になります。
toの値を変更することで円の進み具合を変更することができます。
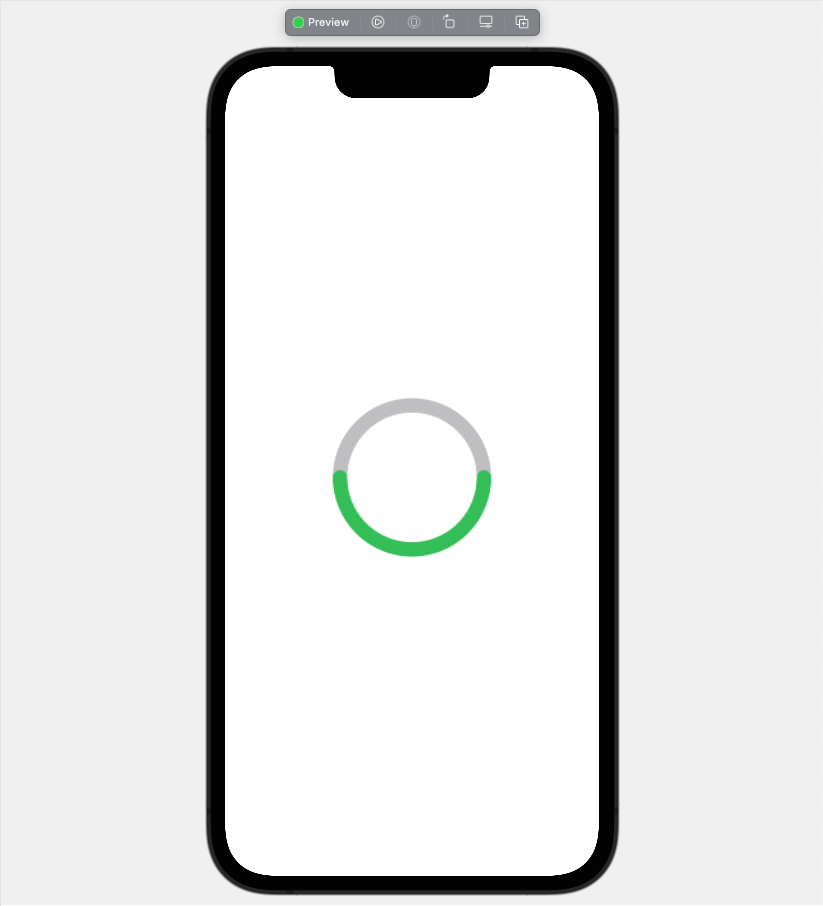
するとこんな感じになります。

90度くらいの位置から始まりちょうど半分まで円が描画されています。
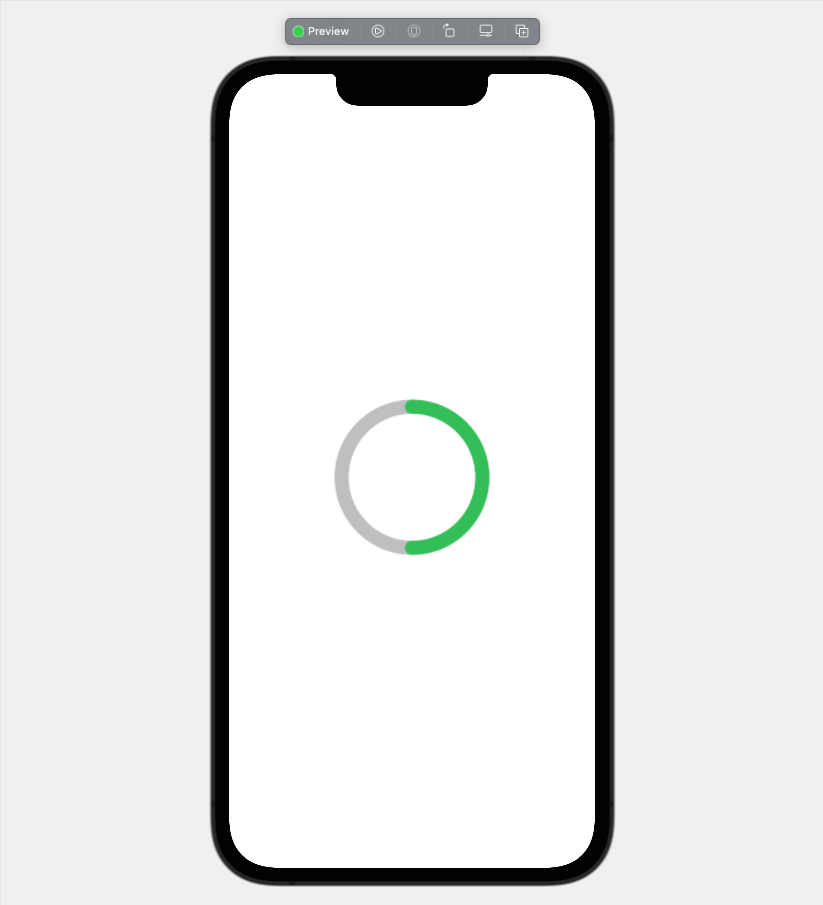
しかし、バッテリーウィジェットは上の位置から始まっているので、今回作っているプログレスバーも上から始まるようにします。
そのために上の円に.rotationEffect(Angle(degrees: -90))を追加します。
struct CircleProgressView: View {
    var body: some View {
        ZStack {
            Circle()
                .stroke(
                    Color.gray,
                    style: StrokeStyle(
                        lineWidth: 15,
                        lineCap: .round)
                )
                .opacity(0.5)
                .frame(width: 150, height: 150)
            Circle()
                .trim(from: 0.0, to: 0.5)
                .stroke(
                    Color.green,
                    style: StrokeStyle(
                        lineWidth: 15,
                        lineCap: .round)
                )
                .frame(width: 150, height: 150)
                .rotationEffect(Angle(degrees: -90)) // 追加
        }
    }
}
すると円の上からちょうど半分の真下まで満たされたViewを作成することができました。

アニメーションさせる
さらに60秒で満たされるプログレスバーの進捗が満たされるようにしていきます。
ViewModelの作成
まずは進捗の割合などのロジックを記述するViewModelを作成します。
import Foundation
import SwiftUI
import Combine

final class CircleProgressViewModel: ObservableObject {
    @Published var progressValue: CGFloat = 0.0
    private var timerCount: CGFloat = 0.0
    private var cancellable: AnyCancellable?

    init() {
        startTimer()
    }

    private func startTimer() {
        cancellable = Timer.publish(every: 0.1, on: .main, in: .default)
            .autoconnect()
            .sink { [weak self] _ in
                self?.countProgress()
            }
    }

    private func countProgress() {
        if timerCount > 60 { cancellable?.cancel() }
        timerCount = timerCount + 0.1
        progressValue = timerCount / 60.0
    }
}
progressValueはView側で監視したいので@Publishedで宣言します。
startTimerではCombineを使用してcountProgressメソッドを0.1秒ごとに実行します。
countProgress内では先頭でtimerCountで60秒経過したかを判定しtrueならタイマーを破棄するようにしています。
falseならtimerCountに0.1を加算してCircleProgressView側の.trimの範囲である0.0〜1.0の間に収めるために60.0で割っています。
CircleProgressView側に反映する
では先ほど作成したCircleProgressViewModel内のprogressValueをCircleProgressViewで監視してアニメーションするようにします。
struct CircleProgressView: View {
    // ViewModelをStateObjectで宣言してCircleProgressViewModelを監視できるようにする
    @StateObject var viewModel = CircleProgressViewModel()
    var body: some View {
        ZStack {
            Circle()
                .stroke(
                    Color.gray,
                    style: StrokeStyle(
                        lineWidth: 15,
                        lineCap: .round)
                )
                .opacity(0.5)
                .frame(width: 150, height: 150)
            Circle()
                .trim(from: 0.0, to: viewModel.progressValue) // toの値をViewModelのprogressValueを参照する
                .stroke(
                    Color.green,
                    style: StrokeStyle(
                        lineWidth: 15,
                        lineCap: .round)
                )
                .frame(width: 150, height: 150)
                .rotationEffect(Angle(degrees: -90))
        }
    }
}
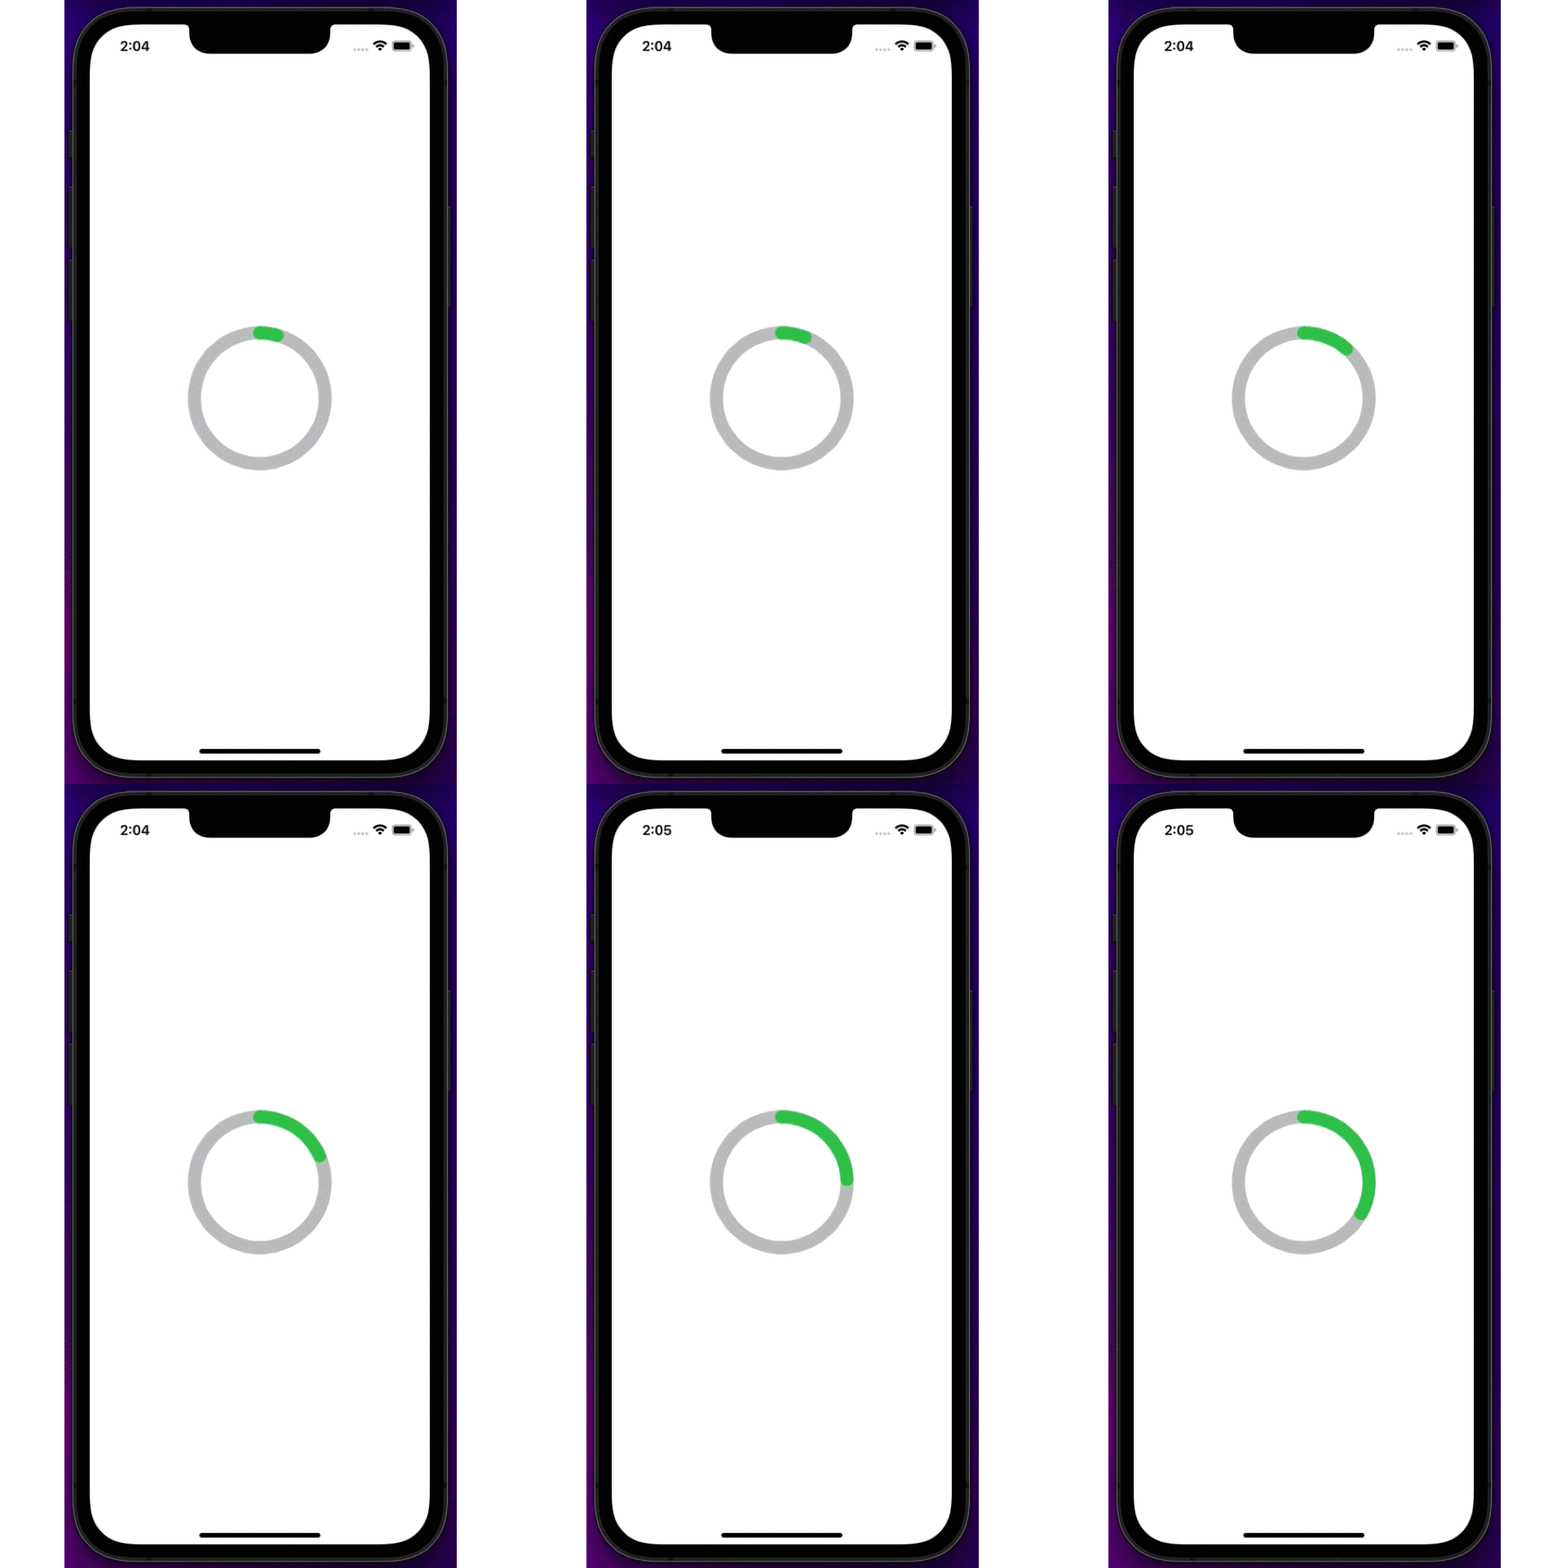
このように.trimのtoの値をviewModel.progressValueから参照することで、↓のgifのように緑の円が進んでいく円形のプログレスバーの完成です。

まとめ
意外と簡単に円形のプログレスバーを作ることができました。
もっと応用すれば面白い形のプログレスバーやグラフを描画することができそうですね。
それでは。よいお年を。