はじめに
Webサービス(REST)アプリを開発してLiberty上で動かすまでの流れについて、試したことを備忘録として記載していきます。
最終的にはEclipse, Liberty, JAX-RS, GitHub, Maven, JUnit, ...あたりを使ってRESTアプリの開発、テスト、デプロイの流れを作れるようにすることが目標。
まずはEclipseの環境整備の辺りから。
関連記事
LibertyによるWebサービスアプリ開発メモ: (1)環境構築
LibertyによるWebサービスアプリ開発メモ: (2)MavenプロジェクトによるJAX-RSアプリ開発
LibertyによるWebサービスアプリ開発メモ: (3)JPA経由でのDBアクセス
LibertyによるWebサービスアプリ開発メモ: (4)ロギング
LibertyによるWebサービスアプリ開発メモ: (5)JUnitによる単体テスト
LibertyによるWebサービスアプリ開発メモ: (6)Eclipse-GitHub連携
前提:
Windows 7
Eclipse 4.7 (Oxygen)
Java 8
WebSphere Liberty 17.0.0.x
Eclipse導入
以下からインストーラーをダウンロード(ここではWin 64bit版)
https://www.eclipse.org/downloads/download.php?file=/oomph/epp/oxygen/R/eclipse-inst-win64.exe
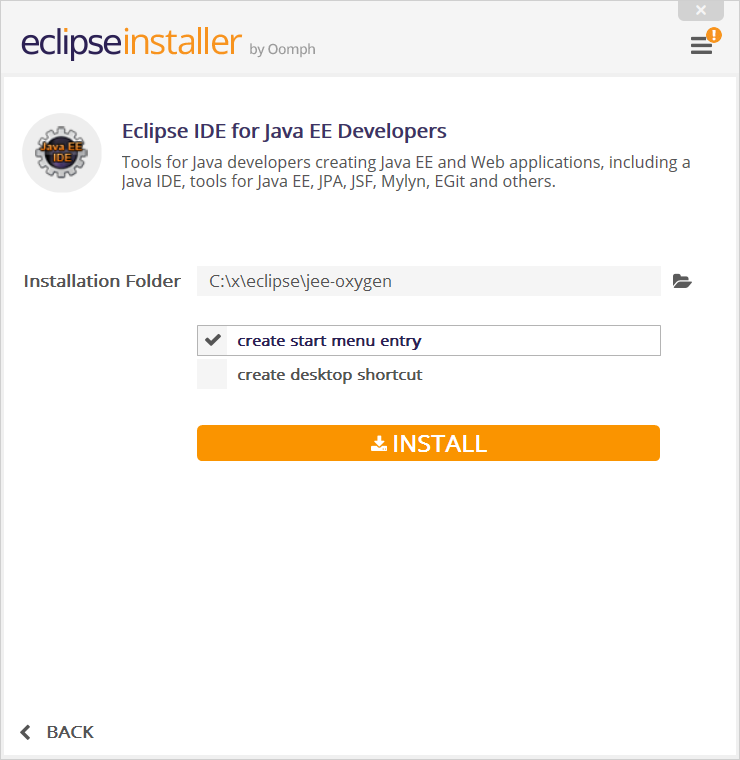
ダウンロードしたeclipse-inst-win64.exeを実行
Eclipse IDE for Java EE Developersを選択
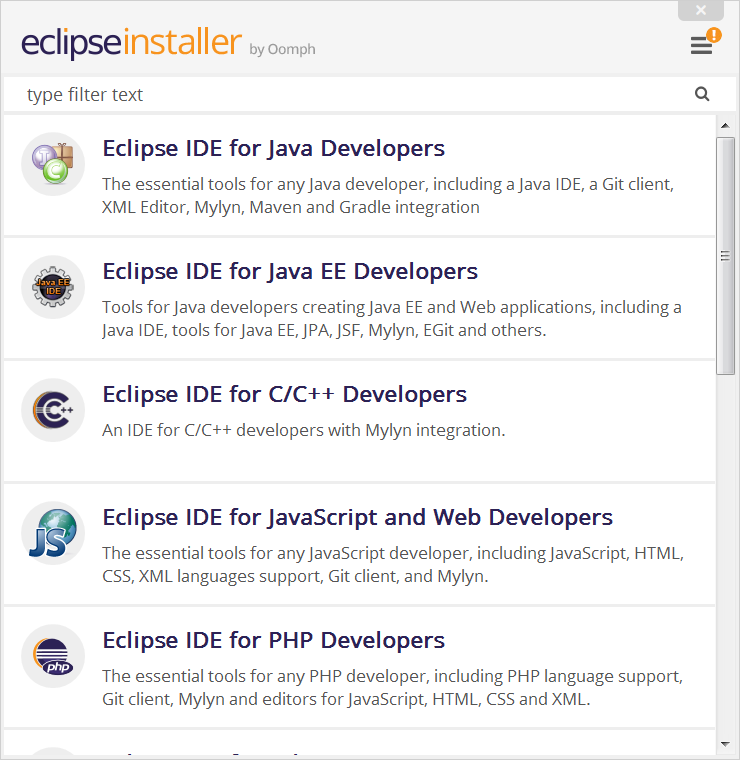
ライセンスのAcceptやらなんやら、画面の指示に従ってインストールを進めていけばOK。
Liberty環境の整備
以下の記事の手順を参考に...
参考: Bluemix Liberty for Javaの開発環境を整える(1/3)
Eclipse上にWebSpher Liberty Developer Toolの導入
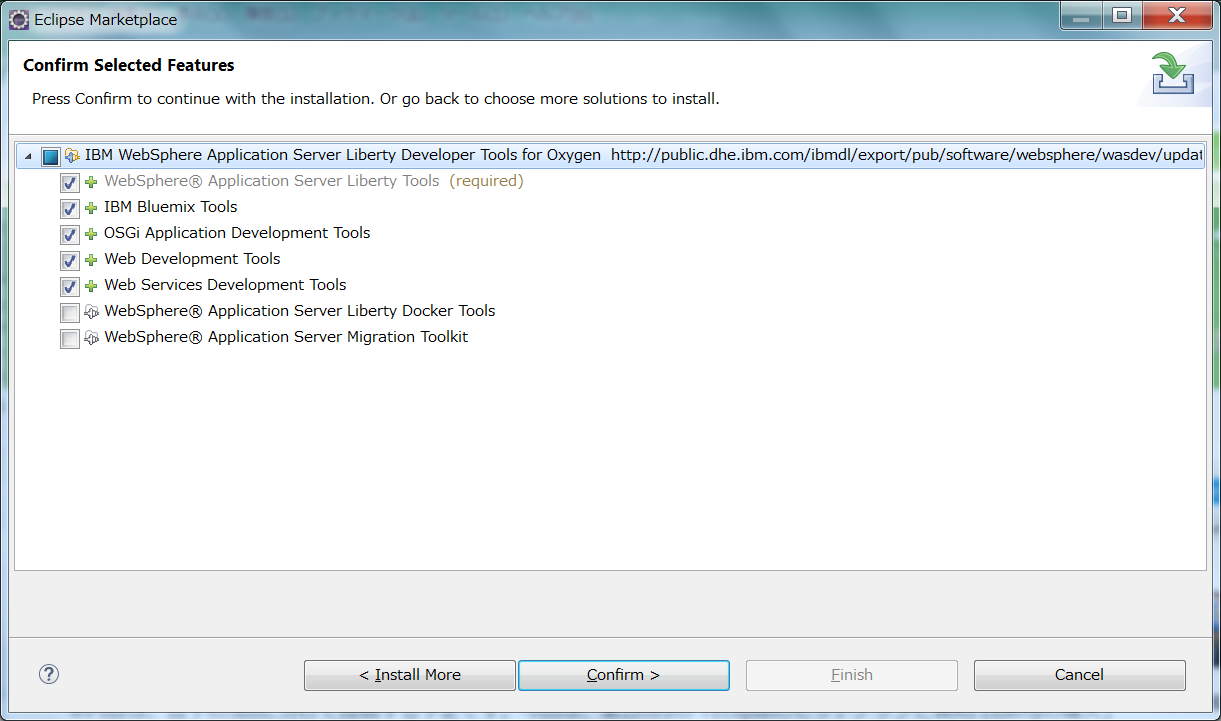
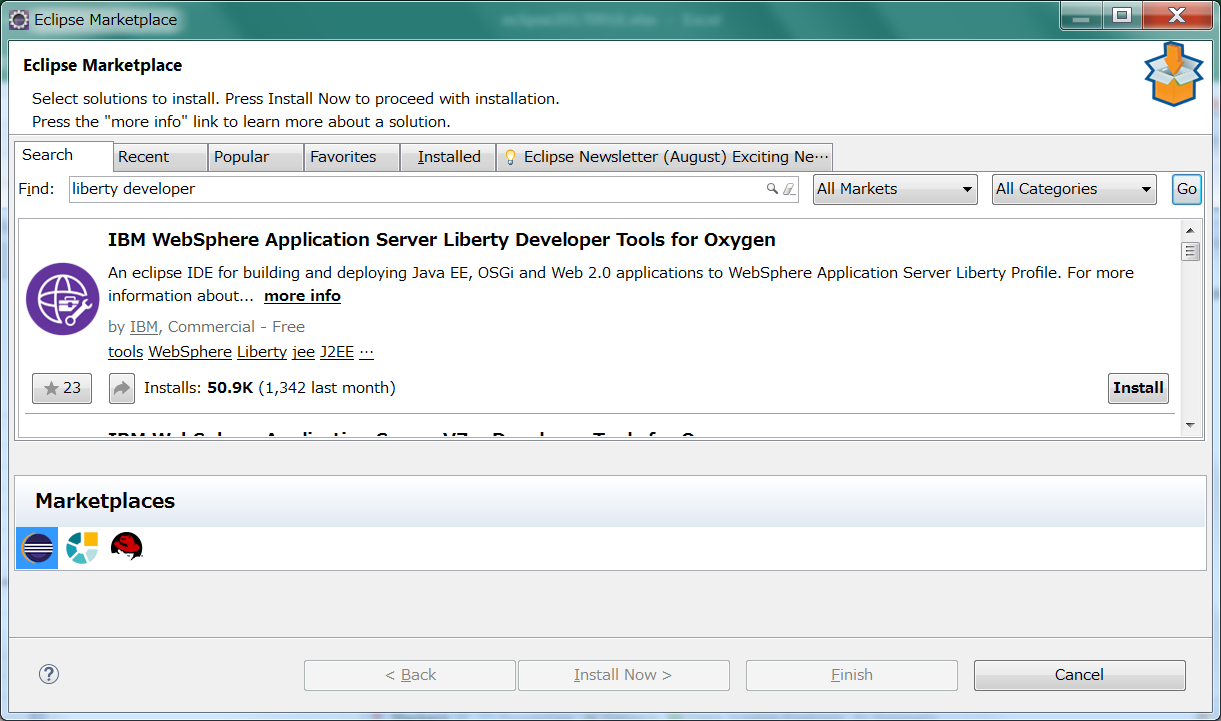
Eclipseを起動し、Help - Eclipse Marketplaceを選択。
IBM WebSphere Application Server Liberty Developer Tools for Oxygenをインストール
Libertyの導入
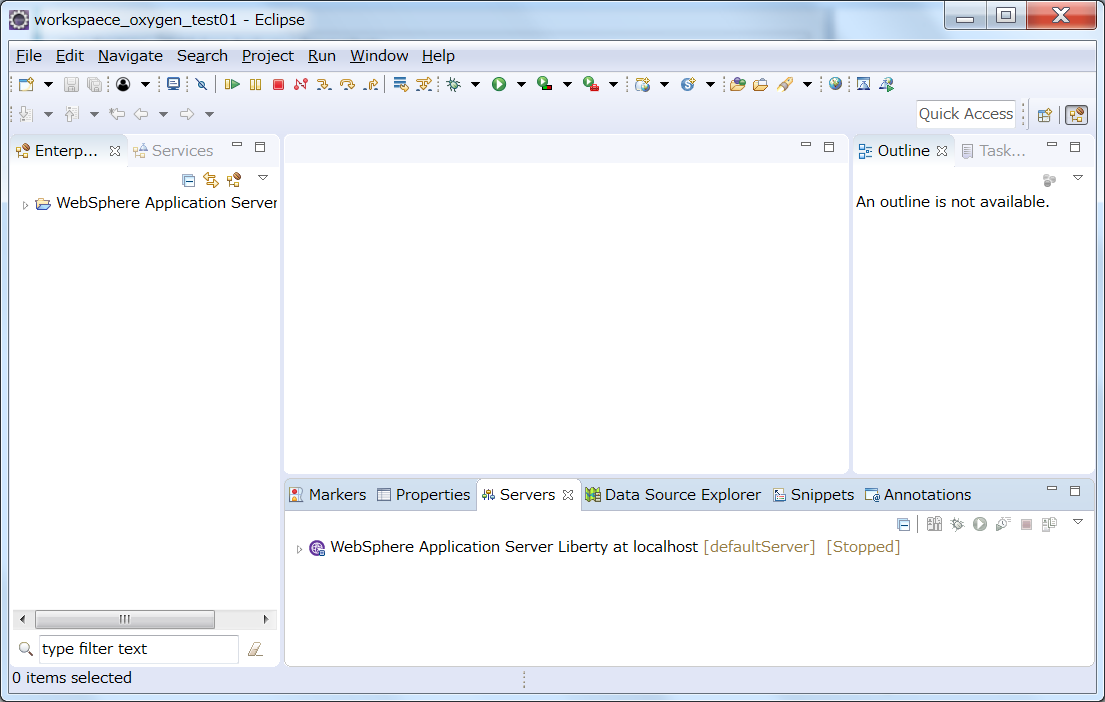
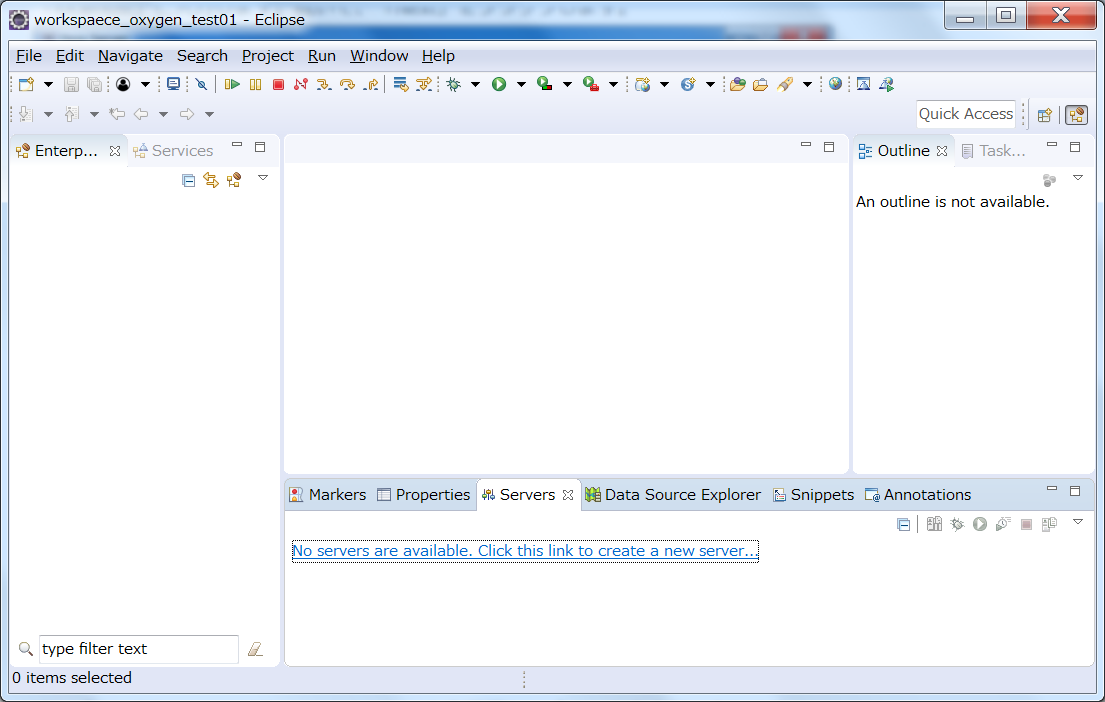
Serversビューで「Clieck this link to create a new server...」をクリック
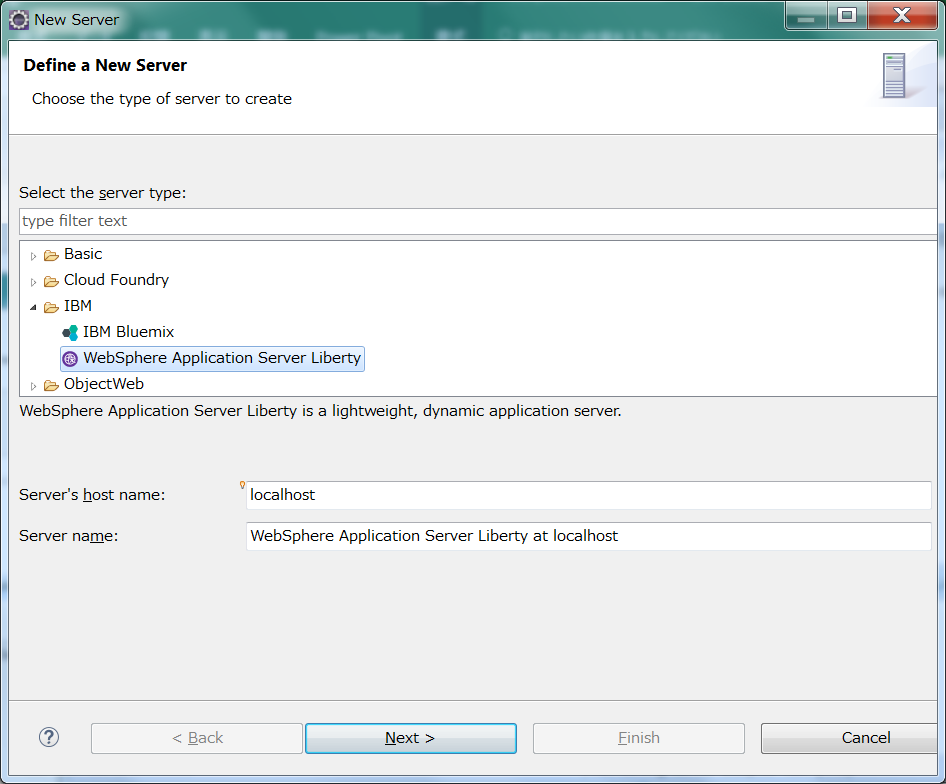
IBM - WebSphere Application Server Libertyを選択
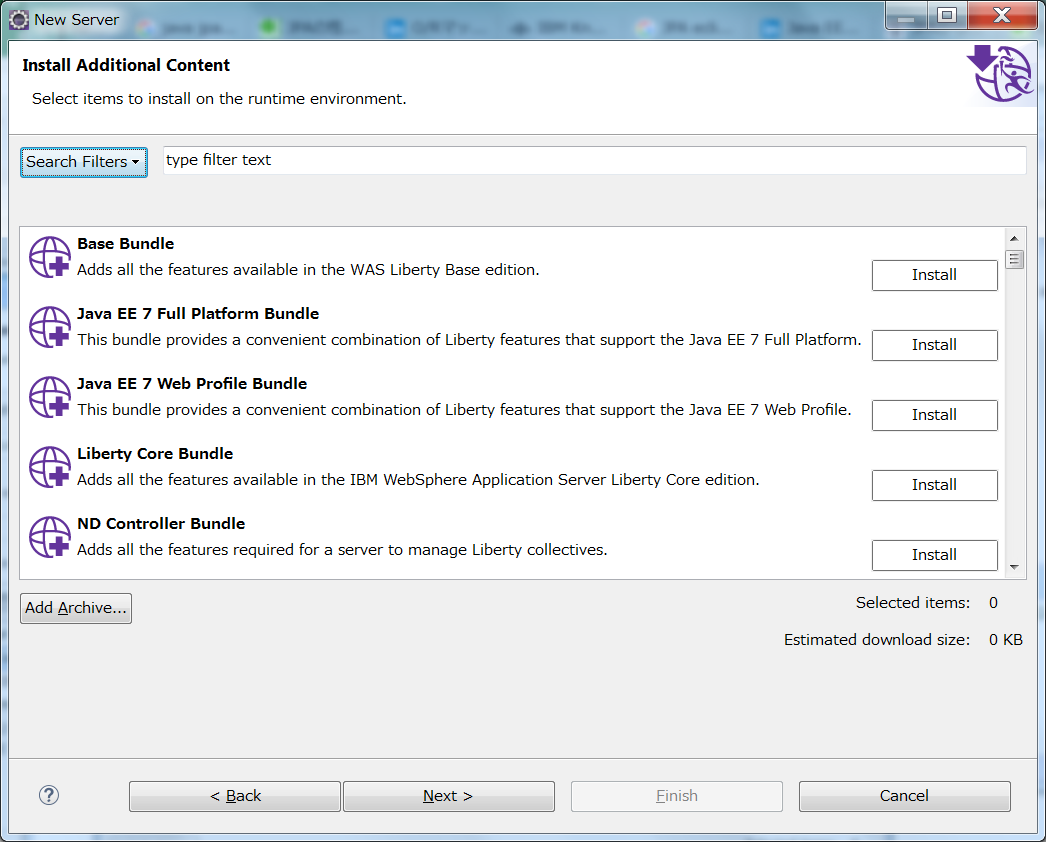
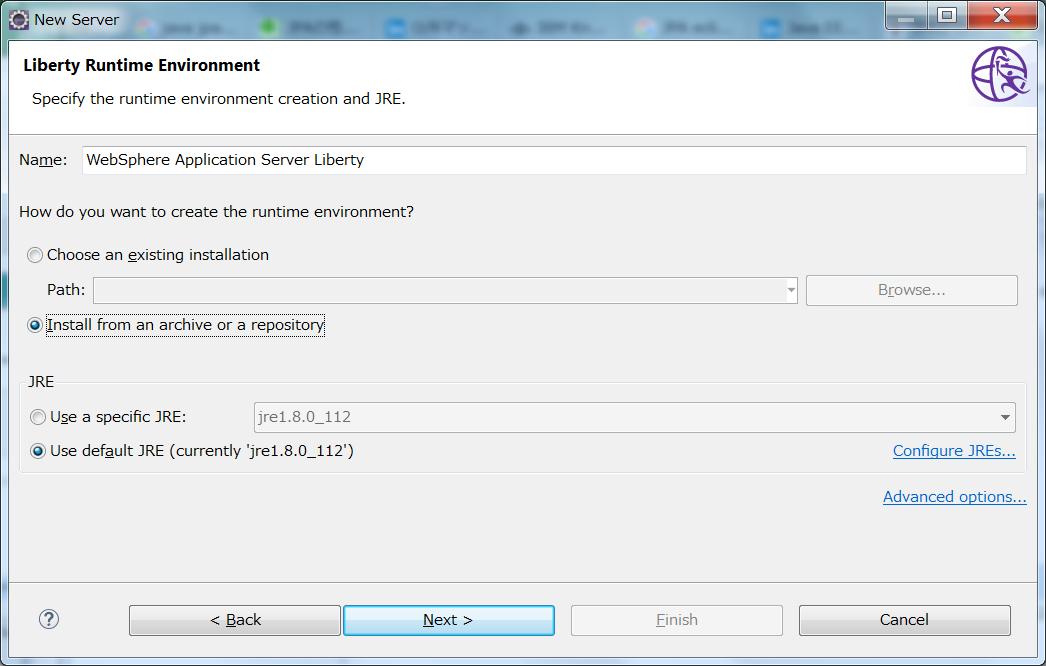
Install from an archive or a repositoryを選択
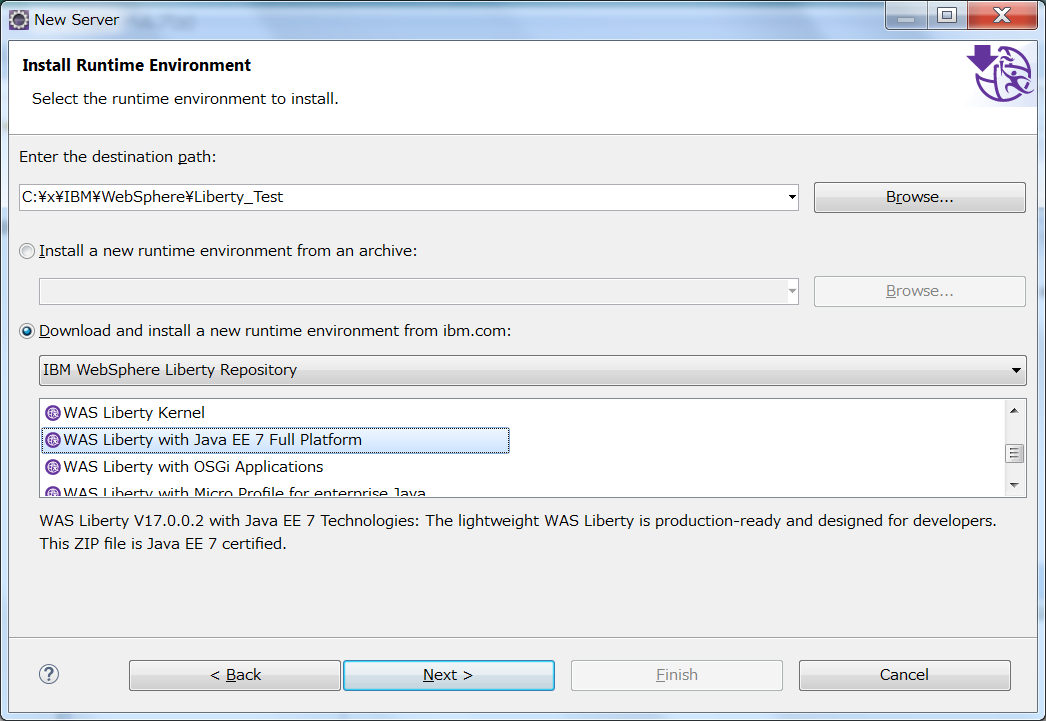
インストール先を指定し、IBM WebSphere Liberty Repositoryから WAS Liberty with Java EE 7 Full Platformを選択
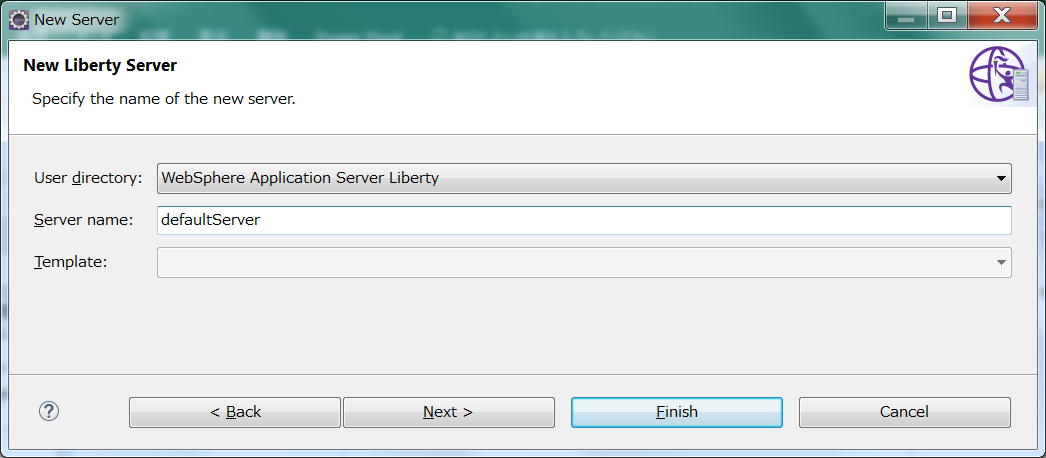
ライセンスの確認
Finish!
LibertyのログをUTF-8に変更
Libertyのログの文字コードは、WindowsだとデフォルトのSJISが使われます。今回はUTF-8で統一するので、そのための設定変更をします。
WAS Libertyの導入ディレクトリ下に、「usr¥servers¥server_name」というディレクトリができているので、そこにjvm.optionsというファイルを作成します。
-Dfile.encoding=UTF-8
その他Eclipseの設定
Eclipse Workspaceの文字コードをUTF-8にする
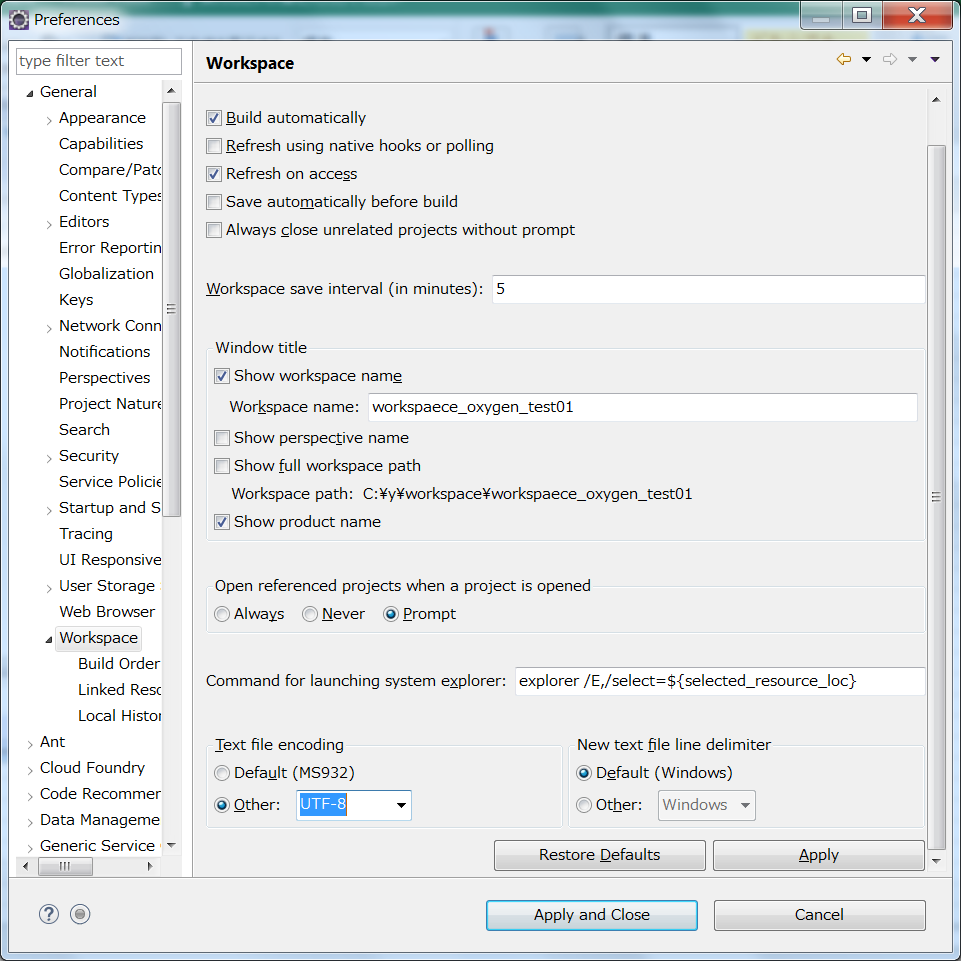
Window - Preferences - [General]-[Workspace]を選択し、"Text file Encoding"をUTF-8にする。
JDKの設定
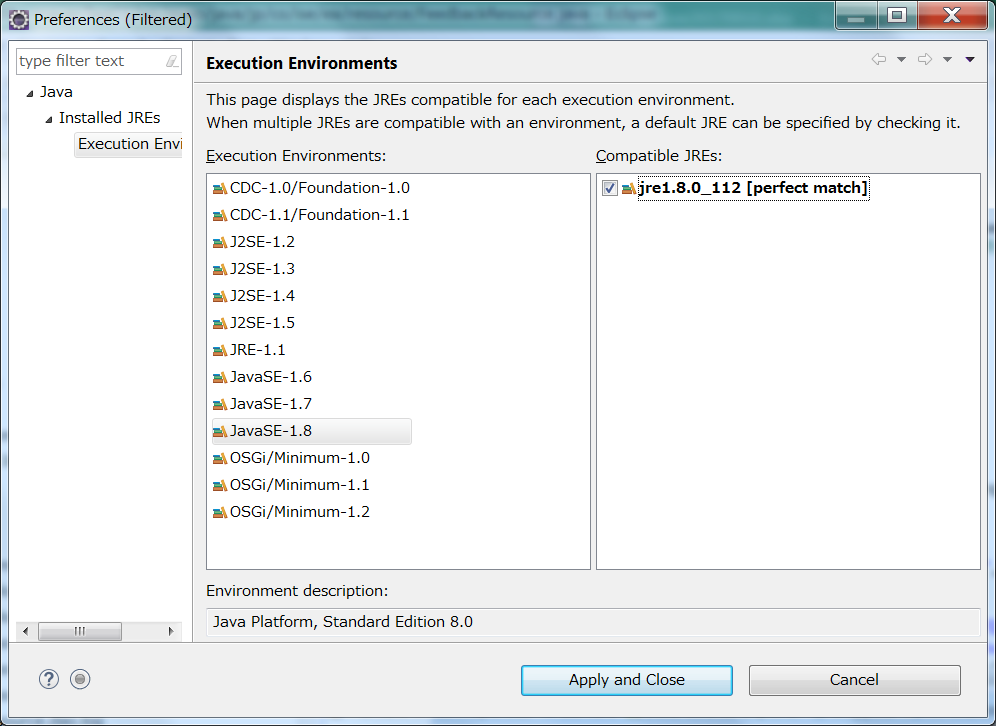
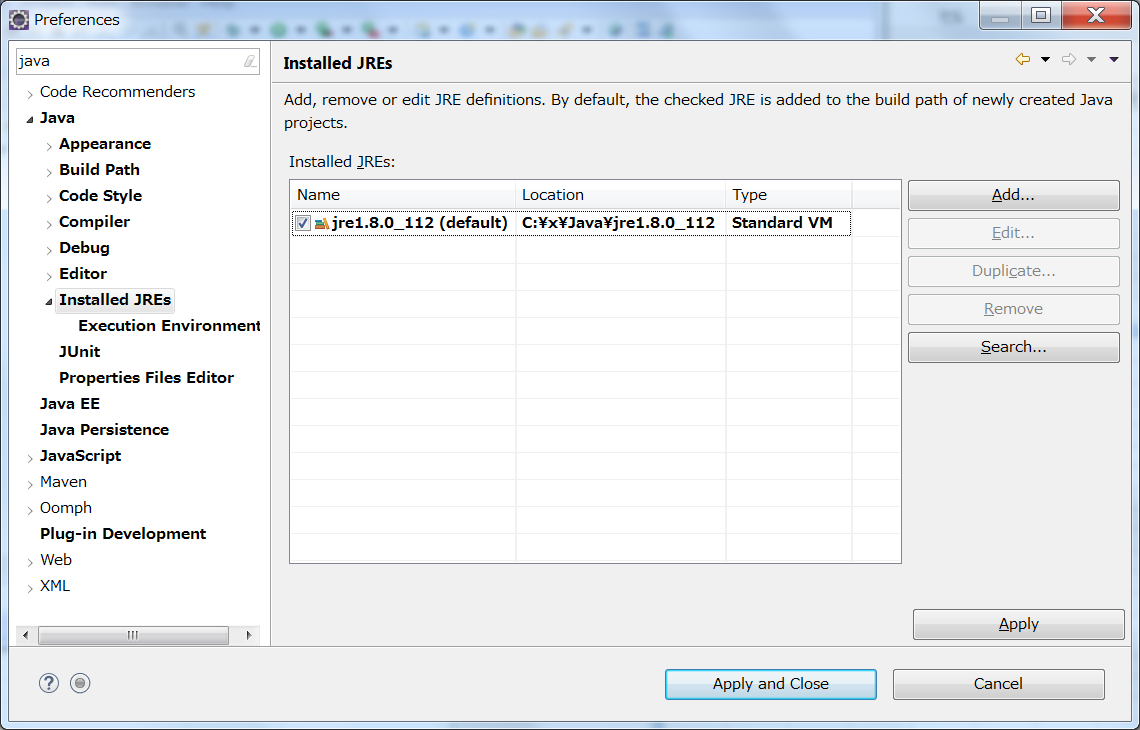
Window - Preferences - [Java]-[Installed JREs]を選択し、1.8が設定されていることを確認。
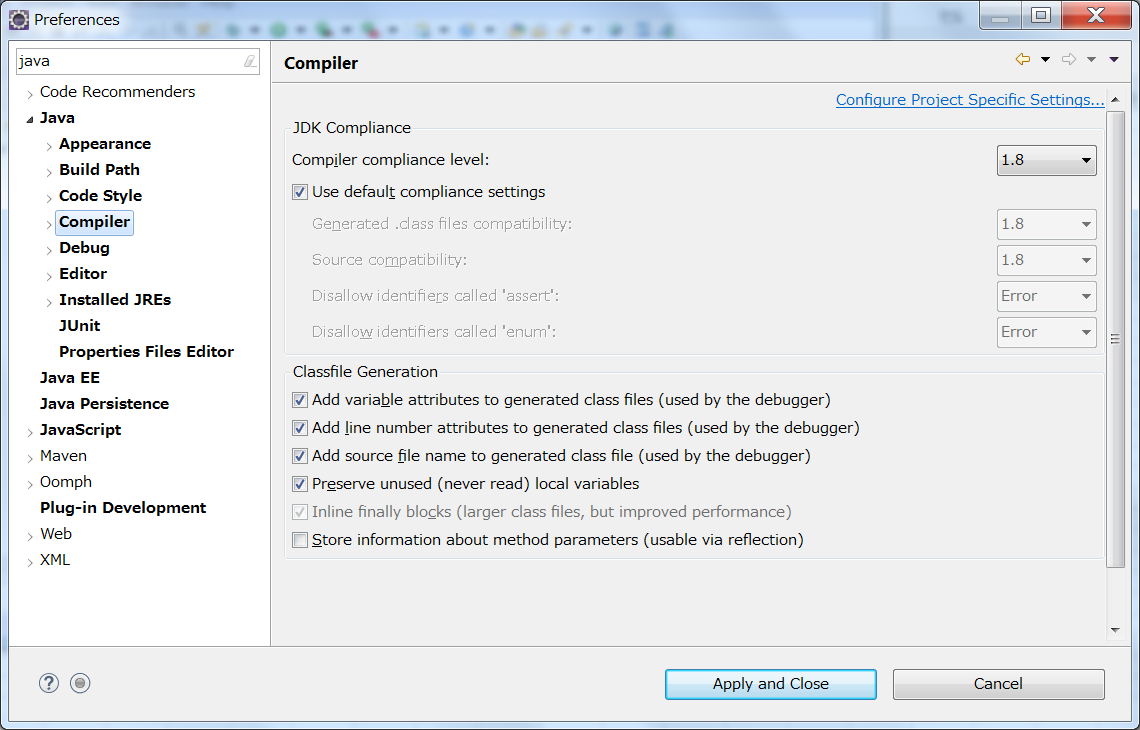
Window - Preferences - [Java]-[Compiler]を選択し、Compiler compliance levelに1.8が設定されていることを確認。
Code StyleのFormatterを指定
複数名での開発を想定して、Code Styleのフォーマッターを特定のものに設定する。
ここでは「Google Style Guides」を使用することにする。
以下からzipをダウンロードして展開。
Google Style Guides
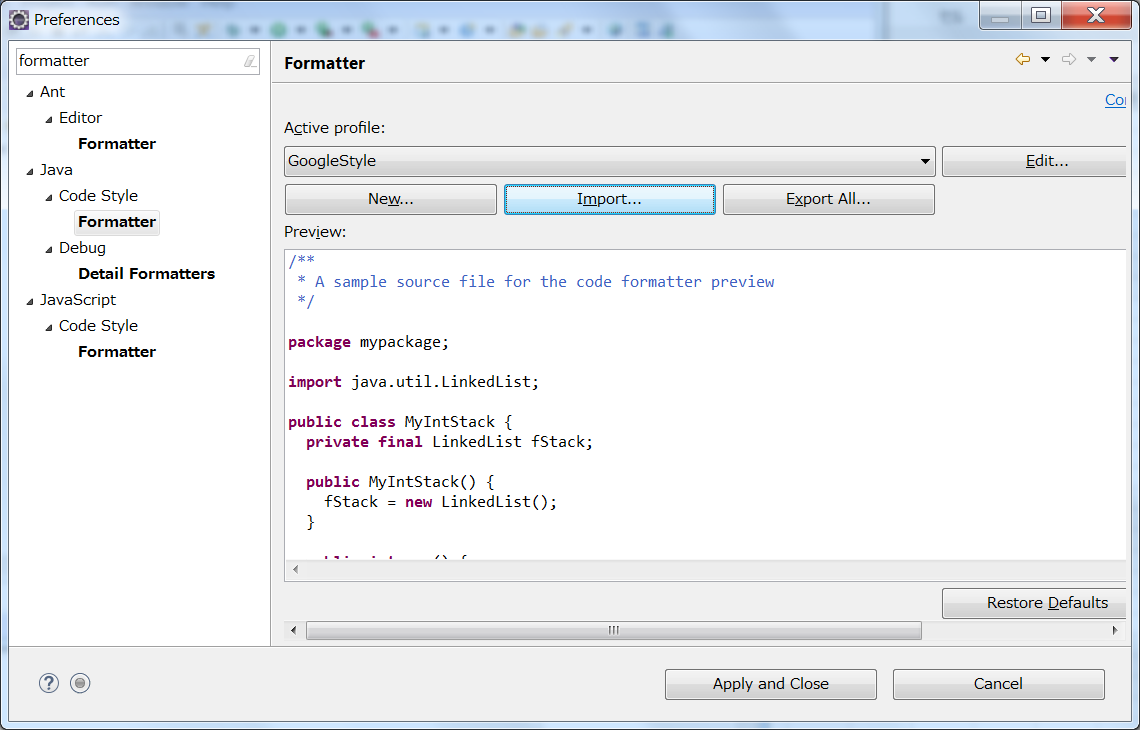
Window - Preferences - [Java]-[Code Style]-[Formatter]を選択
Import -> 「eclipse-java-google-style.xml」をimport
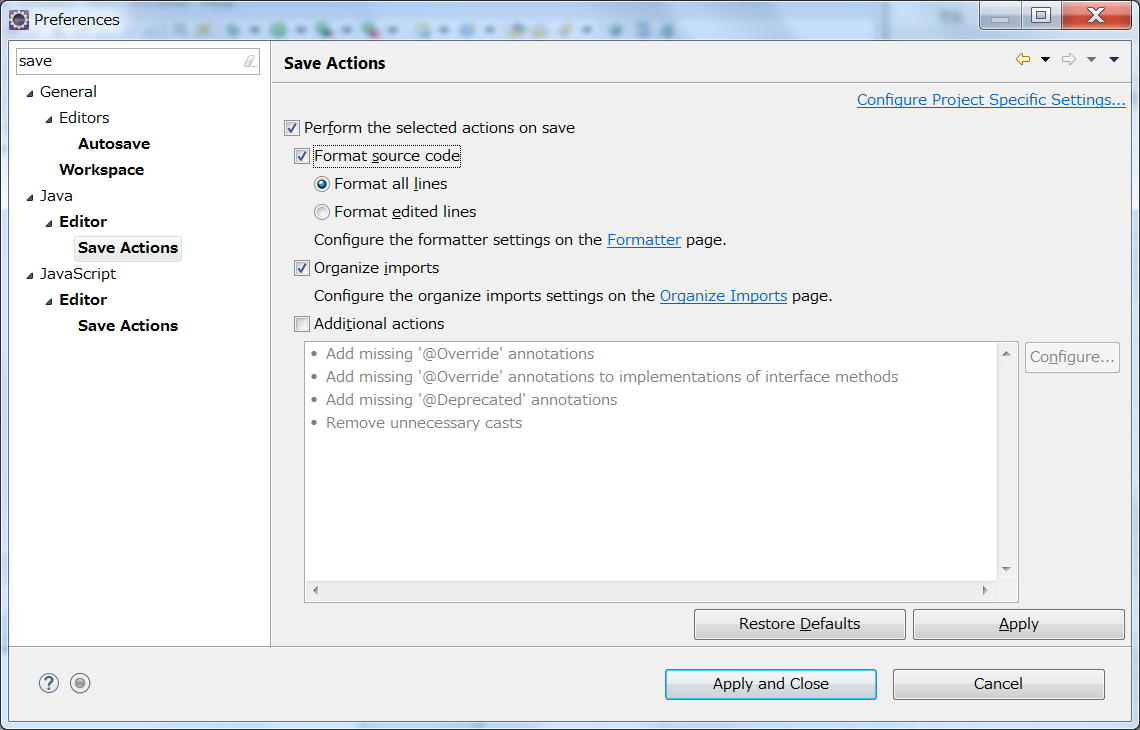
Window - Preferences - [Java]-[Editor]-[Save Action]を選択
"Perform the selected actions on save" をチェック => "Format source code"をチェック
おまけ
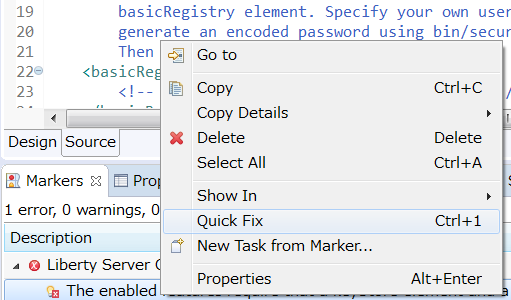
Libertyサーバーを作成した直後の状態だと、server.xmlに赤×がついていてちょっと気持ち悪い。
こんな感じ...
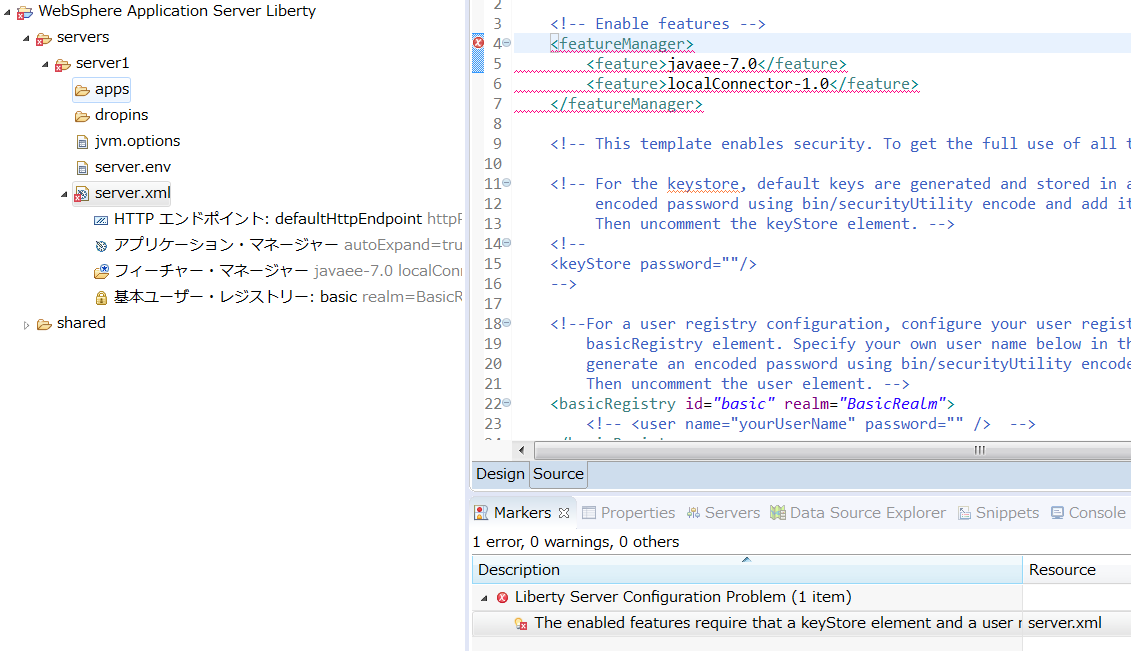
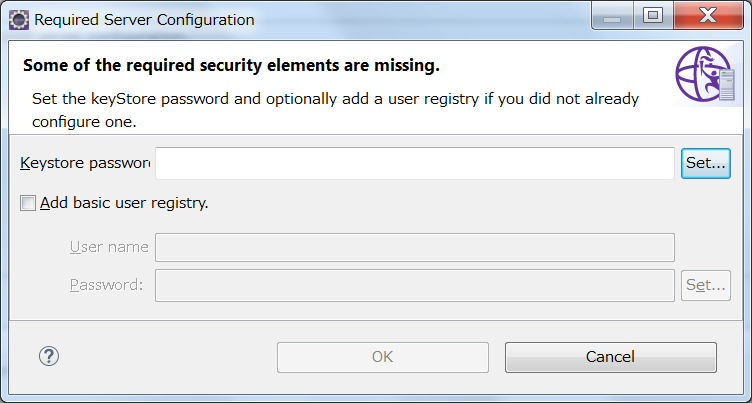
Merkersビューのメッセージを右クリック - Quick Fix
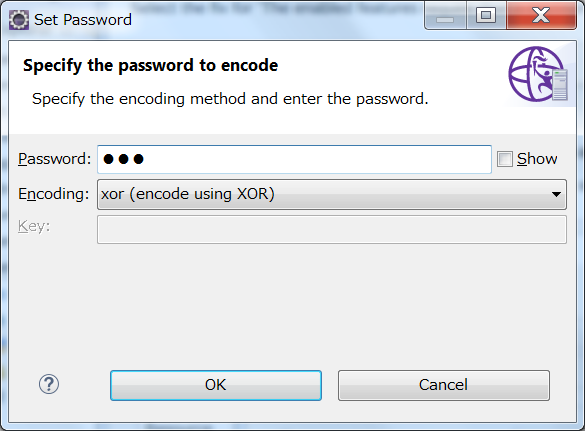
Add the required server configuration を選択してFinish
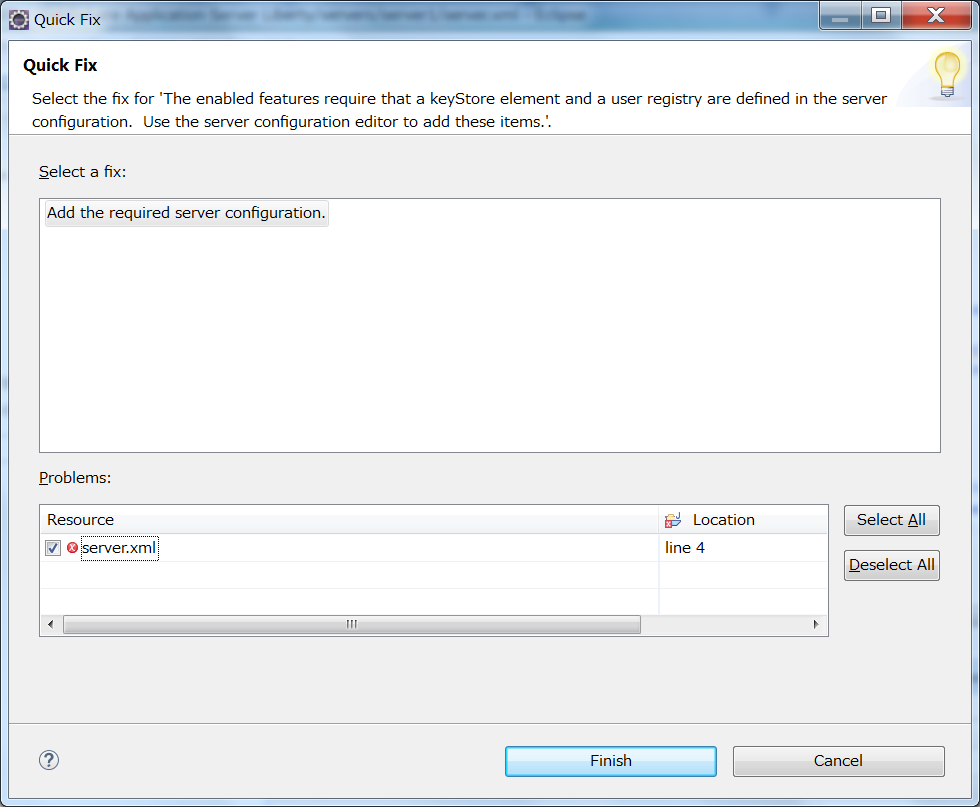
これでserver.xml上は以下のような設定が追加されて赤×が消える。
<keyStore id="defaultKeyStore" password="{xor}Pj4+"/>
