M5ATOMを無線LANのアクセスポイントに接続したときに割り当てられたIPアドレスをシリアルバスを使わずにLINE Notifyへ通知してみる。
参考にしたのは以下の記事
ESP32からLINE Notifyに通知を投げる手順の備忘録
https://qiita.com/mine820/items/53c2a833937f1186539f
LINEアプリの設定
LINEに通知用のグループを作成
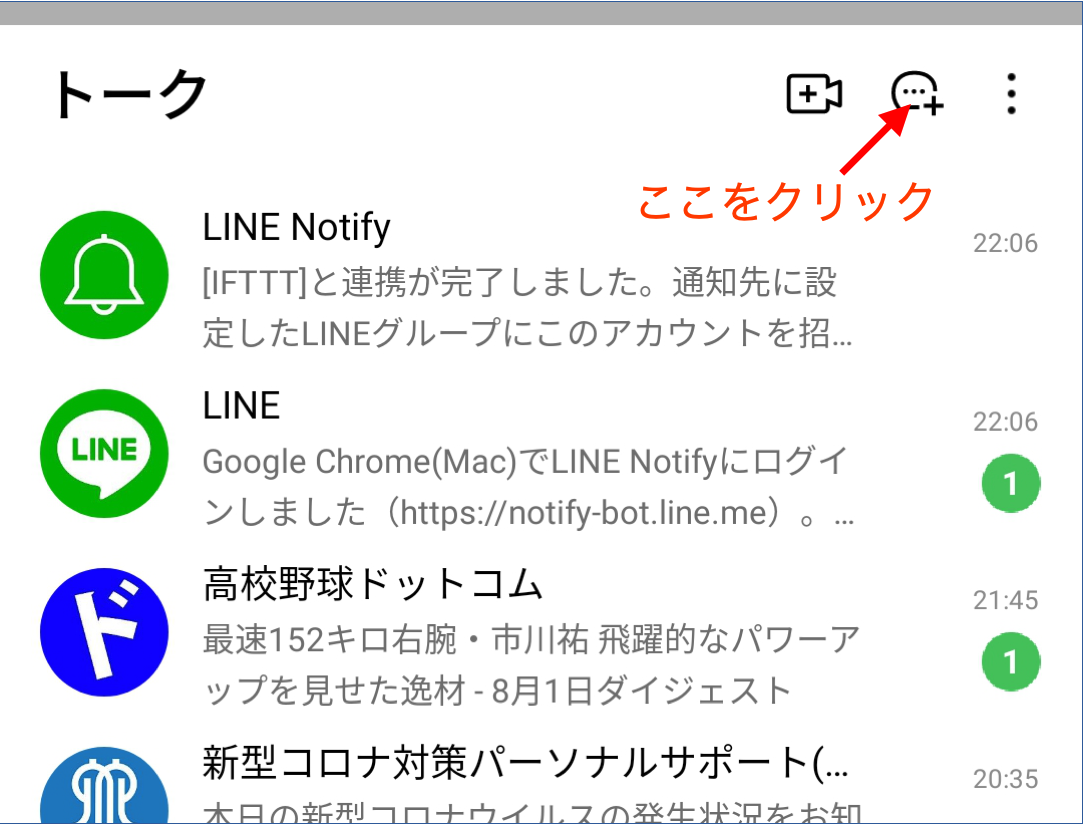

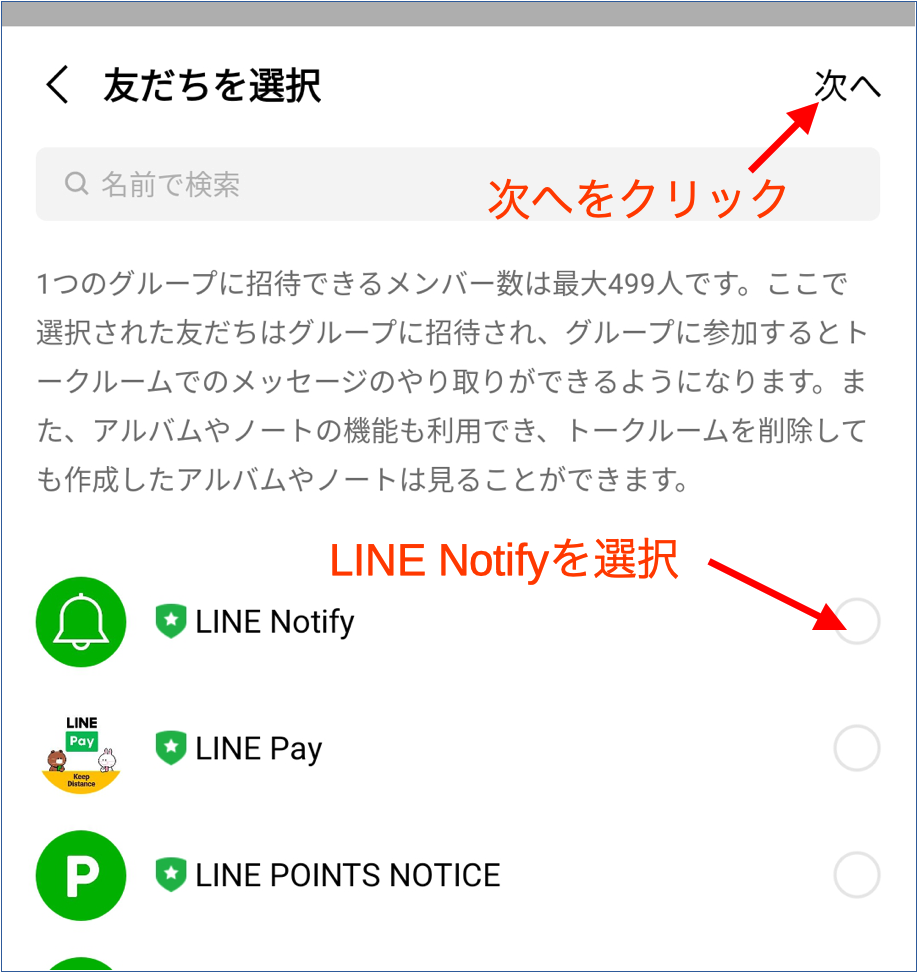
グループにLINE Notifyを追加
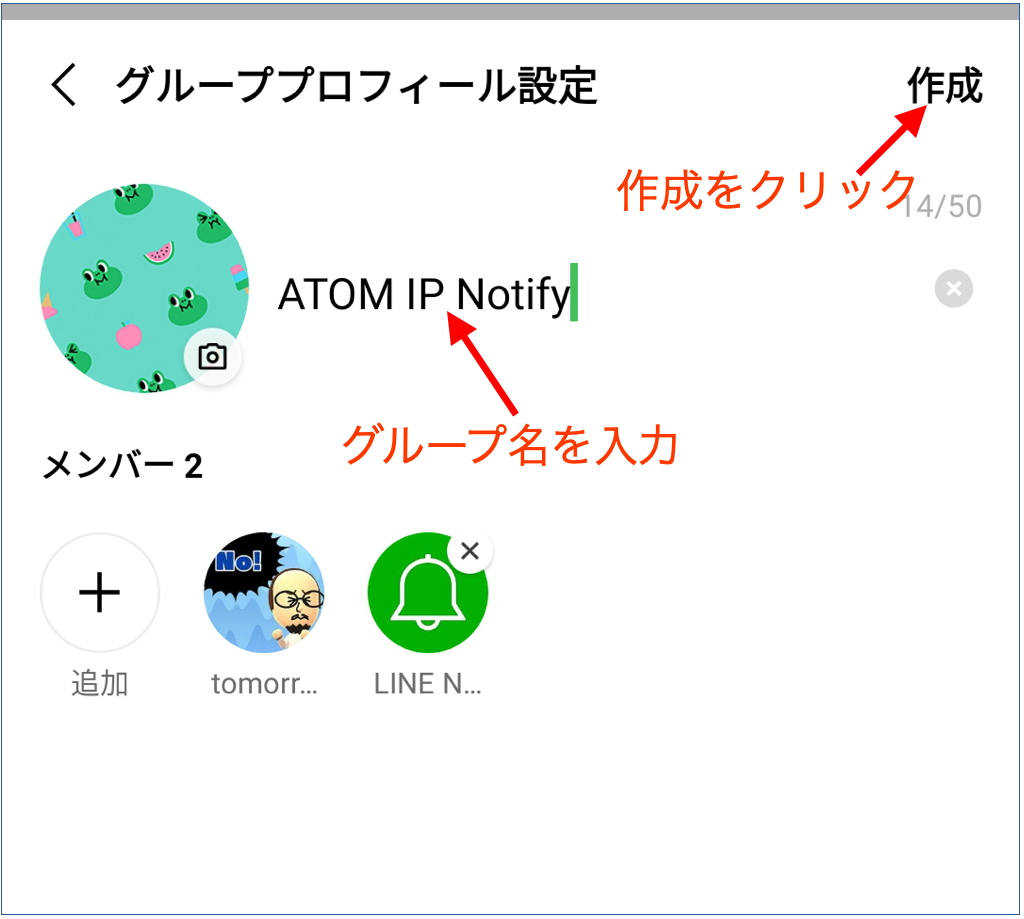
グループに名前をつける
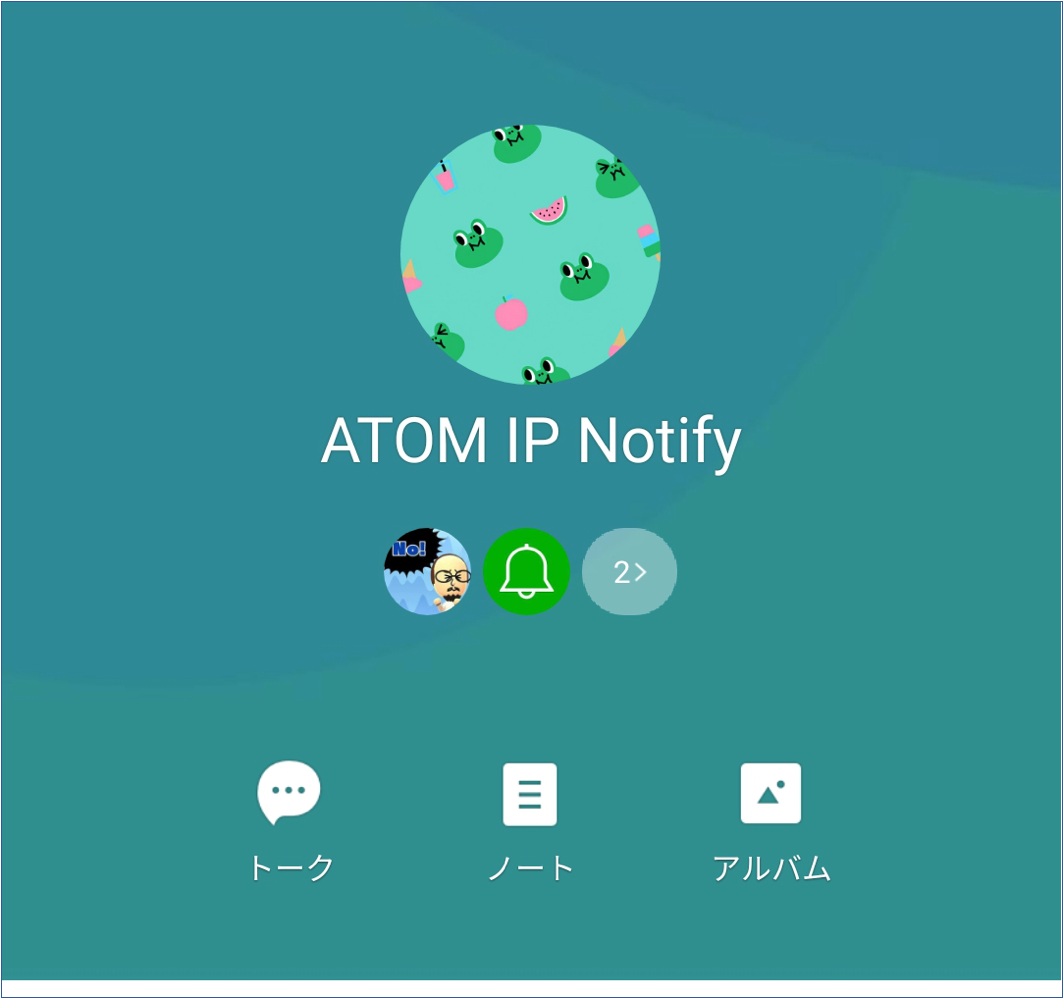
出来上がったグループ
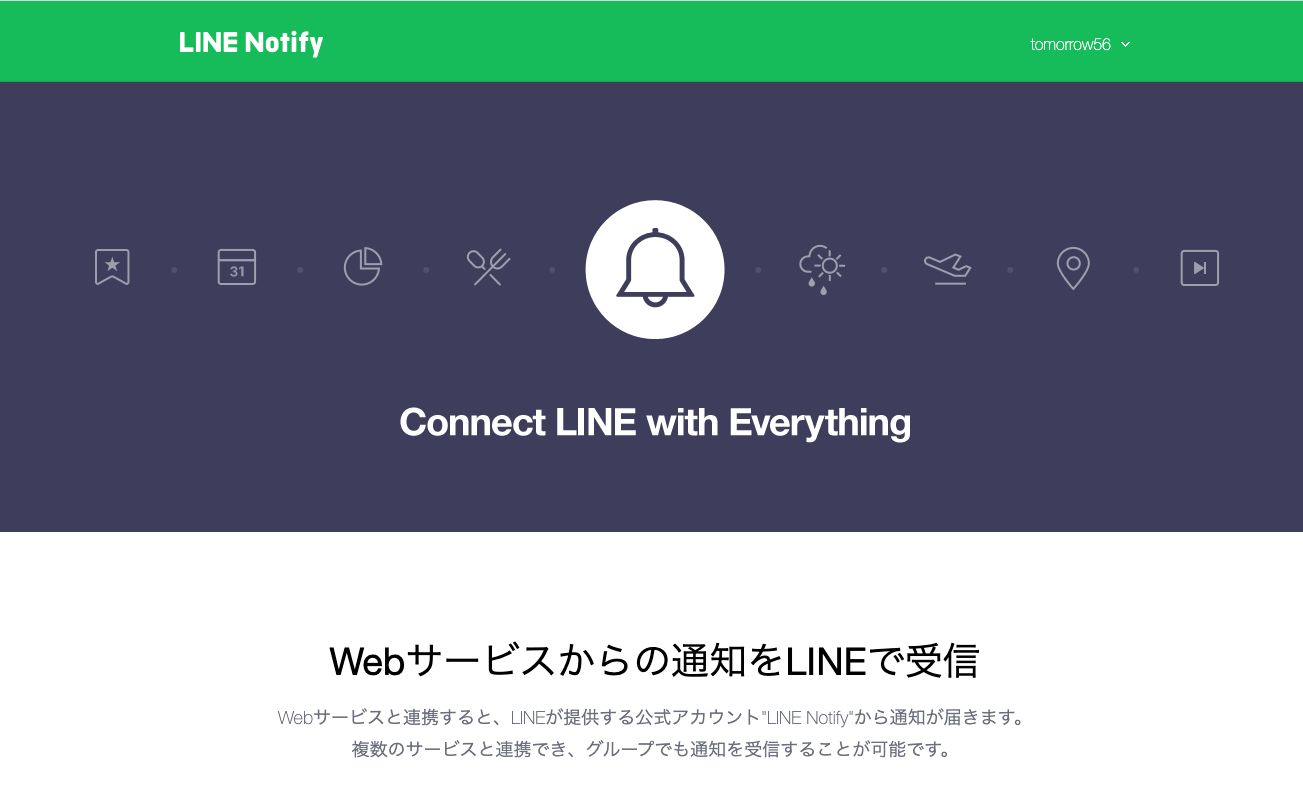
LINE Notifyの設定
LINE Notifyにログイン
マイページを表示
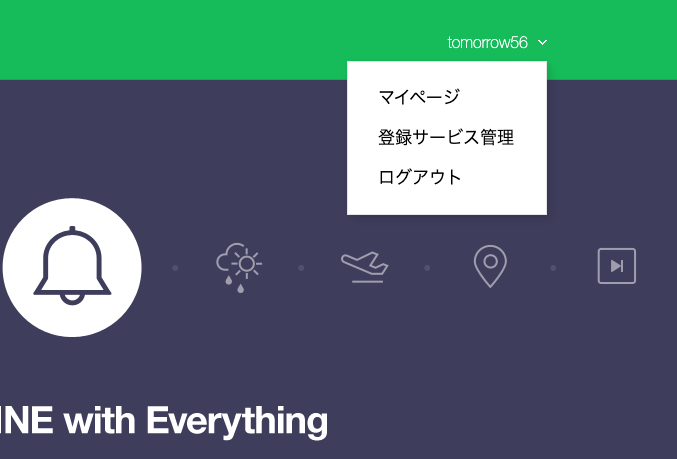
ページ下段よりアクセストークンを発行

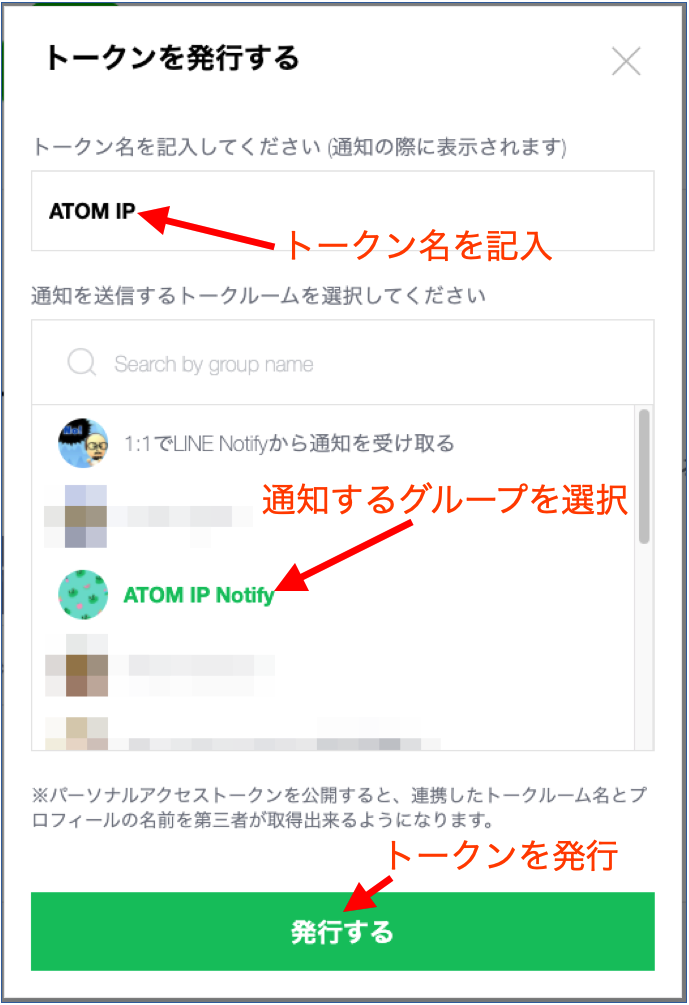
トークン名を記入し通知するグループ(トークルーム)を選択
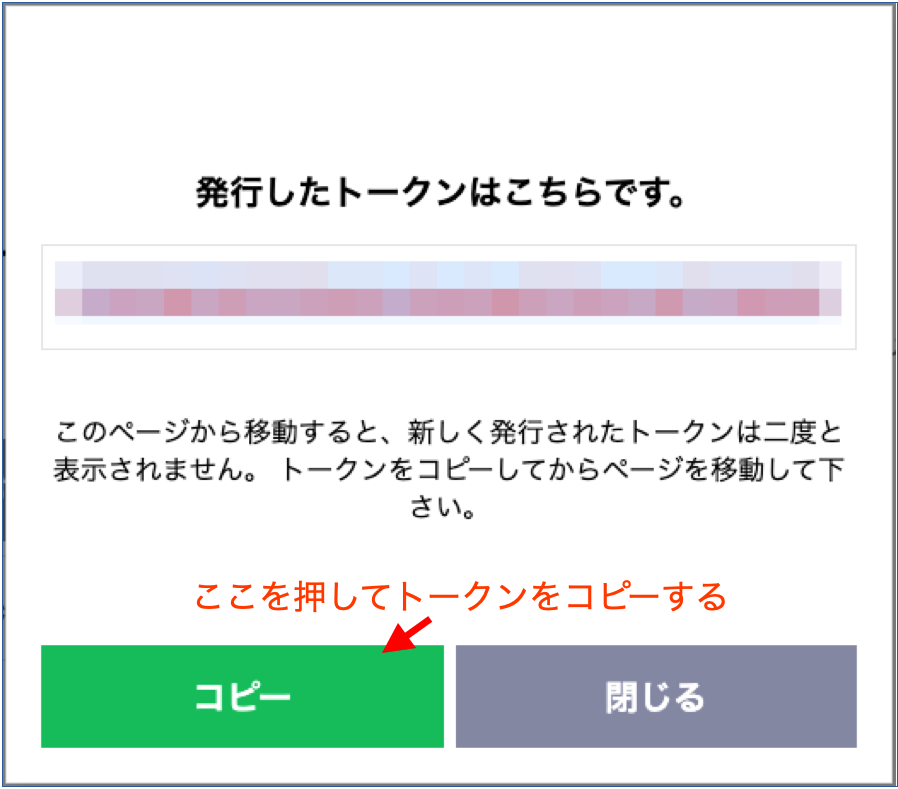
発行されたトークンをコピーしてテキストエディタ等に貼り付けて保存
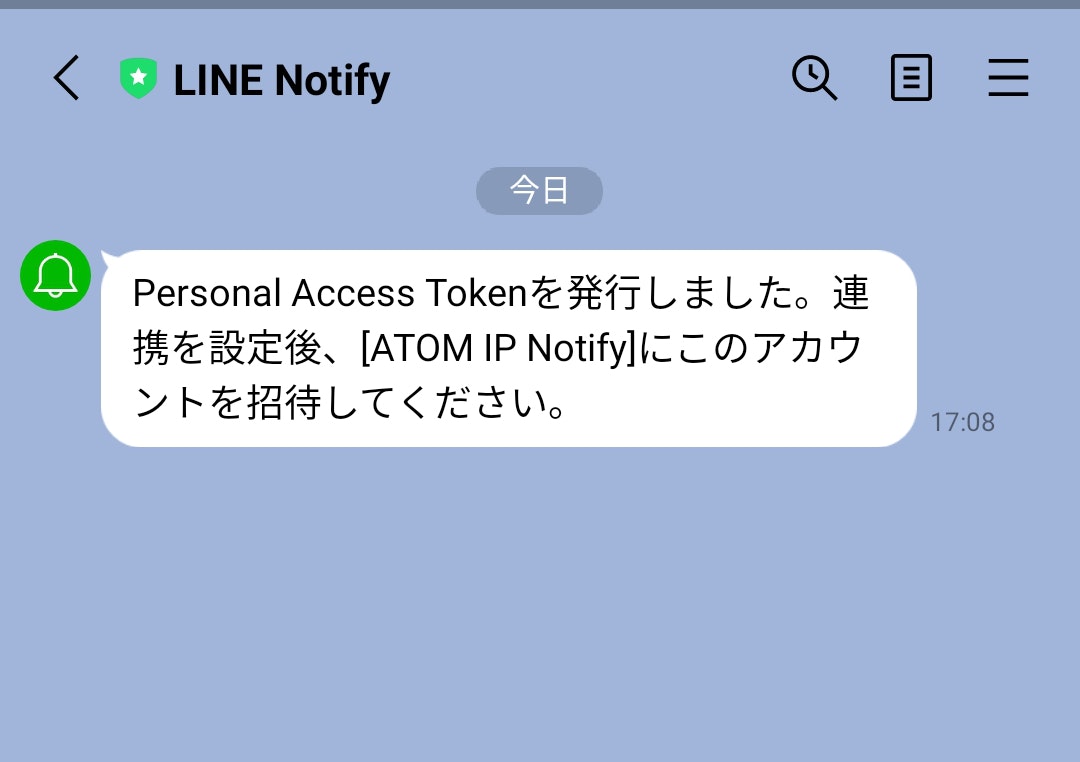
LINEアプリでLINE Notifyへのトークンの発行通知を確認
M5ATOMのプログラム
M5ATOMはArduinoIDEでプログラムします。
今回は同時にIoTコンセントである「ATOM Socket」を動かしたので、サンプルプログラムはgithubにアップしました。
https://github.com/tomorrow56/M5Atom-Socket-examples/tree/main/M5Atom_Socket_test_LineNotify
以下にサンプルプログラムの主な処理を抜粋します。
WiFiClientSecureヘッダのインクルードとcliantのインスタンス作成
M5Atom_LINENotify.ino
# include <WiFiClientSecure.h>
(中略)
WebServer server(80);
WiFiClientSecure client;
LINEアクセス設定と必要な変数の宣言
M5Atom_LINENotify.ino
const char* host = "notify-api.line.me";
// メモしたトークンを記載
const char* token = "xxxxxxxxxxxxxxxxxxxxxxxxxxxxxxxxxxxxxxxxxxx";
IPAddress ipadr;
LINE Notifyへの通知関数の作成
M5Atom_LINENotify.ino
void LINE_Notify(String message){
  if(!client.connect(host, 443)){
    Serial.println("Connection failed!");
    return;
  }else{
    Serial.println("Connected to " + String(host));
    String query = String("message=") + message;
    String request = String("") +
                 "POST /api/notify HTTP/1.1\r\n" +
                 "Host: " + host + "\r\n" +
                 "Authorization: Bearer " + token + "\r\n" +
                 "Content-Length: " + String(query.length()) +  "\r\n" +
                 "Content-Type: application/x-www-form-urlencoded\r\n\r\n" +
                  query + "\r\n";
    client.print(request);
    client.println("Connection: close");
    client.println();

    while (client.connected()) {
      String line = client.readStringUntil('\n');
      if (line == "\r") {
        Serial.println("headers received");
        break;
      }
    }
    // if there are incoming bytes available
    // from the server, read them and print them:
    while (client.available()) {
      char c = client.read();
      Serial.write(c);
    }

    client.stop();
    Serial.println("closing connection");
    Serial.println("");
  }
}
setup()関数にIP通知処理を追加
2022年1月10日更新
Line Notifyへのアクセスでエラーになったので "client.setInsecure();" を追加
M5Atom_LINENotify.ino
void setup(){
  client.setInsecure();  // Line Notifyのアクセスエラー対応

  //M5::begin(SerialEnable = true, I2CEnable = true, DisplayEnable = false);
  M5.begin(true, false, true);
(省略)
  // SSID,IPアドレスのシリアル出力
  Serial.print("AP SSID: ");
  Serial.println(WiFi.SSID());
  Serial.print("IP address: ");
  Serial.println(WiFi.localIP());  //IP address assigned to ATOM
  Serial.println("");

  // SSID,IPアドレスをLINE Notifyへ送信
  ipadr = WiFi.localIP();
  String message = "Connected!\r\nSSID: " +
                   (String)WiFi.SSID() + "\r\nIP adrs: " +
                   (String)ipadr[0] + "." +
                   (String)ipadr[1] + "."+
                   (String)ipadr[2] + "."+
                   (String)ipadr[3];
  LINE_Notify(message);
(省略)
}
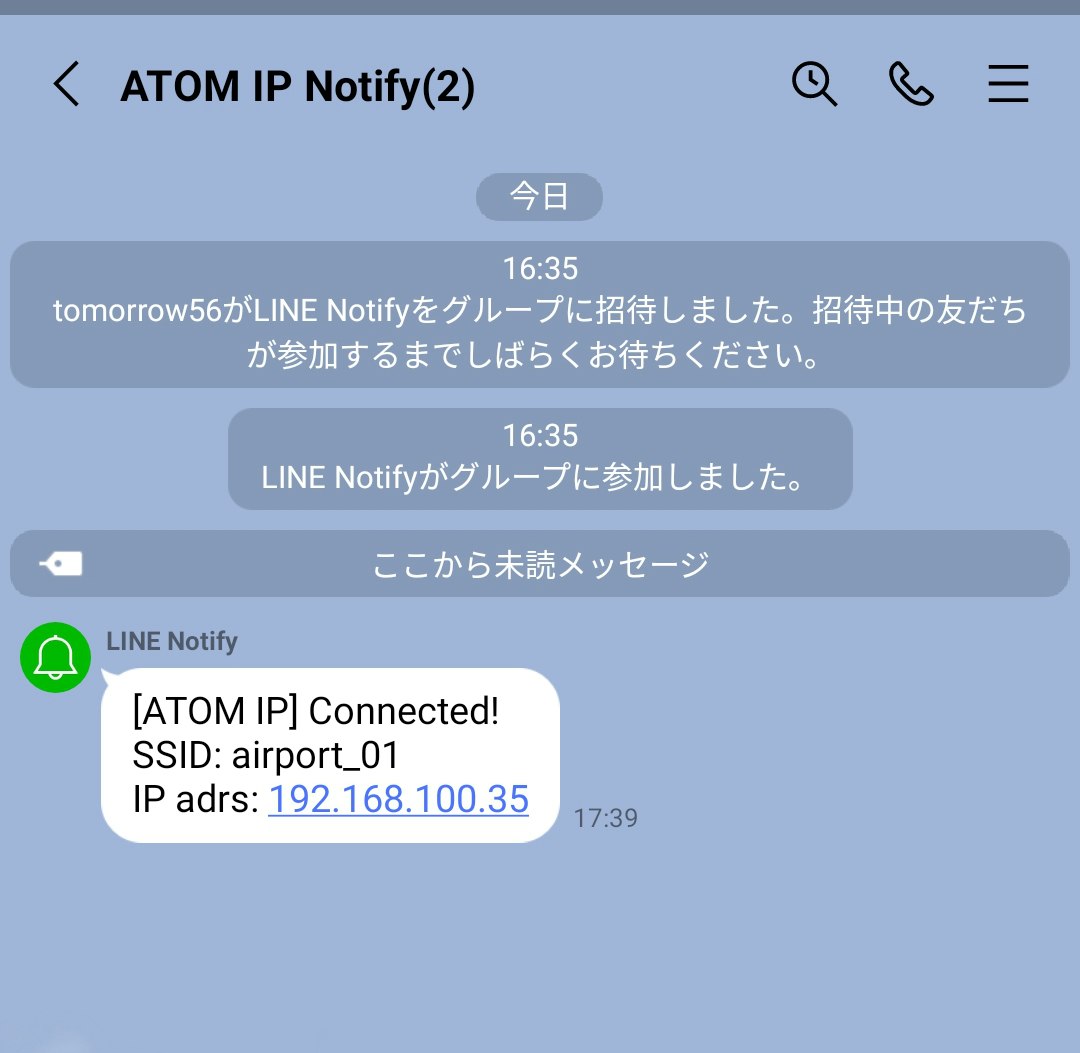
実行結果
シリアルモニターへの出力
connected(^^)
airport_01
192.168.100.35
connected to router(^^)
AP SSID: airport_01
IP address: 192.168.100.35

Connected to notify-api.line.me
headers received
1d
{"status":200,"message":"ok"}
0

closing connection
ATOM IP Notifyグループへの通知
サンプルプログラムの注意点
サンプルプログラムではWi-Fiへの接続に"Wi-Fi Manager"を使用しています。
WiFi Managerの使い方については以下の記事を参考にしてください。
ESP32 WiFiのSSID、パスワードを外部から設定しアクセスポイントに接続
2022年1月10日追記
ライブラリの更新?でLine Notifyへのアクセスでエラーが発生するようになったので、
setup()関数の最初に以下を追加
client.setInsecure();
おわりに
LINE Notifyへの通知はトークンを取得すれば証明書の取得なしで実施できます。
ESP32系でディスプレイがないボードでも対応可能ですので試してみてください。