備忘録としてwindowsでのpythonを使ったslackbotの作成を目的とした流れを書いていきます。
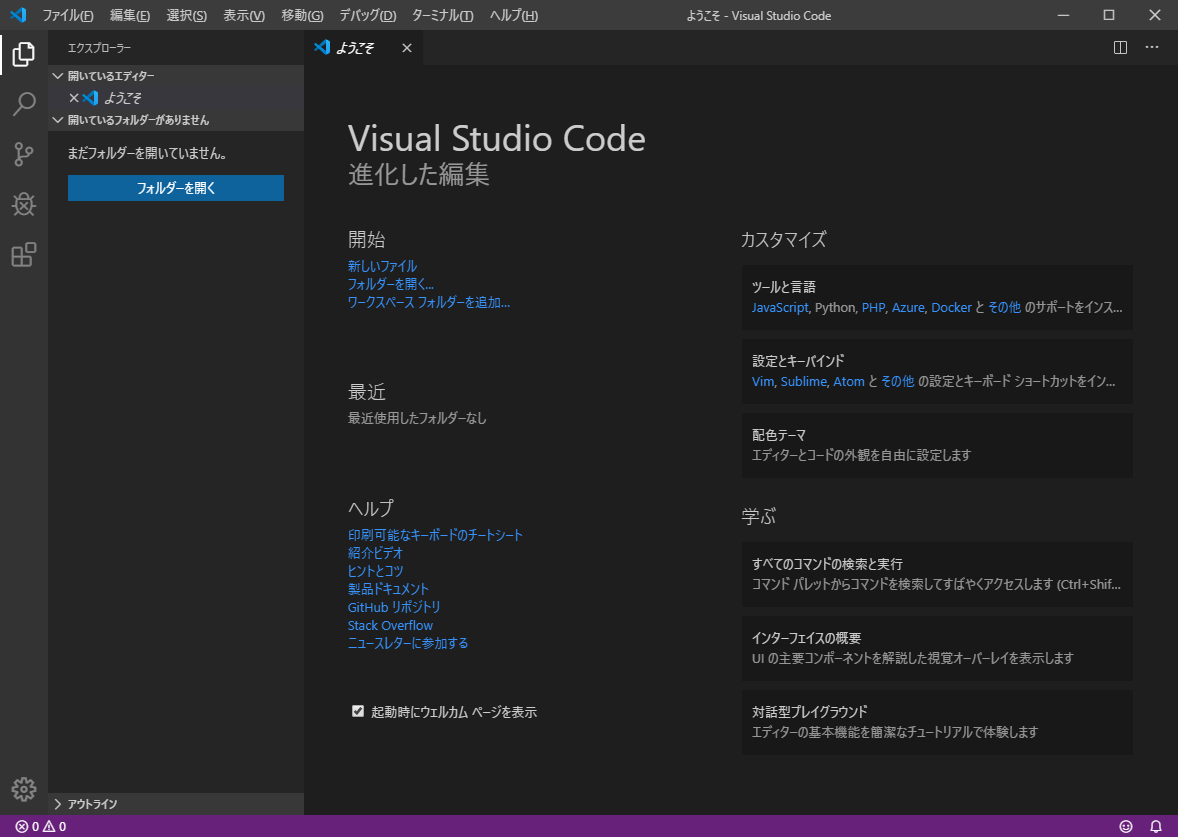
まずはVisual studio codeの導入とpythonのインストールを。
vscodeの公式に行きインストールします。
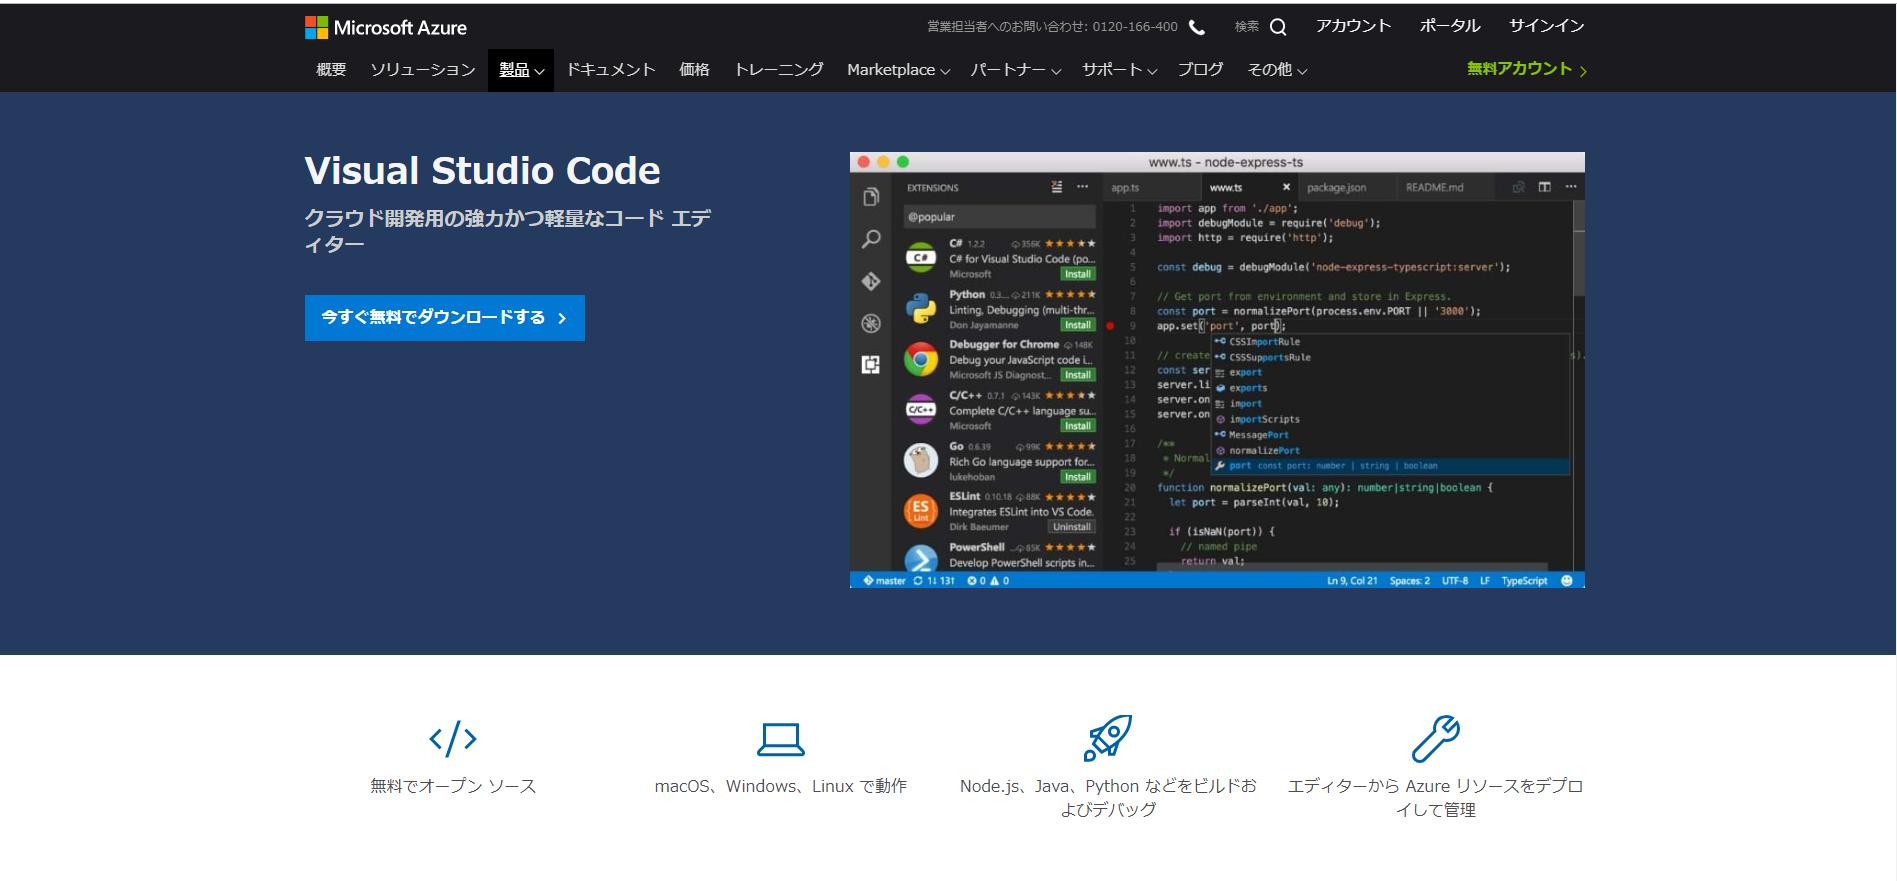
基本的にはデフォルトでインストール。デスクトップにアイコン置く設定に変えたくらい。
早速vscodeを起動すると英語なので日本語化します。
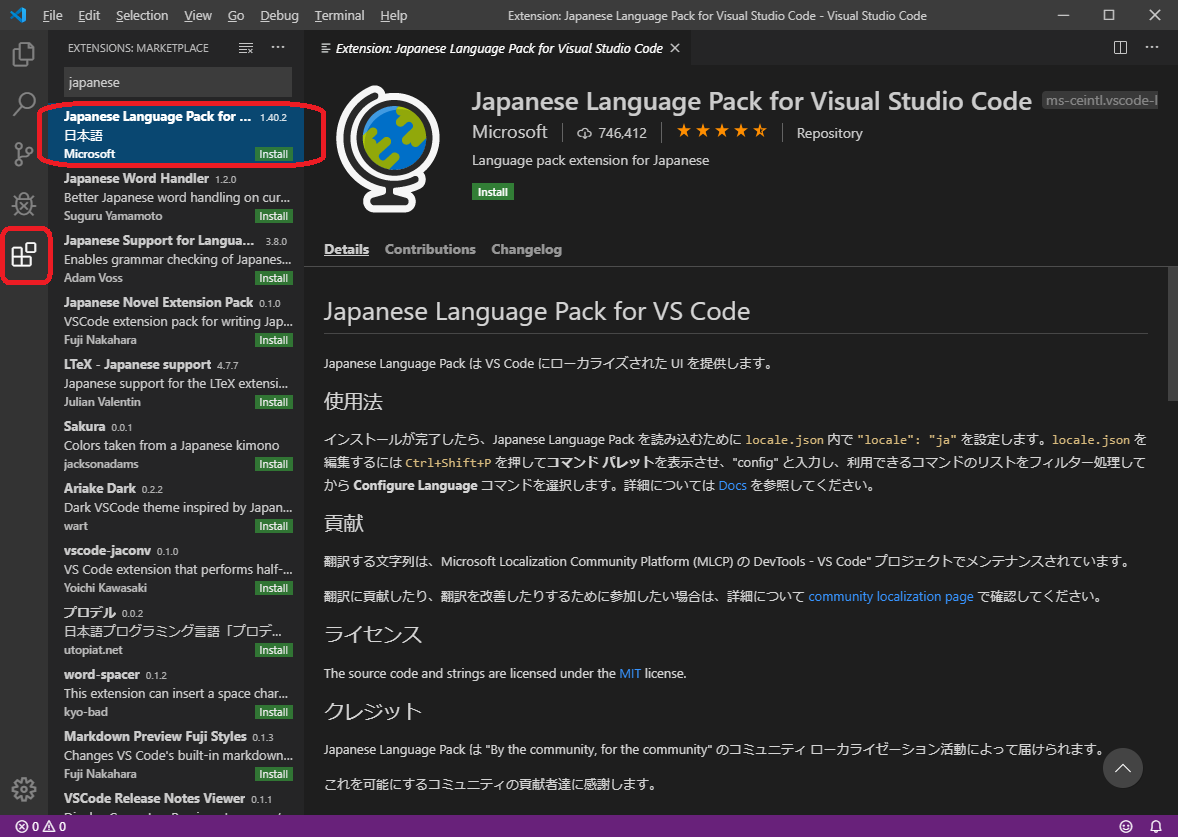
左下の赤く囲んだ部分をクリックするとMarketplaceの検索窓が開くのでJapaneseと検索、Japanese Language Pack for Visual Studio Codeをインストールして再起動すると日本語化が完了します。
次にpythonのインストール。
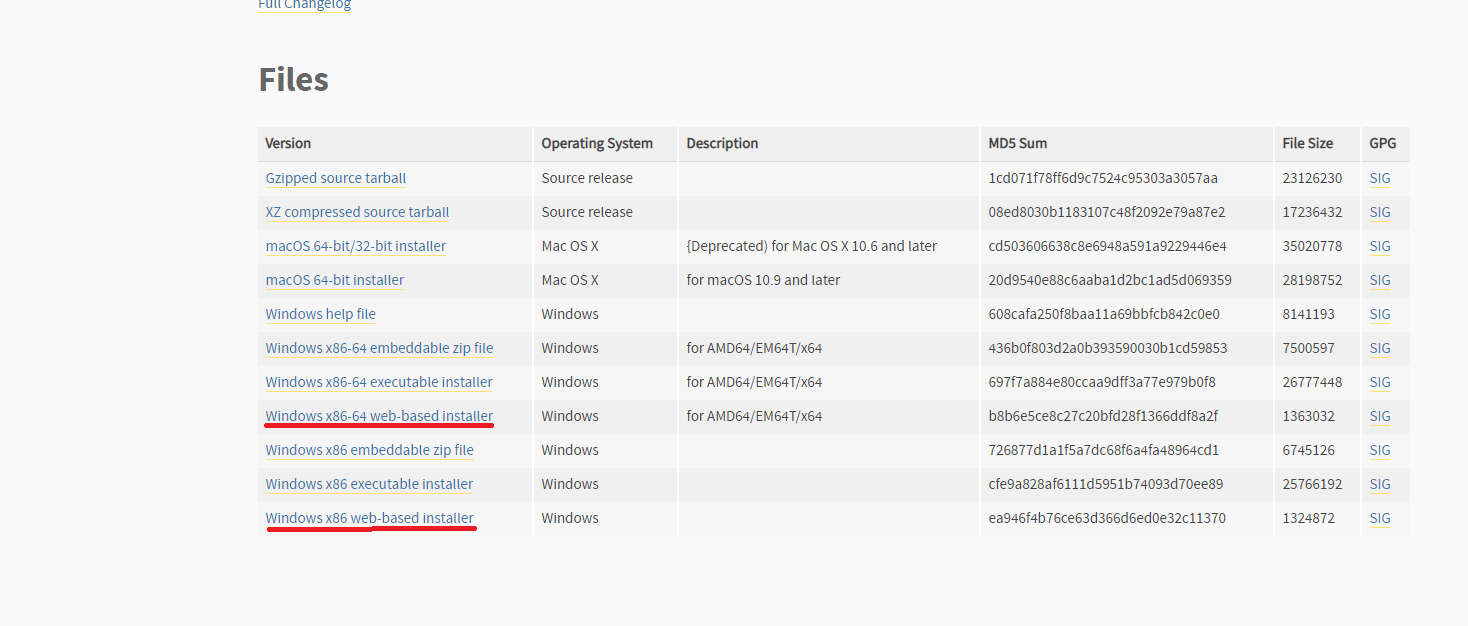
公式に飛んでpythonをインストールします。3.8にまだ対応してないところもあったので3.7.5にします。
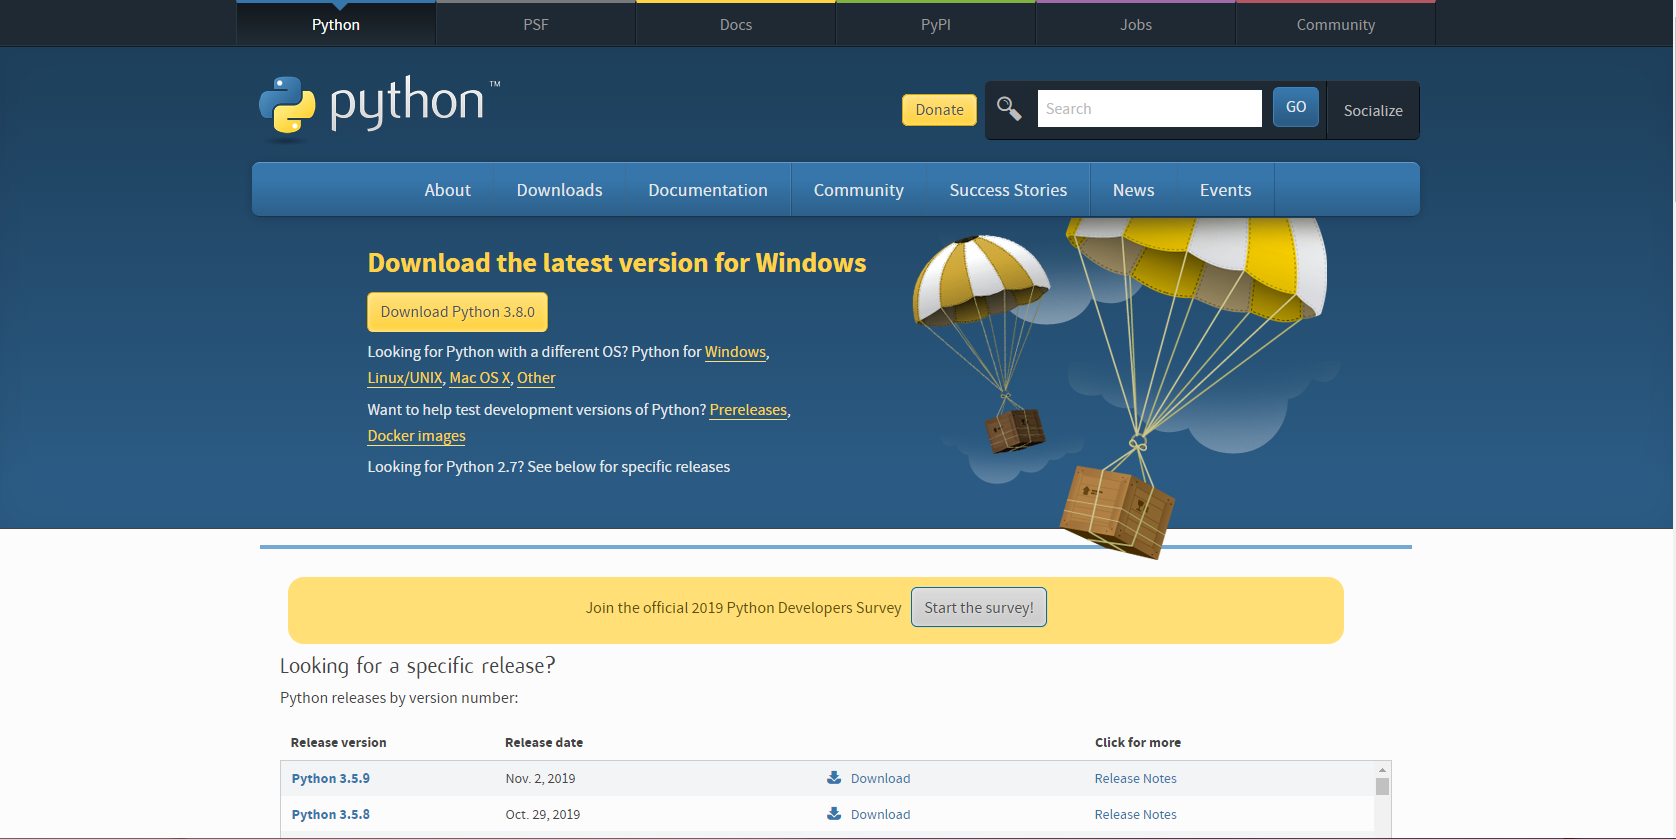
windows 64bit版の人はWindows x86-64 web-based installer、32bit版の人はWindows x64 web-based installerをダウンロード。
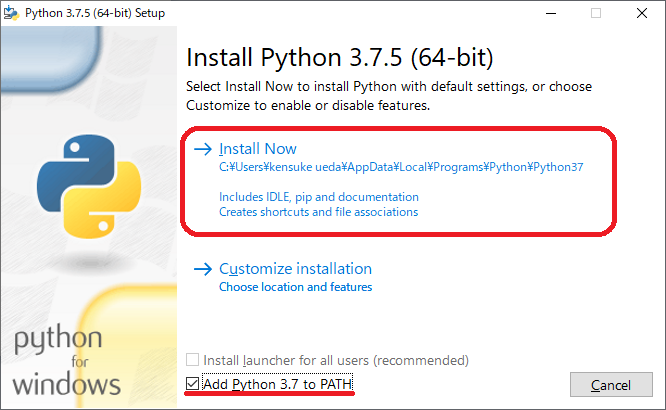
環境変数設定のためPATHにチェック入れてインストールします。
終わったらインストール出来ているかどうかチェック。コマンドプロンプト開いてpythonコマンドを実行。
C:\Users\tokoroten>python
Python 3.7.5 (tags/v3.7.5:5c02a39a0b, Oct 15 2019, 00:11:34) [MSC v.1916 64 bit (AMD64)] on win32
Type "help", "copyright", "credits" or "license" for more information.
version3.7.5がインストールされている事が確認できました。
次にvsCodeでのpython実行の準備をします。
日本語化の時と同様にMarketplace開いてpythonと入力してインストール。
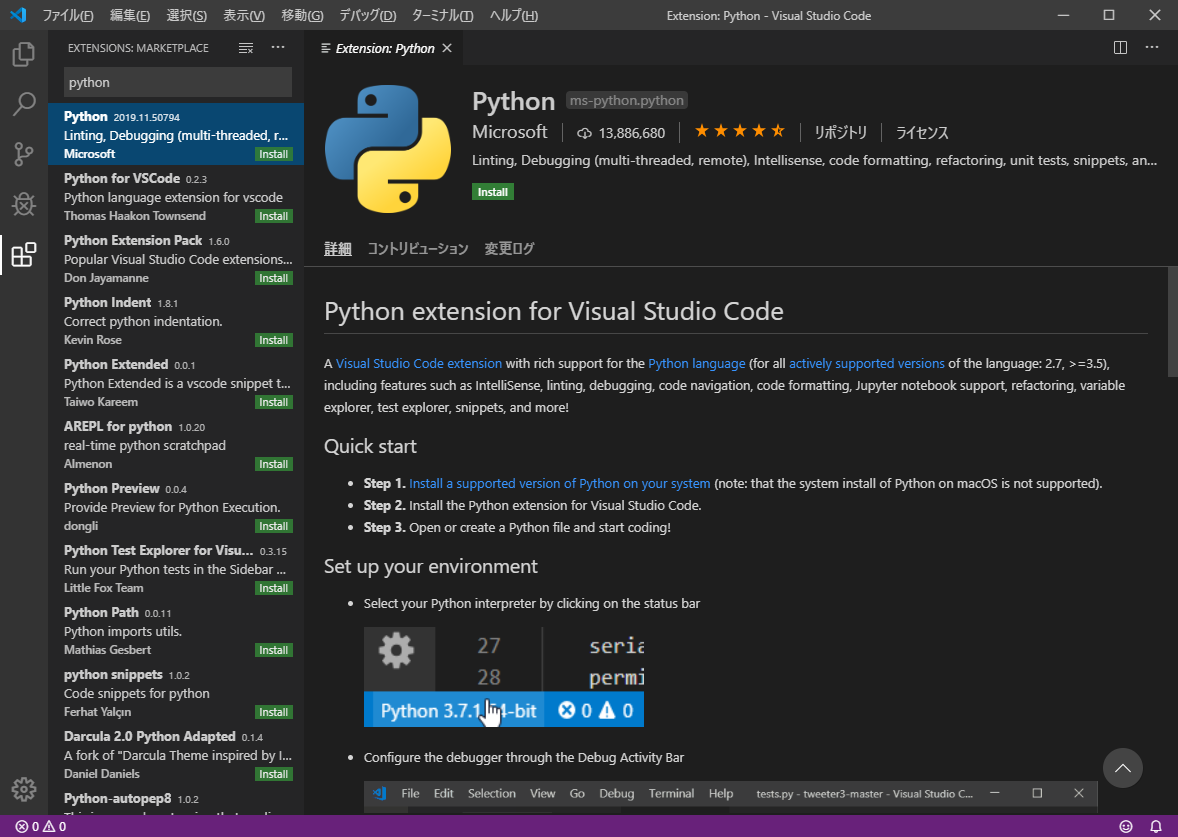
vsCodeでpythonの準備が出来たので早速試します。
Cドライブ直下にworkspaceフォルダ作って適当に"hello world"を表示するpythonファイル作ります。
(今回はpython_study/helloにhello.py作りました)
vsCode下部のターミナルから
python Hello.py
入力して実行。
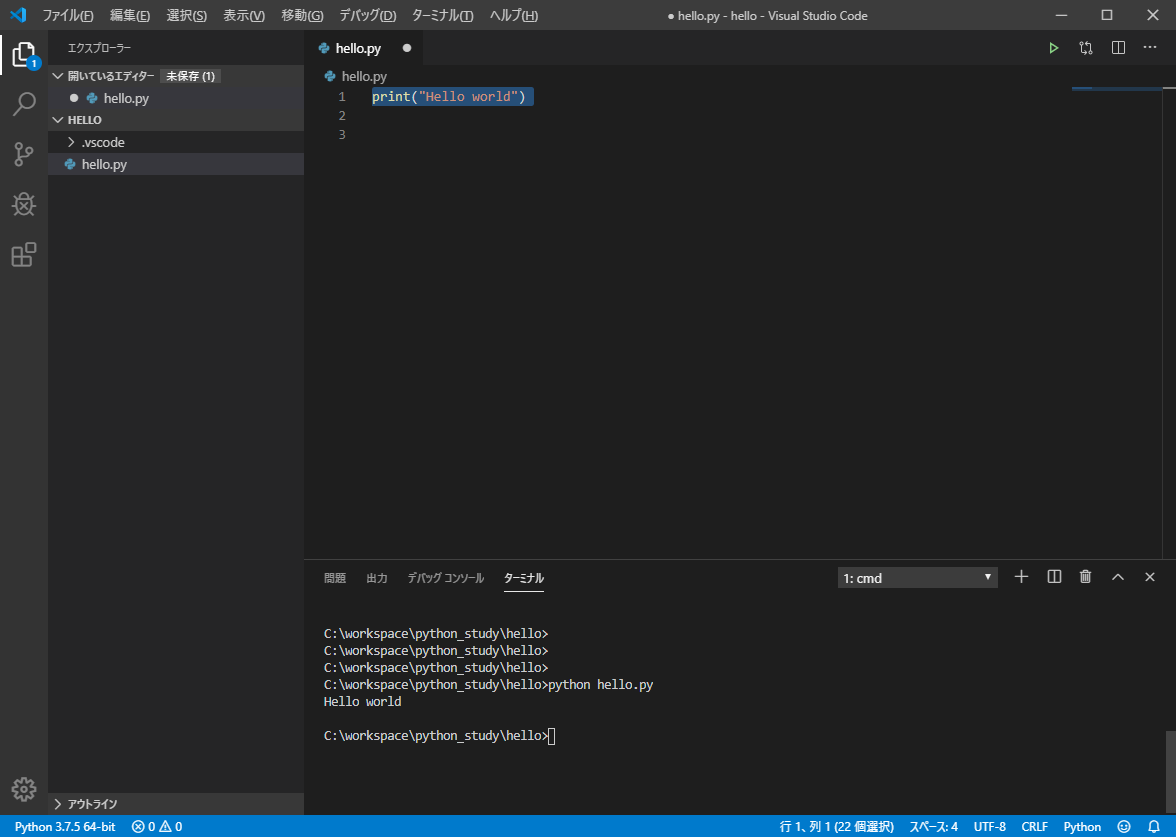
無事Hello worldが表示されたのでpythonが実行されていることが確認できました。
次の記事はslack側の設定していきます。
