はじめに
この記事では, RailsアプリでGoogle Mapを利用する際に、固定した場所を表示する方法を書き記しています。
特徴は以下です。
- Google MapのAPIを利用
- 指定した緯度軽度の場所にピンを刺す
- ピンの情報ウィンドウをクリックすると指定したページに遷移する
2. 遷移したページの指定した場所に移動できる(sectionタグを用いる)
2. ページ遷移をなくすこともできます!!
この記事をもとに、GoogleMapの表示ができていることが前提とします。
1. Viewを編集する
<div id='map'></div>

<style>
# map {
  height: 600px;
  width: 100%;
}
</style>
<script>
    function initMap() {

      //初期表示位置:東京駅
      let latlng = new google.maps.LatLng(35.68114292160832, 139.76699220422807);
      //デザイン
      let styles = [
           {
            stylers: [
             { "saturation": 0 },
             { "lightness": 0 }
            ]
           }
          ];

      let map = new google.maps.Map(document.getElementById('map'), {
          zoom: 5.3,  //倍率を決める
          styles: styles,
          center: latlng
      });
      let transitLayer = new google.maps.TransitLayer();
      transitLayer.setMap(map);

      //複数マーカー ここから
        ( function() {
          let markerLatLng = new google.maps.LatLng({lat: 35.170662, lng: 136.923430}); // 名古屋の位置情報を表示
          let marker = new google.maps.Marker({
            position: markerLatLng,
            map: map
          });
       //マーカーをクリックしたとき、詳細情報を表示
          let infowindow = new google.maps.InfoWindow({
            position: markerLatLng,
            content: "<nav><a href='<%= tweets_url %>#first-block' target='_blank'>名古屋</a></nav>"
          }); //飛びたいページのURL、タグを入力
          marker.addListener('click', function() {
            infowindow.open(map, marker);
          });

       })();
       ( function() {
        let markerLatLng = new google.maps.LatLng({lat: 34.397521, lng: 132.459266}); // 広島の位置情報を表示
        let marker = new google.maps.Marker({
          position: markerLatLng,
          map: map
        });
     //マーカーをクリックしたとき、詳細情報を表示
        let infowindow = new google.maps.InfoWindow({
          position: markerLatLng,
          content: "<nav><a href='<%= tweets_url %>#second-block' target='_blank'>広島</a></nav>"
        }); //飛びたいページのURL、タグを入力
        marker.addListener('click', function() {
          infowindow.open(map, marker);
        });

     })();

     ( function() {
        let markerLatLng = new google.maps.LatLng({lat: 38.260021, lng: 140.882344}); // 仙台の位置情報を表示
        let marker = new google.maps.Marker({
          position: markerLatLng,
          map: map
        });
     //マーカーをクリックしたとき、詳細情報を表示
        let infowindow = new google.maps.InfoWindow({
          position: markerLatLng,
          content: "<nav><a href='<%= tweets_url %>#third-block' target='_blank'>仙台</a></nav>"
        }); //飛びたいページのURL、タグを入力
        marker.addListener('click', function() {
          infowindow.open(map, marker);
        });

     })();
      //複数マーカー ここまで
  }
</script>
<script src="https://maps.googleapis.com/maps/api/js?key=AIzaSyBbOOQW7X6GRBDQbvKGXhHsw3R8j2Fe-XA&callback=initMap" async defer></script>
指定する地図のピンの位置について
//複数マーカー ここから
        ( function() {
          let markerLatLng = new google.maps.LatLng({lat: 35.17101, lng: 136.88149}); // 名古屋の位置情報を表示
          let marker = new google.maps.Marker({
            position: markerLatLng,
            map: map
          });
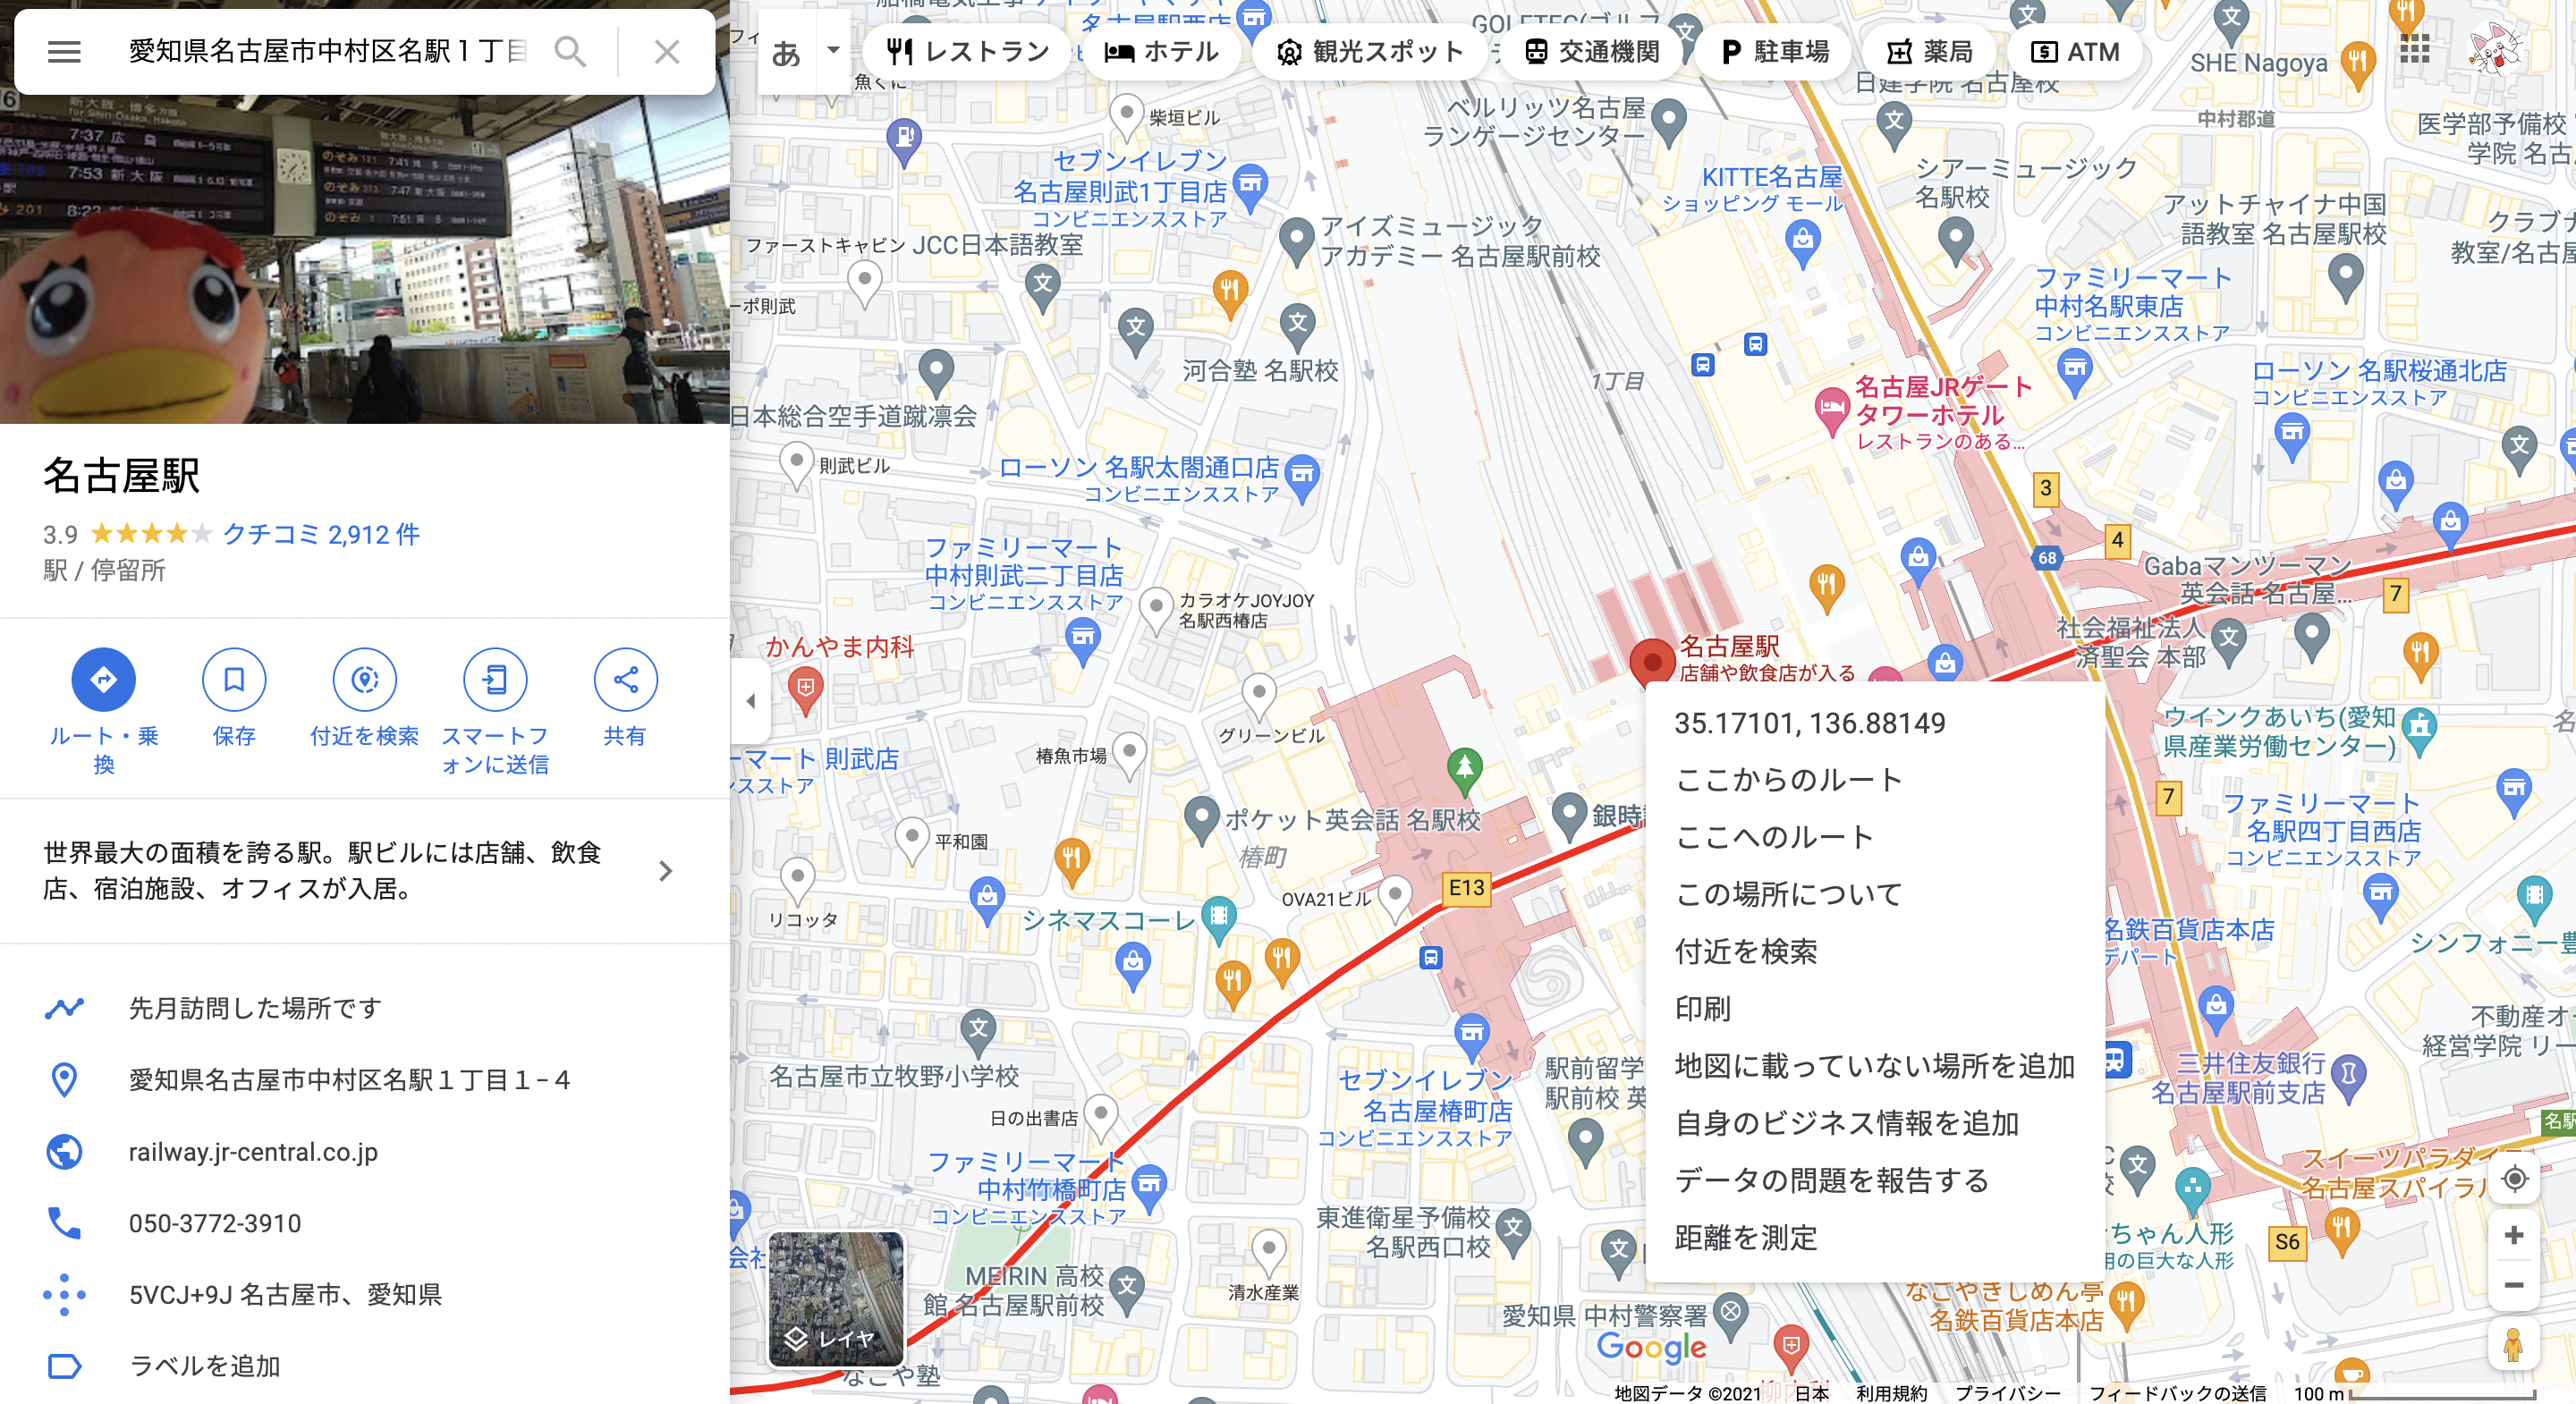
{lat: 35.170662, lng: 136.923430}に、緯度軽度を入力します。
Google Mapで入れたい場所を検索し、ピンの位置を右クリックすると緯度と軽度が表示されます。

飛ばしたい遷移先のURLについて
content: "<nav><a href='<%= tweets_url %>#third-block' target='_blank'>
  名古屋</a></nav>"});
//飛びたいページのURL、タグを入力
続いて、遷移先のページ指定についてです。
Rubyを使っている場合は、
$ rails routes
をするとpathが表示されると思いますが、pathのかわりにurlといれます。
また、そのページの遷移場所を指定するときは、
<%= tweets_url %>
の後ろに
#third-block
のように入力します。
sectionタグの使い方に関してはこのような記事を参考にしてください。
リファレンス
idについて
ページ内遷移について
2-5. 自己紹介サイトを作ろう!
終わりに
これでGoogle Mapを利用する際に、固定した場所を表示することができました!
Railsで書いているけどMapに関してはJSを用いなければならず、よくわからない!という人をよく見受けます。
確かによくわからない部分もありますが、どこがどんな風に対応しているかを考えれば糸口は見つかりますのでご自身の必要に応じて変更してみてください!