本記事は、ServiceNowアドベントカレンダー 2025 の12月15日分の記事です。
はじめに
ServiceNow+Teams連携を行う方法としてTeams spokeとTeams Incoming Webhookを使う、という方法がありました。
しかし、どちらも廃止される方向になっています。
- ServiceNow Teams spoke Yokohama以降新規での使用不可
- Teams Incoming Webhook 2025/12廃止
そこで今回は、これらの廃止に伴う代替手段として、
Power Automateを使ってServiceNowからTeamsに通知する方法を試したので、その手順を紹介します。
やりたいこと
- 特定のイベント(例:インシデント発生、承認依頼)を検知
- Teamsに通知を送信
使うもの
- ServceNow(Flow,Action)
- Power automate
- Teams
実装手順
1.Power Automateの設定
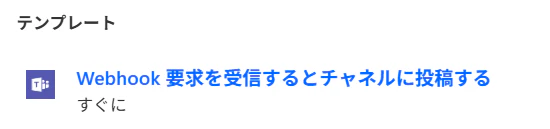
1.1.フローを作成
こちらの、テンプレートを使用します。
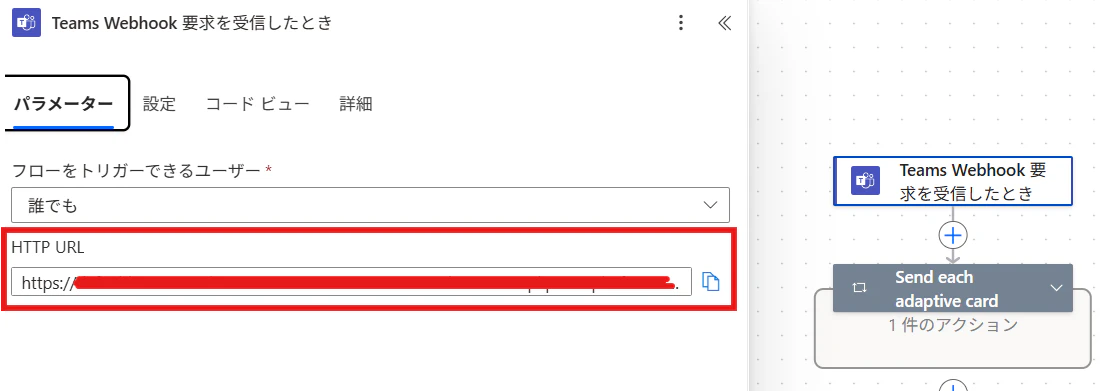
1.2.WebhookURLを確認
作成をすると、トリガとして、WebhookURLが生成されます。
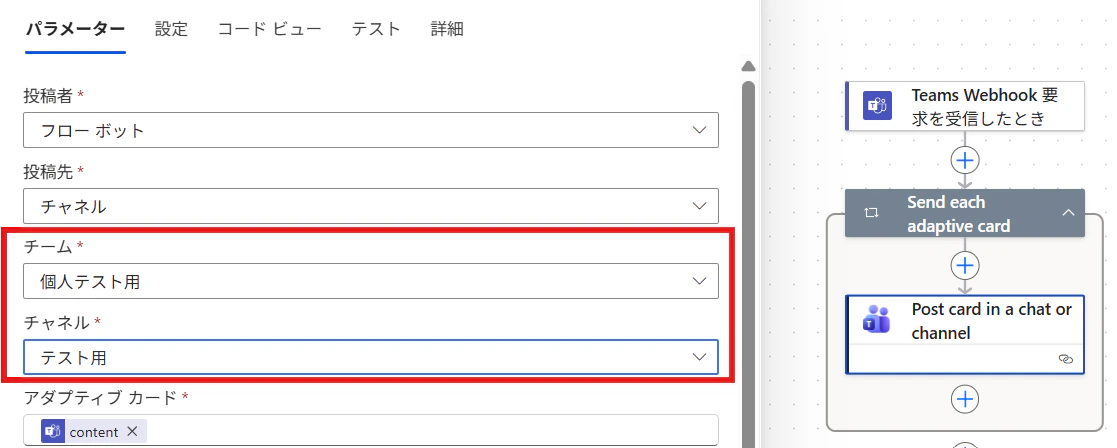
1.3.投稿先を設定
投稿したい先のチームとチャネルを指定します。
ここまでできれば、ひとまず、Power automateの設定は完了です。
2.アダプティブカードのレイアウト作成
2.1.アダプティブカードのレイアウト定義を作成
今回の方法でTeamsへの通知は、アダプティブカード形式で送る必要があるようです。
こちらのデザイナを使用して、カードのレイアウトを定義します。
今回はシンプルな感じで以下のように定義を行いました。
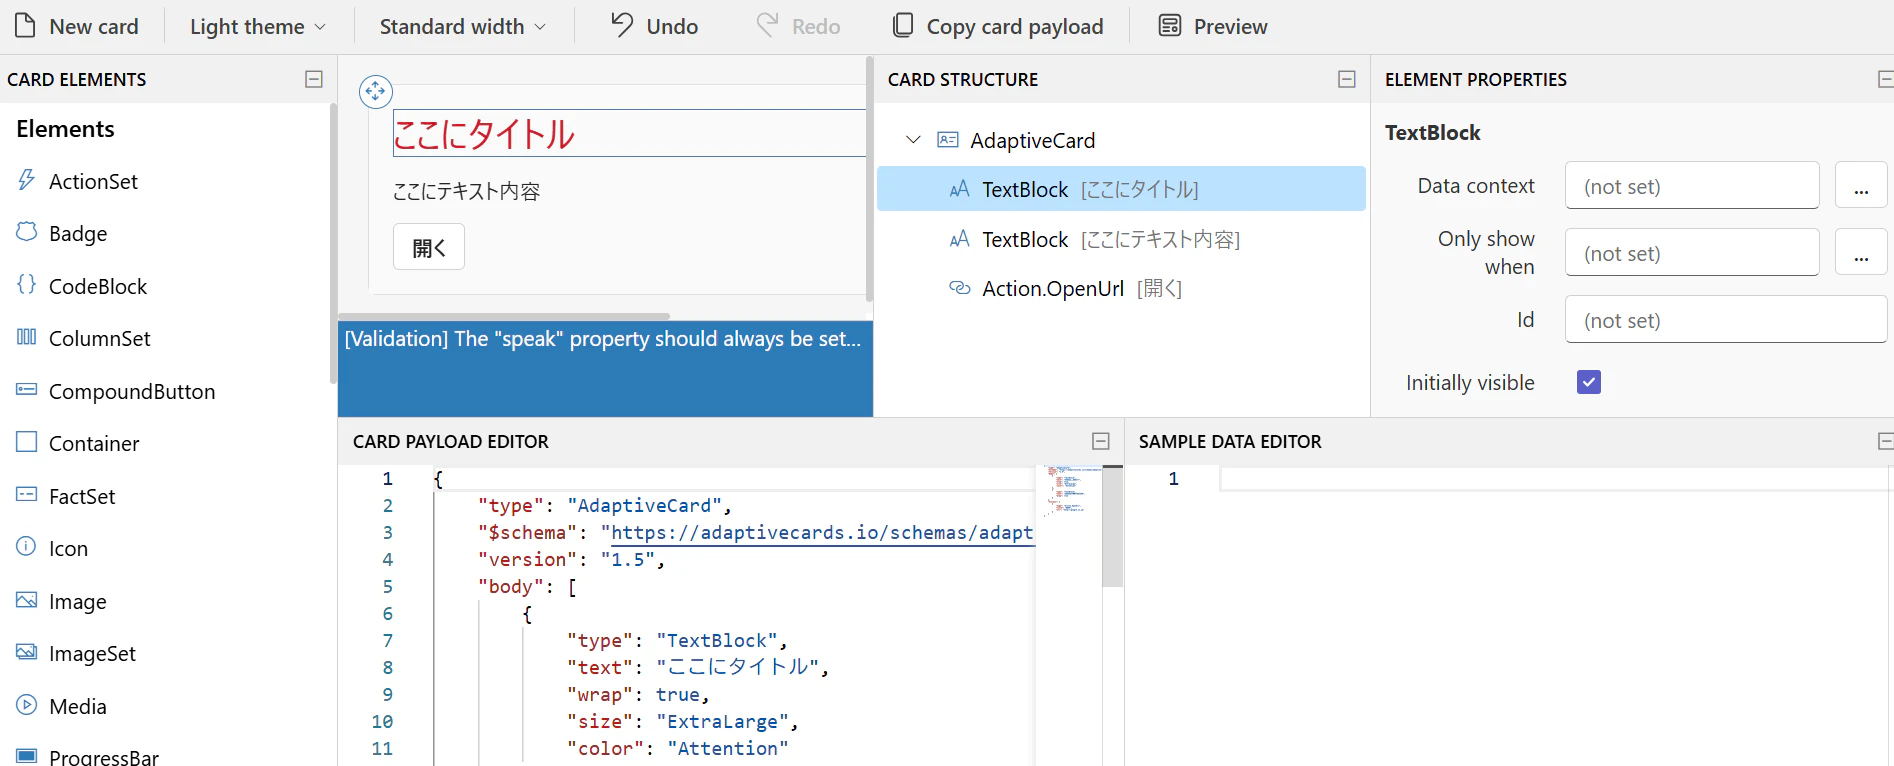
作成したアダプティブカードのPayloadをコピーしておきます。
{
    "type": "AdaptiveCard",
    "$schema": "https://adaptivecards.io/schemas/adaptive-card.json",
    "version": "1.5",
    "body": [
        {
            "type": "TextBlock",
            "text": "ここにタイトル",
            "wrap": true,
            "size": "ExtraLarge",
            "color": "Attention"
        },
        {
            "type": "TextBlock",
            "text": "ここにテキスト内容",
            "wrap": true
        }
    ],
    "actions": [
        {
            "type": "Action.OpenUrl",
            "title": "開く",
            "url": "http://google.co.jp"
        }
    ]
}
3.ServiceNow設定
ではServiceNow側の設定をしていきます。
3.1.Actionを作成
まずは、Actionを作成します。
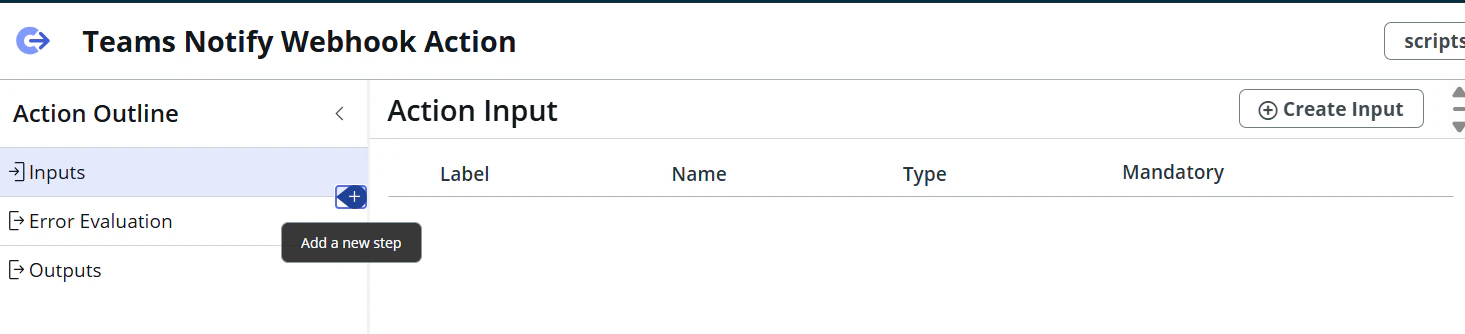
Add a new stepで、scriptstepを追加します。
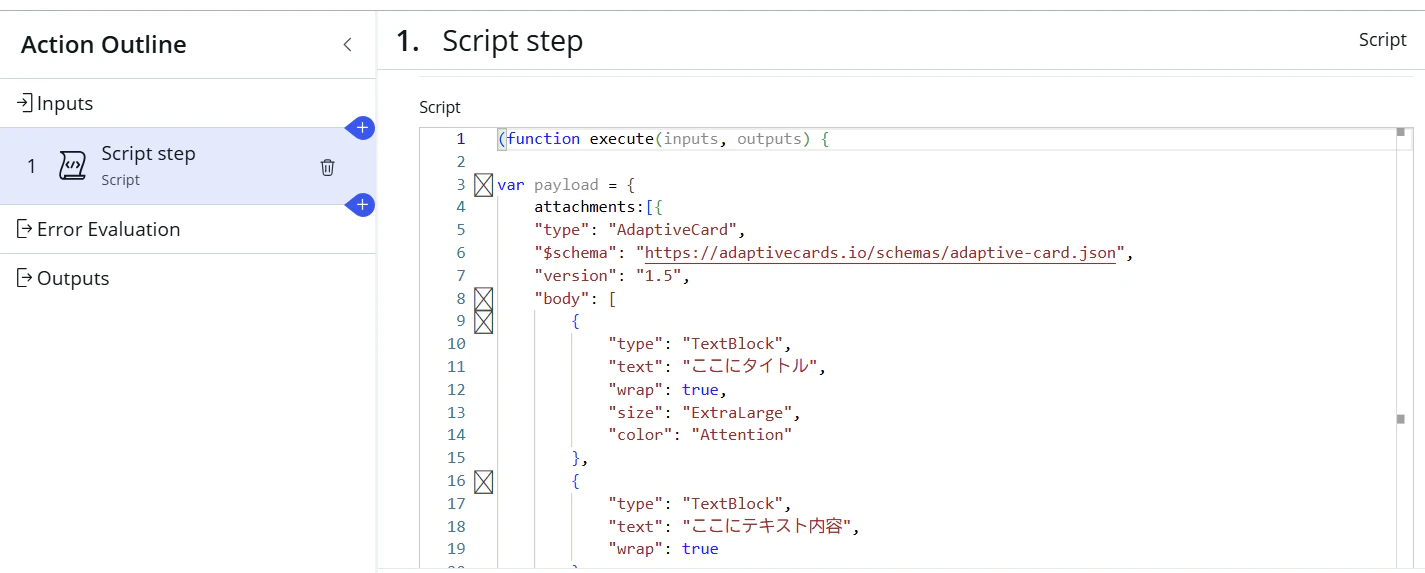
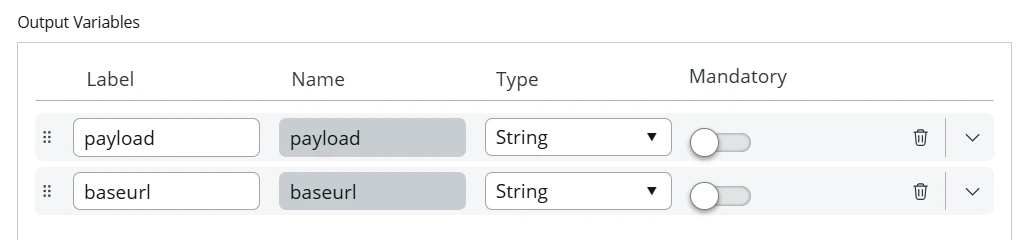
outputはこんな感じ。
(function execute(inputs, outputs) {

var payload = {
     "attachments":[{
        "contentType": "application/vnd.microsoft.card.adaptive",
        //アダプティブカードのPayloadはcontent内に配置
        "content": {
            "type": "AdaptiveCard",
            "$schema": "https://adaptivecards.io/schemas/adaptive-card.json",
            "version": "1.5",
            "body": [
                {
                    "type": "TextBlock",
                    "text": "ここにタイトル",
                    "wrap": true,
                    "size": "ExtraLarge",
                    "color": "Attention"
                },
                {
                    "type": "TextBlock",
                    "text": "ここにテキスト内容",
                    "wrap": true
                }
            ],
            "actions": [
                {
                    "type": "Action.OpenUrl",
                    "title": "開く",
                    "url": "http://google.co.jp"
                }
            ]
            }
         }
    ]
}

outputs.payload= payload;
//WebhookURLを指定(1.2.で確認したURL)
outputs.baseurl='https://xxxx';

})(inputs, outputs);
3.2.REST stepの追加
Script stepの次に、REST Stepを追加します。
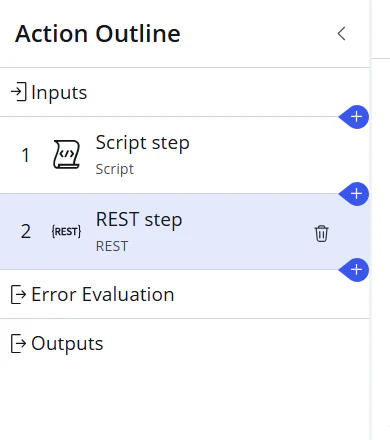
BaseURLには、script outputのbaseurlを指定
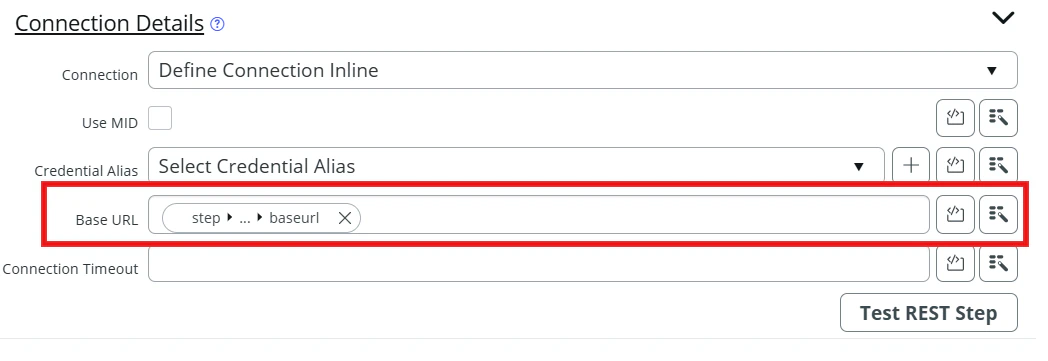
MethodはPOST、HeaderにContent-type=application/jsonを追加
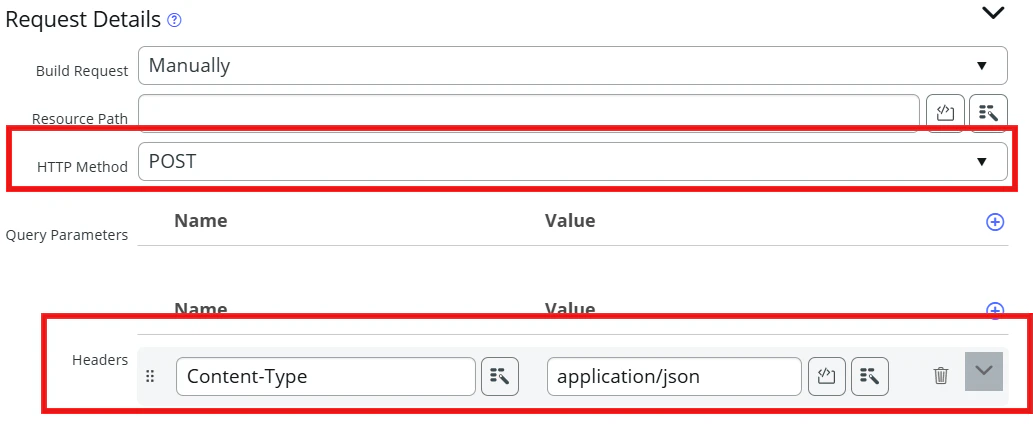
Request ContentsのBodyには、Script outputのpayloadを指定

これで設定はひとまず完了です。
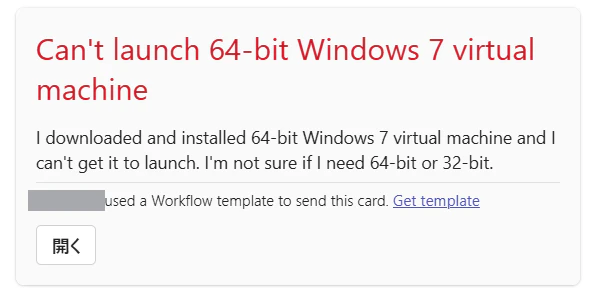
3.3.結果
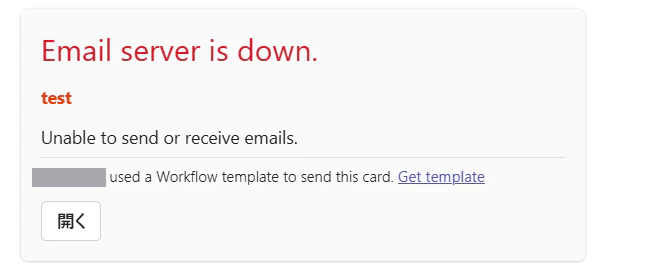
では、ここまでの内容でテスト実行をしてみます。
ステータスコードが202で返ってきており、Teamsにもカードが投稿されています。
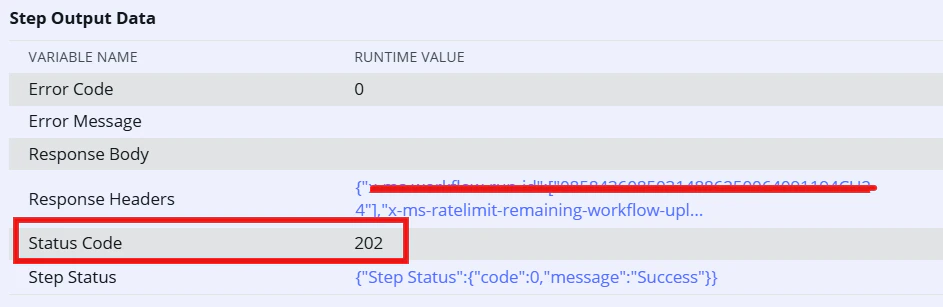
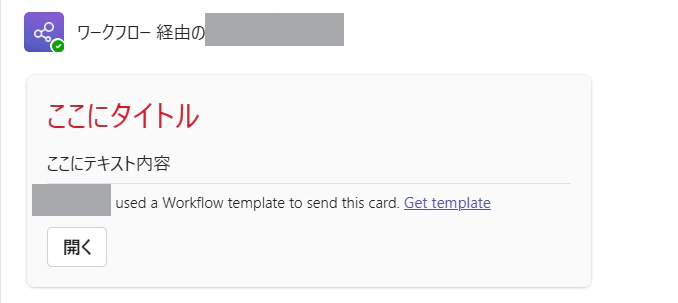
上手くいきました。
3.4.投稿内容をデータから取得
ここまで行けば、後は今固定になっている内容をデータから取得するだけです。
最終的にこのような形になりました。
-
Action Input

-
Script Input Variable
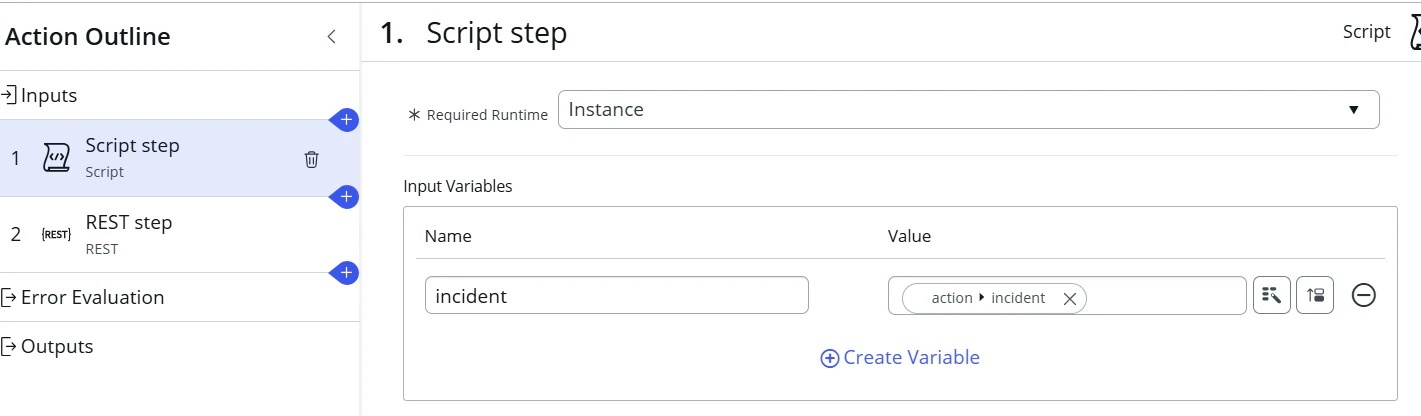
-
Script
(function execute(inputs, outputs) {

var payload = {
     "attachments":[{
        "contentType": "application/vnd.microsoft.card.adaptive",
        //アダプティブカードのPayloadはcontent内に配置
        "content": {
            "type": "AdaptiveCard",
            "$schema": "https://adaptivecards.io/schemas/adaptive-card.json",
            "version": "1.5",
            "body": [
                {
                    "type": "TextBlock",
                    "text": inputs.incident.short_description.toString(),
                    "wrap": true,
                    "size": "ExtraLarge",
                    "color": "Attention"
                },
                {
                    "type": "TextBlock",
                    "text": inputs.incident.description.toString(),
                    "wrap": true
                }
            ],
            "actions": [
                {
                    "type": "Action.OpenUrl",
                    "title": "開く",
                    "url": gs.getProperty('glide.servlet.uri') +'/now/sow/record/incident/' +  inputs.incident.sys_id.toString()
                }
            ]
            }
         }
    ]
}

outputs.payload= payload;
//WebhookURLを指定
outputs.baseurl='https://xxx';

})(inputs, outputs);
3.2.Flowの作成
Actionが完成したので、Flowを作成します。
インシデント作成をトリガとし、作成したアクションを配置するだけです。
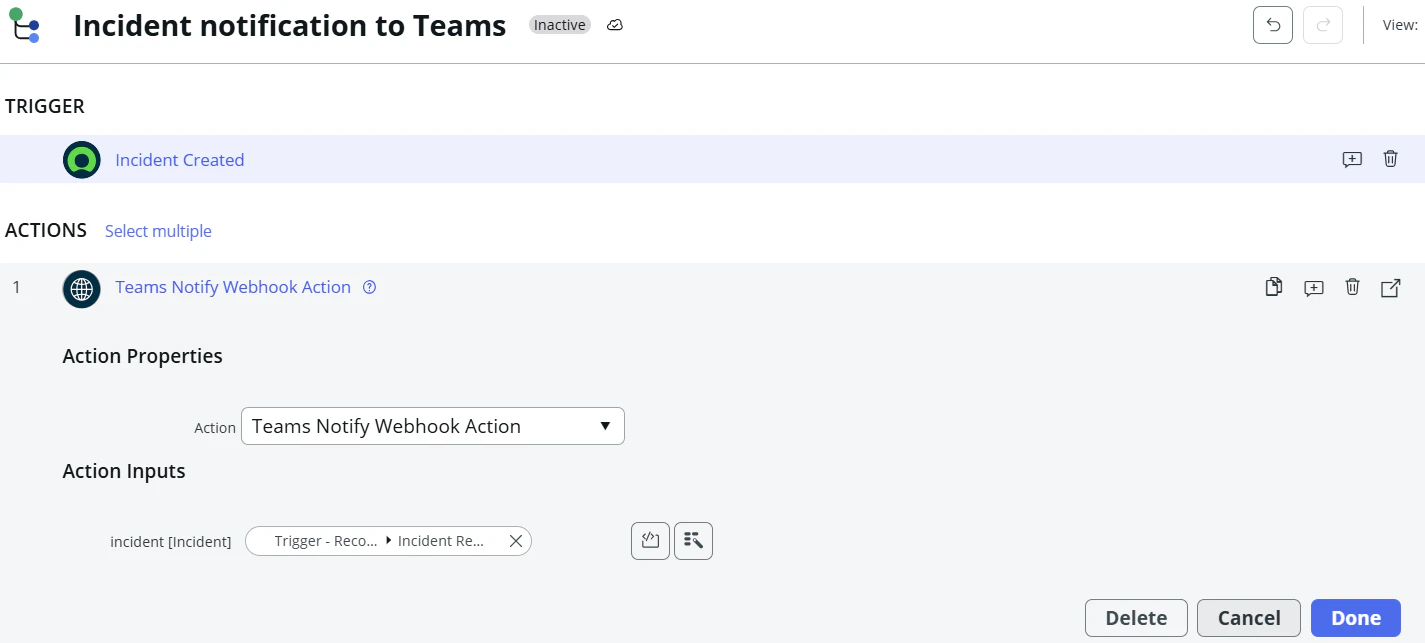
これで完成しました。
レコードの内容で、Teamsへ通知が行われています。
(Option)4.メンションを付与
今の状態で、メッセージの投稿は出来ましたが、メンションがなく、メッセージに気づかないということがあると思います。
メンションをつけてあげましょう。
4.1.メンション用にTag IDを取得
Power automateから通知する際、チャネルに対してのメンションができません。
そのため、タグを紐づけてもらい、そこに向けてメンションをする形となります。

タグIDを取得するために、適当なPower automateのFlowを作成します。
(今回は作成済のFlowに一時的に追加しました。)
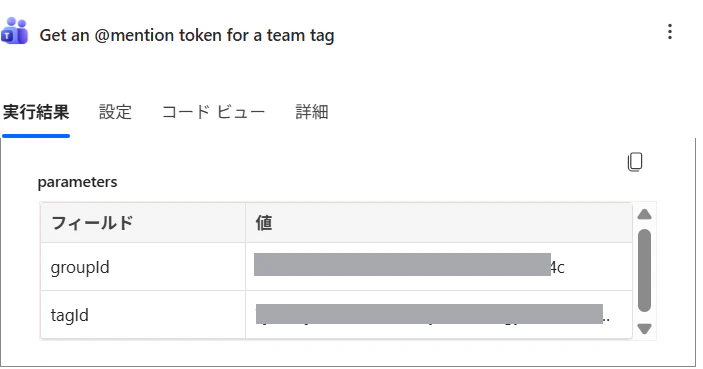
Get an @mention token for a team tagのアクションを配置し、チームとタグを選択します。
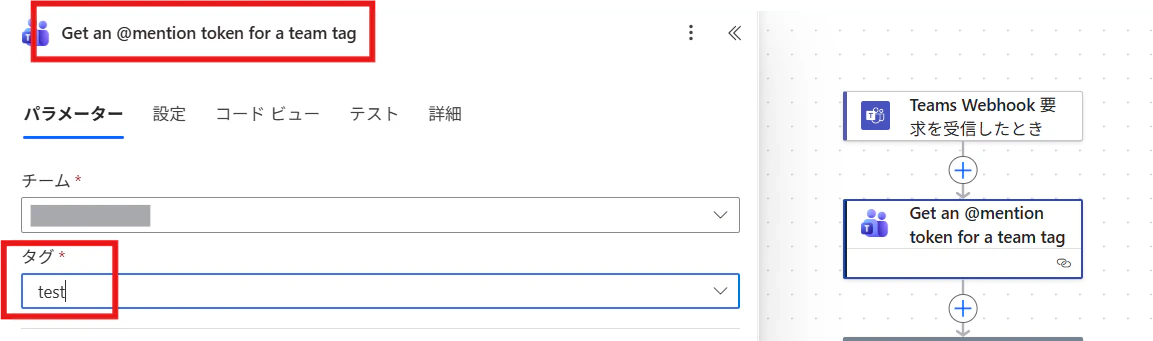
この状態で、Flowを実行し実行結果からタグIDとグループIDを取得します。
4.2.Jsonにタグ情報を埋め込み
Actionで作成したscript内にメンションの情報を埋め込みます。
メンションを行う際は、以下の様に指定します。
<atTag>
<tagId>[タグID]</tagId>
<groupId>[グループID]</groupId>
</atTag>
こちらを埋め込んだActionのscriptが以下の通り
(function execute(inputs, outputs) {

var mention = '<atTag><tagId>xxx</tagId><groupId>yyy</groupId></atTag>';

var payload = {
     "attachments":[{
        "contentType": "application/vnd.microsoft.card.adaptive",
        //アダプティブカードのPayloadはcontent内に配置
        "content": {
            "type": "AdaptiveCard",
            "$schema": "https://adaptivecards.io/schemas/adaptive-card.json",
            "version": "1.5",
            "body": [

                {
                    "type": "TextBlock",
                    "text": inputs.incident.short_description.toString(),
                    "wrap": true,
                    "size": "ExtraLarge",
                    "color": "Attention"
                },
                //mention用に追加
                {
                    "type": "TextBlock",
                    "text": mention
                },
                {
                    "type": "TextBlock",
                    "text": inputs.incident.description.toString(),
                    "wrap": true
                }
            ],
            "actions": [
                {
                    "type": "Action.OpenUrl",
                    "title": "開く",
                    "url": gs.getProperty('glide.servlet.uri') +'/now/sow/record/incident/' +  inputs.incident.sys_id.toString()
                }
            ]
            }
         }
    ]
}

outputs.payload= payload;
//WebhookURLを指定
outputs.baseurl='https://xxx';


})(inputs, outputs);
4.3.結果
タグメンションもできるようになりました。
おわりに
今回紹介した内容は、「とりあえず通知したい」という方への簡単な方法です。
長期的に考えるとやはり、Graph Spokeの使用が推奨されるでしょう。
Azureの設定等複雑な面がありますが、いろいろな方が紹介記事も書いてくださっているので、そちらを参考にいただけると難しくないでしょう。
簡単にやってみたいという方は今回の方法を、
しっかりした仕組みを作りたいかたは、Graph Spokeの使用を検討してください。