はじめに
研修内で模擬開発プログラムがあり、
自分はフロント側をメインでやることになりました。
そんな折に、
「そこそこ(当たり障りない程度)に今流行りのTailwind CSS使えるよ?」
って他グループの人に話したら、
「そういや、daisyUIって知ってる?Tailwindをめっちゃ短く書いて、UIコンポーネント爆速でできるよ!」
とおすすめされました。
そんなわけで、今回はdaisyUIにエントリして、フロントエンド開発を爆速にできるようにします。
また、現在はNext.jsの学習をメインにやっているため、Next.jsを使ってエントリしてみます。
そもそもdaisyUIってなんぞや
「s」と「z」をよく間違えそうになるなあ…
日本語版documentにはこのように記載があります。
最も人気のある無料のオープンソース
Tailwind CSS コンポーネントライブラリ
Tailwind CSSのプラグイン
まとめると、
Tailwind CSSにプラグインとして導入されて、爆速かつ便利にコンポーネントを作成できるようにするよ
って感じのものです。
Create-next-app + install tailwindcss
まずはプロジェクトを作って、Tailwind CSSを入れていきましょう。
https://tailwindcss.com/docs/installation/using-postcss
npx create-next-app daisy-with-next
npm install -D tailwindcss postcss autoprefixer
npx tailwindcss init -p
tailwind.configをいじります
https://zenn.dev/shimakaze_soft/articles/0ce52691b6fc3e
module.exports = {
   content: [
     './pages/**/*.{js,ts,jsx,tsx}',
     './components/**/*.{js,ts,jsx,tsx}'
   ],
  theme: {
    extend: {},
  },
  plugins: [],
}
このあとdocsの通りにcssファイルをいじっても、Unknown at rule @tailwindというメッセージが出るので、以下記事を参考にします。
https://qiita.com/P-man_Brown/items/bf05437afecde268ec15
@import "tailwindcss/base";
@import "tailwindcss/components";
@import "dtailwindcss/utilities";
これにて準備は完了です。
(各URLは参考記事です、ありがとうございました。)
一応スタック:
Next.js 12.2.2
react 18.2.0
tailwindcss 3.1.5
daisyui 2.19.0
いざ、daisyUIへ
さあ本日の主役をインストールしていきましょう!!
https://daisyui.com/docs/install/
npm install -D daisyui
見事インストールされました。
{
  "devDependencies": {
    "daisyui": "^2.19.0",
  }
}
tailwind.configに追加します。
module.exports = {
  //...
  plugins: [require("daisyui")],
}
準備完了!え、これだけなの?
実際に書いてみる
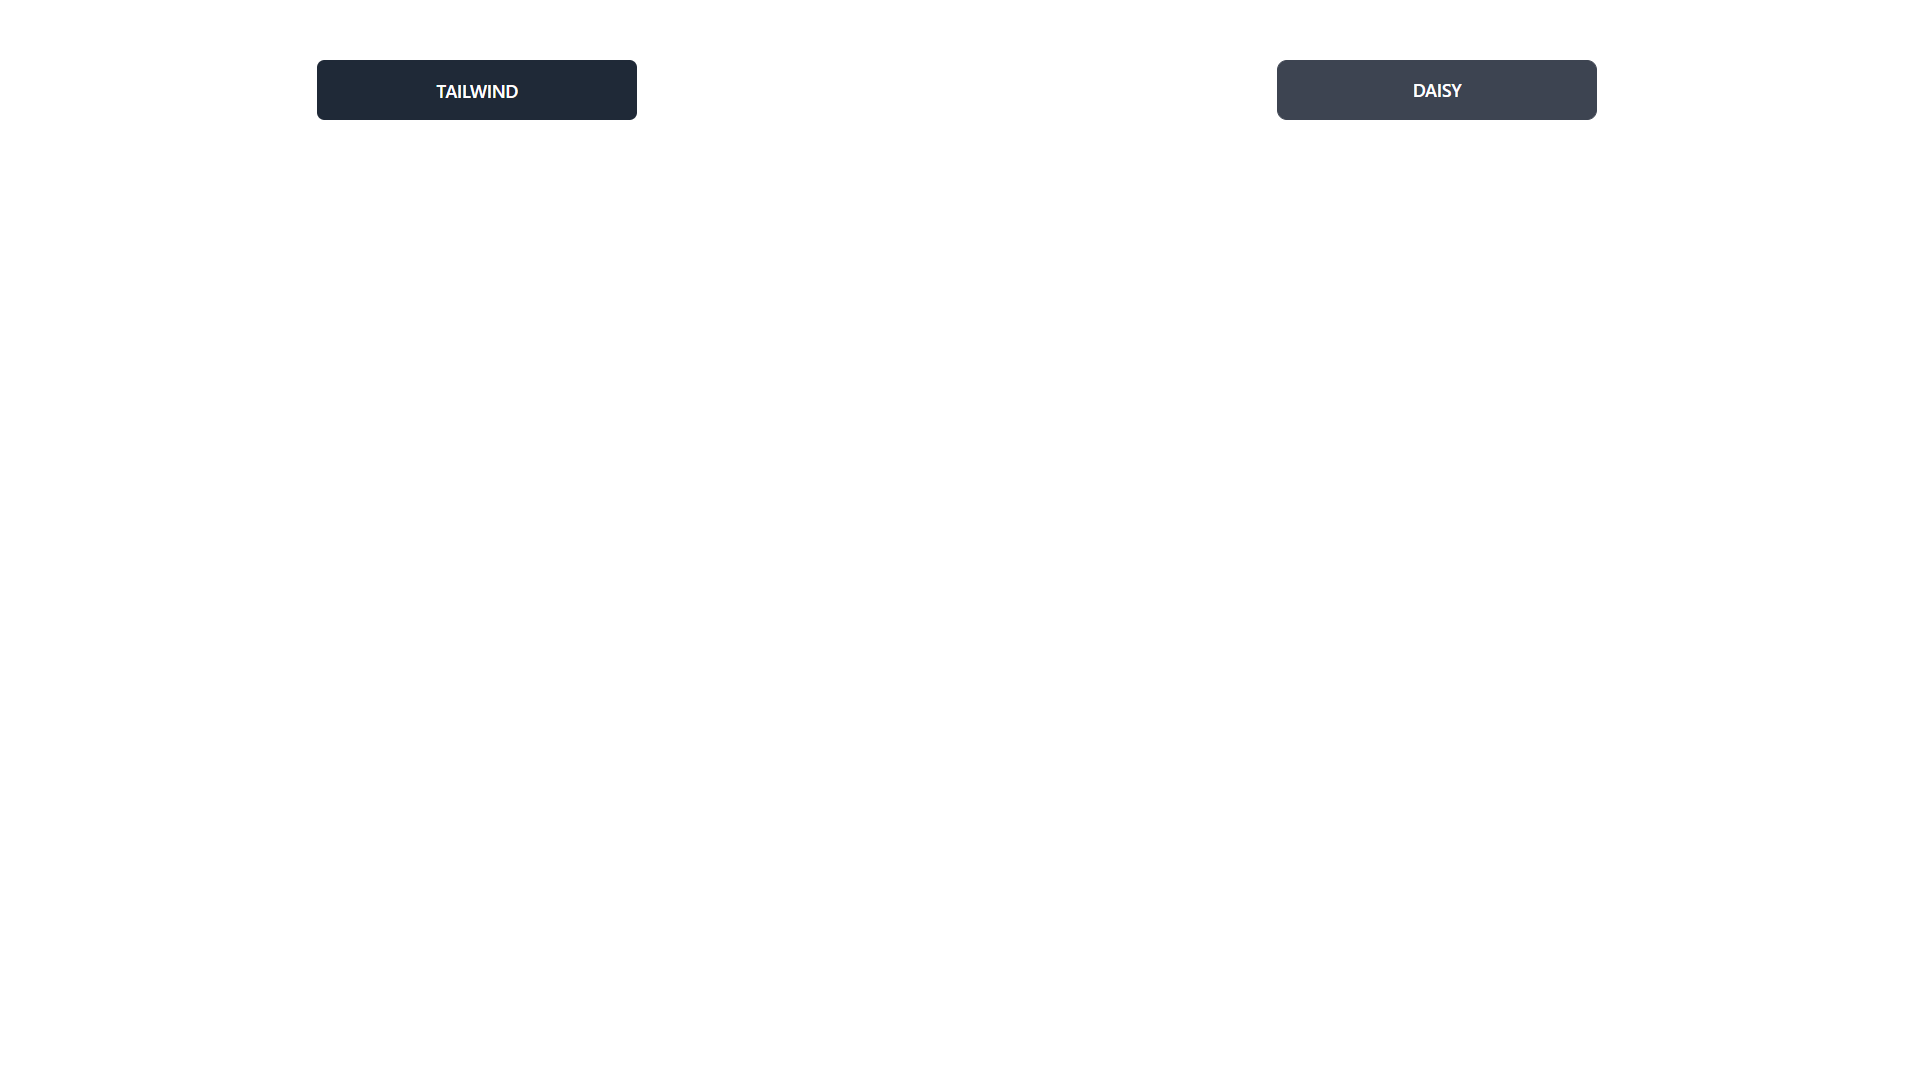
ここでは、以下記事を参考にして、ただ2つボタンが存在するだけのページを作ります。
https://daisyui.com/docs/use/
せっかくなので(?)propsで受け取ってコンポーネントとして表示する形式で記述します。
ということで、カレントディレクトリにcomponentsディレクトリを作ってButton.jsxとして書いていきます。
import { Button } from '../components/Button';

export default function Home() {
  return (
    <>
      <div className="flex mx-auto w-full justify-center">
        {/* 以下スタイルでほぼ同じ表示が出ます */}

        {/* Tailwind CSS */}
        <Button text="Tailwind" className="inline-block cursor-pointer rounded-md bg-gray-700 px-4 py-3 text-center text-sm font-semibold uppercase text-white transition duration-200 ease-in-out hover:bg-gray-900 example-button" />

        {/* daisyUI */}
        <Button text="daisy" className="btn example-button" />
      </div>
    </>
  );
}
export const Button = (props) => {
  return <button className={props.className}>{props.text}</button>;
}
/*
以下を追加
本当はscssで別のファイルで管理したりするほうがいいかもしれません
*/
@layer components{
  .example-button {
    @apply w-1/6 mx-auto mt-12
  }
}
btnクラスのみで、Tailwindのめちゃ長いクラスとほぼ同じになるって革新的じゃないですか!?
また、Tailwindのcomponentsと@applyで統一したスタイルの調整をしています。
なお、今回は実装しておりませんが、@applyでもdaisyUIのクラスが指定できます。超便利。
もうちょっとだけいじってみる
せっかくなのでdrawerを作ってみたいと思います。
docsに複雑なUIコンポーネントが置いてあるのはありがたいですね。
https://daisyui.com/components/drawer/
まずはpagesにdisplay-drawer.jsというファイルを作り、コンポーネントを呼び出します。
import { Drawer } from "../components/Drawer.jsx";

export default function DiplayDrawer() {
  return (
    <>
      <Drawer items={[{ itemName: "example1" }, { itemName: "example2" }]} text="open Drawer" />
    </>
  );
}
componentsにドロワーを書いていきましょう。ファイル名はDrawer.jsxです。
export const Drawer = (props) => {
  const items = props.items

  return (
    <>
      <div className="drawer">
        {/* サイドバーをトグル表示するために必要なinputタグ */}
        <input id="my-drawer" type="checkbox" className="drawer-toggle" />
        <div className="drawer-content flex justify-center items-center">
          {/* この中にはサイドバー外のコンテンツを書く */}
          <label htmlFor="my-drawer" className="btn btn-primary drawer-button">
            {props.text}
          </label>
        </div>
        {/* サイドバー */}
        <div className="drawer-side">
          {/* サイドバー表示時のオーバーレイ(影)を勝手にあててくれる */}
          <label htmlFor="my-drawer" className="drawer-overlay"></label>
          {/* サイドバーのアイテム */}
          <ul className="menu p-4 overflow-y-auto w-80 bg-base-100 text-base-content">
            {items.map((item, i) => <li key={i}><a>{item.itemName}</a></li>)}
          </ul>
        </div>
      </div>
    </>
  );
};
書き終わったら、ローカルホストで画面を開いてみましょう。
ドロワーが実装されたページが表示されます!(コンポーネント化含めて、10分もかかりませんでした)
http://localhost:3000/display-drawer
終わりに
daisyUIは、UIコンポーネントをCSSフレームワークで爆速で作る最高のTipsになりますね。
個人開発でフル活用できるように、ドキュメント読み込みます!!


