Macで Next.jsの公式Getting Startedを進めてみたメモです。
使用した環境は Intel Mac + Catalinaです。
バックエンドとしてはstrapiを使っていきます。
今回は Getting Started の章をやっていきます。
0. 事前準備
-
Homebrewを使ってyarnとNode.jsをインストールする
command$ brew install yarn node -
作業用フォルダを作成して移動する
commandmkdir -p ~/devel/ && cd $_
1. Getting Startedをやってみる
Getting Startedページの内容を、yarnを使って実行します。 この際、TypeScriptを使用するオプションを指定します。
-
今回は
next-sample-appという名前でプロジェクトを作成するcommand$ yarn create next-app --typescript next-sample-appoutputyarn create v1.22.10 [1/4] 🔍 Resolving packages... [2/4] 🚚 Fetching packages... [3/4] 🔗 Linking dependencies... [4/4] 🔨 Building fresh packages... ~~~~~~~~ 中略 ~~~~~~~~ We suggest that you begin by typing: cd next-sample-app yarn dev ✨ Done in 11.03s. -
生成されたフォルダに移動する
command$ cd $_ -
サーバーを起動してみる
command$ yarn devoutputyarn run v1.22.10 $ next dev ready - started server on 0.0.0.0:3000, url: http://localhost:3000 info - Using webpack 5. Reason: no next.config.js https://nextjs.org/docs/messages/webpack5 -
サーバーが起動したのでブラウザで開いてみる
command$ open http://localhost:3000/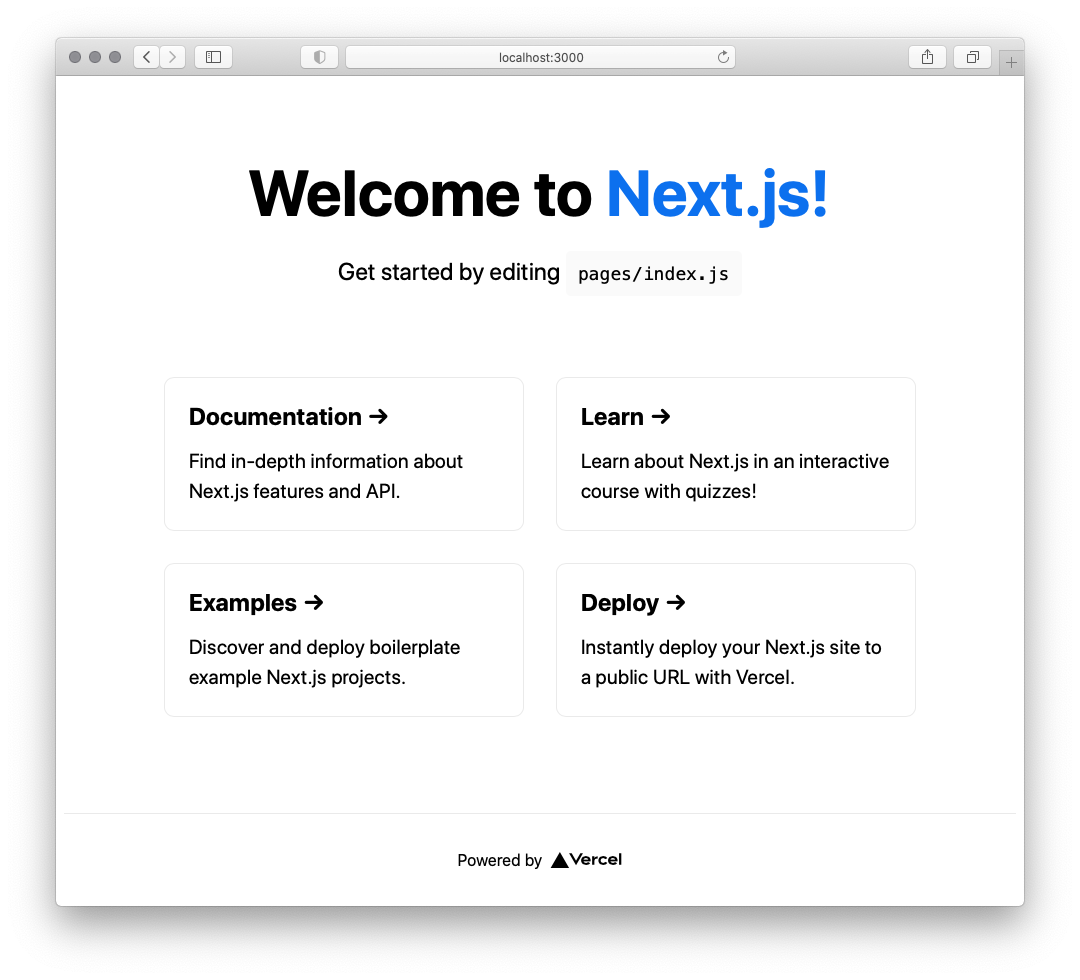
これで Getting Started のページが完了。
今回はManual Setupではないので、ホームページとしては pages/index.tsx が表示されている。
サーバーは起動したままの状態にしておくこととし、以降の作業は別のターミナルで行う。
[ちょっと寄り道] ホームページを変更してみる
デフォルトで用意されているホームページではなくて、任意の文字列を出力する形に変更してみる。
Getting StartedのManual Setupでは pages/index.js を作成しているが、今回はTypeScriptで作っているので、ファイル名を index.tsx とし、TypeScript版に書き換えた内容で作成する。
-
ホームページである
pages/index.tsxを上書きするpages/index.tsxfunction HomePage() { return <div>Welcome to Next.js!</div>; } export default HomePage; -
ブラウザで開いてみる
command$ open http://localhost:3000/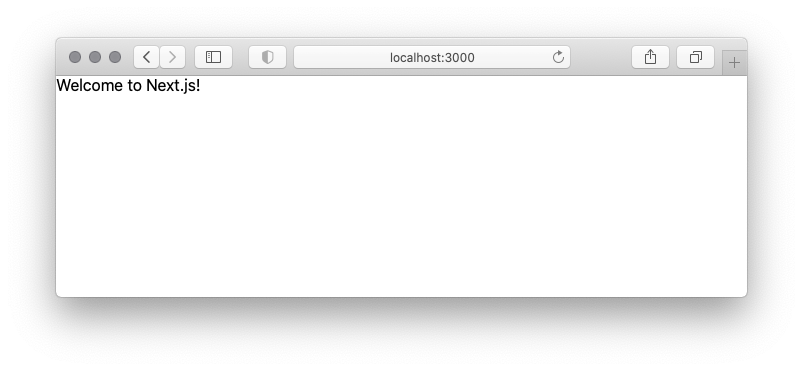
ホームページが任意の文字列に変更されました。
次回は Basic Features / Pages を進めていきます。
MacでNext.jsのGettingStartedを進めてみる シリーズの記事
- Getting Started をやった記事
- Basic Features / Pages をやった記事
- Basic Features / Data Fetching をやった記事